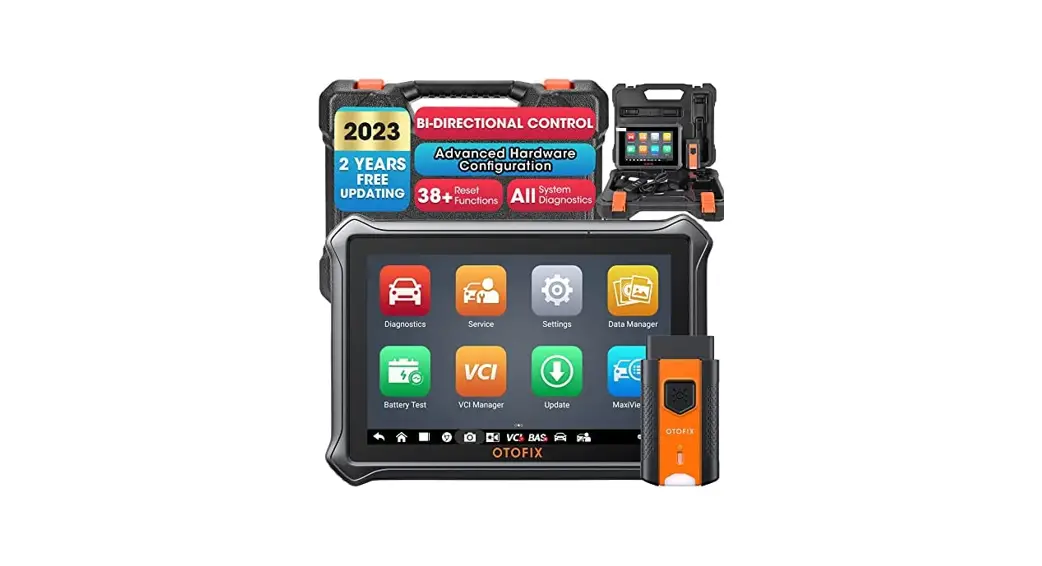
![]() Pro Bi-Directional Car Diagnostic Tool
Pro Bi-Directional Car Diagnostic Tool
User Guide
D1 Pro Bi-Directional Car Diagnostic Tool

Scan the QR code or visit www.otofixtech.com to obtain the corresponding user manual.
Thank you for purchasing this OTOFIX D1 Pro diagnostic tool. Our tools are manufactured to a high standard and — when used according to these instructions
and properly maintained — will provide years of trouble-free performance.
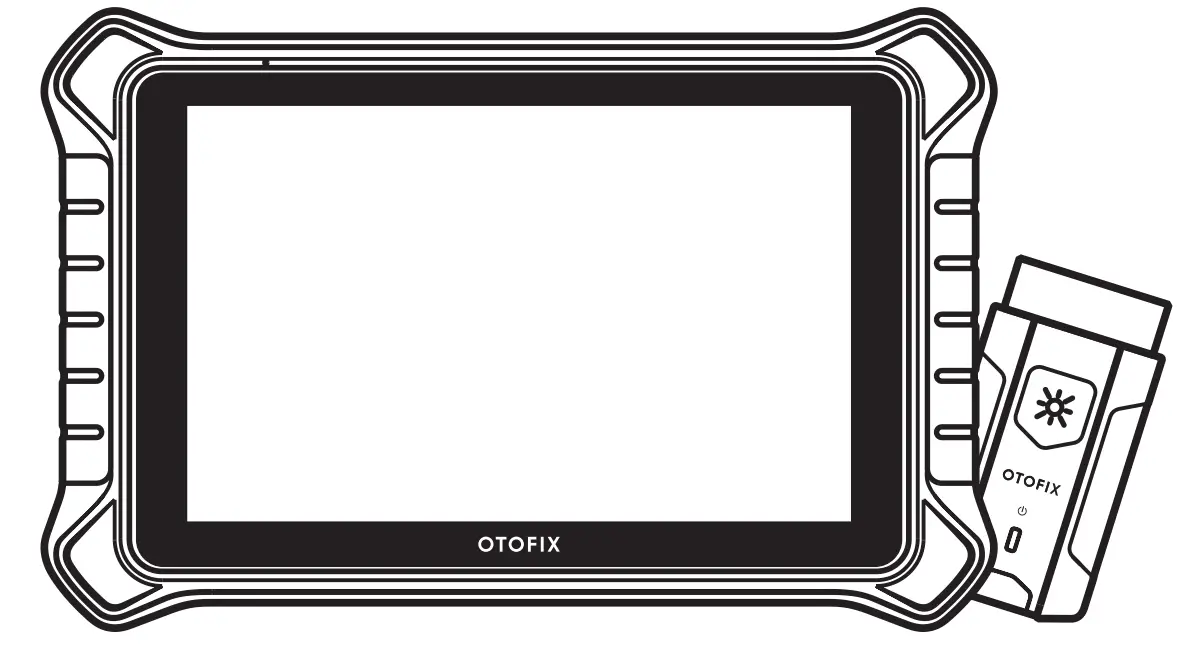
OTOFIX D1 Pro
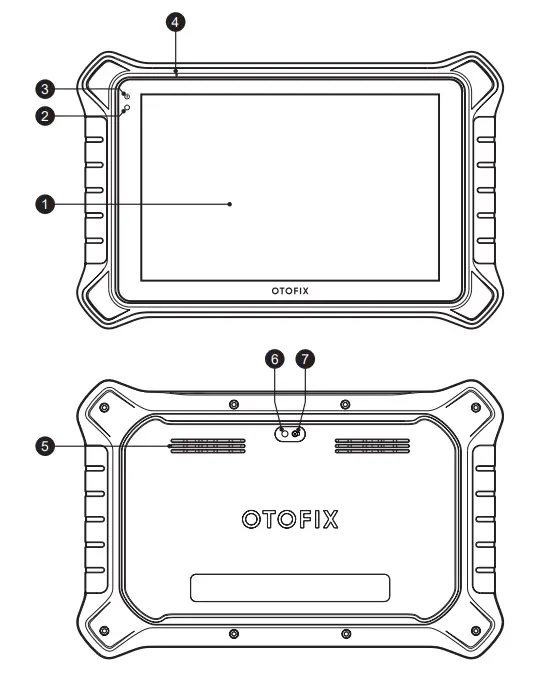 | 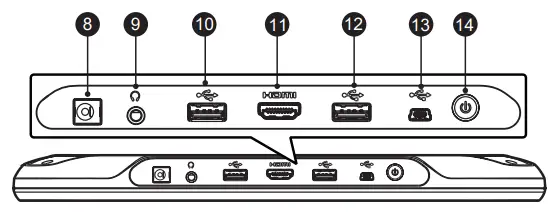 |
| 1. 10.1-inch Touchscreen 2. Ambient Light Sensor — detects ambient light brightness. 3. Power LED 4. Microphone 5. Speaker 6. Camera Flash 7. Camera Lens | 8. DC Power Supply Input Port 9. Headphone Jack 10. USB Port 11. HDMI (High-Definition Multimedia Interface) Port 12. USB Port 13. Mini USB Port 14. Power/Lock Button — turns the tablet on or off with long press, or locks the screen with short press. |
OTOFIX V1
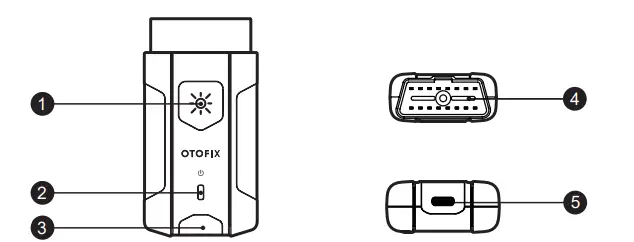
| 1. Flashlight Button 2. Power LED 3. Vehicle/Connection LED | 4. Vehicle Data Connector (16-pin) 5. USB Port |
OTOFIX V1 LED Description
| LED | Color | Description |
| Power LED | Yellow | VCI is powered on and performing self-check. |
| Green | VCI is ready for use. | |
| Flashing Red | Firmware is updating. | |
| Vehicle/ Connection LED | Green | • Solid Green: VCI is connected via USB cable. • Flashing Green: VCI is communicating via USB cable. |
| Blue | • Solid Blue: VCI is connected via Bluetooth. • Flashing Blue: VCI is communicating via Bluetooth. |
Getting Started
IMPORTANT: Before operating or maintaining this unit, please read these instructions carefully, paying extra attention to the safety warnings and precautions. Failure to use the unit correctly may cause damage and/or personal injury and will void the limited product warranty.
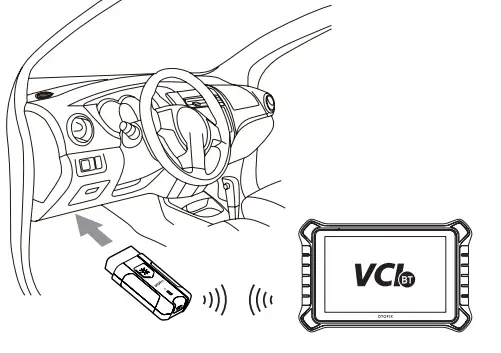
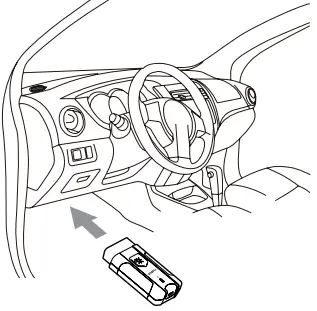
Insert the V1 into the vehicle’s DLC, which is generally located under the vehicle dashboard.
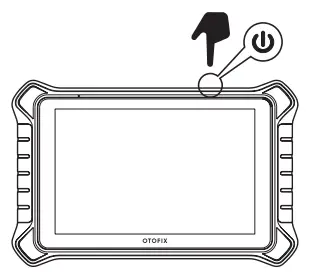
Press and hold the Power/ Lock button to turn on the tablet.
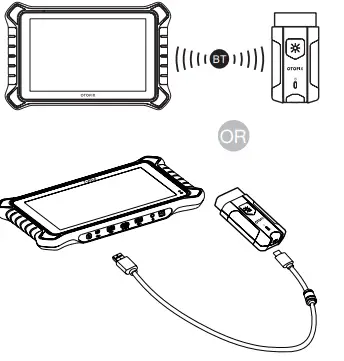
- Pair up the tablet with V1 via Bluetooth to establish a communication link.
- Pair up the tablet with V1 via USB cable to establish a communication link.
NOTE: The tablet and V1 are configured to automatically synchronize with each other on the initial use, therefore, the pairing is not required.
When the V1 is properly connected to the vehicle and tablet, the VCI status button on the bottom bar of the screen will display a green badge at the bottom-right corner indicating the tablet is ready to start vehicle diagnosis.