bigstone C500 Display Electric Bike Instruction Manual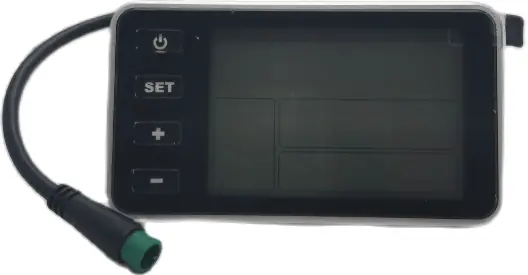
About the user manual
Dear users, in order to operate your electric car better, please read the C500 instrument manual carefully before use. We will tell you every step of the instrument in the most concise language, from hardware installation and setup to normal use of the instrument. At the same time help you solve the confusion and obstacles that may arise.
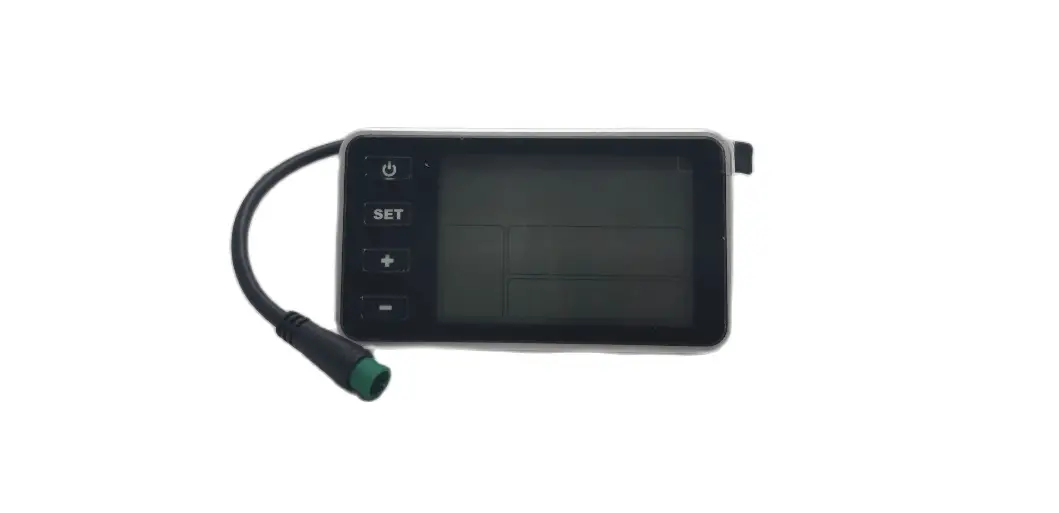
Outlook and size
Material and color
C500 products are made of black ABS material and the bracket is made of nylon material. Under the temperature of -20 to 60℃, the shell material can ensure normal usage and good mechanical performance of the products.
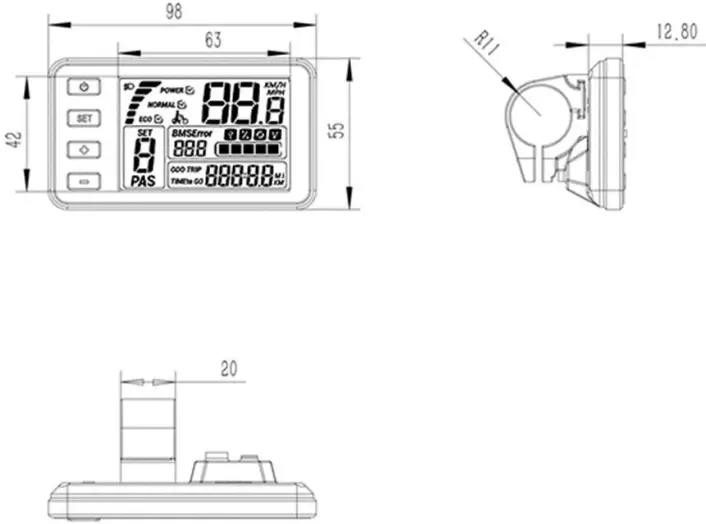
Dimension figure (unit: mm).

Button definition
C500 has four buttons, including ON/OFF、SET、UP and DOWN.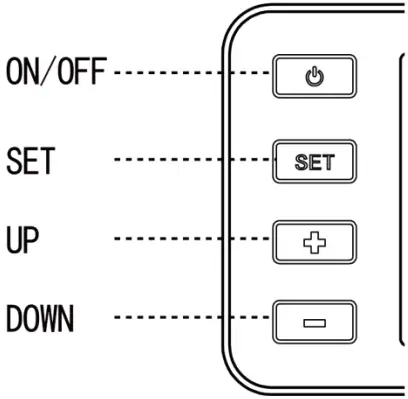
Function summary
C500 provides a wide range of functions and indicators to fit the users’ needs. The indicated contents are as below: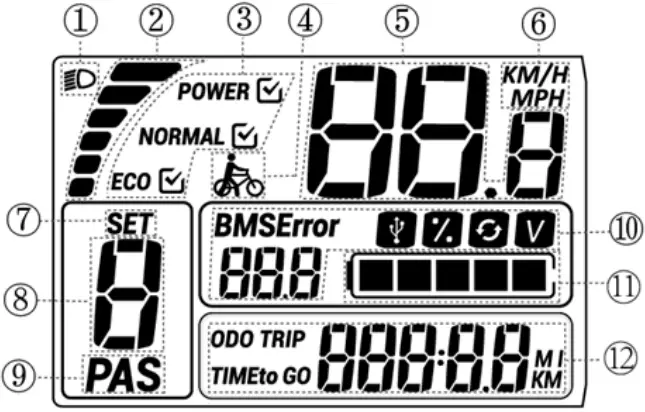
- Backlight indicator With the power on, click the ON/OFF to turn on the backlight and headlight.
- Current display The discharging current of the controller currently, each segment is 2A.
- Riding mode selection Display current riding mode.
- KM/H work: Hold the DOWN for 2 seconds to get in 6km work.
- Speed display:Display the speed at present.
- KM/H&MPH:Select KM/H or MPH as the current display unit.
- SET display: The user enters the setup interface; the SETicon will be in 1Hz flicker.
- PAS level display:
- PAS: displays the current output power.
- Battery information:
- BMS&Error:
- BMS: display current battery status.
- Error: Displays the current error code
- Charging display: Hold the SET and the UP button for two seconds at the same time, the USB charging icon will be illuminated
- Electricity percentage display: This feature is not available by default
- Cycle times display: This feature is not available by default.
- Voltage display: Display the current battery voltage of how many Volts.
- BMS&Error:
- Electric quantity display:Display current electric quantity.
- Riding information display:
- ODO:The ODO records the driving mileage from using, the accumulated value cannot be cleared.
- TRIP:A single mileage display shows the user’s single riding mileage, which can be cleared in the setup interface and 500KM automatically cleared.
- TIME:Display the time when the speed of a single ride is higher than 5KM/H.
- TO GO:This feature is not available by default.
Setup outline
Click SET 2 seconds enter the general setting interface.
Reset Trip
distance to 0.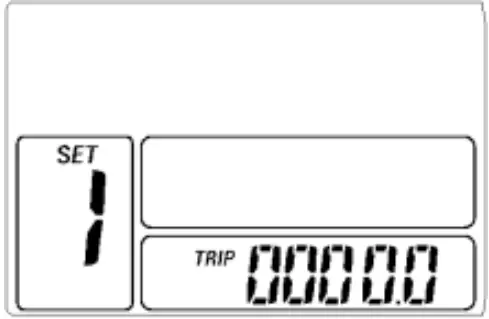
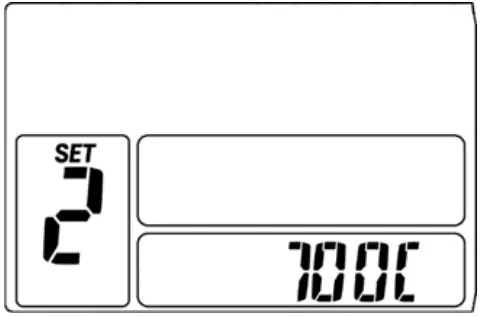
Wheel diameter setting
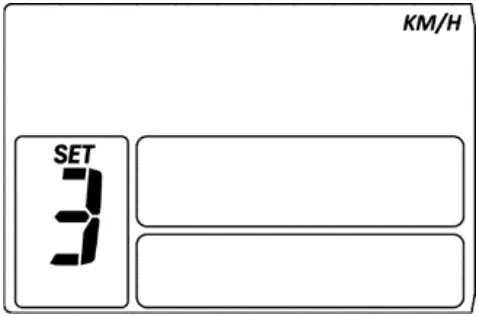
KM/H&MPH
Setup Interface
In the regular settings, the interface is long pressed SET and “-” 10 seconds to enter the advanced setup interface
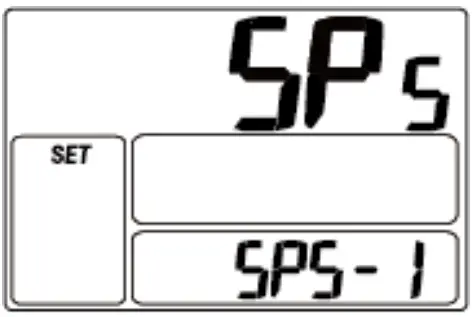
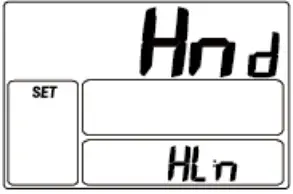
- .velocity measurement setting (1/6).

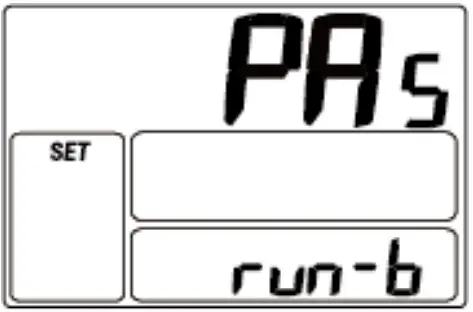
- sensor orientation setting(B: anticlockwise F: clockwise).

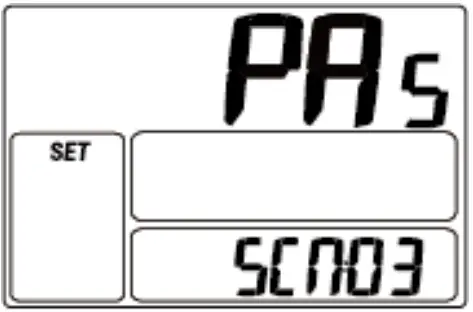
- Starting magnetic steel number setting(2-63)
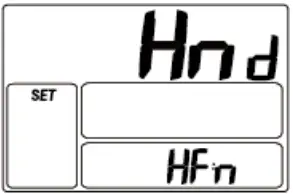
- throttle binning(n: normal throttle,y: throttle classifying)

- throttle speed limit(n: normal throttle,y: throttle 6KM)
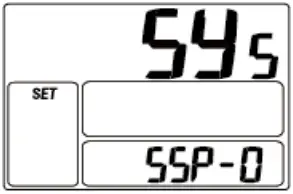
- Slow start setting(Range:0-3).
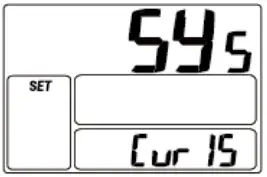
- Current limiting setting (Range:3A-30A)

※press UP or DOWN to select the wanted parameter, and click SET for 1 second to exit.
※When the riding speed is 0 km/h for 5 minutes, the system will go to sleep automatically.
※In the main interface, hold up and down keys for 12 seconds to clear ODO, trip and time
Wire order definition
| Wires sequence | Wires color | Function |
| 1 | Red | Battery+ |
| 2 | Blue | Weak lock |
| 3 | Black | Battery- |
| 4 | Green | UART – RECEIVE (RXD) |
| 5 | Yellow | UART – SEND (TXD) |
Common problems and solutions
- Q:Why the display is not able to start up?
A:Checking the connector that between display and controller. - Q:How to deal with the error code?
A:Fix it to the maintenance place immediately. If cannot be resolved, you can go to the electric vehicle repair points repair it in a timely manner.
Quality & Warranty
Any quality problems in normal case and in guarantee period, our company will responsible for the warranty
The warranty time is 18 months from date of purchasing.
Other items:
The following items are not belong to warranty scope
- It can’t be demolished.
- The damage caused by wrong installation or operation.
- Shell is broken when display is out of the factory.
- Wire is broken.
- Force disaster (such as fire, earthquake, etc.) or natural disasters like lightning, etc caused by fault or damage.
- Beyond Warranty period.
Error code table
The error code is corresponding with the fault definition:
| Error code | Definition |
| 9 | communication display receiving error |
| 21 | Current error |
| 22 | Throttle error(Start detection) |
| 23 | motor no phase position |
| 24 | Hall error |
| 25 | Brake error(Start detection) |


