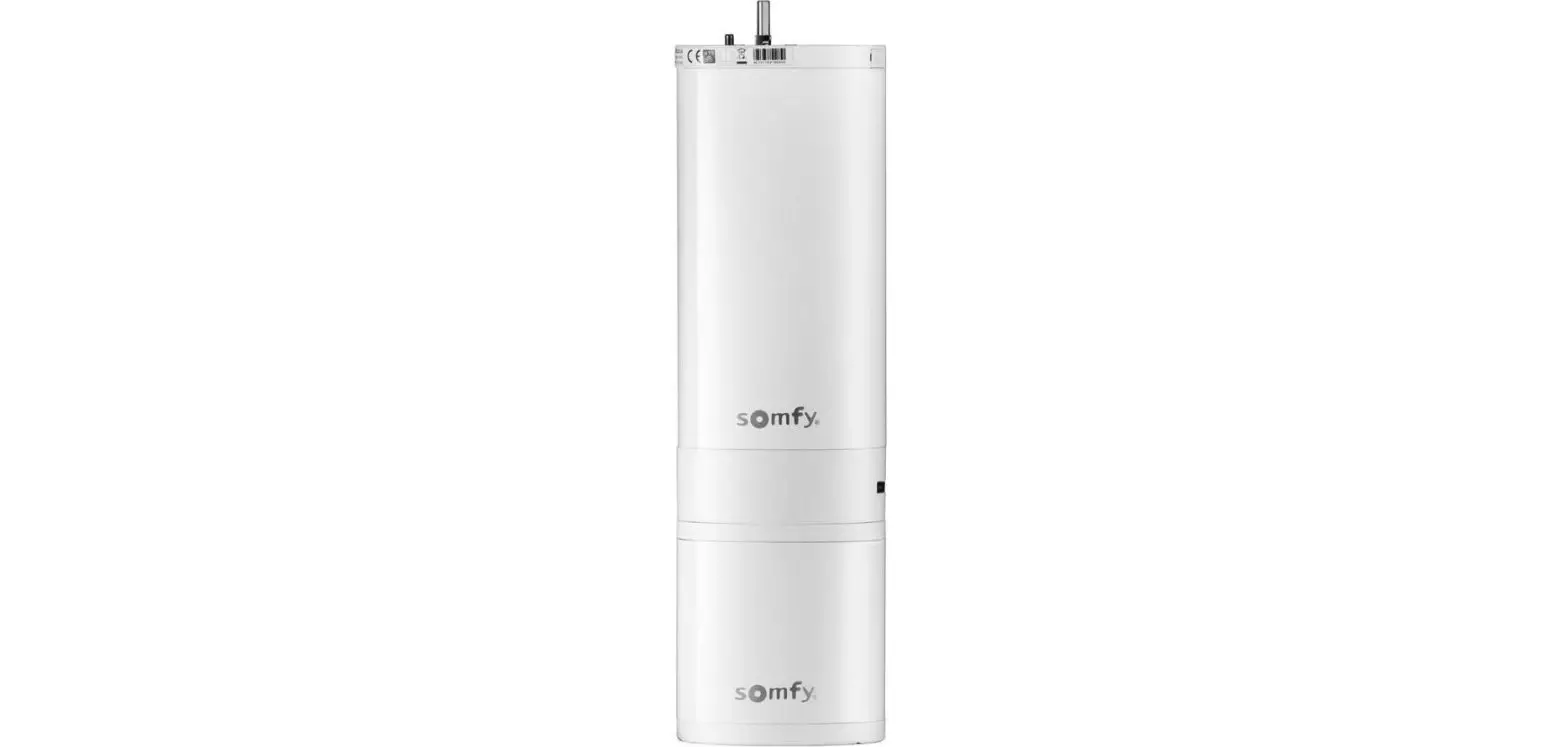
sOmfy 9021132 Irismo Enclosure

Irismo Enclosure Installation
Tools Required:
- Torx T-9 Bit (For original motor screws)
- Torx T-10 Bit (For replacement screws)
Kit Includes:
- ABS Plastic Enclosure (Top and Bottom Halves)
- Snap-Together Velcro
- (2) M3 x 25 T-10 Torx Screws
Installation:
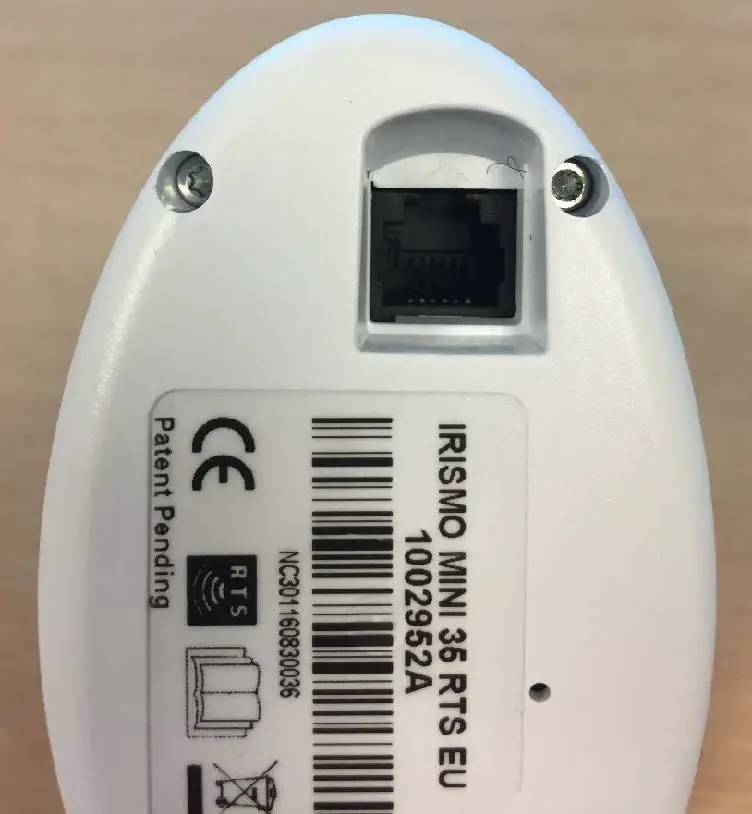
- Using a T-9 screwdriver, remove the (2) Torx screws near the modular jack as shown below:

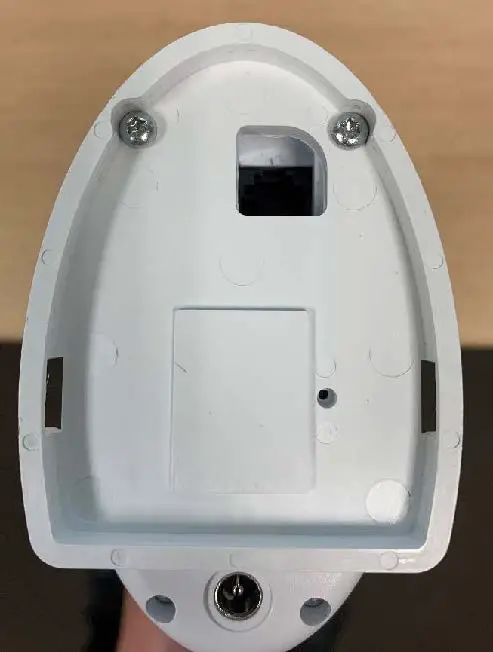
- Take the bottom half of the enclosure and using a T-10 screwdriver, fasten to Irismo via (2) M3 x 25 screws until snug.

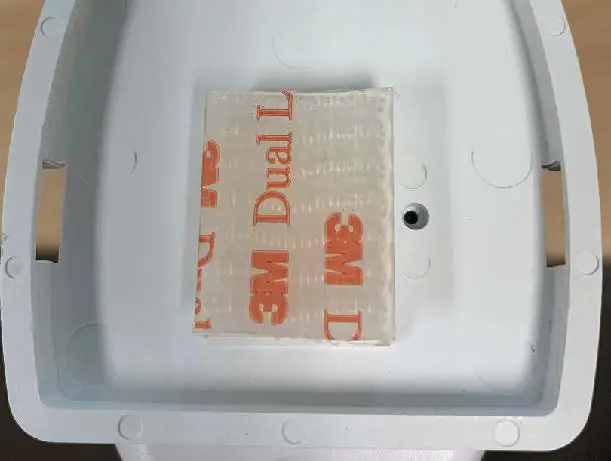
- Take Snap-Together Velcro and stick one side to the raised rectangle. Press and hold Velcro for a few seconds to ensure good adhesion.

- The Irismo Enclosure is designed to house 3 different interface cards:
- SDN (P/N: 1811129) Zigbee (P/N: 1870221) & Z-Wave (P/N: 1870228)
4a. SDN Card Installation - Insert the RJ-12 plug into the motor and remove the Velcro adhesive backing.

- Center card inside enclosure as shown below:

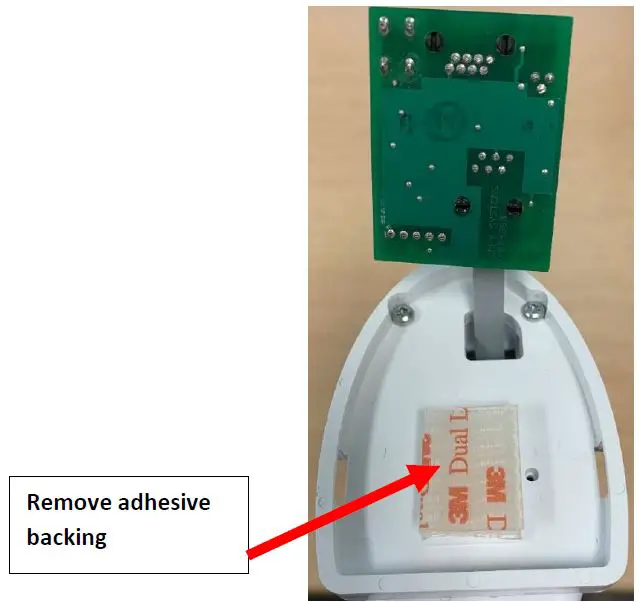
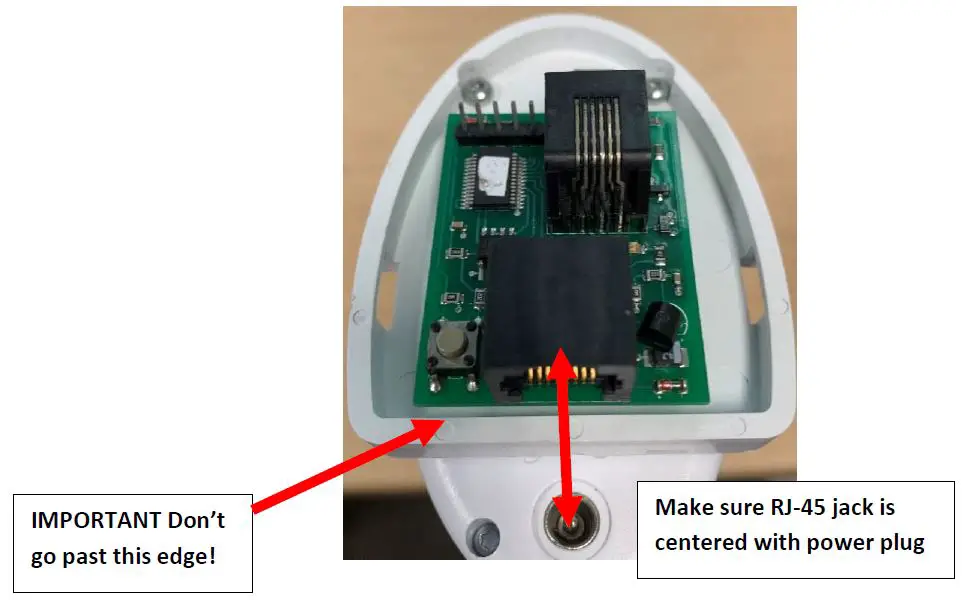
4b. Zigbee Card - Insert the RJ-12 plug into the motor and remove the Velcro adhesive backing:

- Center card inside enclosure as shown below:
 4c. Z-Wave Card
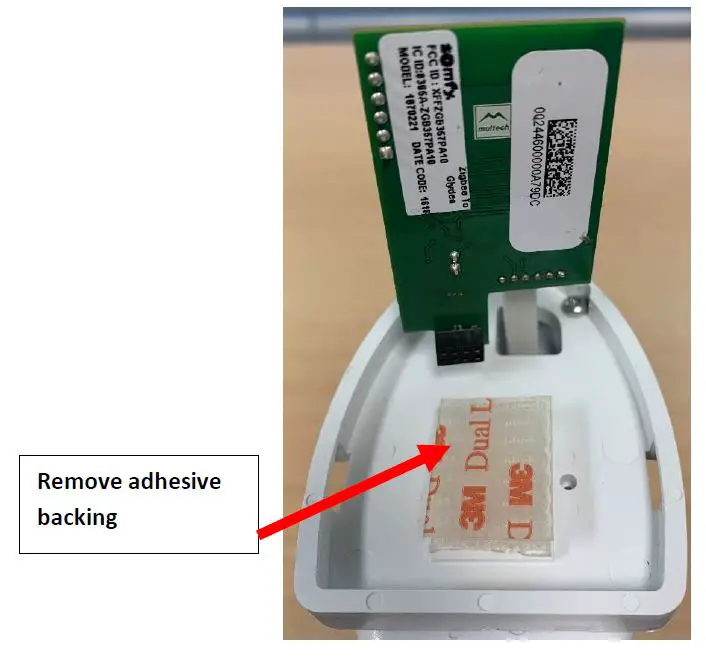
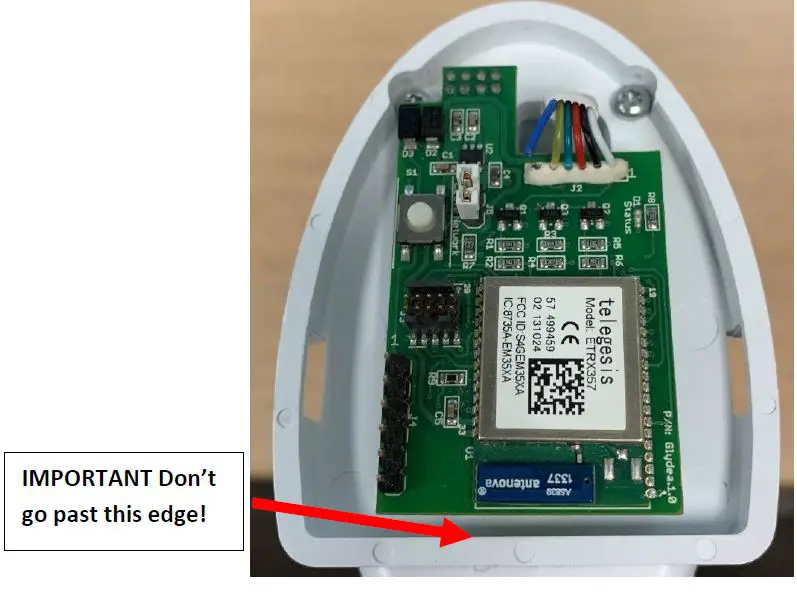
 - Insert the RJ-12 plug into the motor and remove the adhesive backing:

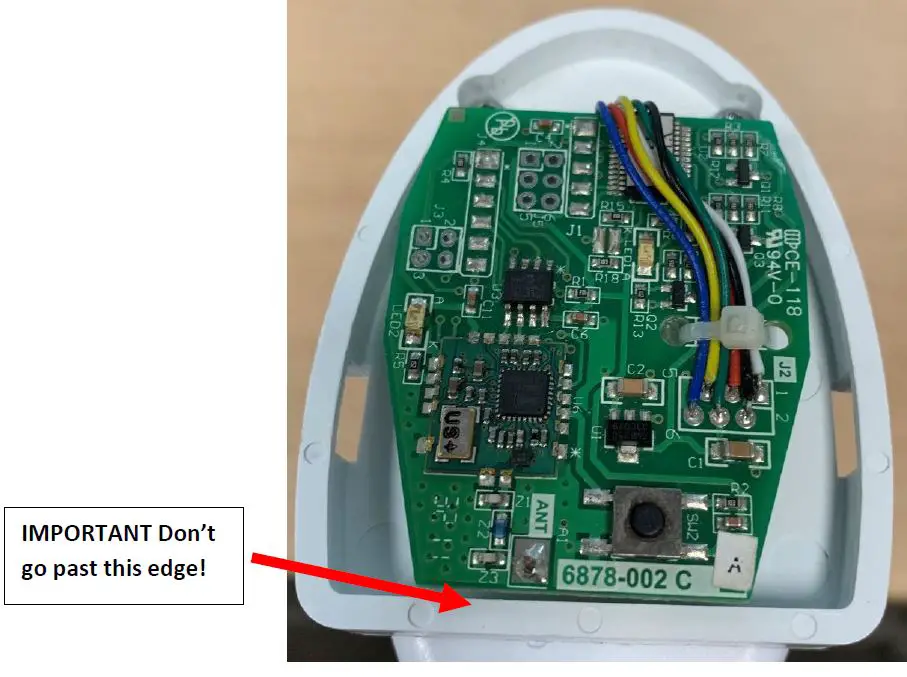
- Center card inside enclosure as shown below:

- SDN (P/N: 1811129) Zigbee (P/N: 1870221) & Z-Wave (P/N: 1870228)
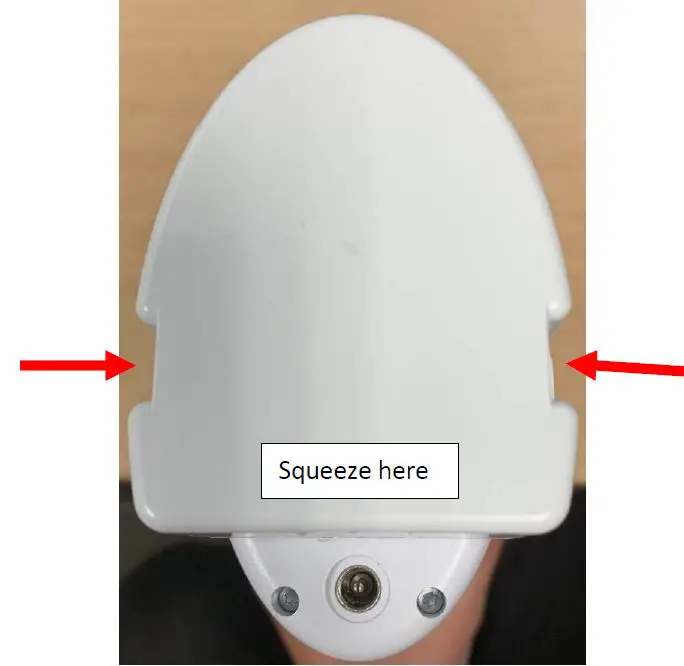
- Attach the top by squeezing and aligning the hooks with the slots:

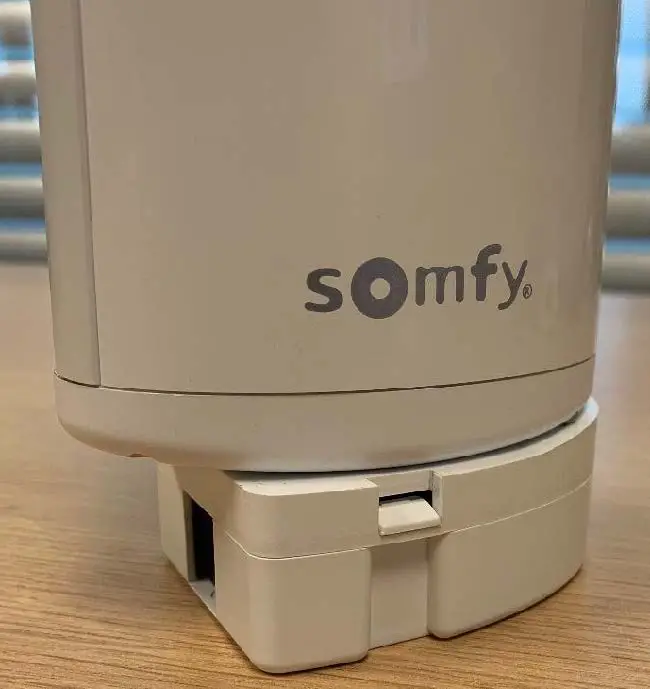
 Installation is complete!
 4c. Z-Wave Card
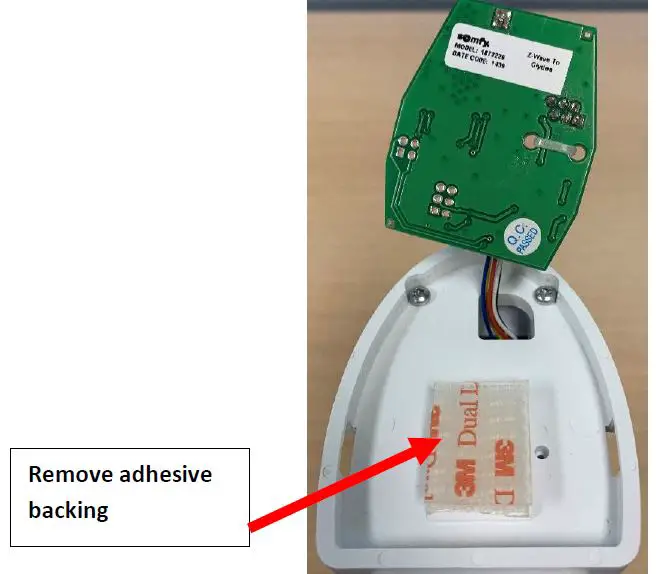
 Installation is complete!


