tp-link Wireless USB Adapter
Connect to a Computer
Option 1: Directly
Option 2: Via the USB Extension Cable
Note: In Windows XP or Vista, a Found New Hardware Wizard window will appear when the adapter is detected. Please click Cancel.
Install Driver
For Windows
A. Insert the CD and run the Autorun.exe.
Note: You can also download the driver from this product’s Support page at www.tp-link.com.
B. Select yowww.tp-link.com and follow the instructions to complete the installation.
Note: If you can’t install the driver successfully, disable the antivirus software and firewall, then try again.
For Mac OS X
A. Download the driver and utility from this product’s Support page at www.tp-link.com.
B. Unzip the downloaded folder and run the Install.pkg.
C. Follow the instructions to complete the installation.
Join a Wireless Network
For Windows
Option 1: Via Windows Wireless Utility
A. Click the network icon ( ![]() or
or ![]() ) on the taskbar.
) on the taskbar.
B. Select your Wi-Fi network, click Connect and enter the password when prompted.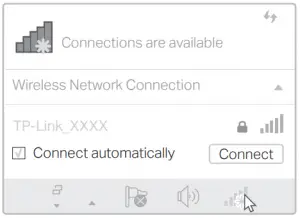
Option 2: Via WPS Tool
If your adapter does not have a WPS button, please ignore this option
A. Press the WPS button on your router.
B. Within 2 minutes, press and hold the WPS button on the adapter until WPS Tool opens.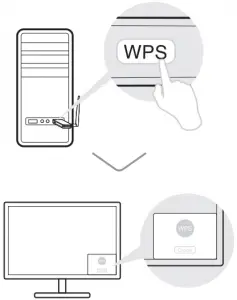
C. When the “Success!” message appears, your computer is connected to Wi-Fi.
For Mac OS X
Option 1: Via TP-Link Utility
A. Click ![]() (TP-Link Utility) on the menu bar or select Site Survey tab of the pop-up utility window.
(TP-Link Utility) on the menu bar or select Site Survey tab of the pop-up utility window.
B. Select your Wi-Fi network and enter the Wi-Fi password when prompted.
Option 2: Via Wi-Fi Protected Setup (WPS)
If your adapter does not have a WPS button, please ignore this option.
A. Press the WPS button on your router.
B. Within 2 minutes, press and hold the WPS button on the adapter until the following window appears.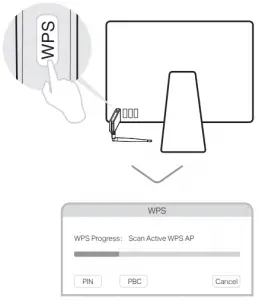
C. When you are prompted “WPS Protocol Finished” or “PBC – Get WPS profile successfully”, it’s complete.
For detailed instructions, please refer to the User Manual from this product’s Support page at www.tp-link.com.


-installation Manual")

