Euri Lighting EIN-VL19FR-1030e LED Fixtures Installation Guide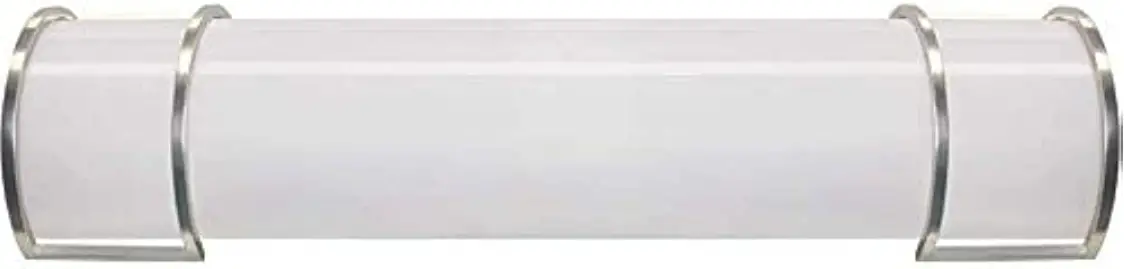
Overview
PLEASE REVIEW THE INSTRUCTIONS AND WARNINGS LISTED BELOW PRIOR TO PROPER INSTALLATION.
WARNINGS
- Risk of fire / electrical shock
- LED Fixture installation requires knowledge of luminaire electrical systems.
- Risk of electric shock – disconnect power at source before installation
- Do not make or alter any open holes in an enclosure of wiring or electrical components during installation.
- If lamp or luminaire exhibits abnormal operation (buzzing, flickering, minimal light, etc.), turn off power, remove fixture and contact us.
For more information please visit www.eurilighting.com or call our toll-free number 1-888-743-5766. - Wear gloves to prevent cuts/abrasions from sharp edges when removing from carton, handling, and maintaining this fixture.
CAUTIONS
- Do not use with dimmers.
- Do not look directly at the operating LED Fixture.
- Do not touch this product with wet hands.
- Do not disassemble, repair or alter lamp.
- Designed for indoor applications only.
- Suitable for damp locations.
- The luminaires shall be grounded.
- Be careful not to touch the lamp pins to the metal housing when installing.
- This Device is not intended for use with emergency exits or emergency lights.
- Installation by a licensed Electrician recommended.
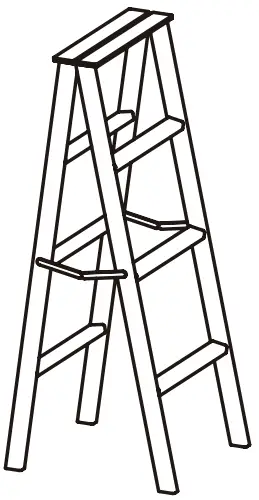
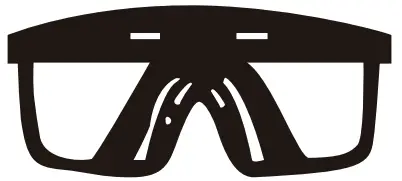
Tools Required
| Phillips Screwdriver | Ladder | Safety Goggles |
 |  |  |
Parts List
Remove the fixture and the mounting package from the box and make sure that no parts are missing by referencing the illustrations on the installation instructions.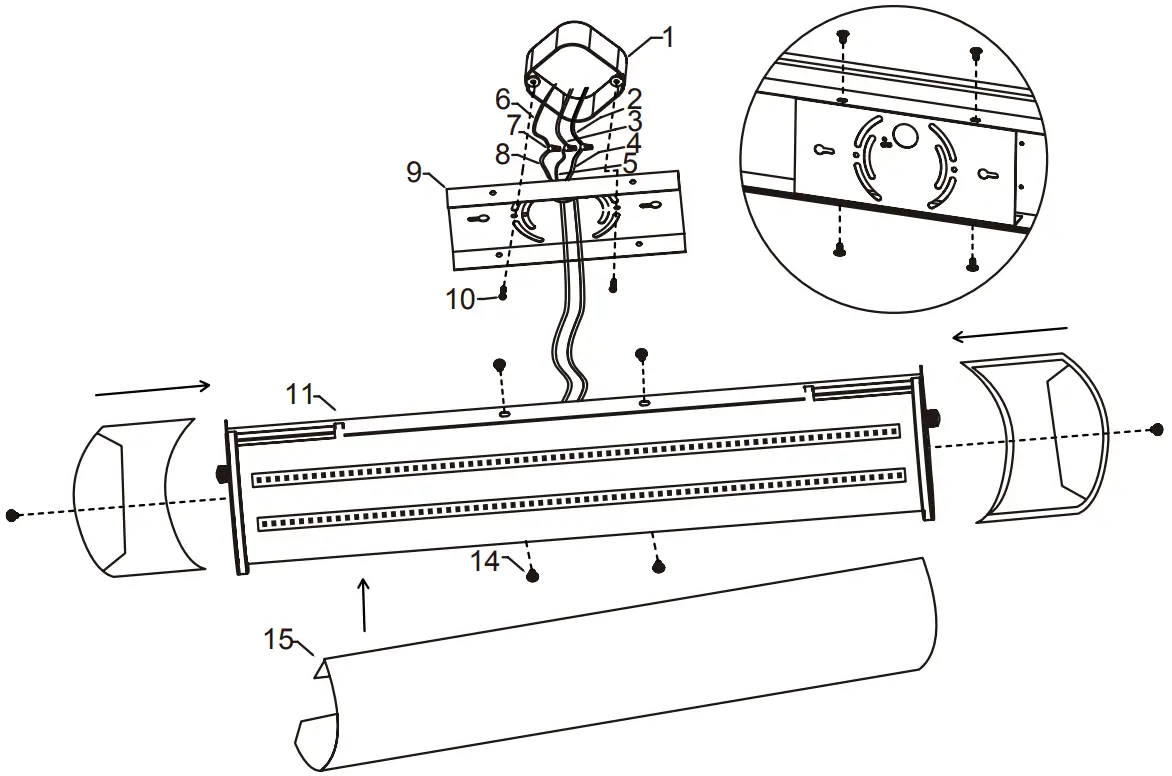
| 1 | Outlet box |
| 2 | Black Supply Wire |
| 3 | White Supply Wire |
| 4 | Black Fixture Wire |
| 5 | White Fixture Wire |
| 6 | House Ground Wire |
| 7 | P3 Rotatable Connector |
| 8 | Fixture Ground Wire |
| 9 | Mounting Rack |
| 10 | 8-32*15 Machine tapping screw |
| 11 | Base Plate |
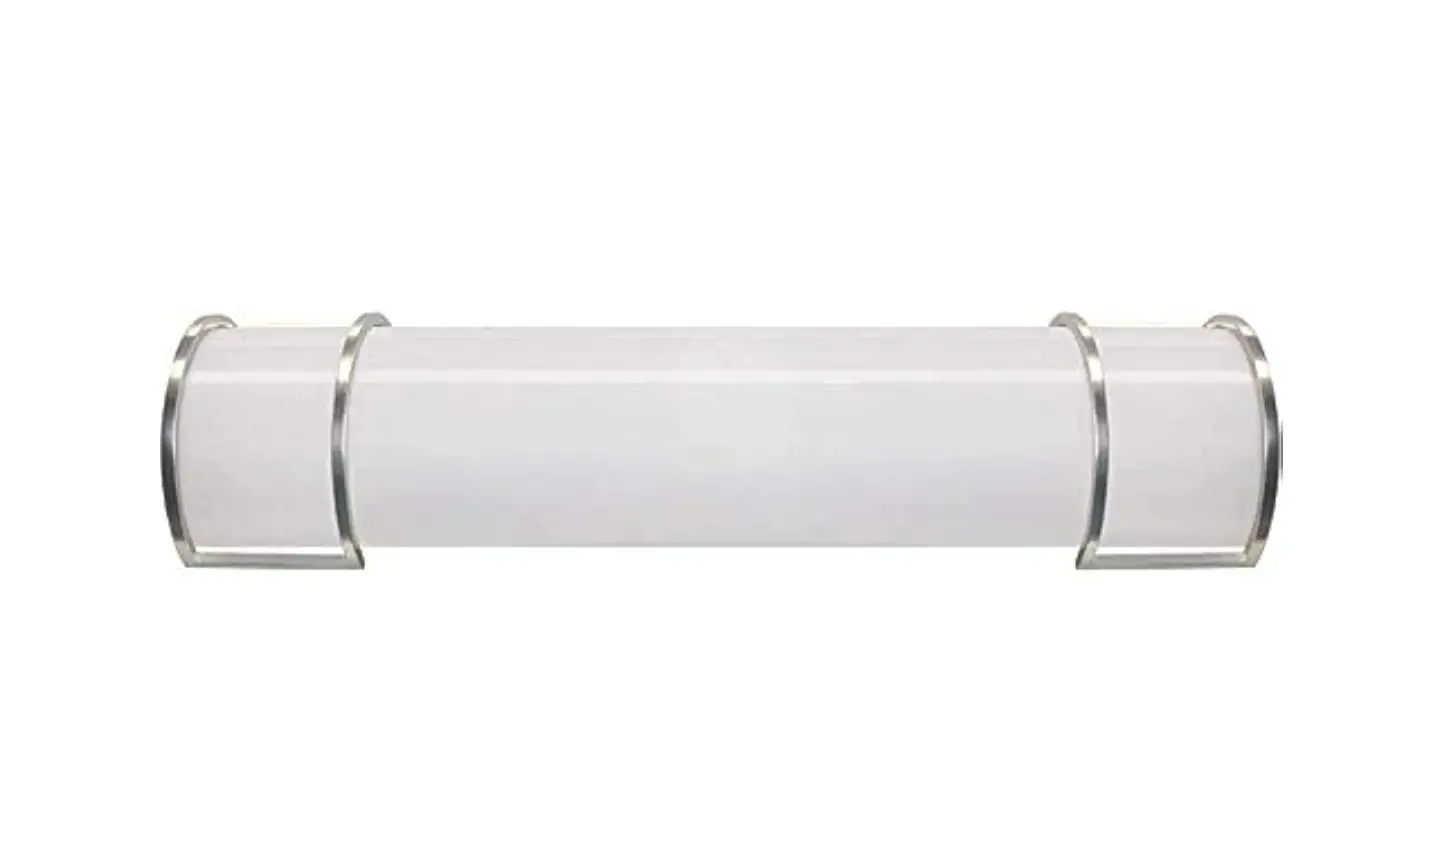
| 12 | Metal End Caps |
| 13 | Thumb Screws |
| 14 | Cap Nut |
| 15 | Acrylic Cover |
Overview
PLEASE REVIEW THE INSTRUCTIONS AND WARNINGS LISTED BELOW PRIOR TO PROPER INSTALLATION.
WARNINGS
- Risk of fire / electrical shock
- LED Fixture installation requires knowledge of luminaire electrical systems.
- Risk of electric shock – disconnect power at source before installation
- Do not make or alter any open holes in an enclosure of wiring or electrical components during installation.
- If lamp or luminaire exhibits abnormal operation (buzzing, flickering, minimal light, etc.), turn off power, remove fixture and contact us.
For more information please visit www.eurilighting.com or call our toll-free number 1-888-743-5766. - Wear gloves to prevent cuts/abrasions from sharp edges when removing from carton, handling, and maintaining this fixture
CAUTIONS
- Do not use with dimmers.
- Do not look directly at the operating LED Fixture.
- Do not touch this product with wet hands.
- Do not disassemble, repair or alter lamp.
- Designed for indoor applications only.
- Suitable for damp locations.
- The luminaires shall be grounded.
- Be careful not to touch the lamp pins to the metal housing when installing.
- This Device is not intended for use with emergency exits or emergency lights.
- Installation by a licensed Electrician recommended.
Installation
- Separate the metal end caps (#12) and acrylic cover (#15) from the plate (#11) by loosening the screws (#13) on the end caps with hands.
- Pull the power supply wires out from the outlet box (#1), and thread the wires through the hole in the mounting bracket (#9).
- Install the mounting bracket (#9) on the outlet box (#1), by using machine tapping screws (#10).
- Make the wiring connections by using p3 rotatable connectors (#7):
Connect white fixture wire (#5) to white supply wire (#3)
Connect black fixture wire (#4) to black supply wire (#2)
Connect fixture ground wire (#8) to the house ground wire (#6) from the outlet box (#1).
*If house wiring includes no ground wire, consult an electrician.* - Mount the fixture base plate (#11) all the way through the screws on the mounting bracket (#9), and tighten the plate on the bracket by cap nut (#14)
- Mount one metal end cap (#12) on one side of the plate (#11), and tighten it by screws (#13) with hands.
Slide the acrylic cover (#15) into the mounted metal end cap (#12), then install the other metal end cap on the other side of the plate (#11). Lock it by thumb screw (#13) on the plate (#11)