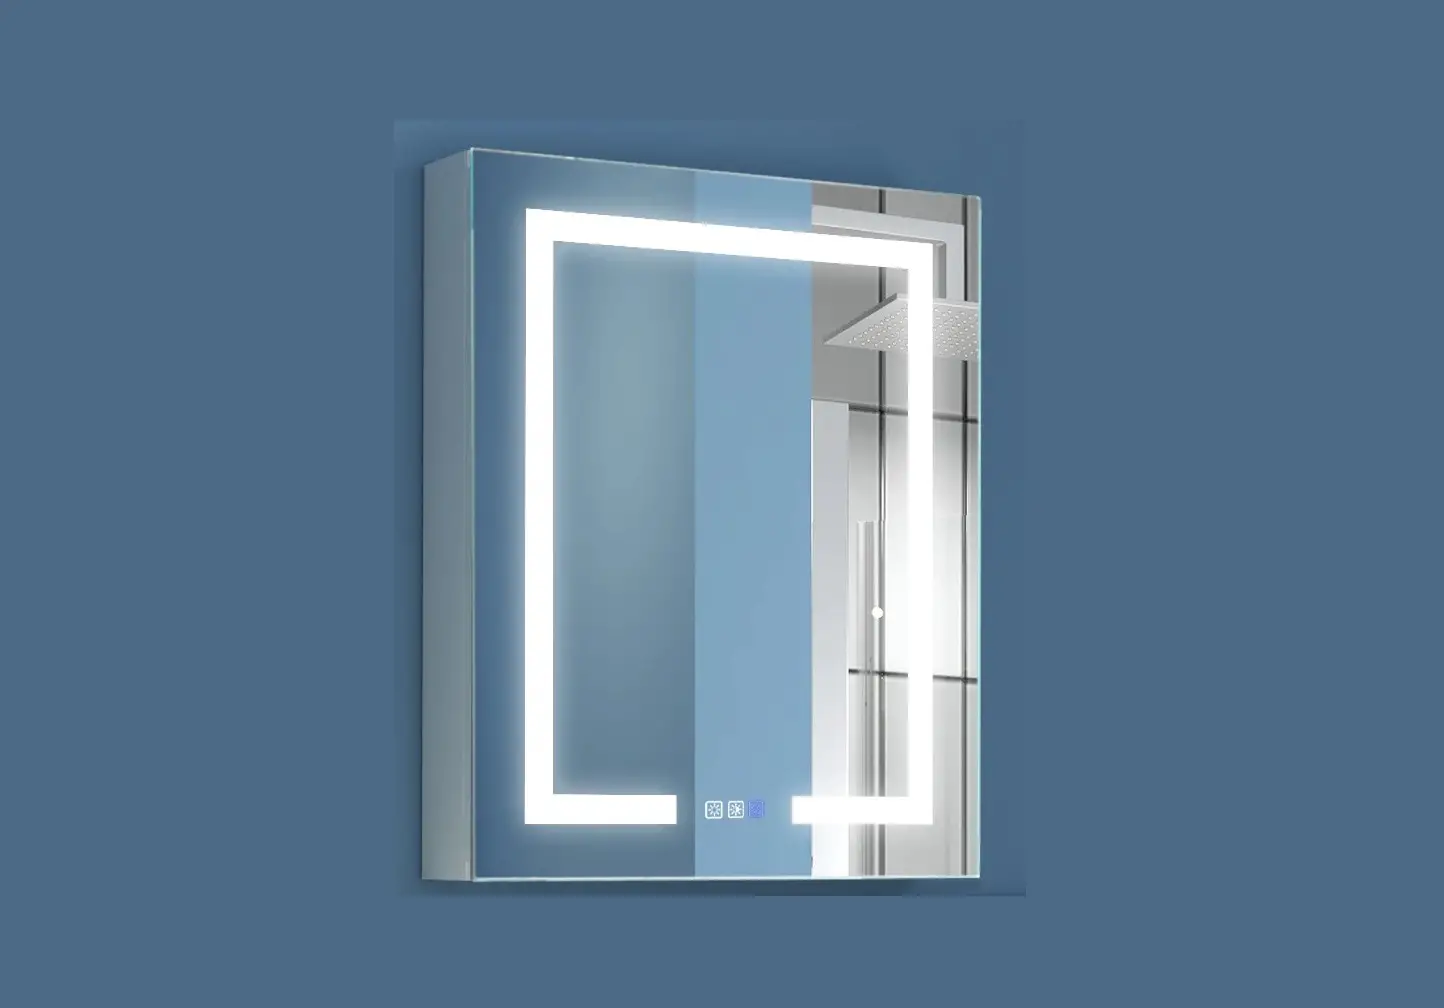
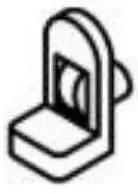
WELLFOR EXMC-2430R3 LED Lighted Bathroom Medicine Cabinet User Manual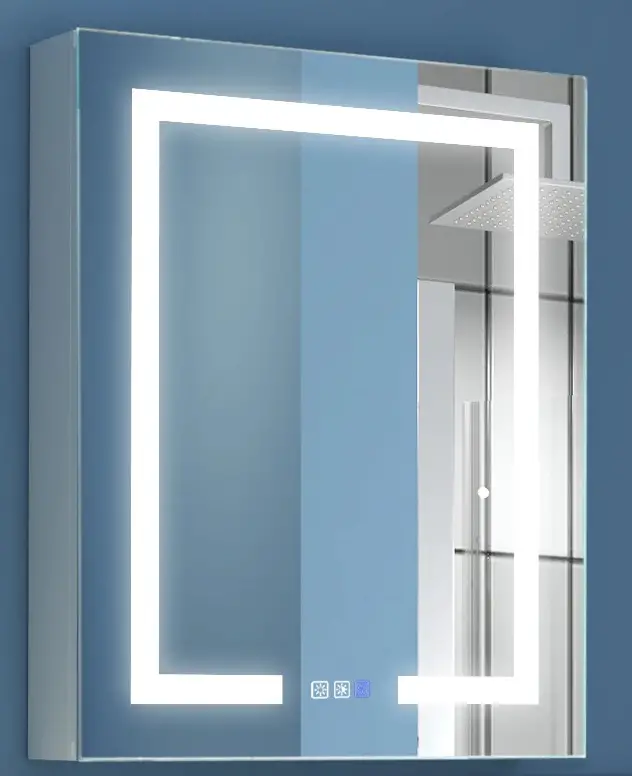
For easy and safe installation, please refer to the following:
Read all instructions thoroughly before installing the enclosed product.
Read and take note of all safety, care and maintenance information.
PLEASE KEEP THIS INSTRUCTION MANUAL FOR FUTURE REFERENCE DURING PRODUCT OPERATION AND MAINTENANCE.
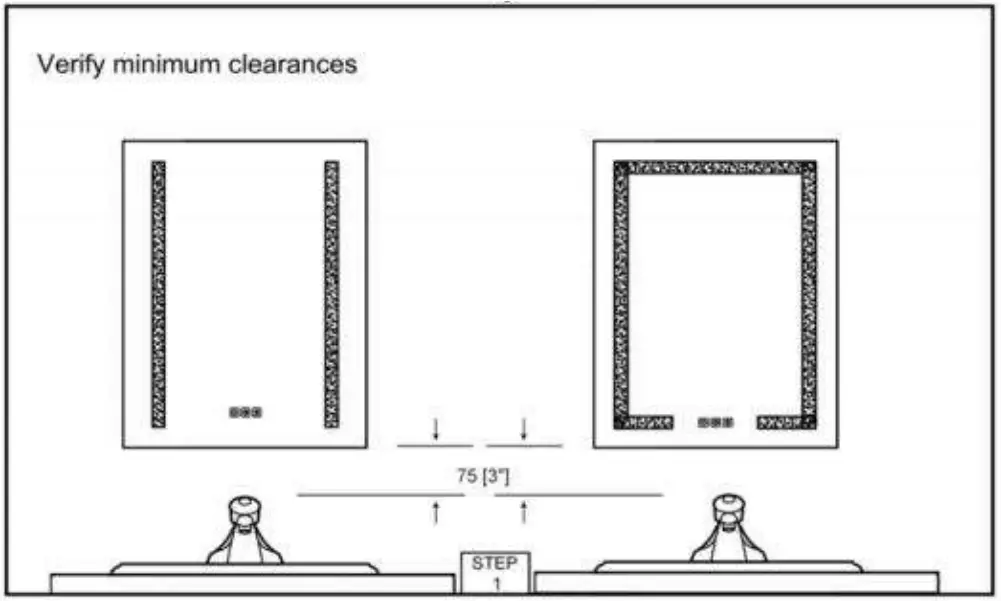
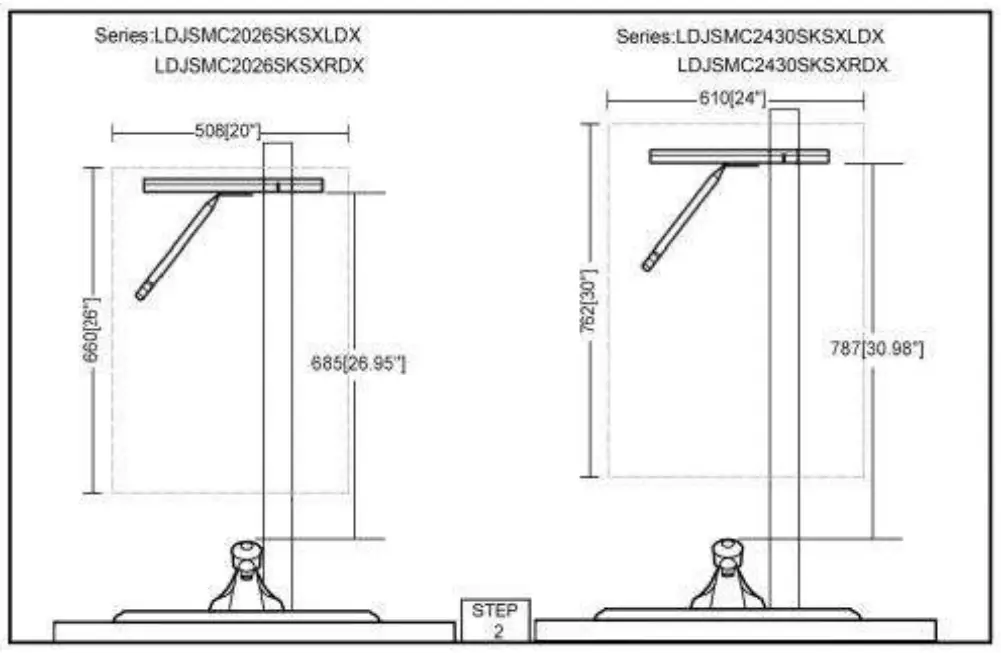
INSTALLATION INSTRUCTIONS
 WARNING AND SAFETY INSTRUCTIONS
Before installing your LED Medicine Cabinet fixture, please make sure that you carefully read through this instruction sheet, refer back to them during installation to ensure your product is fitted safely and correctly. Keep these instructions for future use.
WARNING Risk of Fire and Electric Shock
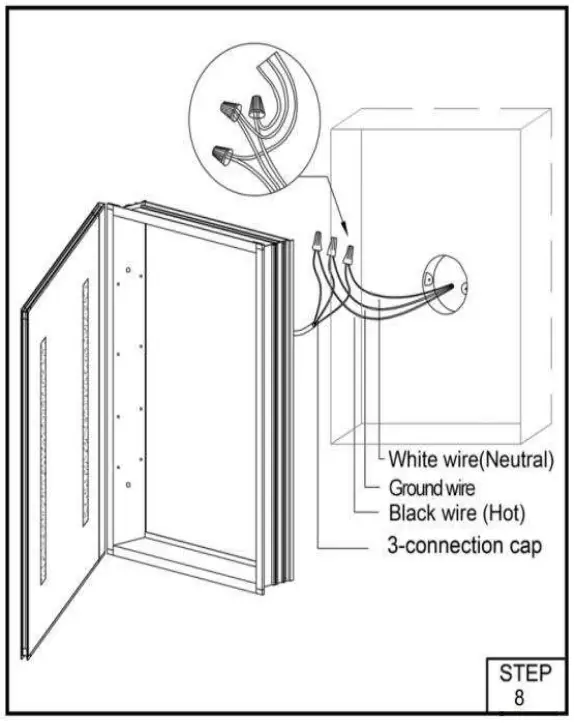
- All fittings must be installed in accordance with current IEE wiring regulations. If in doubt, consult a qualified electrician.
- Switch off the electrical supply at the main circuit board BEFORE installation and maintenance.
- Suitable for indoor use only. This product should be positioned well away from curtains and fabrics. Never cover the mirror.
- Regularly check the cord, the transformer and all other parts for damage, if any part is damaged the product should not be used.
INSTALLATION SAFETY
- Inspect the product immediately upon receipt for any possible damage during transportation or missing parts. Handle the product with care and protect against knocks to all sides and edges of the glass.
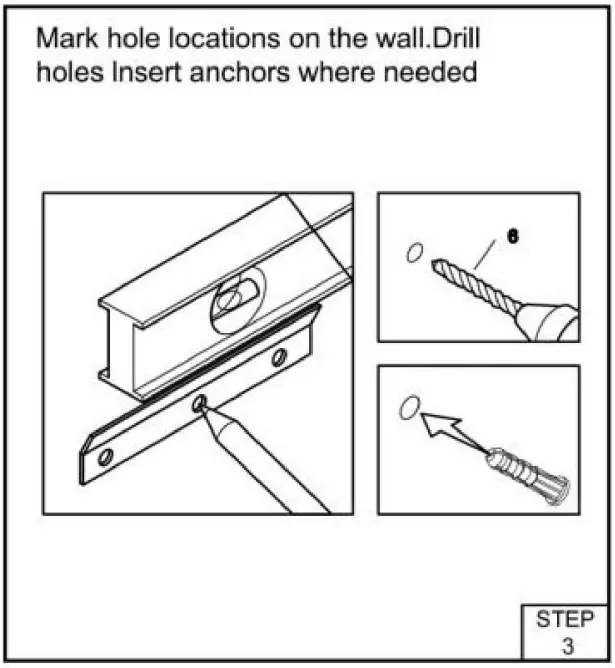
- Ensure there are no hidden pipes or cables in the wall before drilling.
- Wear suitable eye protection when drilling. Take care if drilling on tiled surfaces in case the drill slips.
CAUTION
The light source of this product is non-changeable light diodes (LED). Do not
disassemble the product, as the light diodes can cause damage to the eyes.
NOTE: The important safeguards and instructions that appear in this manual are not meant to cover all possible conditions and situations that may occur. It must be understood that common sense, caution and care are factors that can’t be built into any product. These factors must be supplied by the person(s) caring for and operating the fixture. Do not install this fixture in hazardous locations.
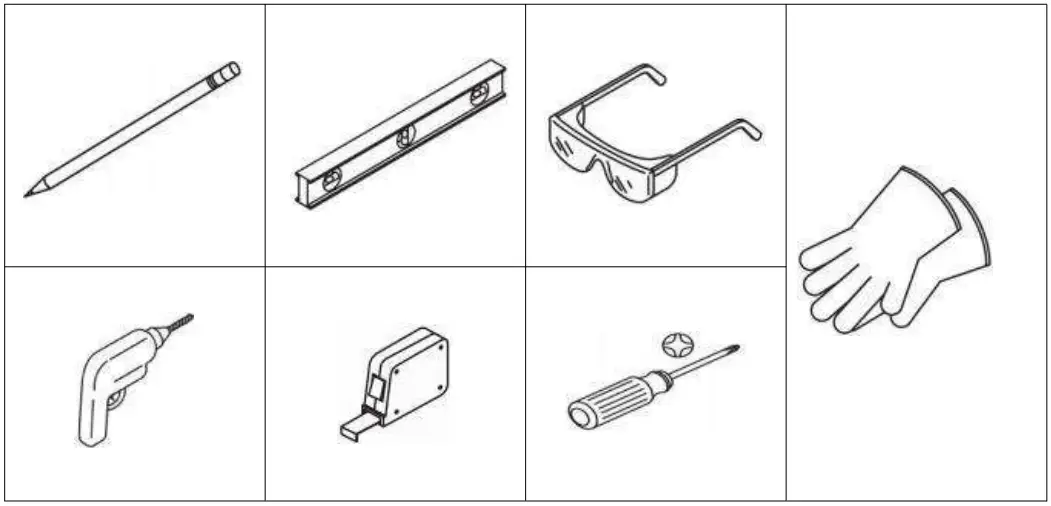
REQUIRED TOOLS
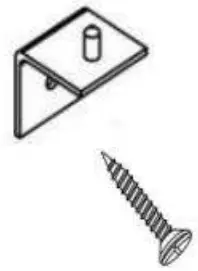
PARTS SUPPLIED
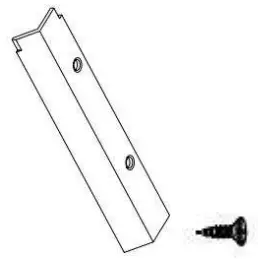
- Z-bar x1

- Z-Hook x1
Matching Screws x2
- Layer board supporting X4 for spare

- 20″x26″: Mirror panel x2
24″x30″: Mirror panel x3
- Side panels x 2

- Side panel lids x4 ,
Matching screws x10
- Wire caps x3

- Anchor x7

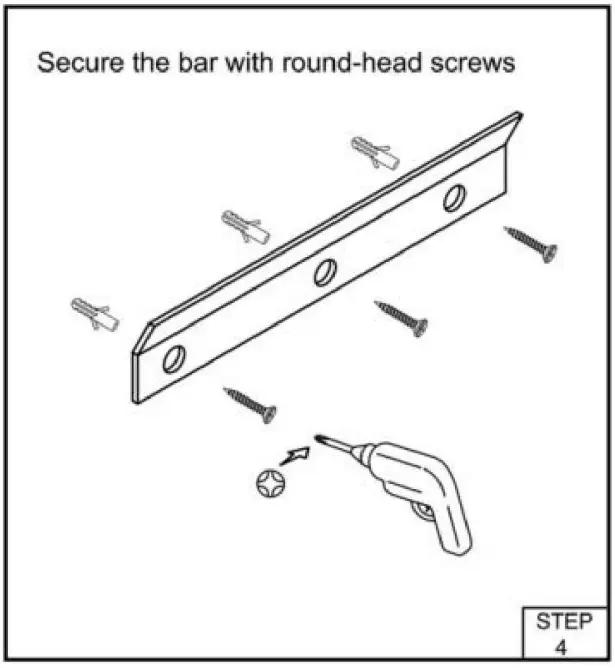
- Round head screw x5


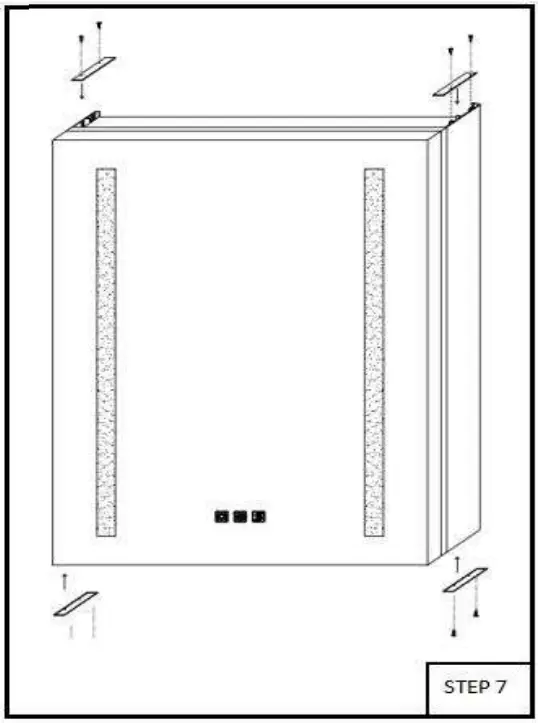
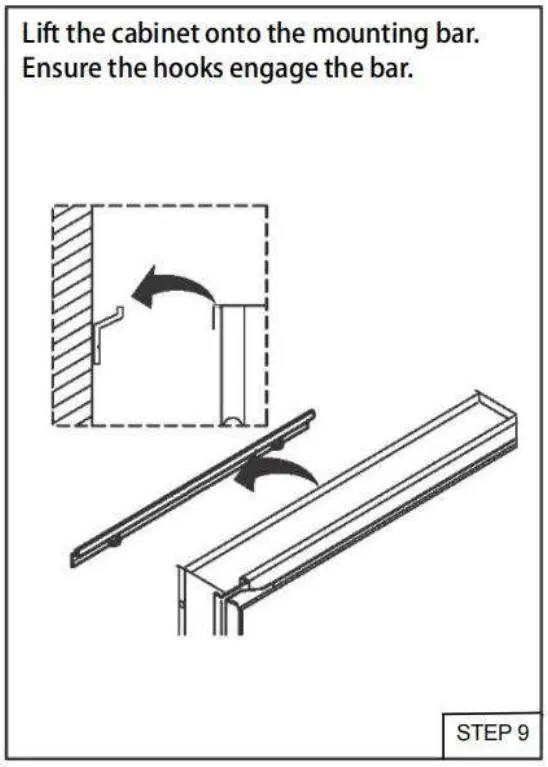
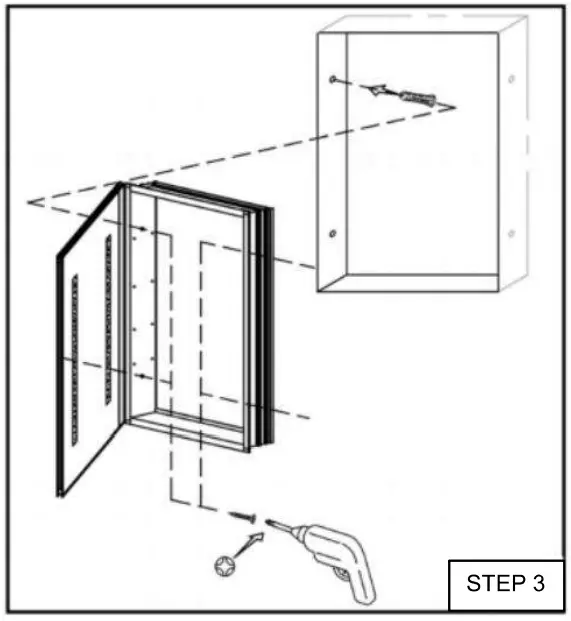
Installation Instructions for Hanging Walls
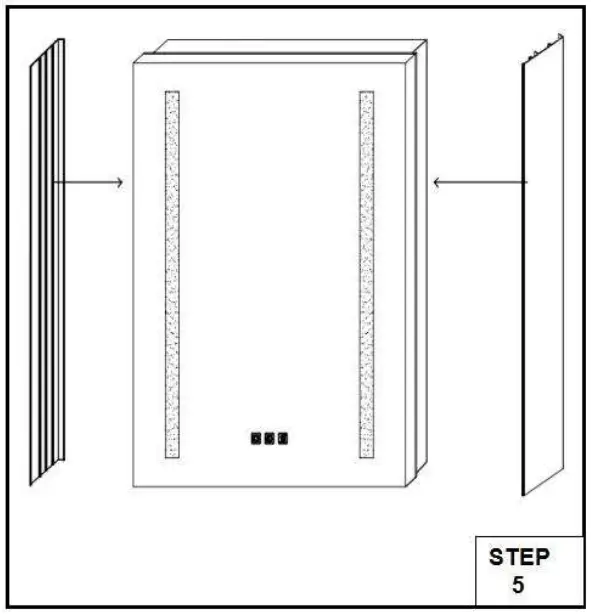
The side panels and cabinets are individually packaged , you need follow the STEP 5 to STEP 7 to install the side panels for hanging walls version, for embedded installation no need install the side boards.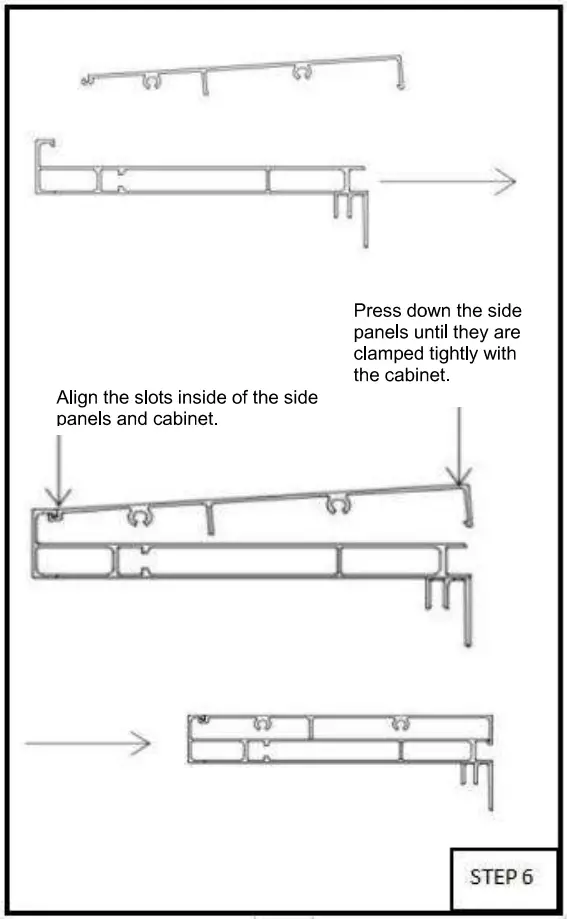
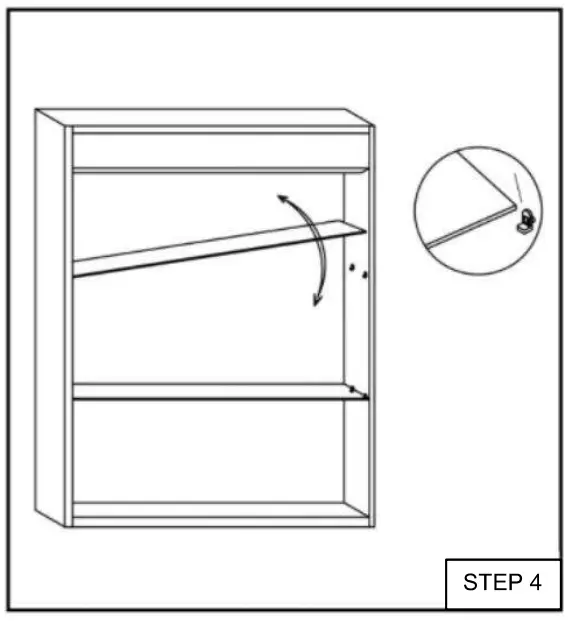
Insert the shelves between .
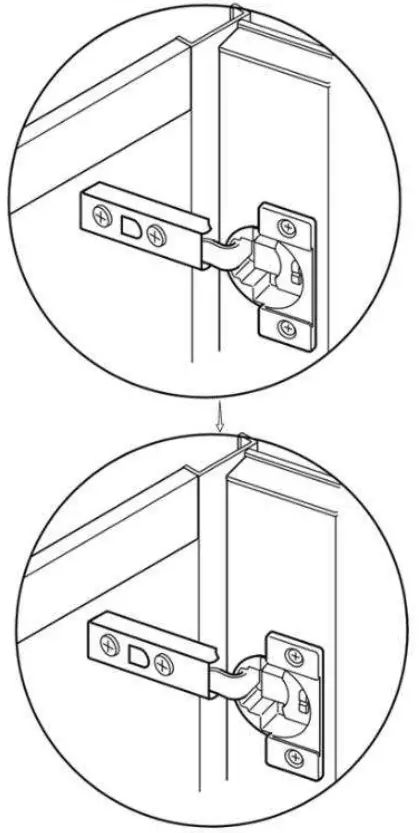
Adjust the the hinge to ensure the gap between the door and cabinet is even.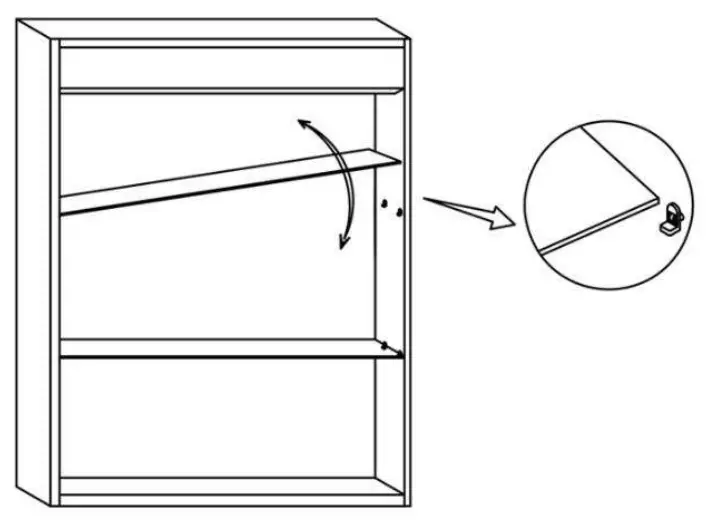
Embedded Installation Instructions
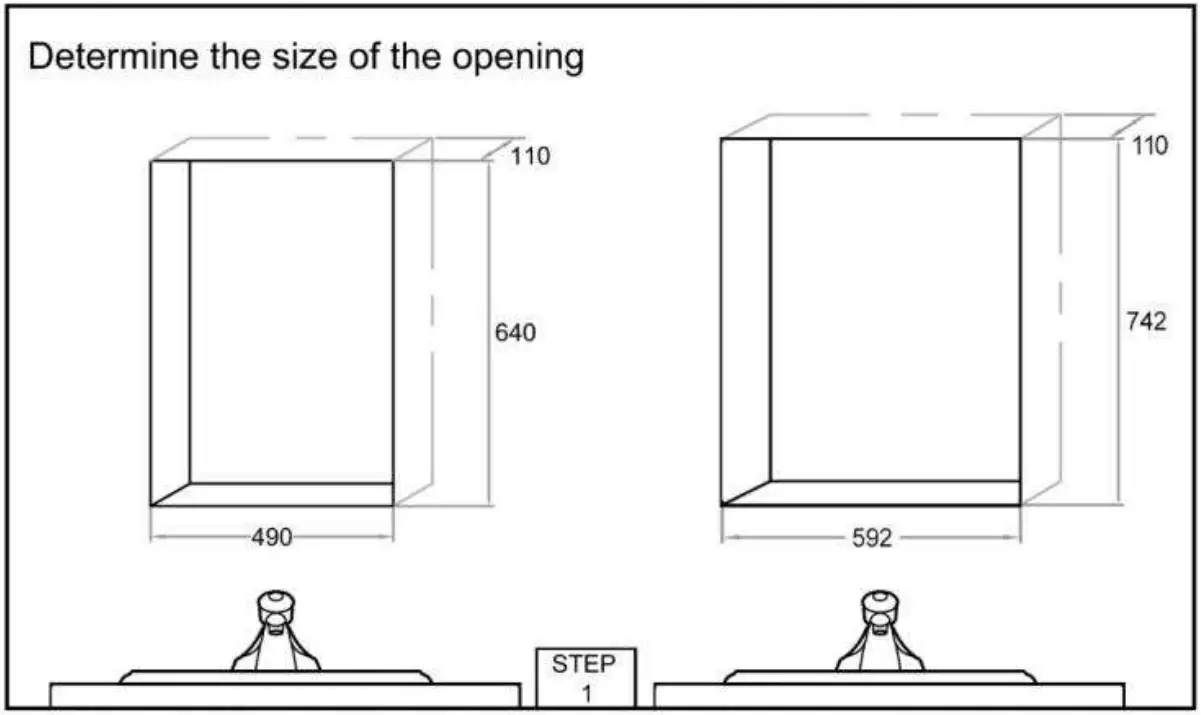
All diagrams are for reference only. All model dimensions and proportions position will vary: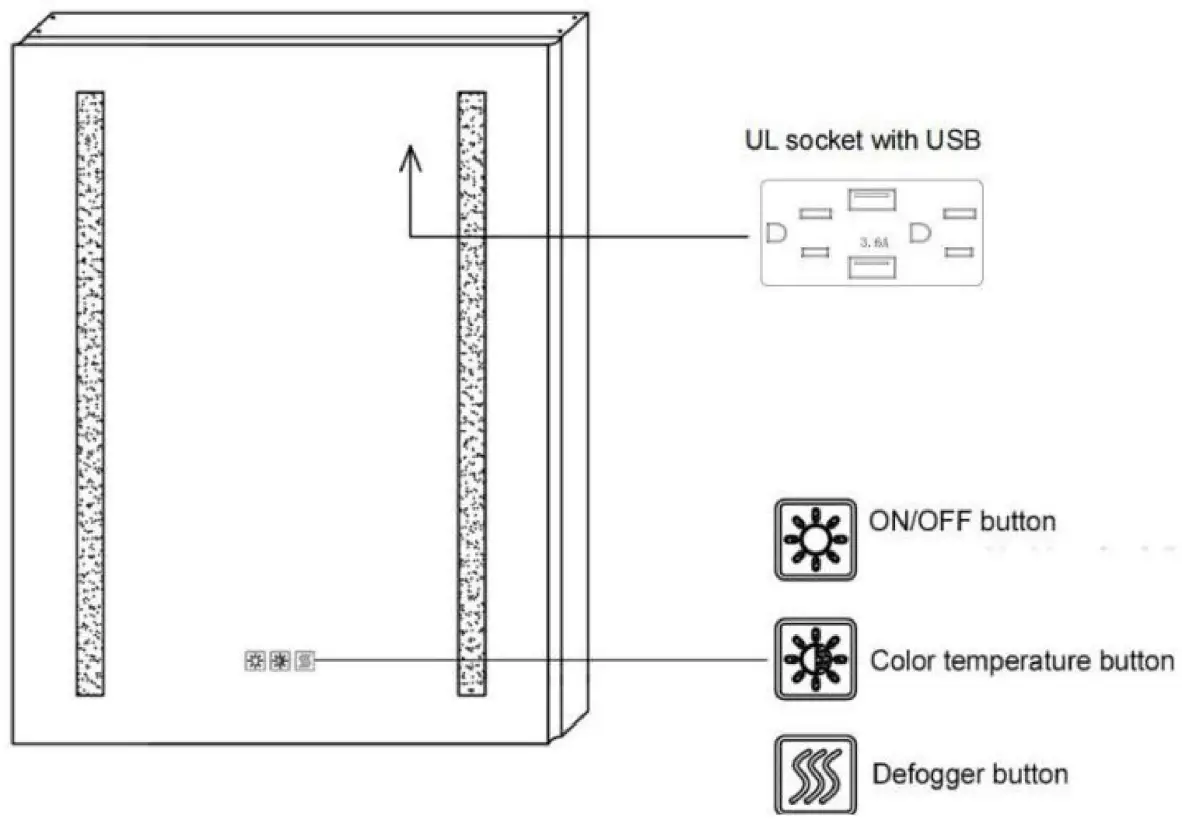
 Short – touch the button to turn on/off the mirror.
- Adjusting color temperatures (CCT) between warm white and cool white by long – touching the button for seconds.
- Finish setting by withdrawing your finger when the color reaches the one you need.
- Optional to be wired to wall switch by ON/OFF memory function.
- Short – touch the button to turn on/off the mirror.
- Long touching the button to adjust the brightness (Dimming).

 Mirror begins to be warm and defog after pressing the defogger button.
- Press again to quit the anti – fog function.
- Note: The defogger will stop automatically after 60 minutes of continuous operation to prevent any damage caused by prolonged high temperature.
For customer support, please call WELLFOR (+1)206-809-0093 or Email us at [email protected]