Ensto One Charging Station User Guide
Introduction
This User Guide is for the Ensto One Charger family. Even if the features and appearance of the different charger versions varies, the usage of the product always follow the principles described in this guide. Available features depend on the charger model.
Ensto collects data from the charging stations connected to the Internet. This anonymized data may be used to develop new digital services and improve user experience and Ensto’s offering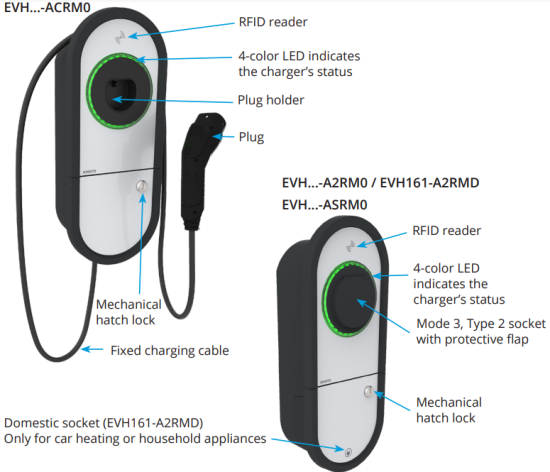
Safety instructions
 WARNING
Danger of electric shock! Risk of fire!
- Installation and maintenance must only be done by an electrically skilled person.
- People who are not able to operate according to the instructions must not use this charger.
- Do not use this charger if the charger itself or the charging cable appears to be damaged.
- Do not use the domestic socket to charge an electric vehicle.
Intended use
- The charger is intended for charging electric vehicles, both plug-in hybrids and full battery electric vehicles.
- Do not connect to the charger other devices, such as power tools.
- Use the domestic socket only for car heating or household appliances (e.g. vacuum cleaner).
EVH161-A2RMD – Domestic socket
EVH161-A2RMD is provided with a domestic socket.
- Use the domestic socket only for car heating or household appliances.
Do not use the domestic socket to charge an electric vehicle! - You can start using the domestic socket without RFID authentification.
- You can use the domestic socket if:
The charging cable is not connected to the charger.
The timer is set to “ON” position. - The kWh usage of each domestic socket transaction is forwarded to EV Manager.
Note! If you connect the charging cable to the charger while you use the domestic socket, the transaction ends immediately
EVH161-A2RMD – Timer
EVH161-A2RMD is provided with a 24 hour timer switch to control e.g. car heating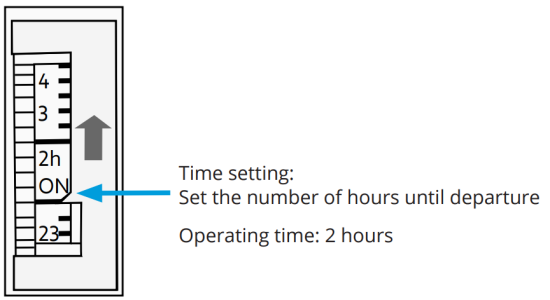
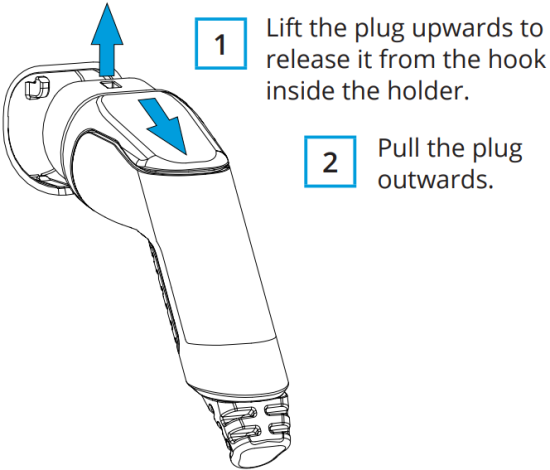
Fixed charging cable
EVH161-ACRM0 and EVH321-ACRM0 are equipped with a fixed charging cable.
- Lift the plug upwards to release it from the hook inside the holder.
- Pull the plug outwards.}

User Interfaces
LED indicator lights will show the status of the charger as described below:
| Charger status | LED light | LED operation |
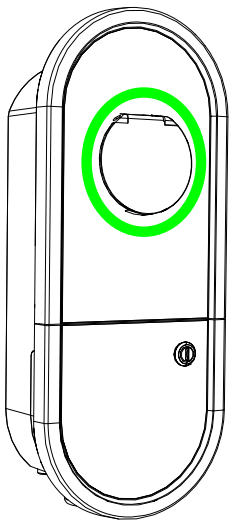
| The charger is free and ready to use | Green | Stable |
| RFID read, authorization ongoing | Green | Flashing |
| Charging authorization rejected | Red | Flashing |
| Authorization accepted, charging allowed | Green | Waving  |
| While you connect the charging cable | Green | Flashing |
| Your vehicle is connected, charging has not started | Green | Waving  |
| Your vehicle is connected, charging starts | Blue | Waving  |
| Charging ongoing | Blue | Stable |
| Error state | Red | Stable |
| Internal maintenance of the charger is ongoing. Do not switch off the power or use the charger during maintenance. | Yellow | Stable |
Free Charging
Start charging
When the charger is free and the LED indicator shows green, you can start a charging event.
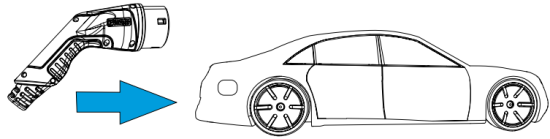
- Plug in your electric vehicle.
The LED indicator turns to stable blue.
Stop charging - Unplug your electric vehicle.
After you have unplugged the charger is free for the next user.
Charging with RFID
You need an RFID tag which has a permission to access the charger.
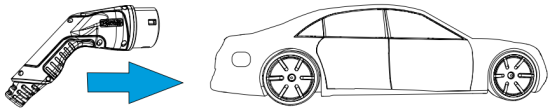
Start Charging with RFID
- Plug the charging cable to your electric vehicle.
Plug the charging cable to the charger
(models with a separate charging cable).

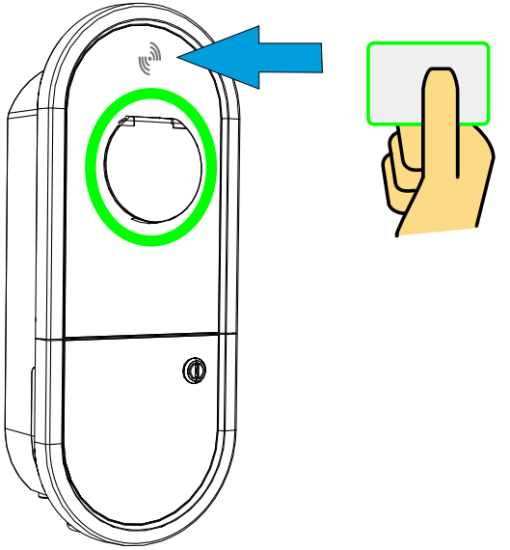
- Show the RFID tag to the RFID reading
area.
While the RFID tag is read, the LED indicator flashes green and verifies the user permission to charge.- If the user authorization is rejected, the LED indicator flashes red.
- If the user authorization is accepted, the indicator light turns to waving green.
- harging event starts.
- The LED indicator turns to stable blue.
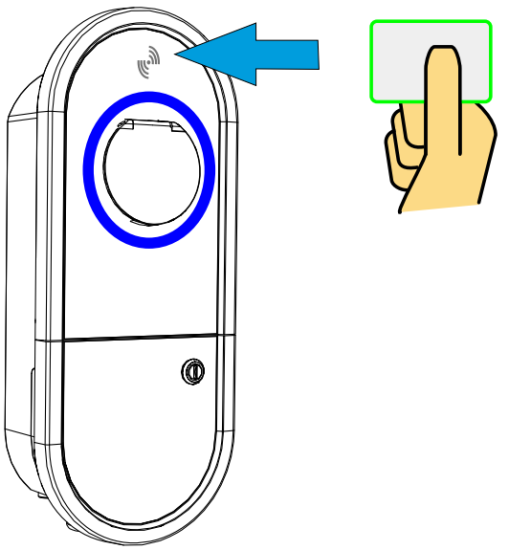
Stop Charging with RFID
- The LED indicator turns to stable blue.
- Show the RFID tag to the RFID reading
area. Charging event ends.- The LED indicator turns to waving green

- The LED indicator turns to waving green
- Unplug the charging cable from the charger (models with a separate charging cable).
Unplug the charging cable from your electric vehicle. .