![]()
FINESTRA® WOOD R-TEC AUTOMATION®
TRAVERSE SPLICE ASSEMBLY INSTRUCTIONS
Please read all instructions before starting
INTRODUCTION:
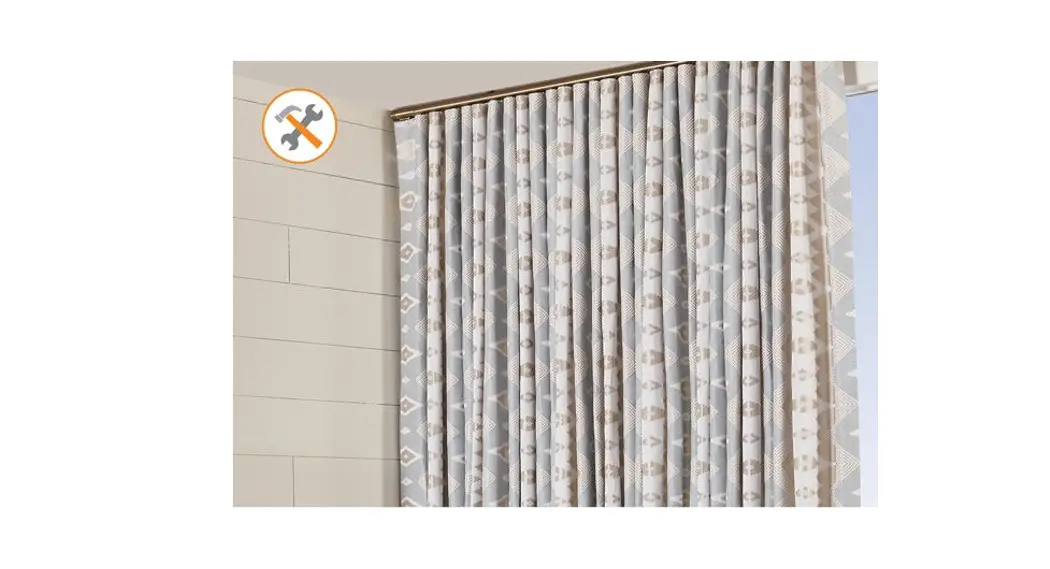
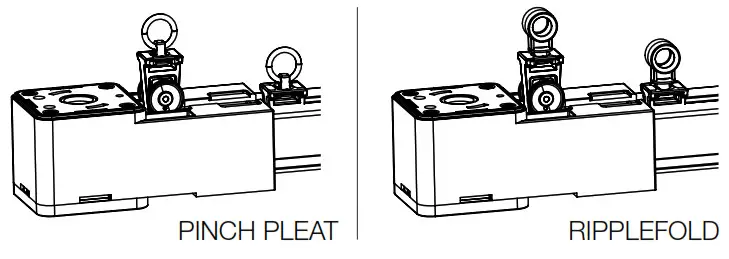
Finestra® Wood R-TEC Automation® Traverse Systems are used to electronically control the drapery using a Slim Drapery Motor and Remote Control. By using a Remote Control or the R-TEC Automation® App via a smartphone or tablet, the operator can open and close the drapery smoothly and precisely.
The maximum fascia and track width for this system is 36′ spliced. The max. drapery weight is 110 lbs. There must be two additional brackets – one for each side of the splice when used.
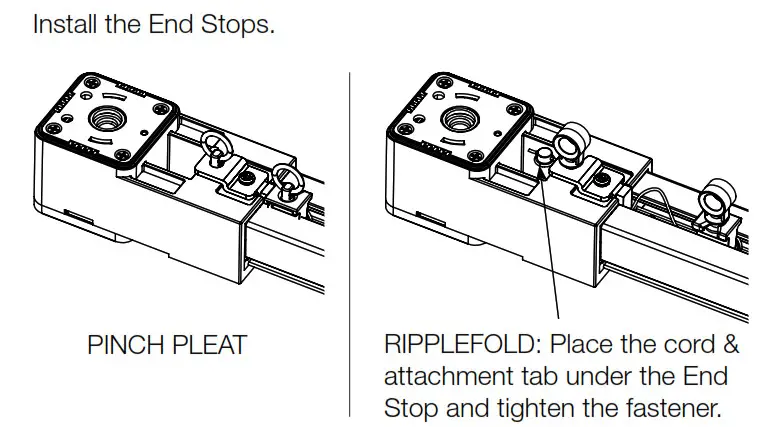
SPLICE ASSEMBLY:
Step 1. Carefully unbox your system, leaving all the packaging materials in place. If a second person is available to help, it will make the re-assemble process faster and easier.
NOTE: The system was packaged with foam, shrink wrap, and other packing materials to ensure the belt, carriers, and other components stay in place during shipment.
Step 2. Remove the packaging material from the Pulley that is not attached to the Track. Ensure the Drive Belt stays in Track when removing the packing material. If required, position the Drive Belt back in the Track.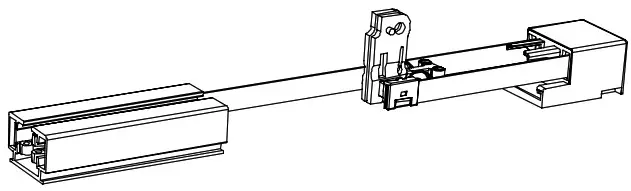 Step 3. Remove the packaging material from the Master Carrier Body half or Track Splice section. This order will change based off your Track size. Ensure the Drive Belt stays in the Track when removing the packing material. If required, position the Drive Belt back in the Track.
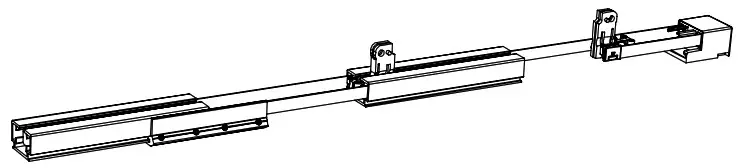 Step 4. Remove the remaining packaging material from the Track Splice sections and Carriers. Ensure the Carriers stay in Track when removing the packing material. If required position the Carriers back in the Track.
Ensure the Drive Belt stays in Track when removing the packing material. If required, position the Drive Belt back in the Track.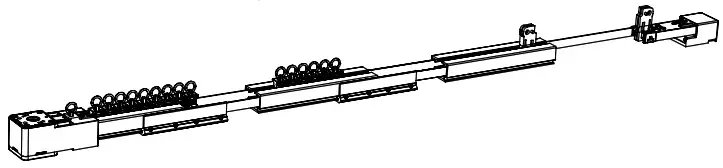 Step 5. Bring the Track section together by pushing the two sections together, while making sure that the Carriers, Master Carrier Body, and Drive Belt stay in the Track.
 NOTE: When pushing the Track sections together, the Drive Belt slack needs to be removed by pulling the Drive Belt section at the loose Pulley away the system.
Step 6. Install the last Track section by pushing the last two sections together, while making sure that the Carriers, Master Carrier Body and Drive Belt stay in the Track.
Tighten the 4 fasteners.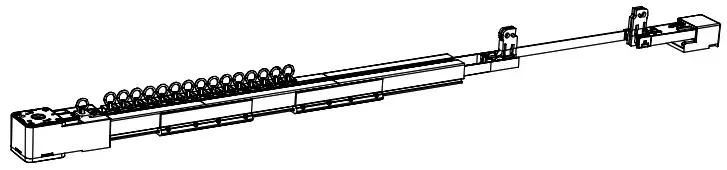 Step 7. Install the Return Pulley by pushing the Master Carrier Body half into the Track. Place the Return Pulley on the Track.
Bring both Master Carrier Body halves together and insert Master Carrier center metal clip.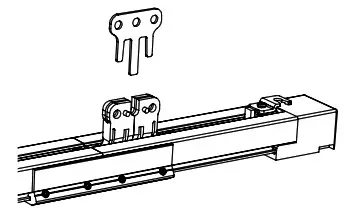 Step 8. Add the Master Carrier Arm to Master Carrier Body.
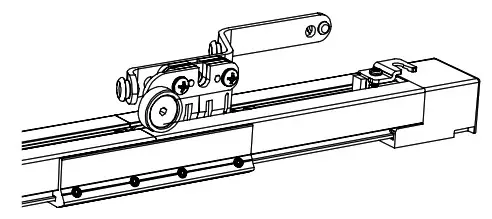

Step 9. Your system is ready to be installed using these installation instructions:
NOTE: Carriers can be added or removed with the Drive Pulley installed.
DOWNLOAD INSTRUCTIONS:
![]()
www.FinestraWoodHardware.com | updated 05/13/2021


