Contents hide
Lindab Atrium Loggia Heating and Cooling Panels
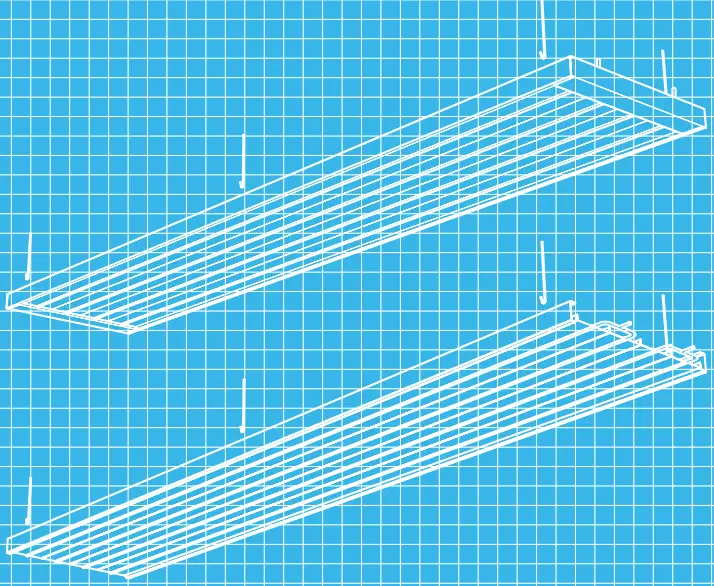
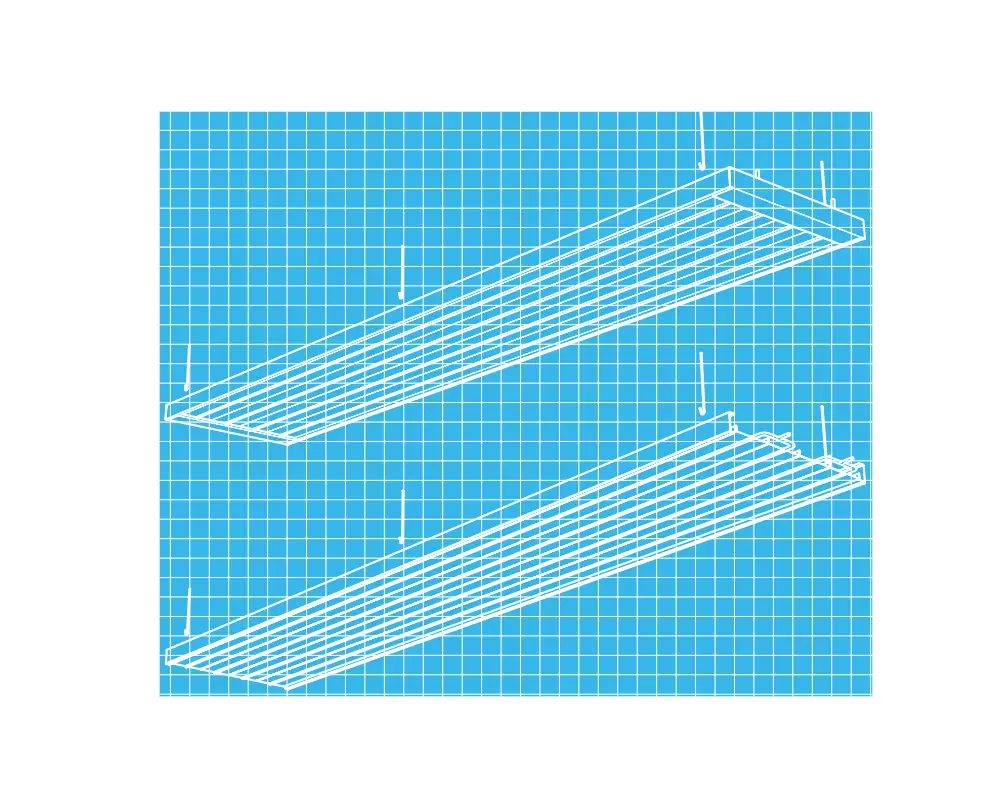
Delivery control
Control the delivery! ![]()
Example of delivery code:
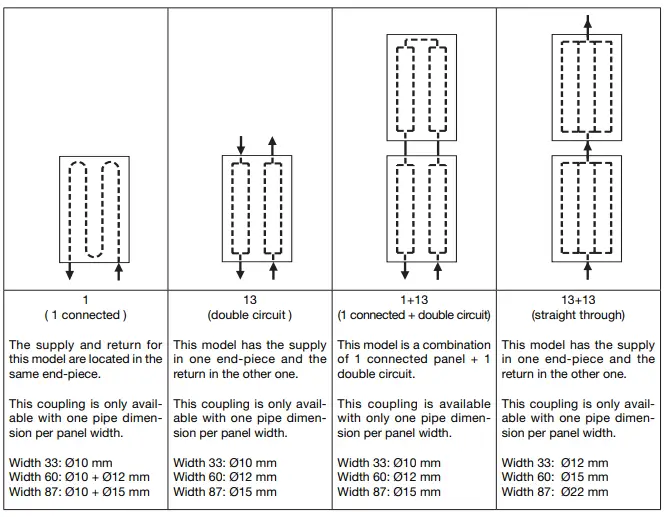
- Atrium H & C/Loggia – 60 – 10 – 1 – 4.8 m.
- Width, cm
- Water connection, mm
- Pipe connection type
- Length, m.
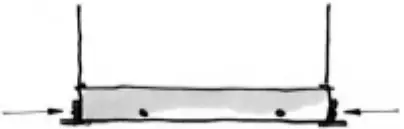
Way of mounting Included mounting details Free mounted 4-6 adjustable pendulums (alternative chains) 4-6 angle brackets panel Direct to ceiling 4-6 angle brackets outer - There are also included support sleeves that must be used in every connection pipe (when compression fittings are used, please refer to the suppliers installation instruction).
- Lindab recommends 4 pieces of hangers for panels < 4.0 m and 6 pieces ≥ 4.0 m panels length.
View
Atrium H/C and Loggia could be mounted either direct to the concrete or hanging in pendulums. Atrium C and Loggia could also be integrated into false ceilings.
- Direct to concrete

- Free hanging

- Integrated into false ceilings

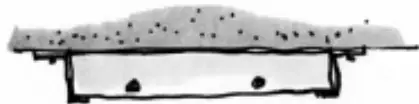
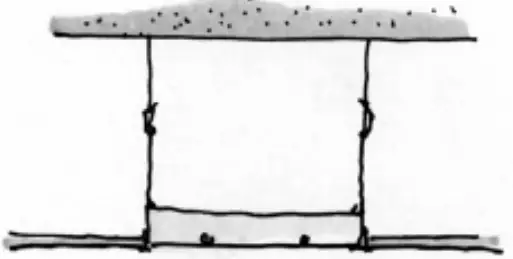
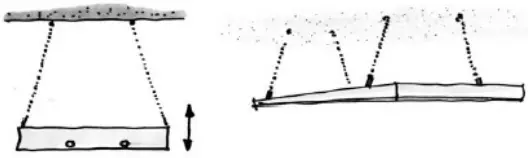
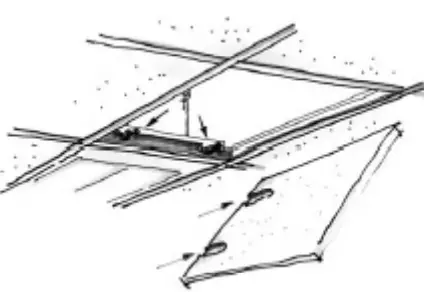
Mounting with adjustable pendulums
- Measure and drill into the ceiling for the strips/panels brackets. 4 pieces for lengths up to 4.0 m, 6 pieces for longer units.

- Screw up the brackets into the ceiling
- Hang up the pendulums into these brackets.
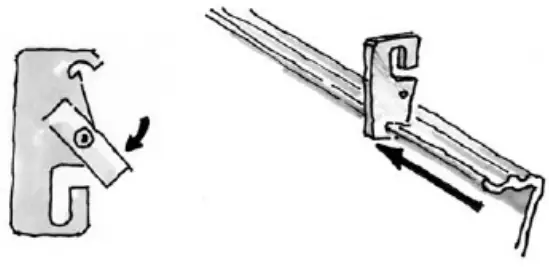
- Hang up the strips/panel with the Atrium panel hook into the edge of the panel and connect the pendulums into these.

- Adjust the length of the pendulums. Also adjust after the false ceiling height if it’s mounted into this.

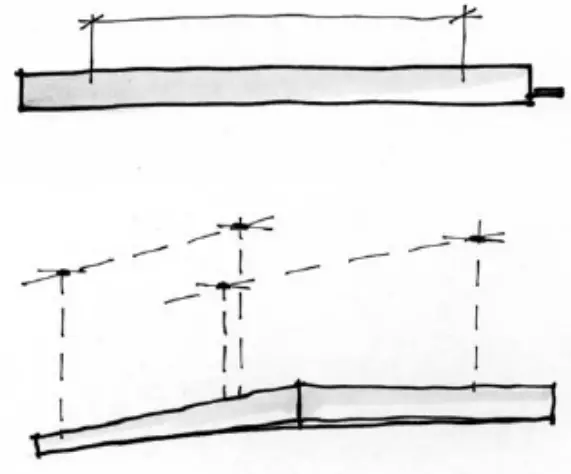
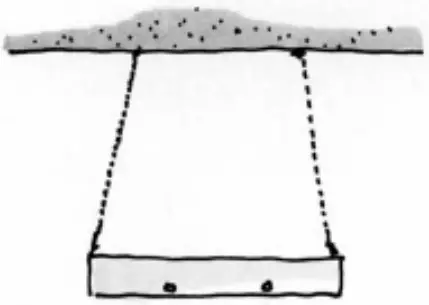
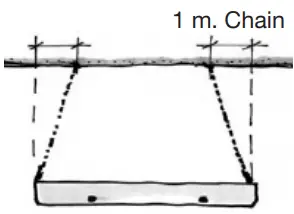
Mounting in chains
- Measure and drill into the ceiling for the strips/panels brackets. 4 pieces for lengths up to 4.0 m, 6 pieces for longer units. Observe that the chains must be an-gled inwards so the angle brackets will be secured.

- Screw up the brackets for the chains into the ceiling.

- Hang up the strips/panel with the Atrium panel hook-into the edge of the panel.
- Adjust the length of the chains as you see of the drawing.

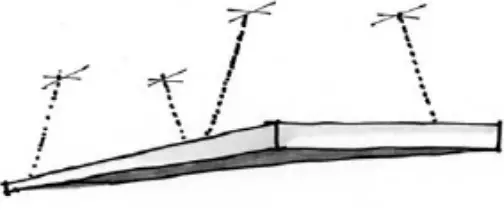
Mounting direct to concrete
- Measure and drill into the concrete for Atrium mounting brackets. Use 6 pieces with lengths above 4.0 m.

- Screw up the strips/panel against the concrete. Mounting with Atrium hanger for Sports hall

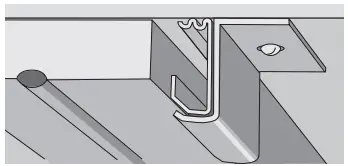
Water connection
Connection alternatives
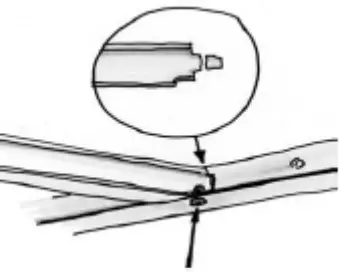
Connect water with compression coupling or similar. Use the support sleeves. Do not solder !
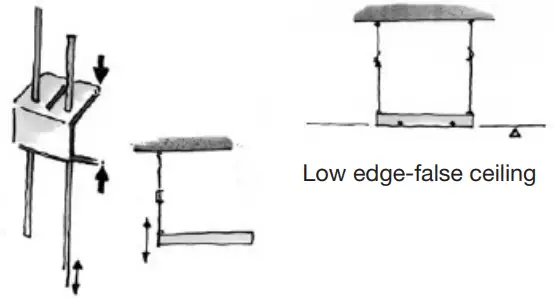
False ceiling adaptation (Atrium H/C)
It is best if the false ceiling installer mount some head profiles before the beams will be mounted. This is to make it easier for the beam installer. If the head profiles already are mounted is it very important that you use a line/wire to have the beams in the right position.
- Fix the head profiles against the panel with pop rivets or screws.

- Mount he secondary profiles around the panel. Cut of the steering pins and fix with pop rivets.

- One of false ceiling plates and one secondary profile must be cut out, to make room for pipe connections (only with horizontal connection pipes.)

Mounting wire spring
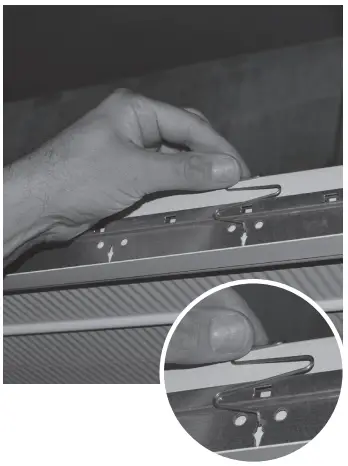
- Attach the ceiling clip into the ceiling grid.
- Press it over the top of the panel.
- Secure that the ceiling clip is attached between the ceiling grid and the heating panel.
Insulation of heating panels
- The top of the Atrium H- and the Loggia panels are insulated with extruded polystyrene foam and should not be placed in direct sunshine or underneath other heating- or ignition sources. Sparks and smoke must be avoided. Keep places dry and ventilated and take precautions against static electricity.
- The foamed plastic is manufactured without the addition of CFC or HCFC gas, i.e. Freons.
- For full technical data sheet please contact Lindab.
ABOUT COMPANY
- Most of us spend the majority of our time indoors. In-door climate is crucial to how we feel, how productive we are and if we stay healthy.
- We at Lindab have therefore made it our most important objective to contribute to an indoor climate that improves people’s lives. We do this by developing energy-efficient ventilation solutions and durable building products. We also aim to contribute to a better climate for our planet by working in a way that is sustainable for both people and the environment.
- www.lindab.com


 Mechanical Ventilation With Heat Recovery Instruction Manual")


