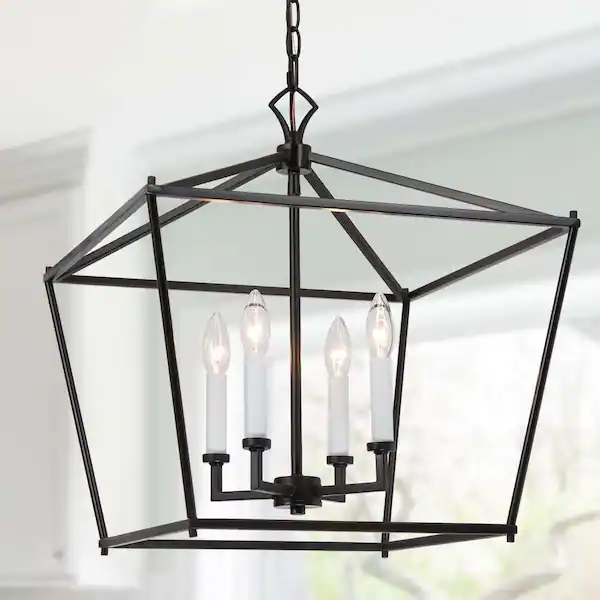
4MODERNHOME MX19182-4CH-P 4 Light Black Candlestick Island Chandelier
Product Information
Product Name: MX19182-4CH-P
Description: This is a chandelier that requires assembly and installation. It comes with all the necessary parts and accessories. It is recommended to have a qualified electrician install the light. The chandelier requires four E12 bulbs (rated 110-130V/60Hz, bulb 60W maximum), which are not included.
Warnings:
- If any special control devices are used with this fixture, follow the instructions carefully to assure full compliance with N.E.C. requirements. If there are any questions, contact a qualified electric contractor.
- This product contains lead, a chemical known to the state of California to cause cancer and birth defects or other reproductive harm. Do not place the product in your mouth. Wash your hands after handling this product.
Parts Included
| Code | Part Description | Quantity |
|---|---|---|
| A | Mounting Bracket | 1 PC |
| B | Mounting Screw | 2 PCS |
| C | Canopy | 1 PC |
| D | Cover Nut | 2 PCS |
| E | Splicing Rod | 3 PCS |
| F | Connector | 3 PCS |
| G | Rotary Joints | 1 PC |
| H | Chandelier Body | 1 PC |
| I | Sling Rod | 1 PC |
| J | Lamp Holder Group | 4 PCS |
| K | Lamp Arm | 2 PCS |
Product Usage Instructions
- Read all instructions carefully.
- Make sure that the power supply is turned off and remains off until installation is completed.
- Use the two 5/32 screws in the accessory bag to lock the crossbar to the ceiling junction box.
- Connect the wires. The hot/positive wire (+) has an L label on it. The other one is the negative wire (-). And the bare copper wire is the ground wire.
- Secure the canopy to the wall with crossbar nuts.
- Hang the lamp to the ceiling by attaching the screws to the nuts.
- Install 4 E12 bulbs (not included).
- All glass is fragile. Use care when handling glass component(s) and/or lamp(s).
Assembly & Installation Instructions
Dear Customer:
Thank you for your business!
If you have any questions or problems, please send us an email to [email protected] or call us at 469-312-6428. We will do everything possible to make
you completely satisfied with your purchase. Product reviews help future customers to make their purchase decision. You are encouraged to share your experience by leaving a short product review on the platform where you bought this product.
Thank you!
Zgear Team
Warning: If any special control devices are used with this fixture, follow the instructions carefully to assure full compliance with N.E.C. requirements. If there are any questions, contact a qualified electric contractor.
Warning: California Residents Proposition 65 This product contains lead, a chemical known to the state of California to cause cancer and birth defects or other reproductive harm. Do not place the product in your mouth. Wash your hands after handling this product.
Caution: It is highly recommended to get an electrician to install this light. Please make sure to turn the electricity off at the main circuit breaker before beginning installation. All glass
is fragile.Use care when handling glass component(s)and/or lamp(s).
Step 3
3A. Use the two 5/32 screws in the accessory bag to lock the crossbar to the ceiling junction box. 3B. Connect the wires. The hot/positive wire (+) has an “L” label on it. The other one is the negative wire (-). And the bare copper wire is the ground wire.
3C. Secure the canopy to the wall with crossbar nuts.
PARTS INCLUDED
| Code | Part Description | QTY |
| A | Mounting Bracket | 1 PCS |
| B | Mounting Screw | 2 PCS |
| C | Canopy | 1 PCS |
| D | Cover Nut | 2 PCS |
| E | Splicing Rod | 3 PCS |
| F | Connector | 3 PCS |
| G | Rotary Joints | 1 PCS |
| H | Chandelier Body | 1 PCS |
| I | Sling Rod | 1 PCS |
| J | Lamp Holder Group | 4 PCS |
| K | Lamp Arm | 2 PCS |
( Rated 110-130V/60Hz, bulb 60W maximum.)
WIRE CONNECTION DIAGRAM
Wires meeting safety standards are required to connect the electrical circuit.
CAUTION: Risk of fire
Please read all instructions carefully. Before you proceed to install, make sure that the power supply is turned off and remains off until installation is completed.


