HAGOR 5760 WH Turn M Rotatable Universal Wall Mount
Introduction
Caution!
Technical devices are of considerable value. You should therefore handle the components carefully during installation and protect them if necessary.
If necessary, the installation area should also be secured. Falling parts can cause injuries and material damage.
The materials included in the scope of delivery may not be suitable for the special conditions at the installation site. Please check this in advance and replace it with suitable materials if necessary.
If you are unsure about the installation of the product or have any questions, please contact us or other trained specialists.
Scope of delivery
A: Bracket | 1x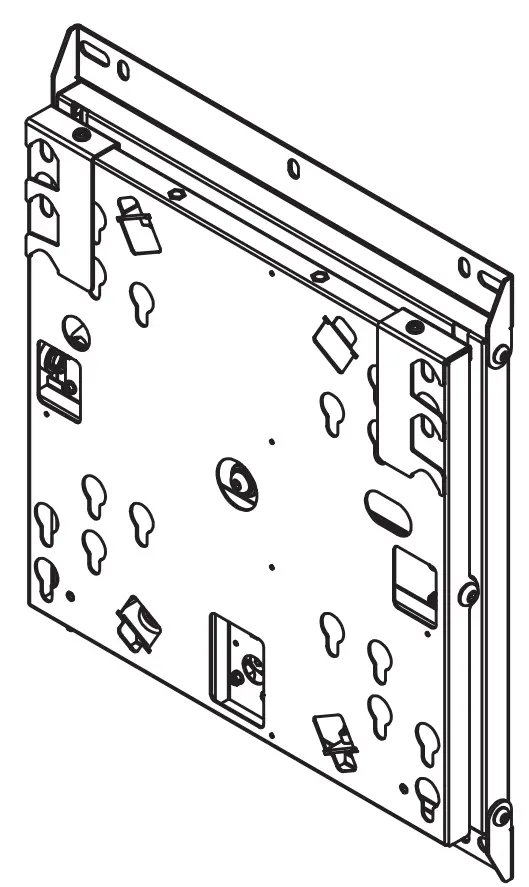
B: Tilt plates | 2x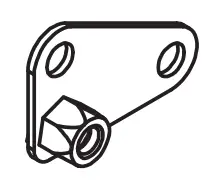
C: Suspension bolts | 4x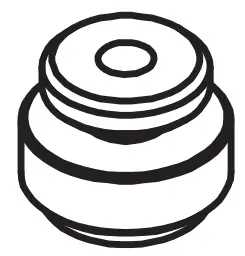
D: M8x16 | 2x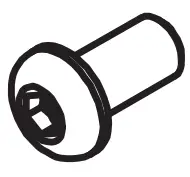
E: M8x45 | 4x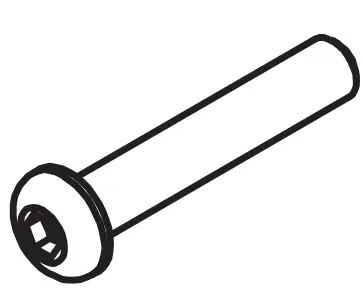
F: M8x55 | 4x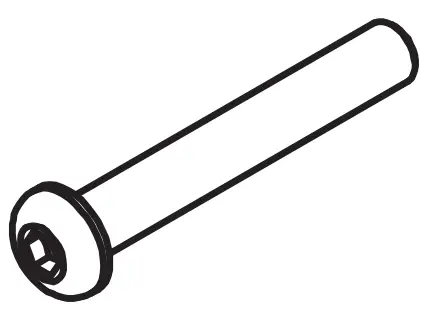
G: Washer Ø 8 mm | 2x
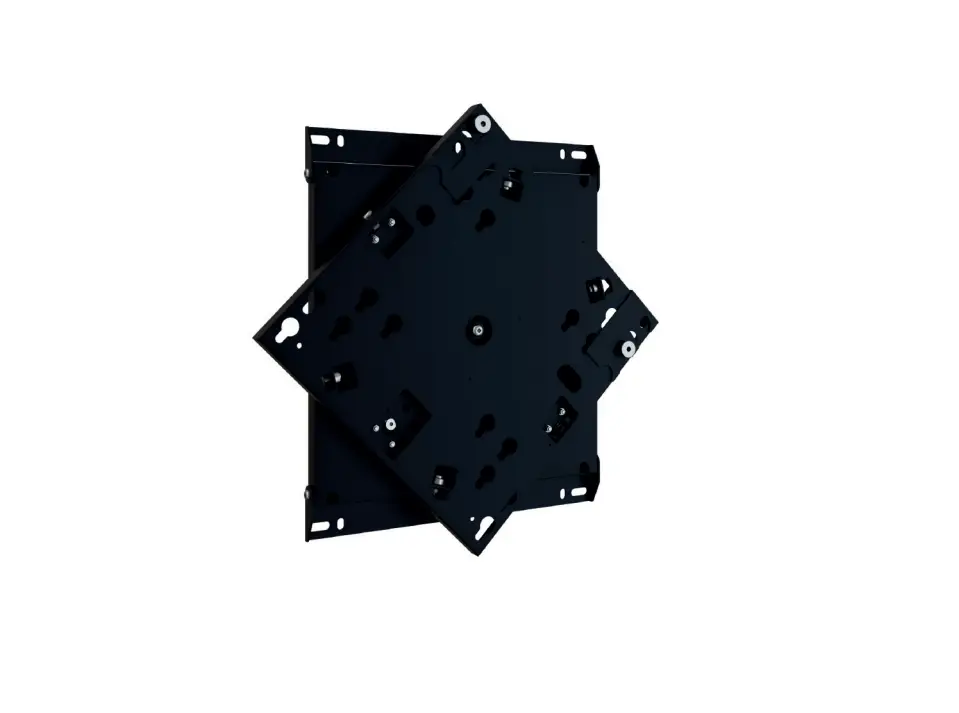
Wall mount installation
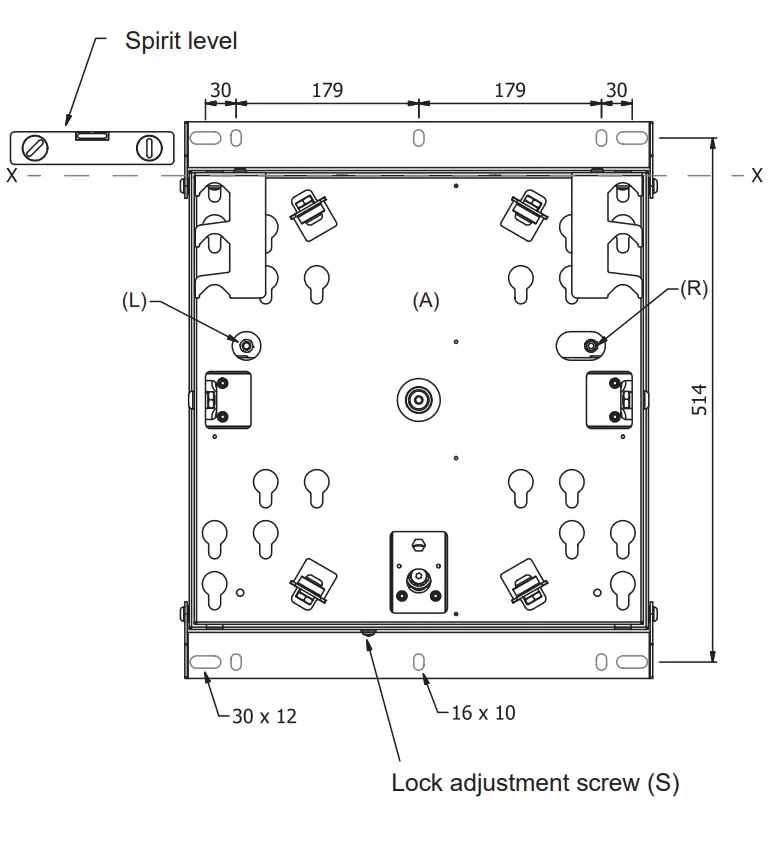
Mount the bracket (A) on the wall (see holes marked in gray) using mounting materials suitable for the purpose and type of wall. Check the strength of the dowels and screws used.
Please note! The mount is shipped with the setting for clockwise rotation. For counterclockwise rotation, remove the screw from position (R) to position (L).
Caution! Make sure that the alignment is perfectly horizontal (X).
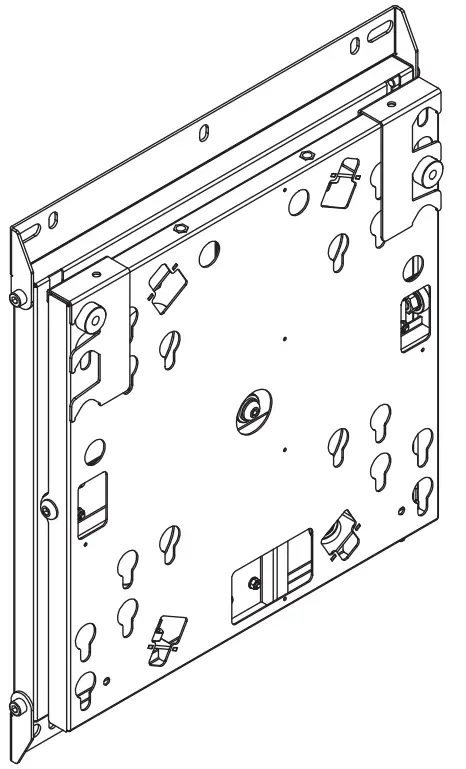
Suspension bolts installation
| Attention! Mounting is only possible with a centered VESA hole pattern. Adapters are required for off-center hole patterns. |
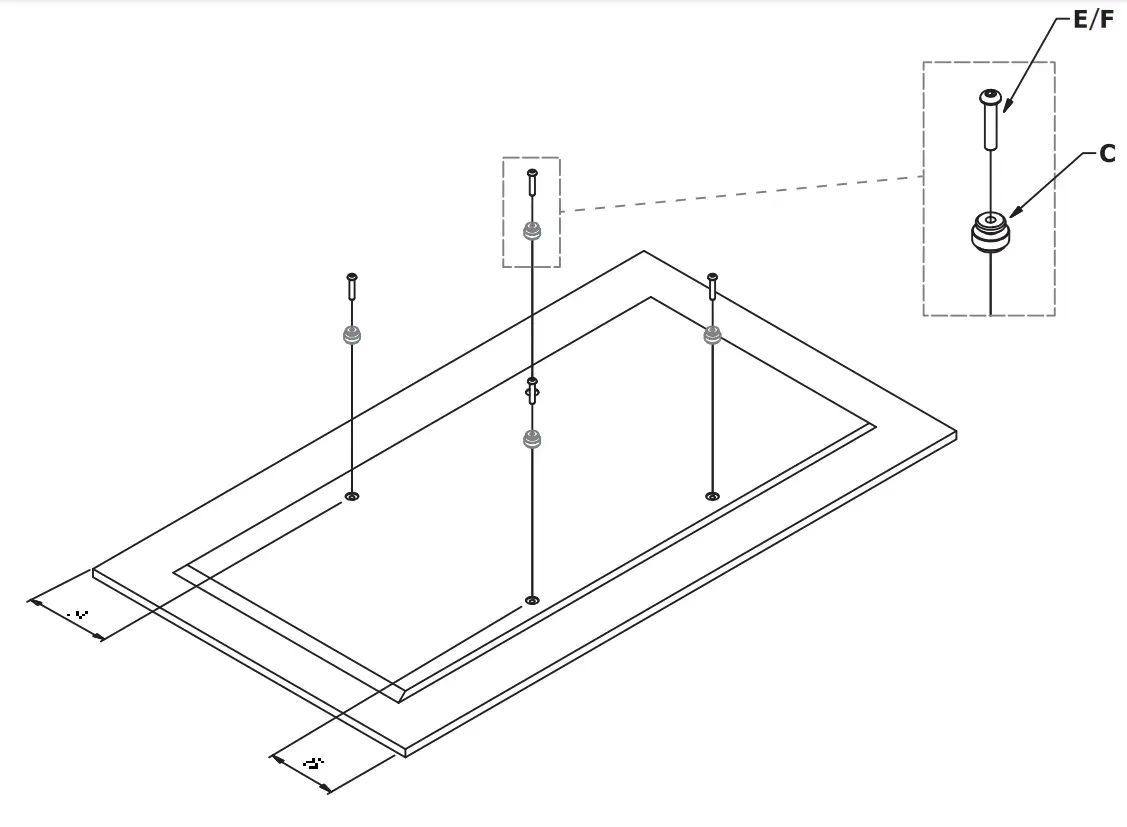
On the back of the screen, mount the suspension bolts (C) and screws (E or F) as shown in the figure above.
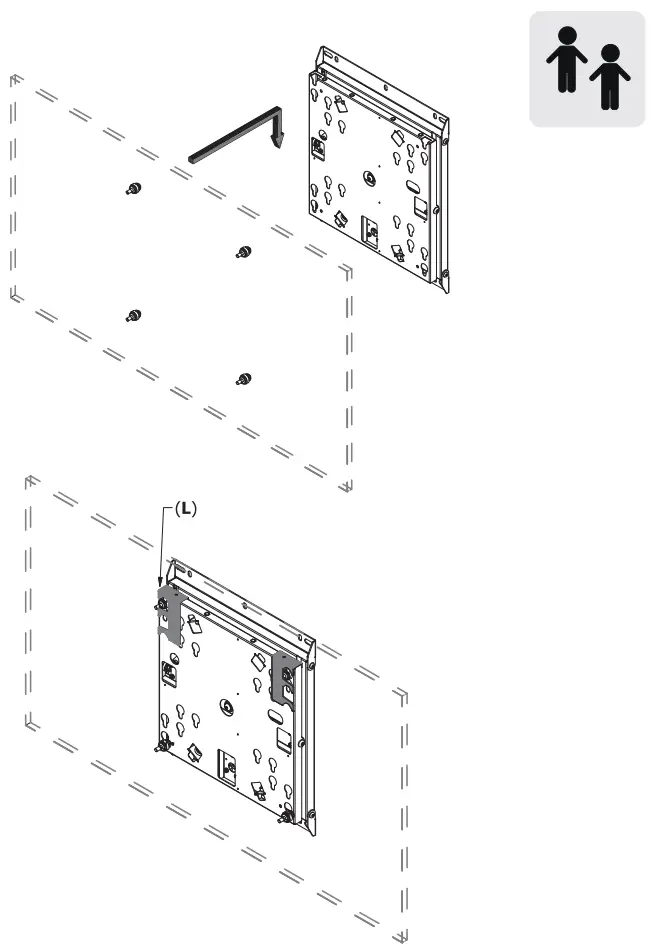
Disassembly of the securing bracket
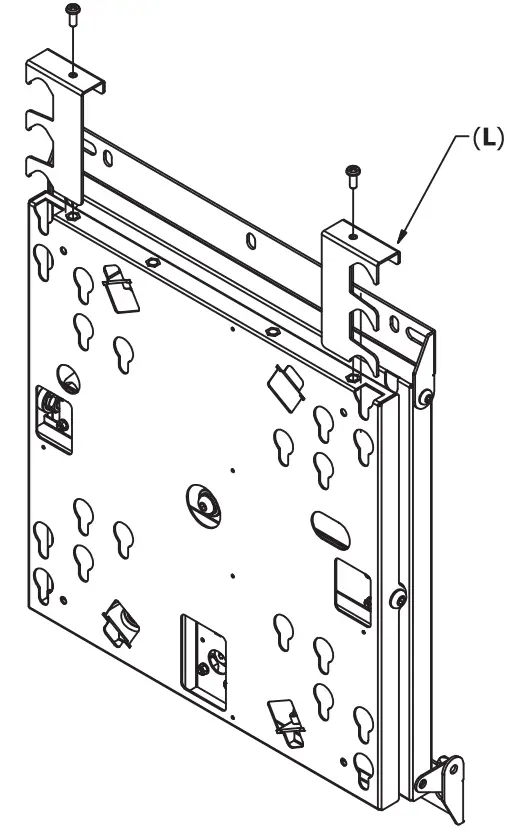
Remove the safety bracket (L).
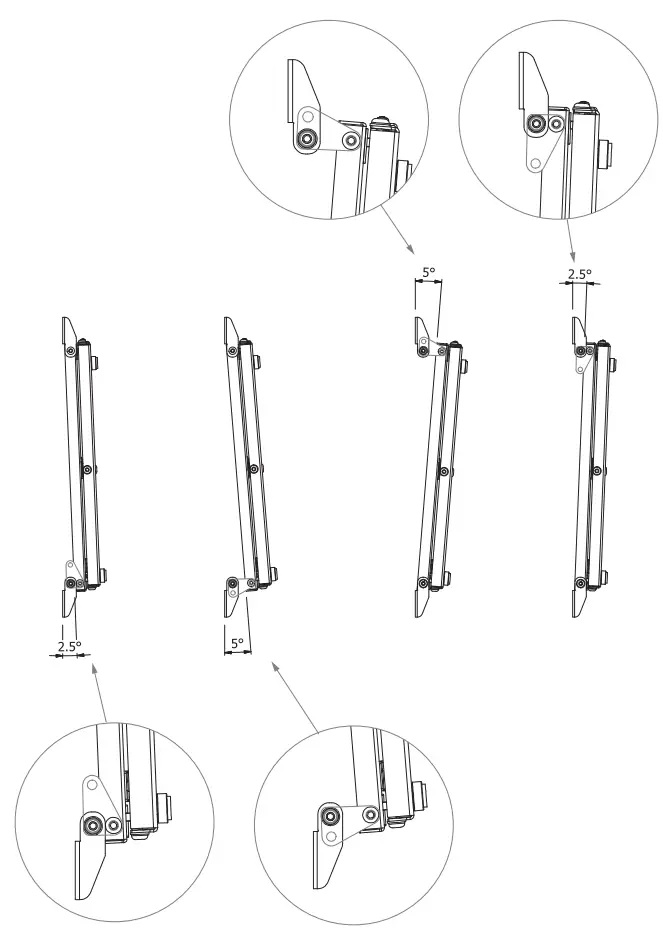
Tilt settings
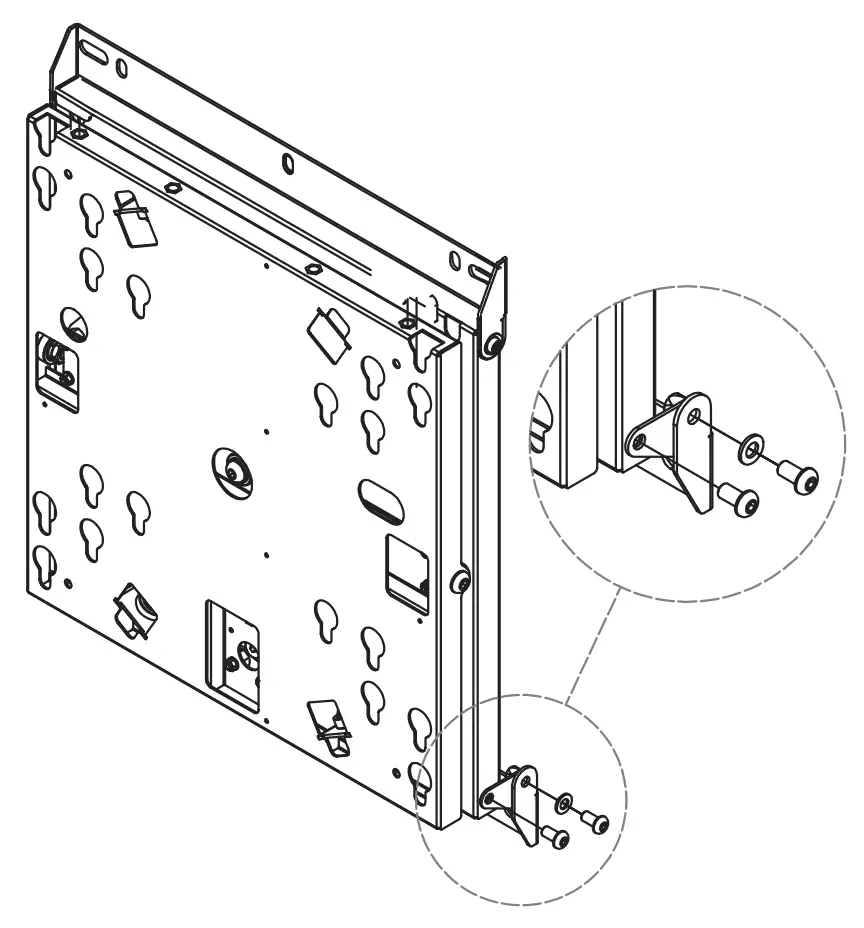
Remove the screws and the washers. Assemble the 2 tilting plates (B). Fix them with the screws and the washers.
Mount and secure the screen
Hang up the screen. Please note! Please perform this work step in pairs. Make sure that the bolts are correctly inserted into the keyholes. Replace the securing brackets and screw them tight.
Function test and adjustment
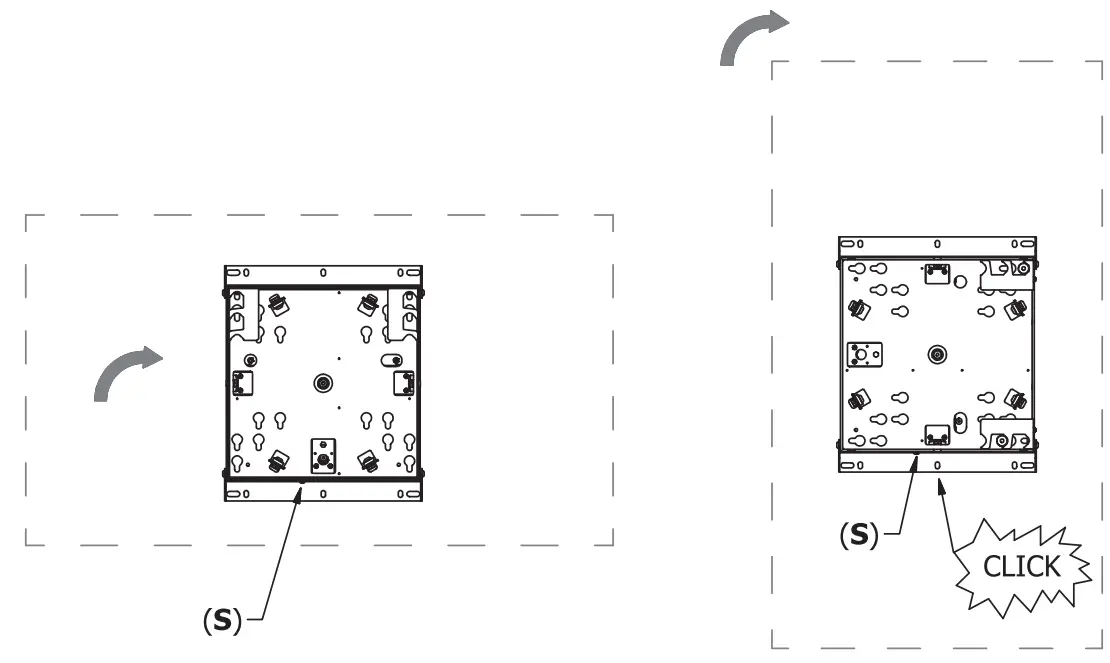
Try the rotation several times and make sure the screen is securely locked with the safety brackets (L) If necessary, increase or decrease the force of the spring by adjusting the screw (S).
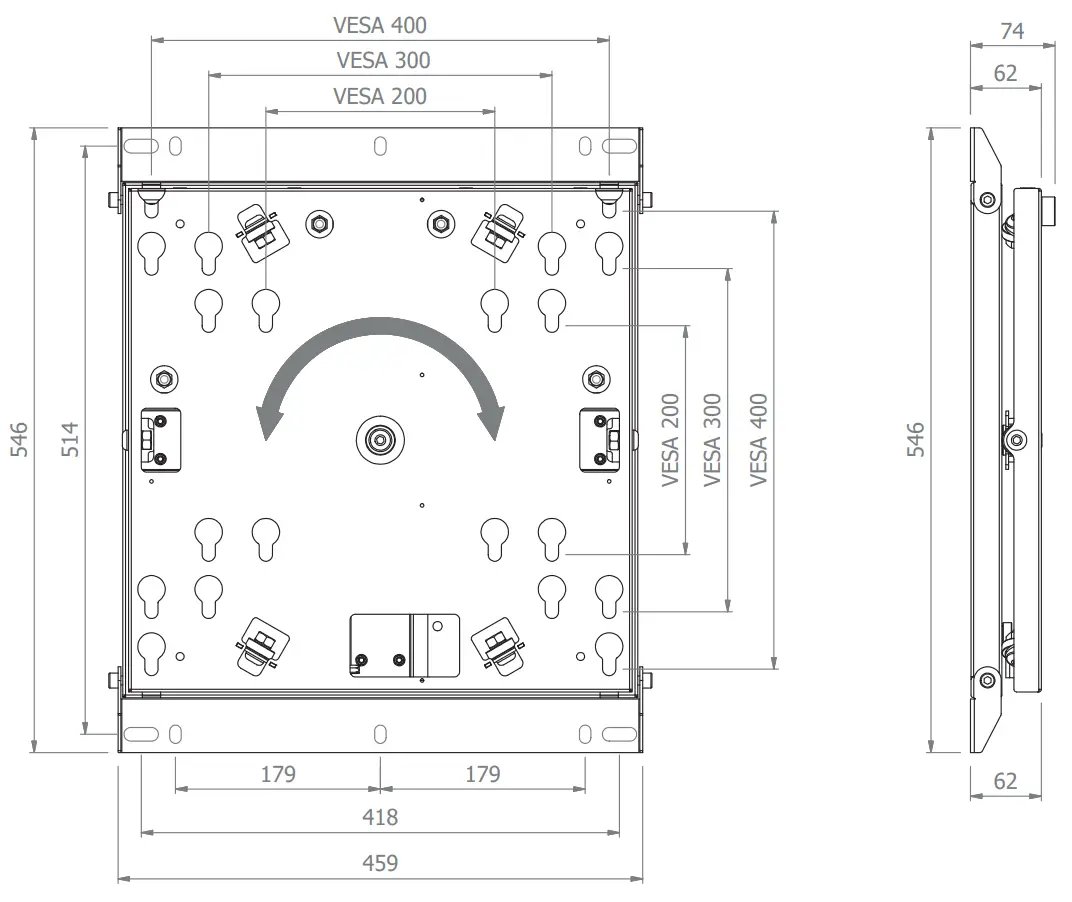
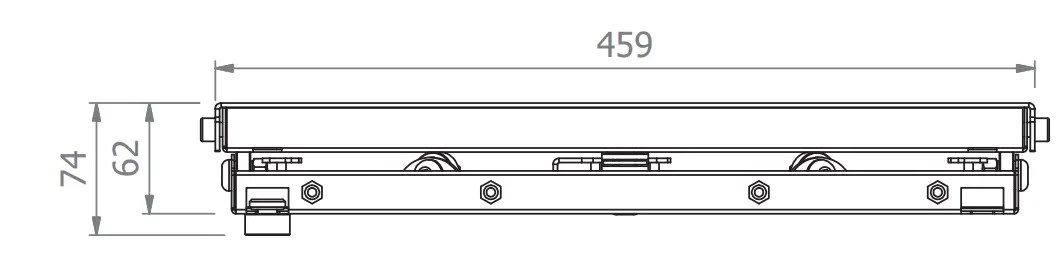
Dimensions
Customer Support
Telephone: +49(0)57 31-7 55 07-0 | Mail: [email protected]]