![]() INSTRUCTION GUIDE
INSTRUCTION GUIDE
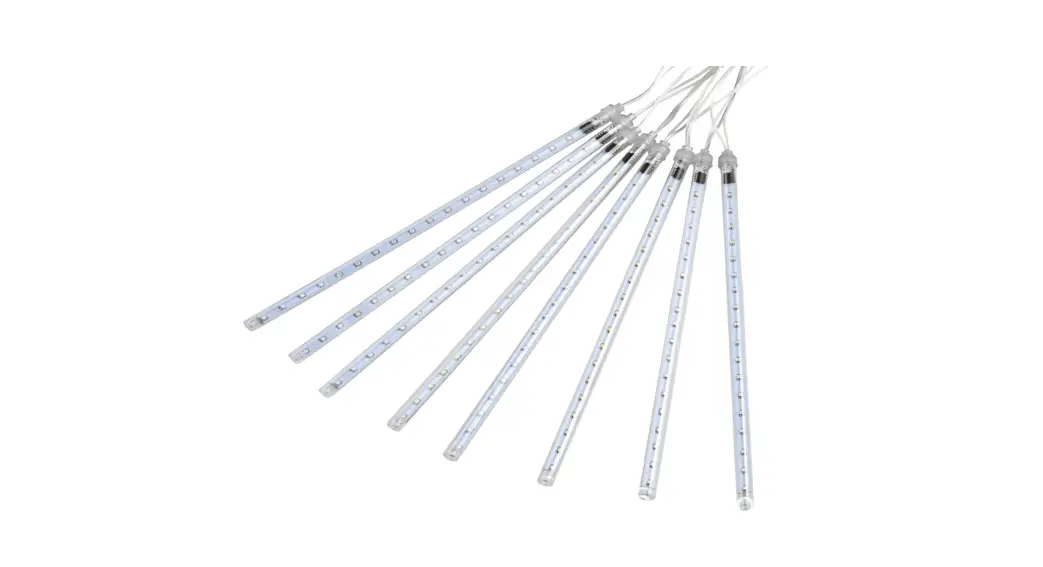
Residential Meteor Lights
Model No. SLDML36W, SLDML36WW, SLDML36RGB
PACKAGE CONTENTS
- 10 x Meteor Lights per kit
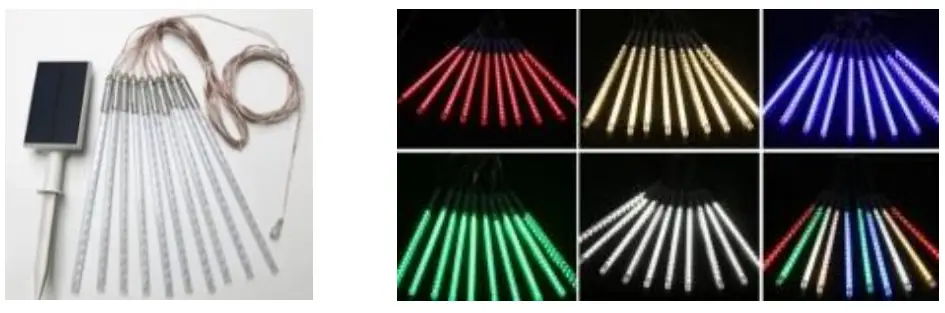
- 1 x 2w Separate E.R.E Solar Panel
- 1 x Panel Mount Spike
- 5m Cable from Solar Panel
FEATURES
- 10 Meteors per kit
- “Plug and Play” Installation
- Built in Photo Electric Cell
- 8-10 hours of Operation every day
- DIY and Easy to Install
- Cable Colour – Transparent
- Spike or Surface Mounting Option for Remote Solar Panel
- Colour – White OR Warm White OR Red, Green & Blue
INSTALLATION METHOD
- Remove contents from the packaging
- Press the button on the back of the solar panel “ON” (Please note; your light is packaged & transported with the power button in the “OFF” position)
- Decide where to install your lights & panel
Meteor Lights – Locate where to situate your lights and install them as you wish making sure that the length of cable will reach the solar panel and each light
Panel – Mount panel within the cable length either via the supplied ground mount spike or using the surface mount option on a nearby roof or wall. Ensure it will receive maximum direct sunlight during the day. Attach the cable from panel to lights
IMPORTANT NOTES
- Please ensure you place your solar panel in a location where it can achieve a minimum of 6HRS DIRECT SUNLIGHT
- Be aware that on overcast/cloudy days, the solar panel will still charge. However, not as efficient as on a sunny day, so the battery may not reach full capacity. Therefore, your light may turn off earlier than specified
- It’s best not to install the solar panel underneath a street light, porch light, etc. because this may stop the automatic day-night sensor triggering and result in your lights not
turning on
TROUBLESHOOTING
| Phenomenon | Cause | Inspection Method | Solution |
| Light won’t turn on | Switch hasn’t been turned on | Determine what position the switch is in on | Turn the switch |
| Battery has run-flat | Period of rainy or cloudy weather or installation site doesn’t provide enough direct sunlight | Charge the light in direct sunlight for 1-2 days then check again | |
| The light only stays on for a short amount of time | Low Battery | 1. Bad installation site for the solar panel 2. Dust or leaves are covering the panel 3. Long period of overcast weather | 1. Charge the battery in direct sunlight for 1-2 days with the switch off, then check again 2. Clean the solar panel |
| Battery Failure | 1. Access the light and & replace battery 2. Battery has matured | Contact SLD Customer Service to buy new batteries |
Customer Service Number: 1300 135 911
www.solarlightingdirect.com.au


