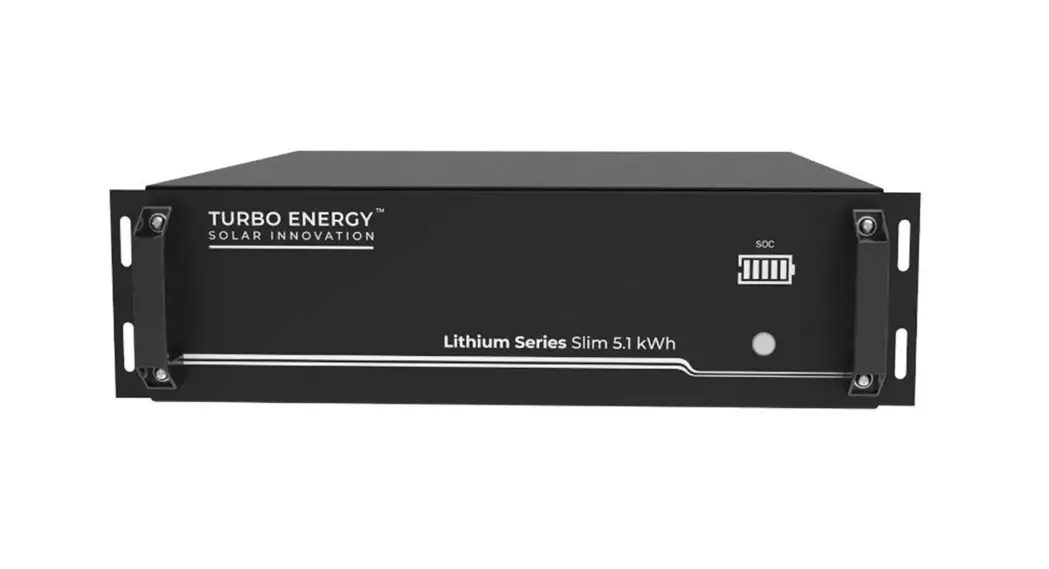
![]() LITHIUM SERIES 48V 5.1 kWh Slim
LITHIUM SERIES 48V 5.1 kWh Slim
+
INVERSOR GOODWE
QUICK INSTALLATION GUIDE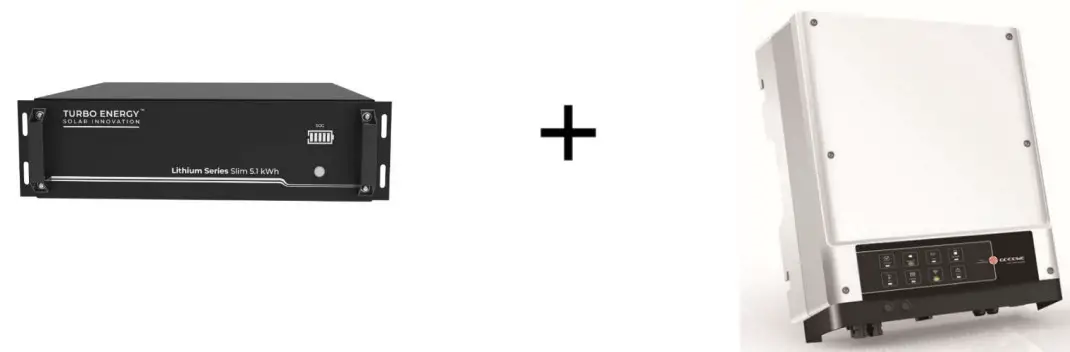
INVERTER GOODWE configuration
First, the inverter must be configured properly. For this, a correct Wi-Fi connection must be made between the electronic device and the inverter, as well as a correct configuration through the PV Master application.
1.1. Wifi connection
To make a correct Wi-Fi connection, follow these steps:
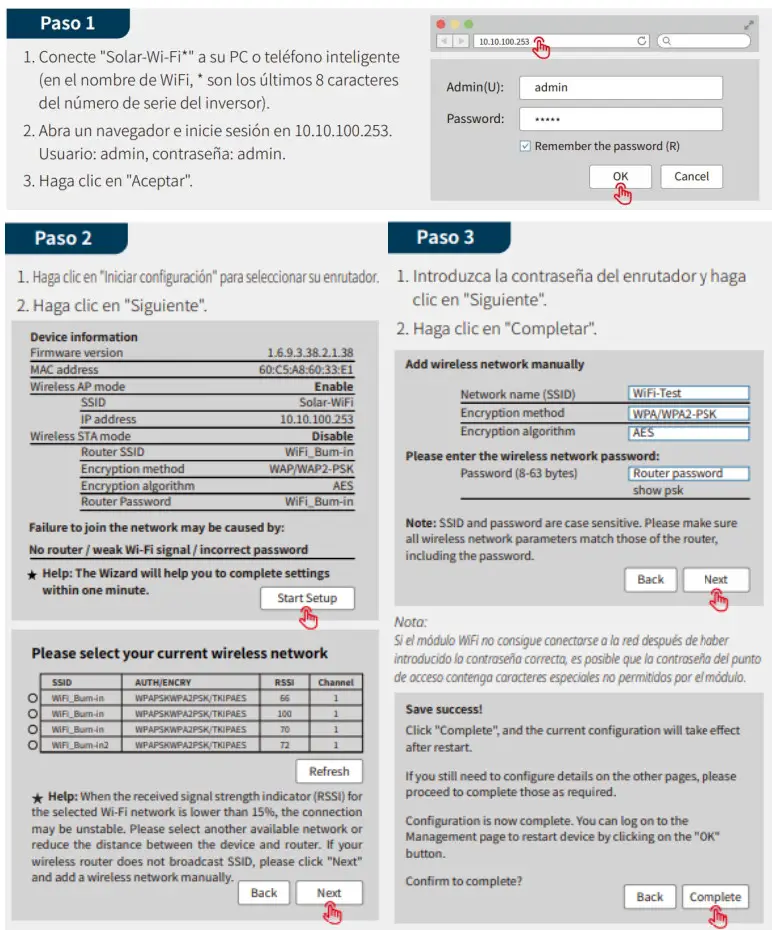
Note: This connection can also be made from the PV Master app.
PV Master is an external monitoring / configuration application for hybrid inverters. It can be downloaded directly from the Play Store or App Store and works with both Android and iOS systems.
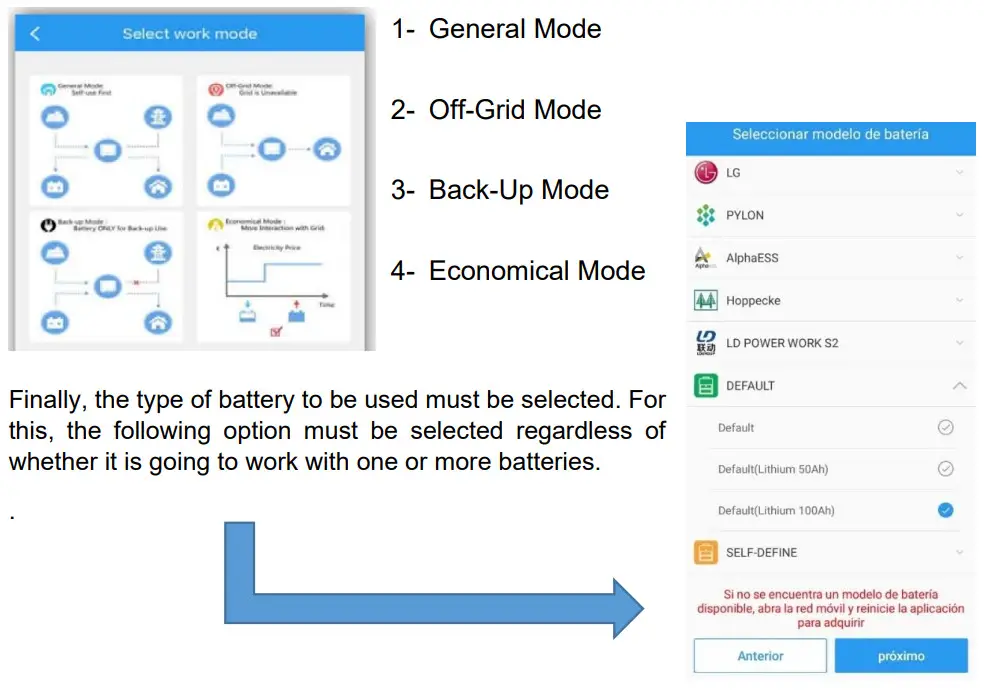
Once it has been successfully connected to the inverter’s Wi-Fi network, the application must be configured according to the batteries to be connected.
First it is necessary to select the country where the device is located. To do this, you need to enter the basic configuration tab and select the option shown in the following images:
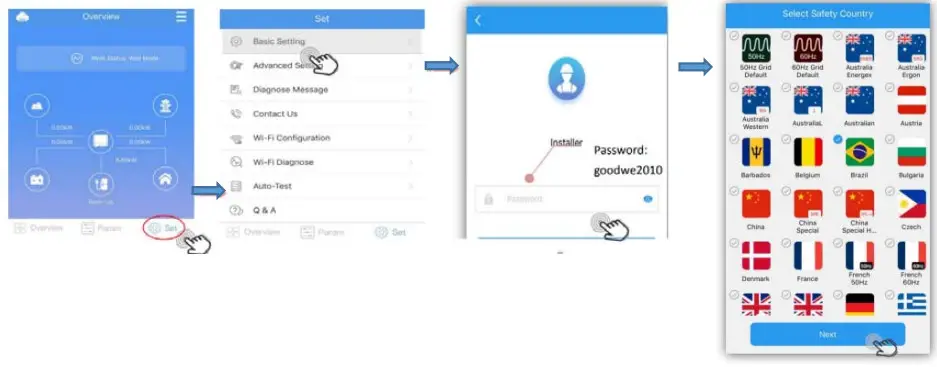
Next, you need to select the working mode to be used. You must choose one of the four options that appear:
BATTERY LITHIUM SERIES 48V 5.1 kWh Slim configuration
Each module has 4 DIP (Dual Inline Package) switches that will be configured differently depending on the number of batteries to be connected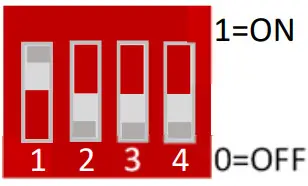
They are configured according to the binary code, starting with the master.
| Address | Dial switch position | Explain | |||
| $11 | #2 | 113 | #4 | ||
| 1 | ON | OFF | OFF | OFF | Packl/Master |
| 2 | OFF | ON | OFF | OFF | Pack2 |
| 3 | ON | ON | OFF | OFF | Pack3 |
| 4 | OFF | OFF | ON | OFF | Pack4 |
| 5 | ON | OFF | ON | OFF | Packs |
| 6 | OFF | ON | ON | OFF | Pack6 |
| 7 | ON | ON | ON | OFF | Pack? |
| 8 | OFF | OFF | OFF | ON | Pack8 |
| 9 | ON | OFF | OFF | ON | Pack9 |
| 10 | OFF | ON | OFF | ON | Pack10 |
| 11 | ON | ON | OFF | ON | Pack11 |
| 12 | OFF | OFF | ON | ON | Pack12 |
| 13 | ON | OFF | ON | ON | Pack13 |
| 14 | OFF | ON | ON | ON | Pack14 |
| 15 | ON | ON | ON | ON | Pack15 |
Wiring configuration
The cable necessary to make the connection is the RJ45. It is a special cable that is made up of 8 smaller cables each with a different color configuration.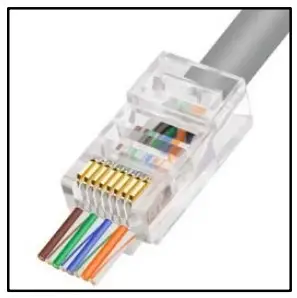 A standard pin-to-pin cable with RJ45 connector must be used.
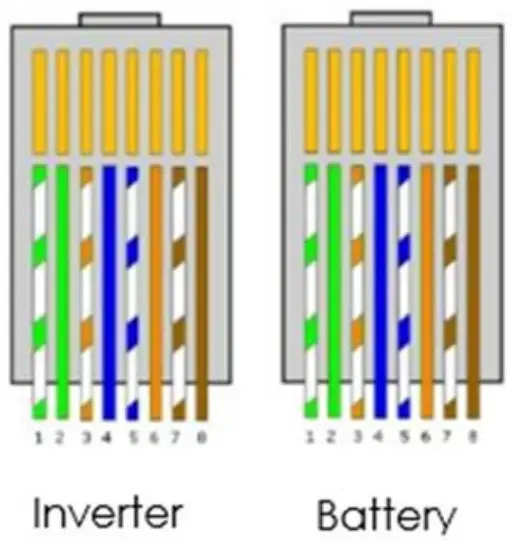
For the connection between the inverter and battery, the RJ45 cable will be connected to the CAN-1 port in the battery.


