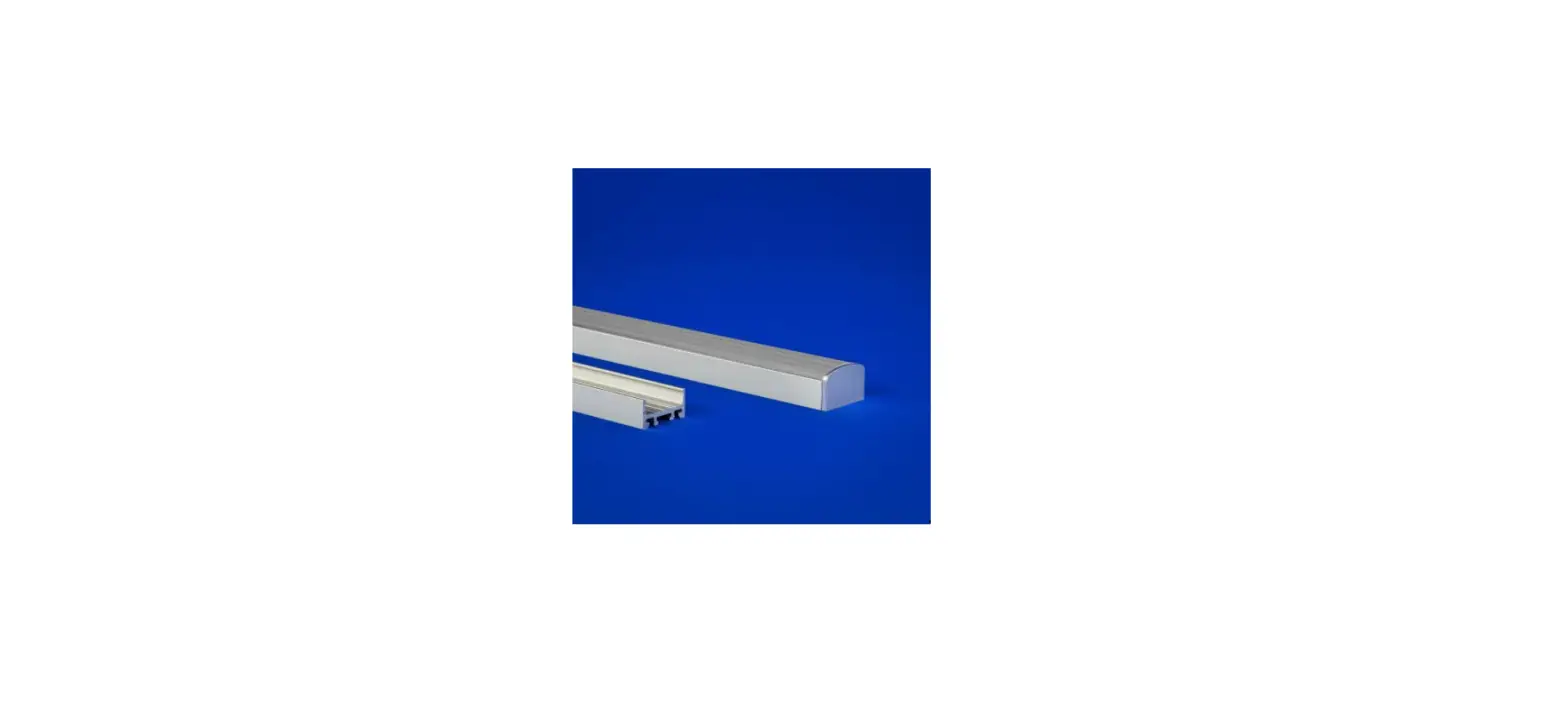
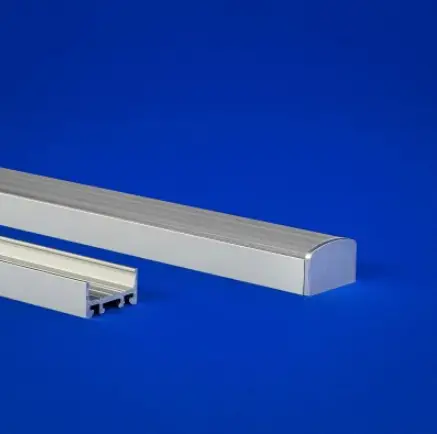
Q-TRAN OPTI Linear Fixture with LED Optical lens
INSTALLATION
WIring Details
STATIC WHITE (SW), STATIC WHITE HIGH EFFICACY (SW-HE), STATIC WHITE HIGH EFFICACY PLUS (SW-HE+), AND STATIC COLOR (SC)
DYNAMIC WHITE (DW)
DYNAMIC WHITE HIGH EFFICACY (DW-HE)
WARM DIM (WD)
RGB
RGBW
NOTES: • Field modifications must comply with Q-Tran’s installation methods otherwise warranty is null and void
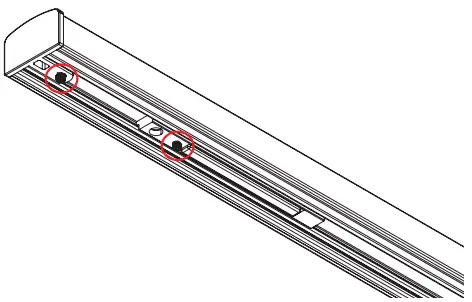
SCREW FOR CONCEALED CLIP
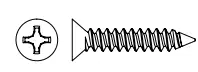
#4 x 5/8” flat head screw
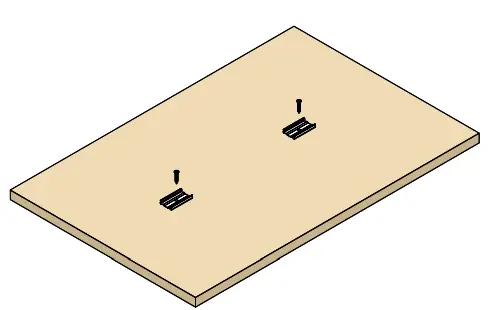
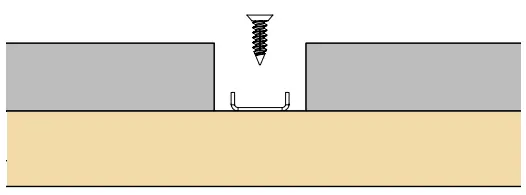
CONCEALED CLIP INSTALL
- Using the #4 x 5/8” flat head screws, mount the concealed clip. The first and last clip should be placed 4” in from each end of the OPTI.

NOTE: 2 clips provided for 4’ or less; 4 clips provided for greater than 4’ - Mount the OPTI fixture by snapping onto the concealed clips.

NOTE: The OPTI is securely connected with the concealed clip by tilting the extrusion onto the clip.

ASSEMBLED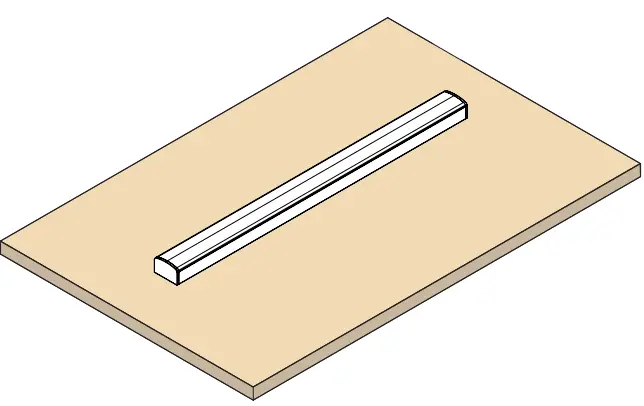
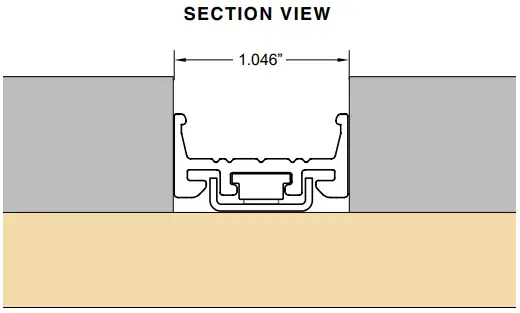
COVE INFO
The OPTI requires a cut out that is at least 1.071” to be recessed. The clip must be placed with 0.19” of space on the wider side.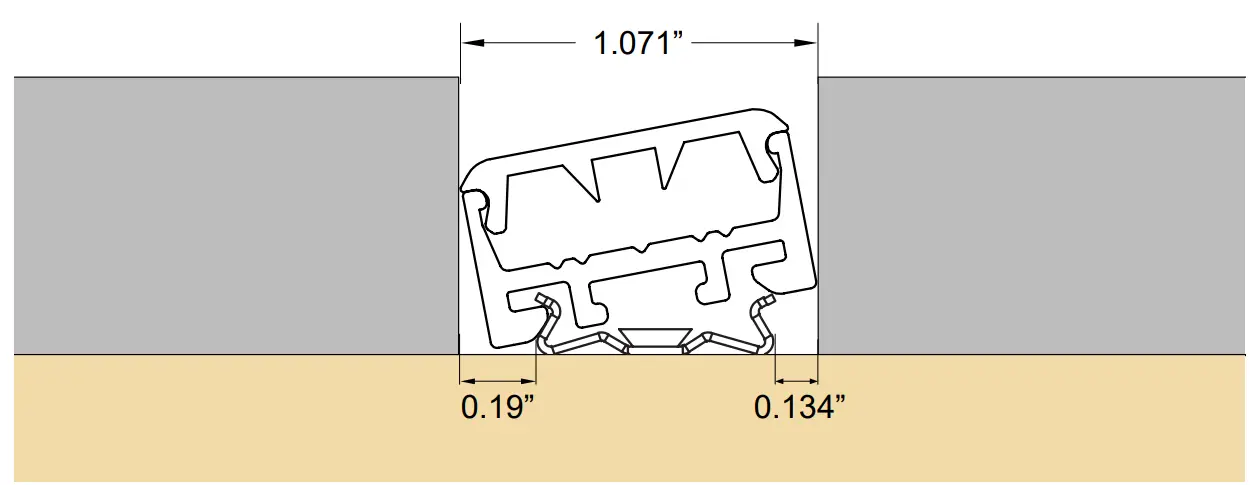
NOTE:
- Height of millwork for recessed OPTI should be based off the product specific dimensions found on the cutsheet.
- The OPTI is securely connected with the concealed clip by tilting the extrusion onto the clip.
SCREW FOR MAGNETIC MOUNT ACCESSORY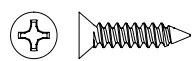
#6 flat head screw (x2)
MAGNET INSTALL
- Using the #6 flat head screws, mount two (2) screws into the 12” magnet mount accessory through the slotted holes at each end.

- Unscrew the OPTI endcap using the supplied fallen key, and slide in the magnet clips.

NOTE: 1 magnet clip needed per foot. - Using the supplied set screws fasten the endcap that was removed, and secure the magnet clips into your desired location.

NOTE: The magnet clips should be offset to the flat heads used to secure the bracket, to maximize magnetic connection. - Drop the assembled OPTI fixture into the mounted magnet mount accessory, the mount accessory should sit within the extrusion as pictured below.


MAGNET INSTALL
COVE INFO
The OPTI magnet install requires a 1.046” cut-out to be recessed. (The magnet bracket should be centered in the millwork)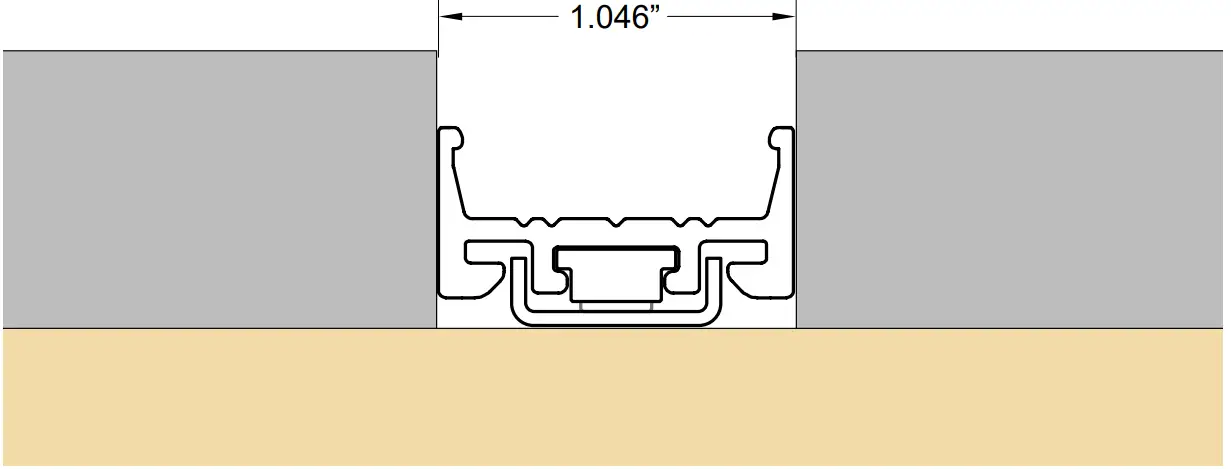
NOTE: Height of millwork for recessed OPTI should be based off the product-specific dimensions found on the cut sheet.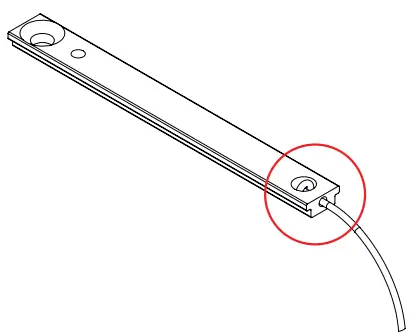
NOTE: For magnet installations requiring seismic precautions, monofilament may be used with magnet clip as pictured above.
© 2022 Q-Tran Inc. All rights reserved | 155 Hill St. Milford, CT 06460 | 203-367-8777 | [email protected] | www.q-tran.com


