Foxwell F1000B OBDII Scanner and Battery Tester User Guide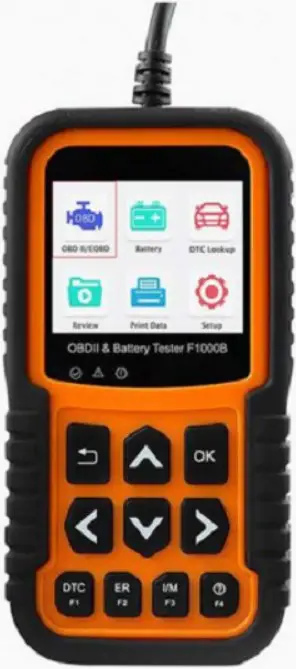
Vehicle/Battery Connection
OBDII/EOBD Test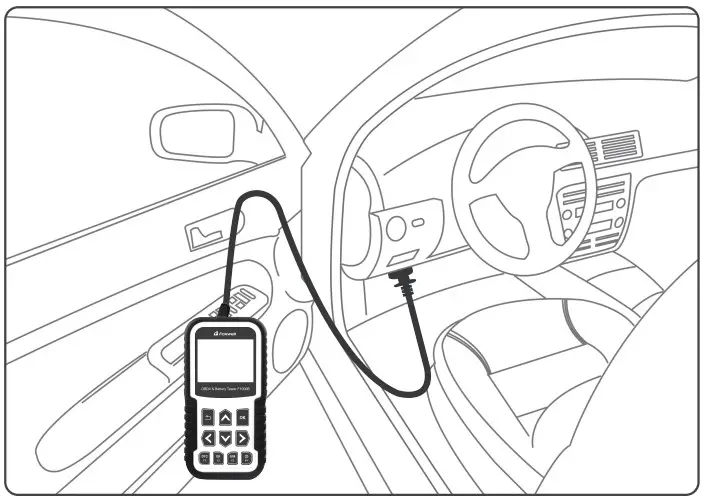
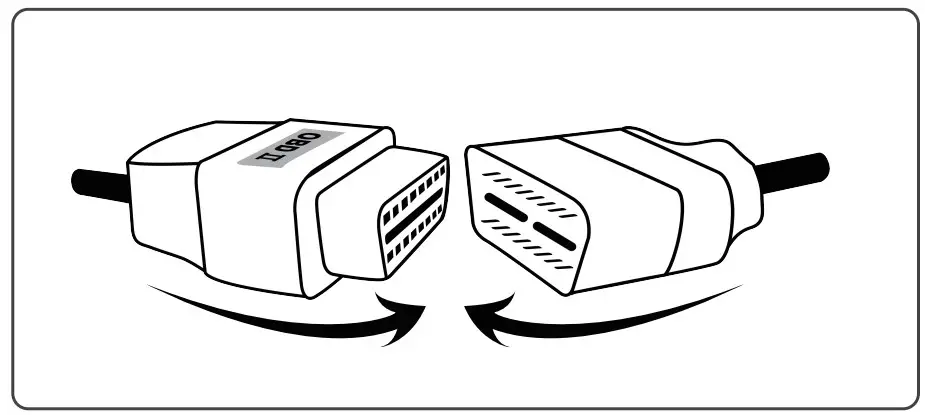
- Locate the data link connector (DLC) under the dash on the driver side of the vehicle.
- Plug the tester to the vehicle DLC with OBDII adapter.
- Switch the ignition key to the ON position.
- Choose OBDII/EOBD APP to start test.
Battery Test
If you are testing the battery inside a vehicle, make sure all accessory loads are cut off, the key is not in the ON position and the doors are closed
- Connect the current clamp cable to the OBD adapter of the scanner

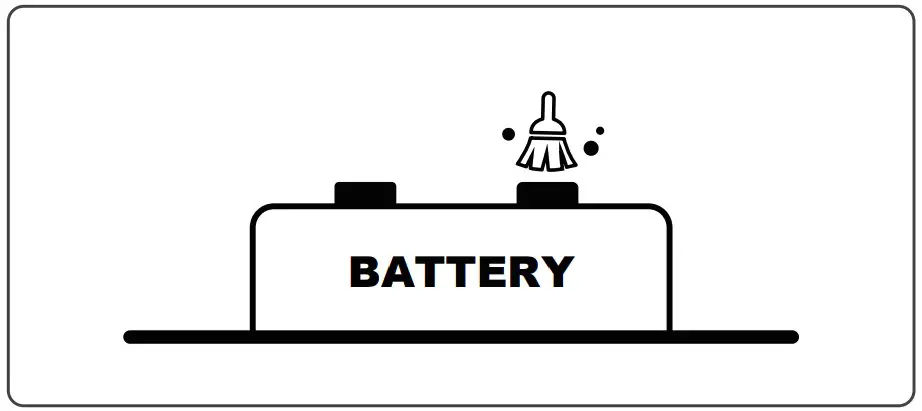
- Clean the battery posts or side terminals

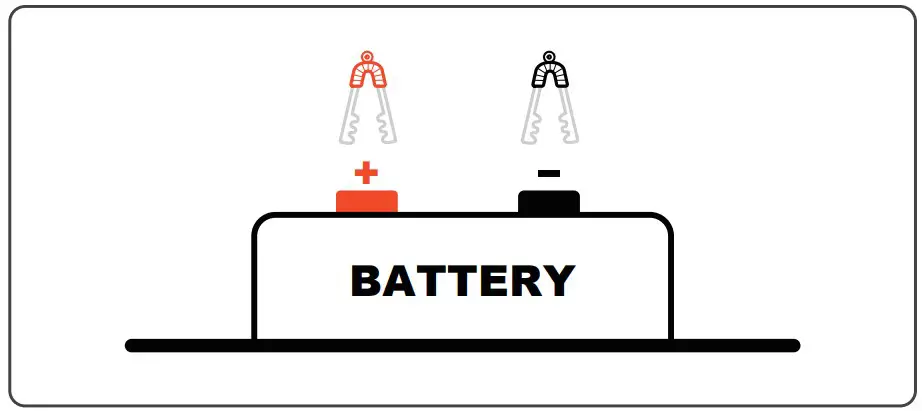
- Connect the red clamp to the positive (+) terminal and the black clamp to the negative (-) terminal.
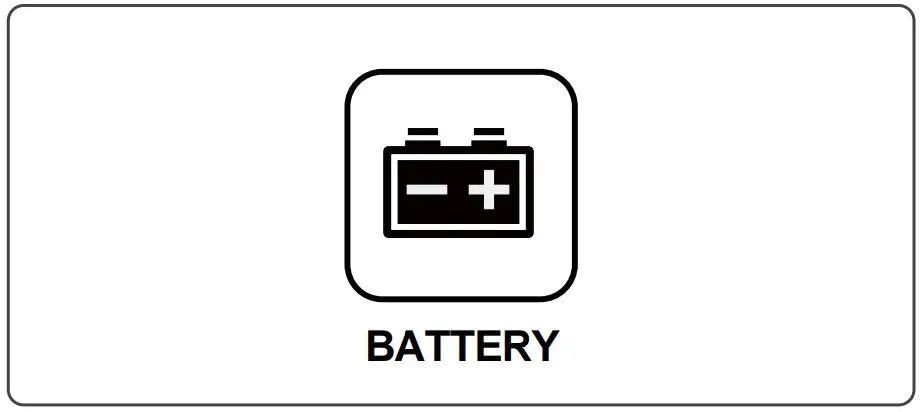
- When the tester is correctly connected, choose Battery App to start test.

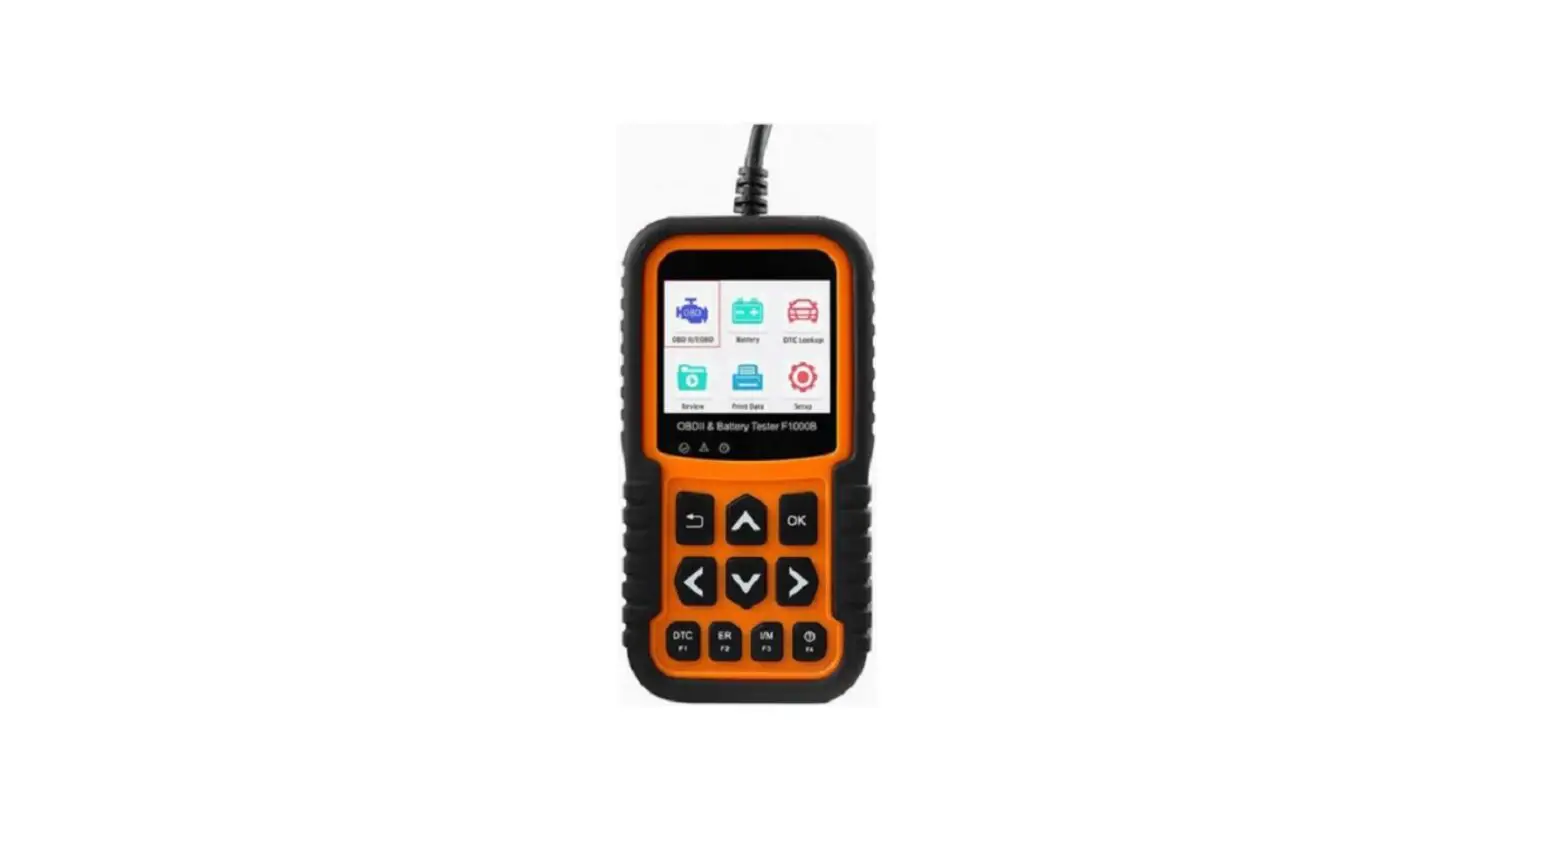
Tester Descriptions
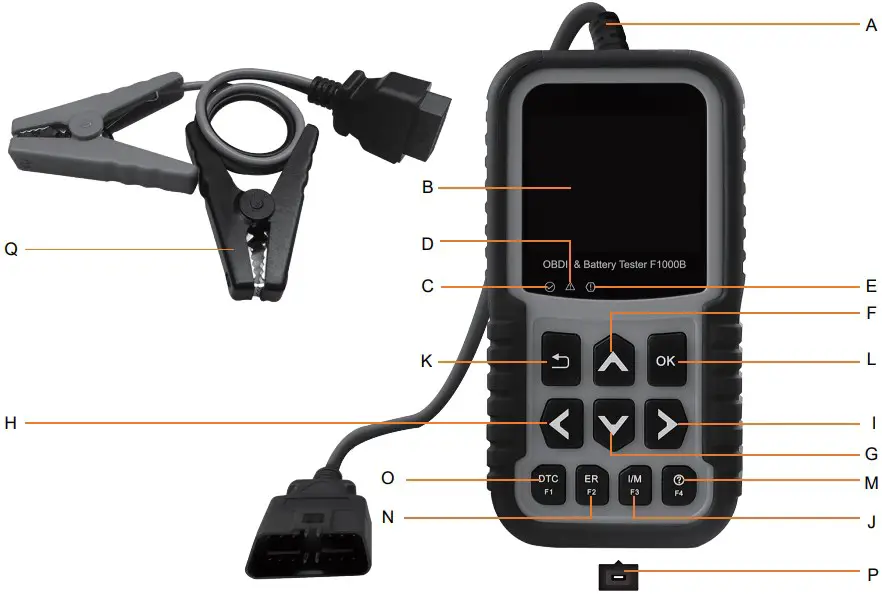
- A OBDII Cable
- B LCD Display
- C Green LED Display – indicates the engine system is working normally and no DTCs are found
- D Yellow LED Display – shows the tool finds a possible problem. Pending DTCs exist or/and some of the vehicle’s emission monitors have not run their diagnostic testing.
- E Red LED Display – indicates there are some problems in one or more of the vehicle’s systems. In this case, the MIL lamp on the instrument panel is on
- F UP Key
- G DOWN Key
- H LEFT SCROLL KEY
- I RIGHT SCROLL KEY
- J I/M Readiness (F3) Key – quick checks state emissions readiness and drive cycle verification.
- K BACK Key
- L OK Key
- M Help (F4) Key – accesses to help information.
- N ER (F2) Key – accesses to Erase code
- O DTCs (F1) Key – to read the stored DTCs.
- P USB port
- Q Battery Clamp Cable – connects with the device to perform battery testing function.
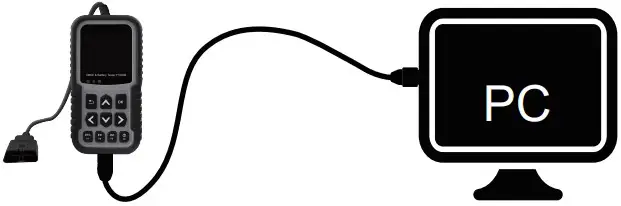
Updating

- Do not disconnect the Tester from computer or power off the computer during the process of updating.
- No Registeration Required
- PC : Windows 7, Windows 8 and Windows 10 supported
The Upgrade Process
- Download the update tool NT Wonder and install it.

- Enable NT Wonder and connect F1000B to the computer with USB cable

- Click Update online or Update offline to start update according to the software version conditions.

- An Update Finished message displays when the update is completed


Retrieve I/M
![]() Malfunction Indicator Lamp
Malfunction Indicator Lamp
![]() Diagnostic Trouble Codes
Diagnostic Trouble Codes
![]() Misfire
Misfire
![]() Fuel System
Fuel System
![]() Comprehensive Component Monito
Comprehensive Component Monito
![]() Catalyst
Catalyst
![]() Heated Catalyst
Heated Catalyst
![]() Ignition
Ignition
![]() Pending Diagnostic Trouble Codes
Pending Diagnostic Trouble Codes
![]() Evaporative System
Evaporative System
![]() Intake Air System
Intake Air System
![]() Oxygen Sensor
Oxygen Sensor
![]() Oxygen sensor heater
Oxygen sensor heater
![]() Exhaust Gas Recirculation
Exhaust Gas Recirculation
To Print Test Results
The test results stored in the tester and can be printed through computer. Test data can only be imported to your computer through NT Wonder.
- Connect the tester to the computer via USB cable provided.
- Launch NT Wonder and choose Print Button from the menu.
- Click Print key on NT Wonder to print the test data.
- Select Print Data from home screen of the tester and choose the data you want print from the option.
Contact Us
For service and support, please contact us.
![]() WebSite: www.foxwelltech.us
WebSite: www.foxwelltech.us![]() E-mail: [email protected]
E-mail: [email protected]![]() Service Number: +86 – 755 – 26697229
Service Number: +86 – 755 – 26697229![]() Fax: +86 – 755 – 26897226
Fax: +86 – 755 – 26897226
![]()


