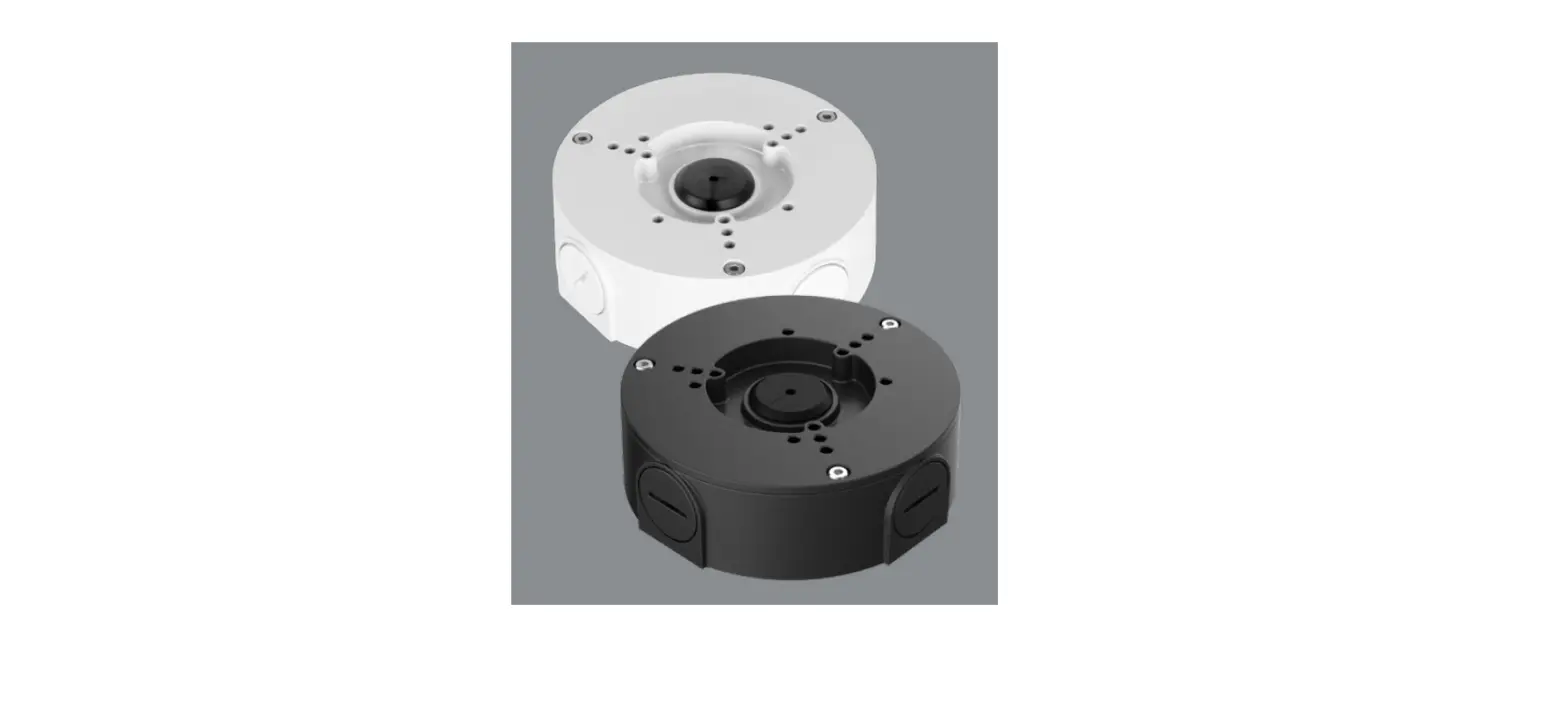
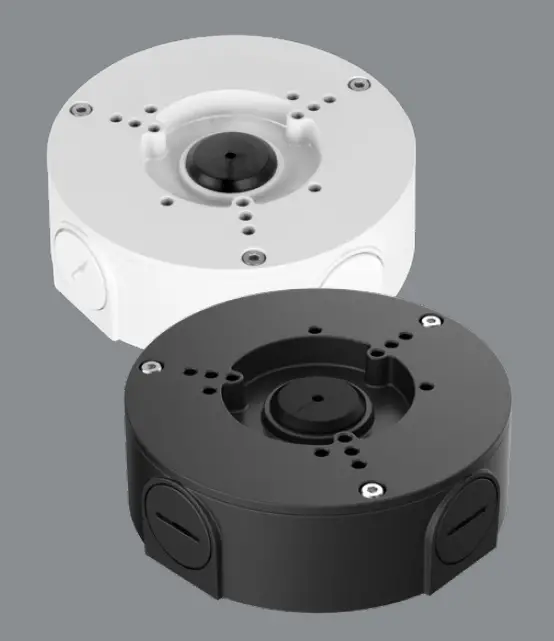
LOREX ACCJ7R3B/ACCJ7R3W Junction Box
Welcome!
Thank you for your purchase of the junction box. Here’s how to get started.
Package contents
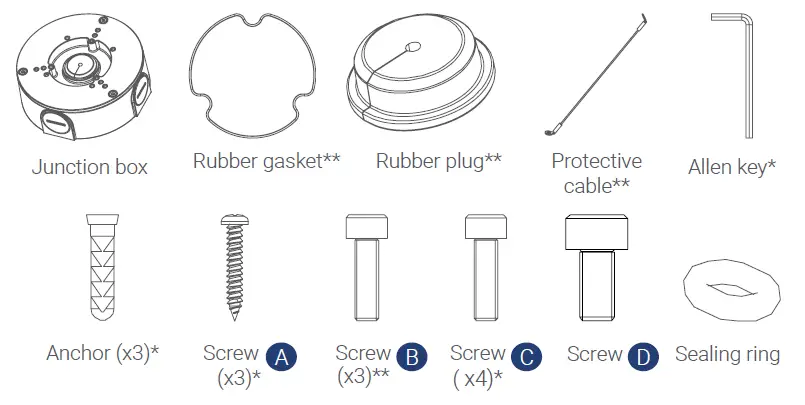
- These items are included inside the junction box.
- These items are pre-attached to the junction box.
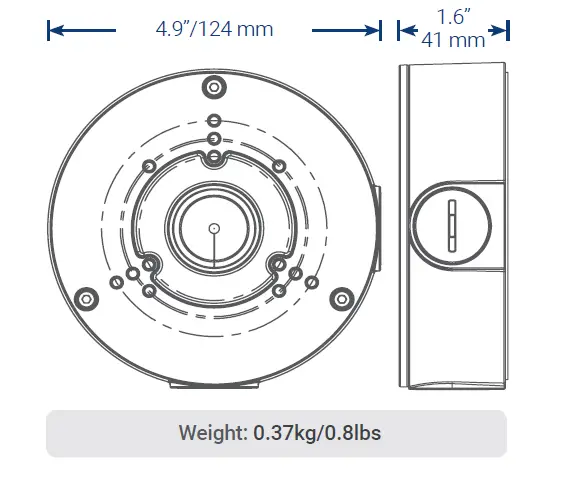
Junction box dimensions
Installing the junction box
IMPORTANT:
- Make sure to install in an area that can support the total weight of the camera and accessories.
- If using conduit, you must use thread seal tape to ensure a proper seal. Conduit size: G3/4”
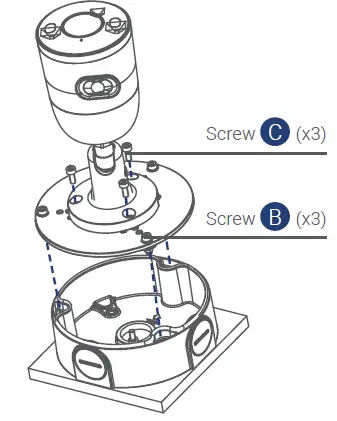
Installing cameras to the junction box
Bullet camera
Dome camera

For up-to-date information and support please visit: help.lorex.com
Lorex products come with a standard 1-year warranty. For more information about Lorex’s warranty policy, visit lorex.com/warranty.


