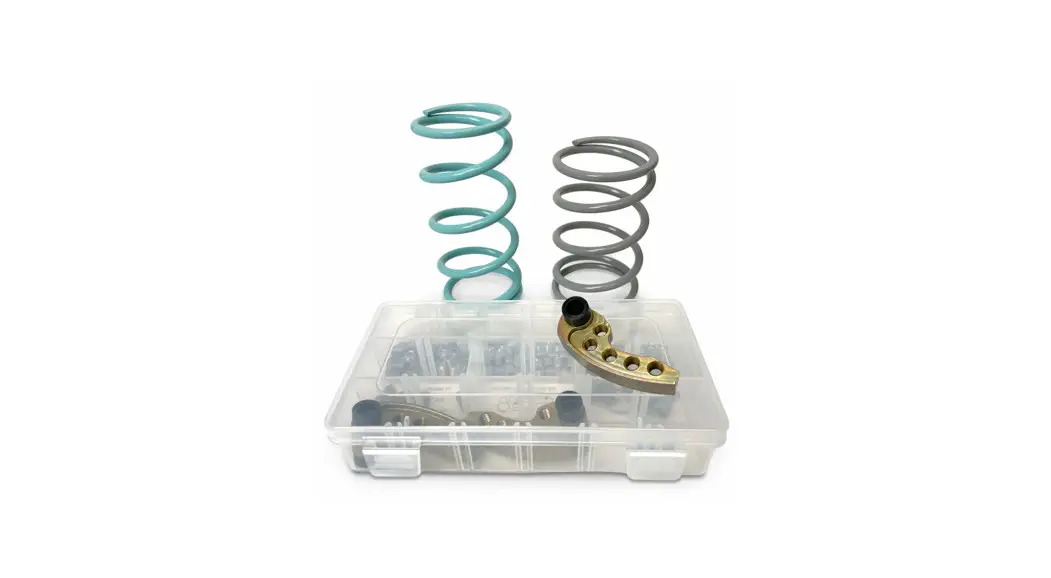
![]() POWERSPORTS 402FP0054 2021+ XP TurboS & Pro XP Shift-Tek Essential Clutch Kit
POWERSPORTS 402FP0054 2021+ XP TurboS & Pro XP Shift-Tek Essential Clutch Kit
Instruction Manual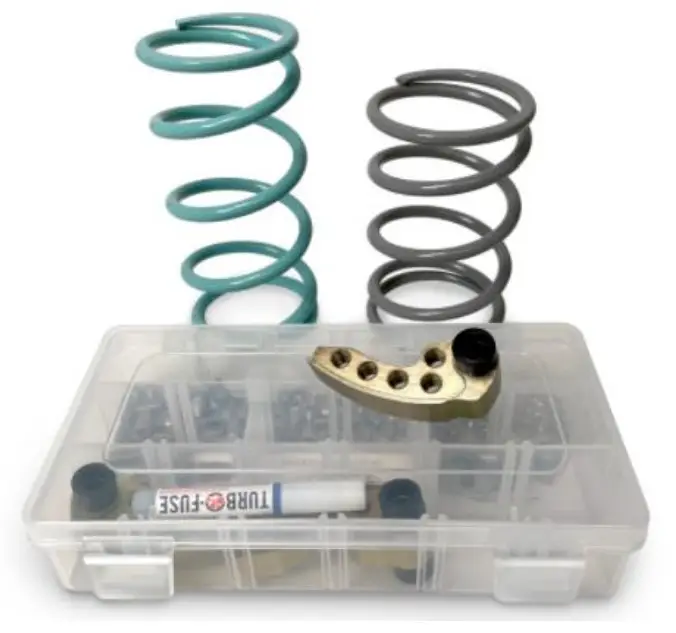
| INCLUDED PARTS | REQUIRED TOOLS |
| (1) EVP Silver Primary Spring | 10mm Socket |
| (3) Adjustable Primary Clutch Weights | Torque Wrench |
| (1) Variety of Different Weights | Blue Loctite |
| (1) Turquoise Secondary Spring | Allen Wrenches |
| Clutch Compressor Tool |
2021 XP Turbo/S Clutching Set Up
| STAGE 1 | STAGE 2 | STAGE 3 | STAGE 4R | STAGE 5R | |
| Stock Primary Spring Engagement | 1800 | 1800 | 1800 | 1800 | 1800 |
| Non-Notched Weights with Silver Spring Engagement | 2200 | 2200 | 2200 | 2200 | 2200 |
| Notched Weights with Silver Spring Engagement | 2600 | 2600 | 2600 | 2600 | 2600 |
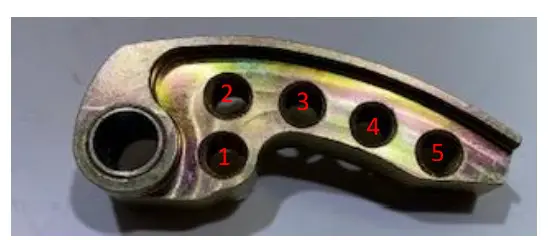
| Hole 1 | 2. 3/8″ ss | 2. 3/8″ ss | 2. 3/8″ ss | 2. 3/8″ ss | 2. 3/8″ ss |
| Hole 2 | 2. 1/4″ss | 2. 1/4″ss | 2. 1/4″ss | 2. 1/4″ss | 2. 1/4″ss |
| Hole 3 | 2. 1/4″ss | 2. 1/4″ss | 2. 1/4″ss | 2. 1/4″ss | 2. 1/4″ss |
| Hole 4 | 0 | 0 | 2. 3/16″ ss | 2.1/4″ ss | 2. 1/4″ ss |
| Hole 5 | 0 | 0 | 0 | 0 | 2. 3/16″ ss |
| Secondary Spring | Turquoise | Turquoise | Turquoise | Turquoise | Turquoise |
| Helix | stock | stock | stock | stock | stock |
| Operating RPM | 8400-8600 | 8400-8600 | 8400-8600 | 8400-8600 | 8400-8600 |
NOTE: Always install a set screw on both sides of the weight arm. Install the screws with the provided blue thread locking agent. Make sure the screws are installed with an equal amount of thread engagement. 
| STAGE 1 | STAGE 2 | STAGE 3 | STAGE 2RWI | STAGE 3RWI | Stage 4RWI | Stage 5RWI | |
| Stock Primary Spring Engagement | 1800 | 1800 | 1800 | 1800 | 1800 | 1800 | 1800 |
| Non-Notched Weights with Silver Spring Engagement | 2200 | 2200 | 2200 | 2200 | 2200 | 2200 | 2200 |
| Notched Weights with Silver Spring Engagement | 2600 | 2600 | 2600 | 2600 | 2600 | 2600 | 2600 |
| Hole 1 | 0 | 0 | 0 | 0 | 0 | 0 | 0 |
| Hole 2 | 2. 3/8″ ss | 2. 3/8″ ss | 2. 3/8″ ss | 2. 3/8″ ss | 2. 3/8″ ss | 2. 3/8″ ss | 2. 3/8″ ss |
| Hole 3 | 2. 1/4″ ss | 2. 1/4″ ss | 2. 3/8″ ss | 2. 3/8″ ss | 2. 3/8″ ss | 2. 3/8″ ss | 2. 3/8″ ss |
| Hole 4 | 2. 3/16″ ss | 2. 3/16″ ss | 2. 1/4″ ss | 2. 1/4″ ss | 2. 1/4″ ss | 2. 3/8″ ss | 2. 3/8″ ss |
| Hole 5 | 0 | 0 | 2. 3/16″ ss | 2. 3/16″ ss | 2. 3/16″ ss | 2. 3/16″ ss | 2. 3/16″ ss |
| Secondary Spring | Turquoise | Turquoise | Turquoise | Turquoise | Turquoise | Turquoise | Turquoise |
| Helix | Stock | Stock | Stock | Stock | Stock | Stock | Stock |
| Operating RPM | 8400- 8600 | 8400- 8600 | 8400- 8600 | 8400- 8600 | 8400- 8600 | 8400- 8600 | 8400- 8600 |
NOTE: Always install a set screw on both sides of the weight arm. Install the screws with the provided blue thread locking agent. Make sure the screws are installed with an equal amount of thread engagement.
Step 1: Remove the primary and secondary outer cover. Remove the drive belt. (Figure 1) 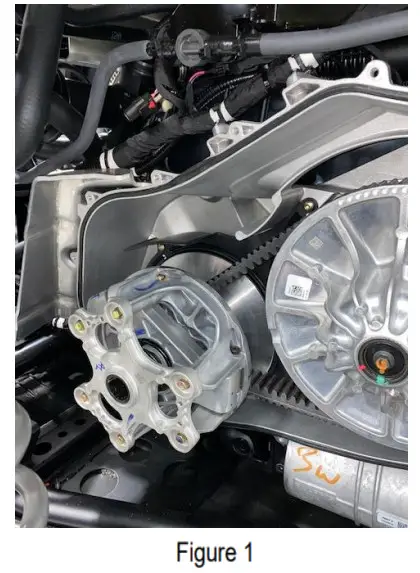
Step 2: Either pull the primary clutch off the vehicle or keep it on the vehicle. In these instructions, we kept the primary on the car. Loosen all (6) M6 primary clutch cover bolts with a 10mm socket. Only take (3) all the way out. NOTE: Apply pressure to the primary clutch cover when removing the last (3) bolts.
Step 3: Remove the OEM spring. Next, you will need a small Allen wrench and a 10mm socket to loosen the pins holding the OEM weights in. Perform this task one at a time.
NOTE: Have your Adjustable Shift-Tek weights already collaborated to your ECU Stage. See chart above. 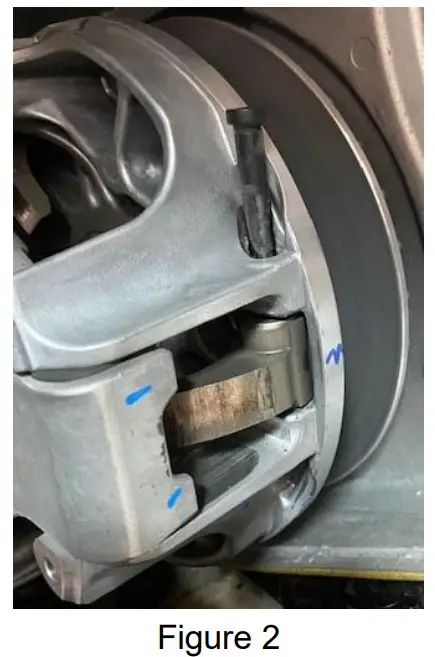
Step 4: Tighten the pin holding the weights till it stops. DO NOT over-tighten the pins. The weights should move freely with ease.
Step 5: Place the EVP spring onto the primary clutch. Place the primary clutch cover onto the spring and compress. Torque the M6 bolts down to 100in-lbs (8.3 ft-lbs). 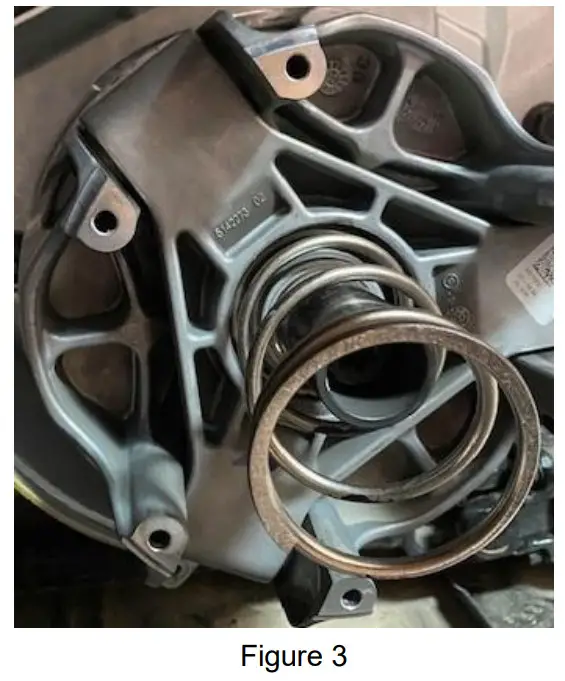
Step 6: With a 10mm socket and impact, remove the second bolt and washers. Remove secondary clutch.
Step 7: Remove the movable sheave with the rollers, and place it to the side. Place the stationary sheave into a clutch compress tool.
With a 15mm socket, remove the (3) bolts from the helix. Decompress the tool. 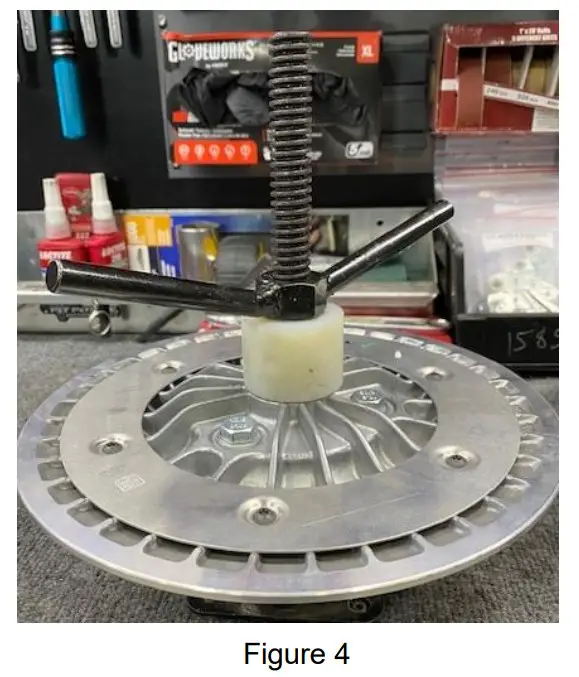
Step 8: Remove the sheave, spring cup, and OEM spring. Place the Turquoise secondary spring into the helix, followed by the spring cup and sheave. Compress everything together. Use Blue Loctite on (3) M10 bolts, torque down. 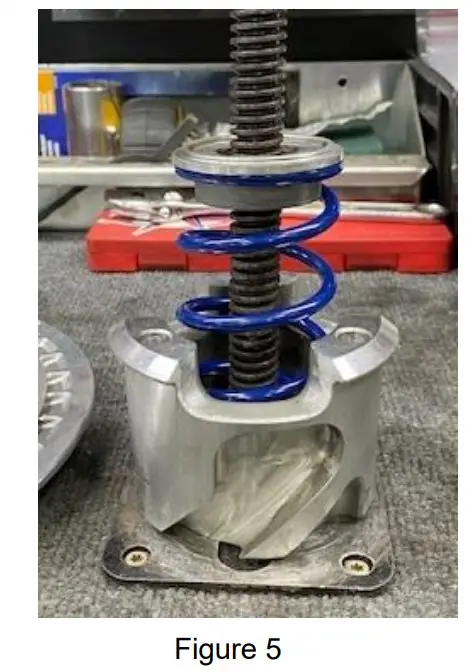
Step 9: Place both sheaves together, and make sure all the rollers are moving properly. Reinstall the secondary onto the machine.
Step 10: Reinstall the drive belt and remove the belt-changing tool. Spin the secondary until the drive belt has been seated.
Step 11: Reinstall the CVT belt cover.
Thank you for choosing Evolution Powersports products. If you require further assistance, please call our Tech Support @ (715) 247-3862
Note: This product is exempt from the emission standards and related requirements of 40 C.F.R. § 1051 as provided by 40 C.F.R. § 1051.620, and California law [e.g., vehicle code§§ 27156 and 38391]. This product is sold only for use in connection with EPA-certified, purpose-built, nonroad vehicles used solely for closed course, nonroad competition/racing, and not used for any recreational purpose or on public highways or right of ways maintained by and open to the public. This product is sold only in connection with machines that do not fall under state and/or federal noise or emission standards/regulations. Purchasers who/that purchase this product represent and warrant that the product is purchased only in connection with EPA -certified, emission-regulations-exempt, and noise regulations-exempt competition/racing vehicles as interpreted under applicable state and/or federal law. Questions: Call Evolution Powersports at (715) 247-3862.
WE’D LOVE TO HEAR FROM YOU – LEAVE A REVIEW i& STAY CONNECTED! ![]()


