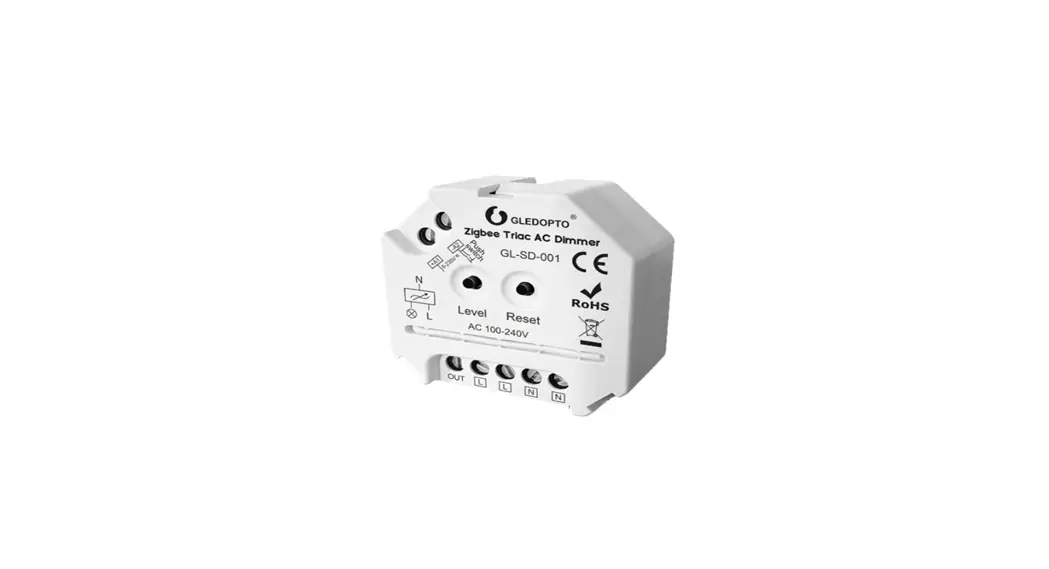
![]() Zigbee Triac AC Dimmer
Zigbee Triac AC Dimmer
User Instruction
PRODUCT DESCRIPTION:
The Zigbee Triac AC Dimmer can be used for switching and dimming the brightness of lights loaded.
SPECIFICATION:
Size: 48x45x21mm
Model NO.: GL-SD-001
Input Voltage: 100~240VAC
Output Voltage: 100~240VAC
Output Current: 1.5 A Max
Protection rate: IP20
Radio Frequency: 2.4GHz
Operating Temperature: -20°C~60°C
COMPATIBLE LOAD TYPES:
| Load Symbol | Load Type | Maximum Load |
| Dimmable LED lamps | 200W@220V 100W@110V |
| Dimmable LED drivers | 200W@220V 100W@110V |
| Incandescent lighting, HV Halogen lamps | 400W@220V 200W@110V |
| Low voltage halogen lighting with electronic transformers | 200W@220V 100W@110V |


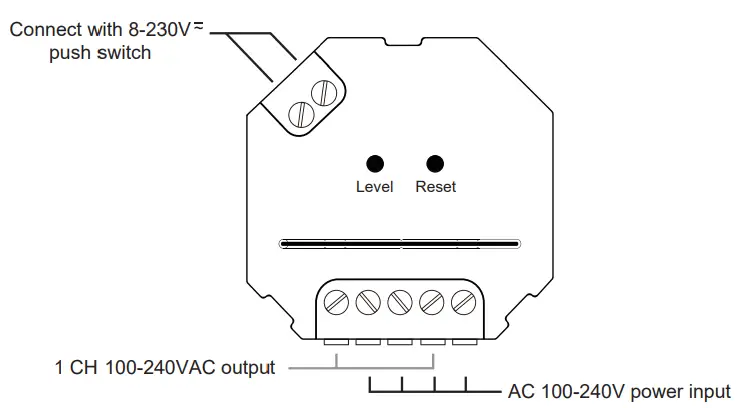
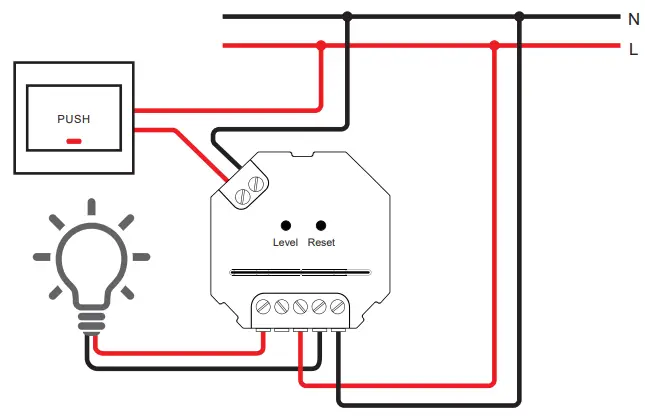
Wiring Diagrams:
FUNCTION OF THE DEVICE:
Function of “RESET” key
- MIN Brightness Setting
Long press “Reset” key to set the “MIN brightness”. Once done, the brightness of the light can only be adjusted between the“MIN brightness” and 100% brightness.
*Note:
The dimming range of the dimmer is 1%-100%(brightness), but some lights may flicker while dim to 1%, thus the “MIN Brightness Setting” is needed. - RESET
Short press for 5times to RESET the device.
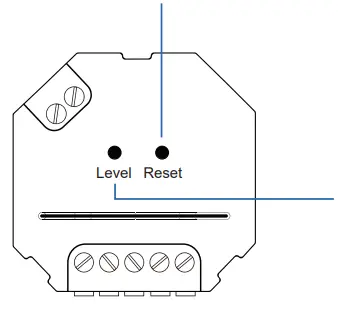
Function of “LEVEL” key
① ON/OFF
Short press the “Level” key to turn on/off the device.
② DIMMER
Long press for adjusting the brightness of light.
Zigbee Clusters the device supports are as follows:
Input clusters
- 0x0000: Basic
- 0x0003: identify
- 0x0004: Groups
- 0x0005: Scenes
- 0x0006: on/off
- 0x0008: Level Control
Output clusters
- 0x0019: OTA
NETWORK PARING:
- Pairing with Zigbee Hub
Add the device to a zigbee network via coordinator or hub
① Please ensure the device wasn’t paired.
Otherwise, please “RESET” the device according to the part Ⅶ “RESET”. - After STEP 1, there will be a pairing process about 90s. Once times out, you need to repeat the①.

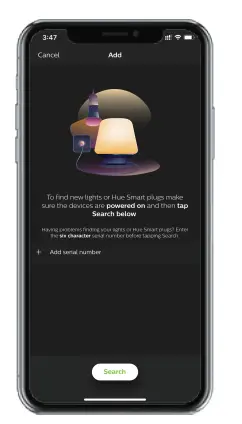
- Open the zigbee App (hue or Amazon Alexa), and add the device.

- The device *show itself on App and the light (connected to the device) will *blink 4 times.
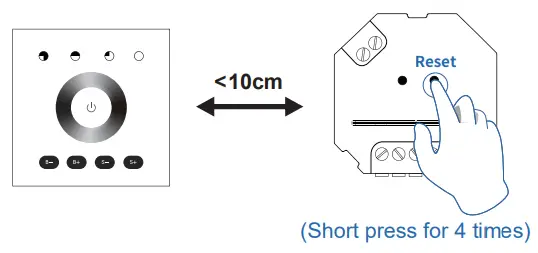
2. TouchLink to a Zigbee Remote Control / Touch Panel
- Please make sure the distance between the device and remote control/ touch panel less than 10cm;

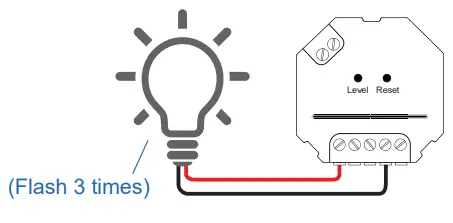
- Method 1: Short press “Reset” button four 4 times to start “Touchlink Commissioning”.
The device will flash 3 times to indicate successful enter the touch link pairing mode. Method 2: Re-power the device.
a. If the device is not added to the zigbee network, “Touchlink Commissioning” will start after a 15s, 165s timeout.
b. If the device is already added to the zigbee network, it will start “Touchlink Commissioning” immediately, 180s time out.
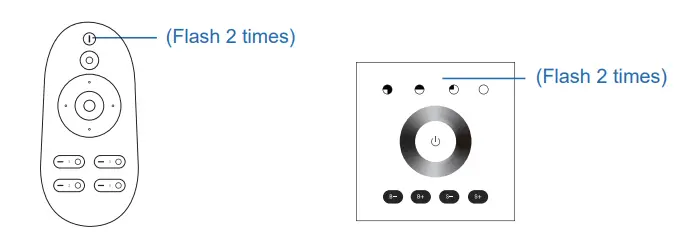
Please repeat the operation once timeout. - Set the remote / touch panel to enter “Touchlink Commissioning”.
please refer to the manual of the corresponding remote / touch panel. - The paring light will blink twice to indicate successfully connected.
Now the device shall be zigbee remote / touch panel controllable.
 Method 2: Re-power the device.
*Note:
- If the device & remote control are in different zigbee networks, each remote can link with one device.
- If the device & remote control are in the same zigbee network, max of 30 remotes can link with one device.
- For the Philips Hue /Amazon Echo Plus, the device & remote control shall be in the same network before TouchLink.
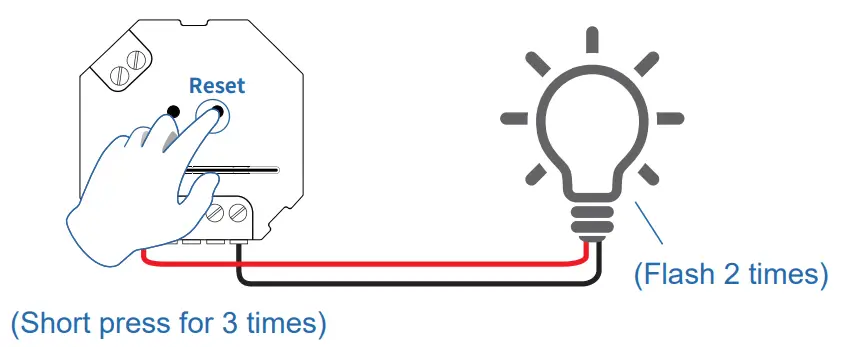
3. Find and Bind Mode
*Note: Make sure that the device & remote are in the same network.
- Short press “Reset” button (or re-power the device) 3 times.
The light (connected to the device) will blink twice, and start “Find and Bind” mode to find the “Target Node”.
- Set the remote control/touch panel (target node) to enter the “Find and Bind” mode to search for “Bind Initiator”. Please refer to the manual of the corresponding remote / touch panel.
- “Find and Bind” is completed, and the remote / touch panel shall have an indication.
Now the device shall be remote control/touch panel controllable.
4. Pairing with GLEDOPTO 2.4GHz RF Remote Control / Touch Panel
- battery power on the RF remote control/touch panel, within 3s, press zone “I” (of any group you want the light into) to start the pairing process.

- the light (connected to the device) blinks 4 times to indicate successfully paring.
- now the device shall be 2.4GHz remote control/touch panel controllable.
RESET
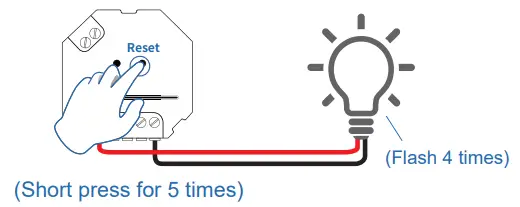
1. RESET the Zigbee Network
- Method 1: Delete the device on theAPP.
Method 2: Short press“RESET” key on the device 5 times.
Method 3: Power cycle(on/off) the device 5 times.
Method 2 : Method 3 :
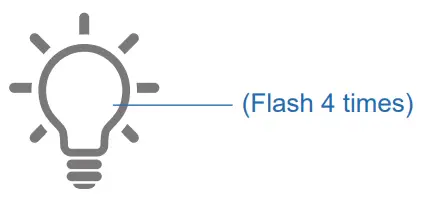
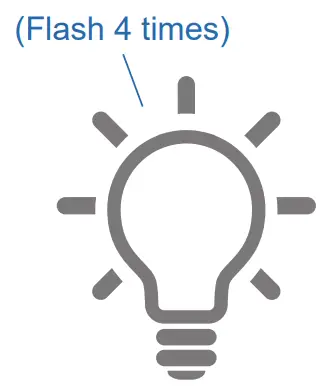
- The light (connected to the device) Flash 4 times, reset is done.
 Method 3 :
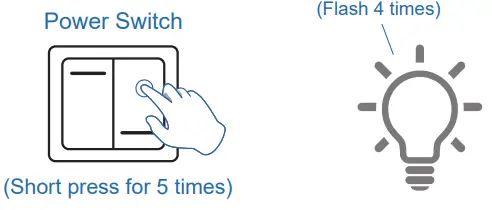
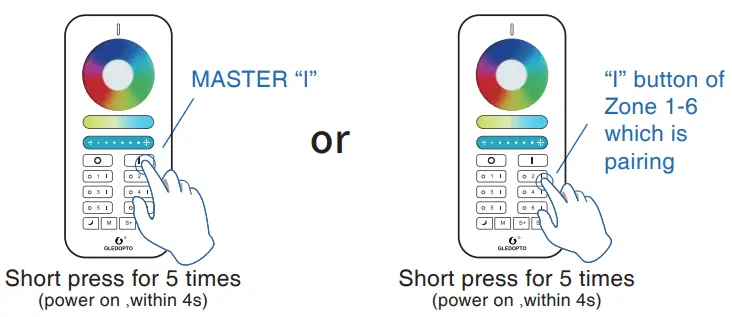
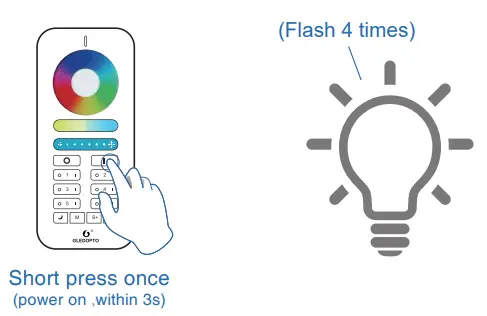
2. RESET the 2.4GHz RF Network
- Method 1: power on the light, short press(within 4s) “MASTER I” button 5 times. (or the “I” button of Zone 1-6 which is pairing).

Method 2: power on the light, short press(within 4s) the “-” button 5 times. (or“-” button of Zone 1-4 which is paring).
- The light (connected to the device) shall flash for 4 times.

- Reset is done.