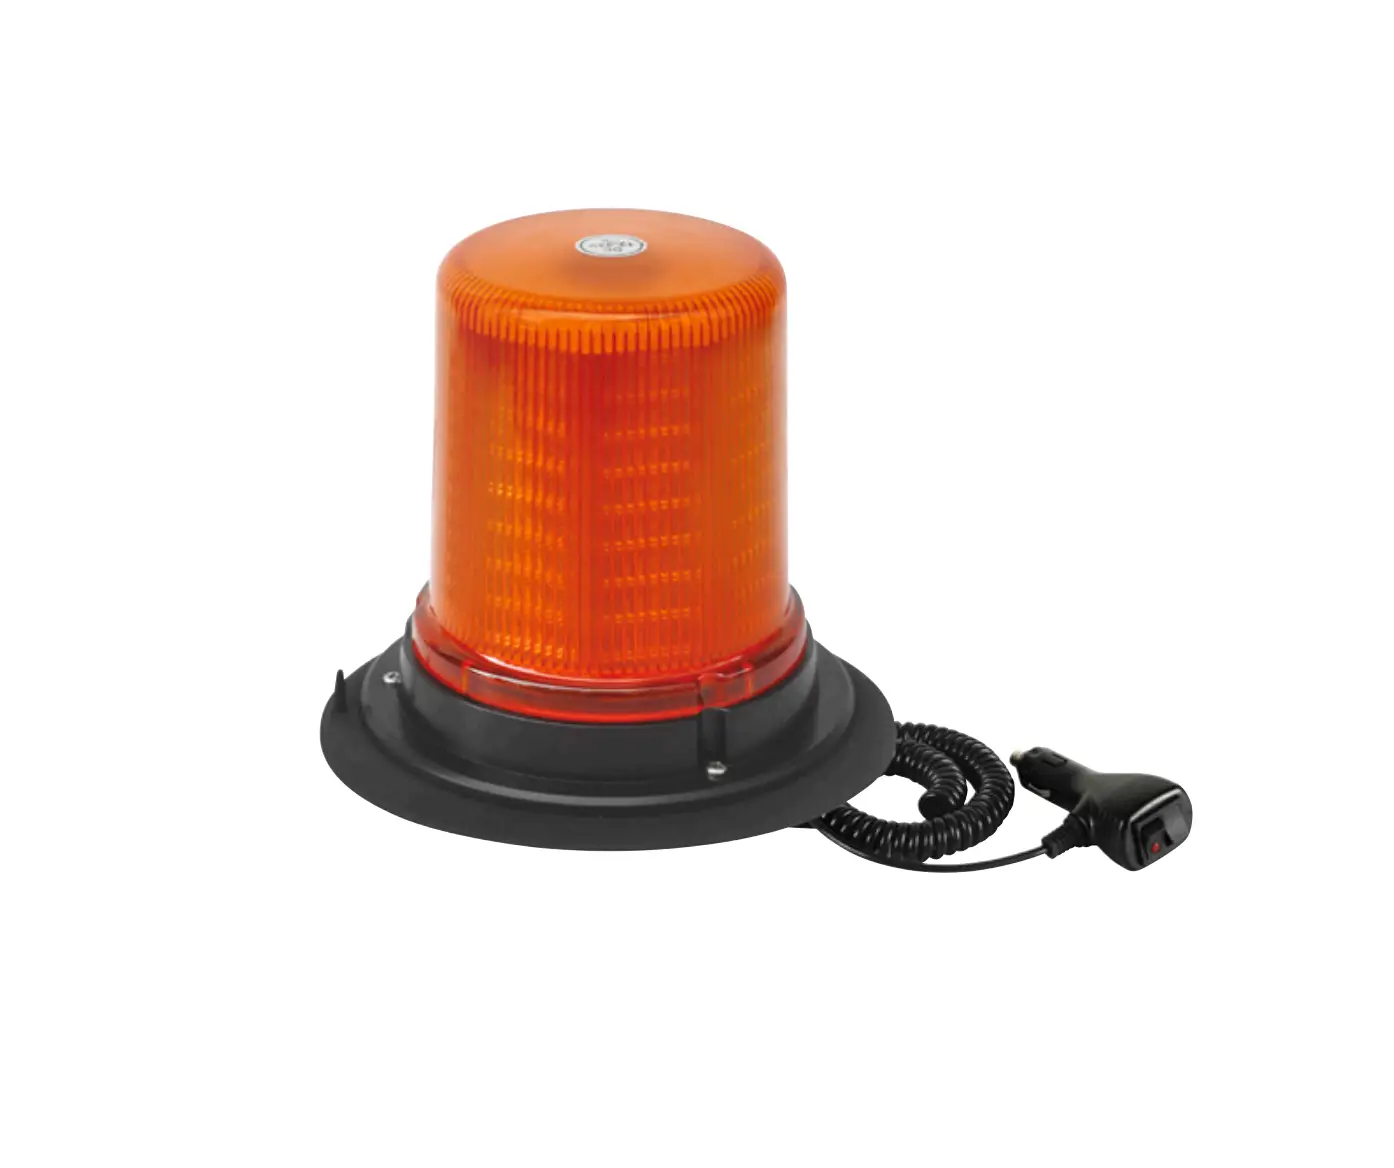
HAMRON 005081 Warning Light
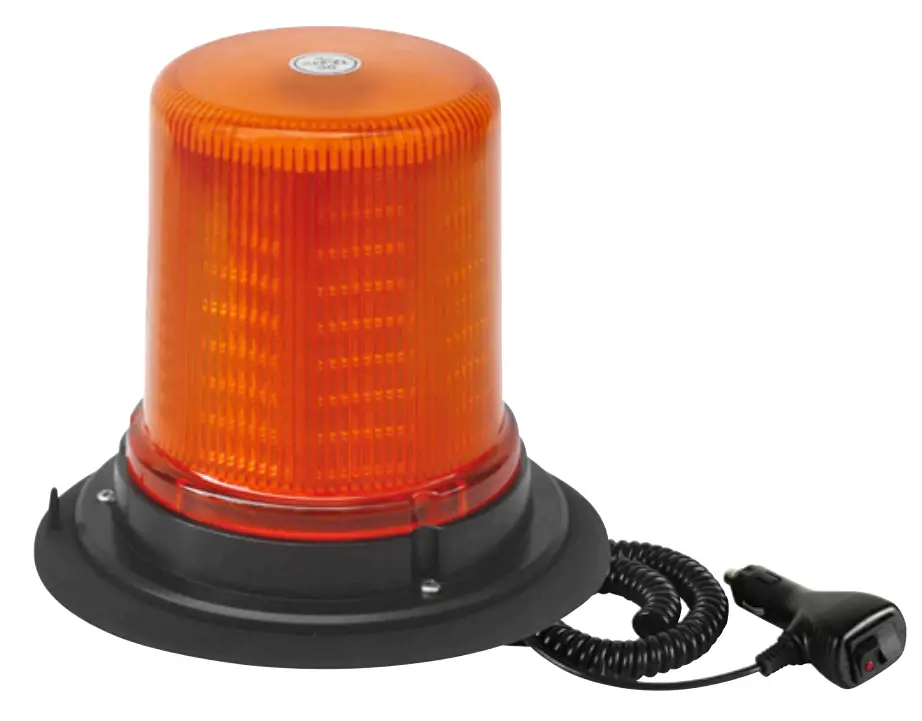
WARNING LIGHT
OPERATING INSTRUCTIONS
Important! Read the user instructions carefully before use. Save them for future reference. (Translation of the original instructions).
SAFETY INSTRUCTIONS
- Complies with ECE R10, ECE R65 (yellow and blue).
- Never look directly into the warning light- risk of eye damage.
TECHNICAL DATA
| Rated voltage | 12/24 V DC |
| Power consumption, 12 V | 5.2 A |
| Power consumption, 24 V | 2.1 A |
| Number of LEDs | 128 |
| Number of flashing patterns | 18 |
| Temperature range | -30- +60°( |
| Protection rating | IP 67 |
| Magnetic base | Yes |
| Cord length | 3m |
DESCRIPTION
- ON/OFF (switch)
- MODE (choice of flashing pattern)
FIG. 1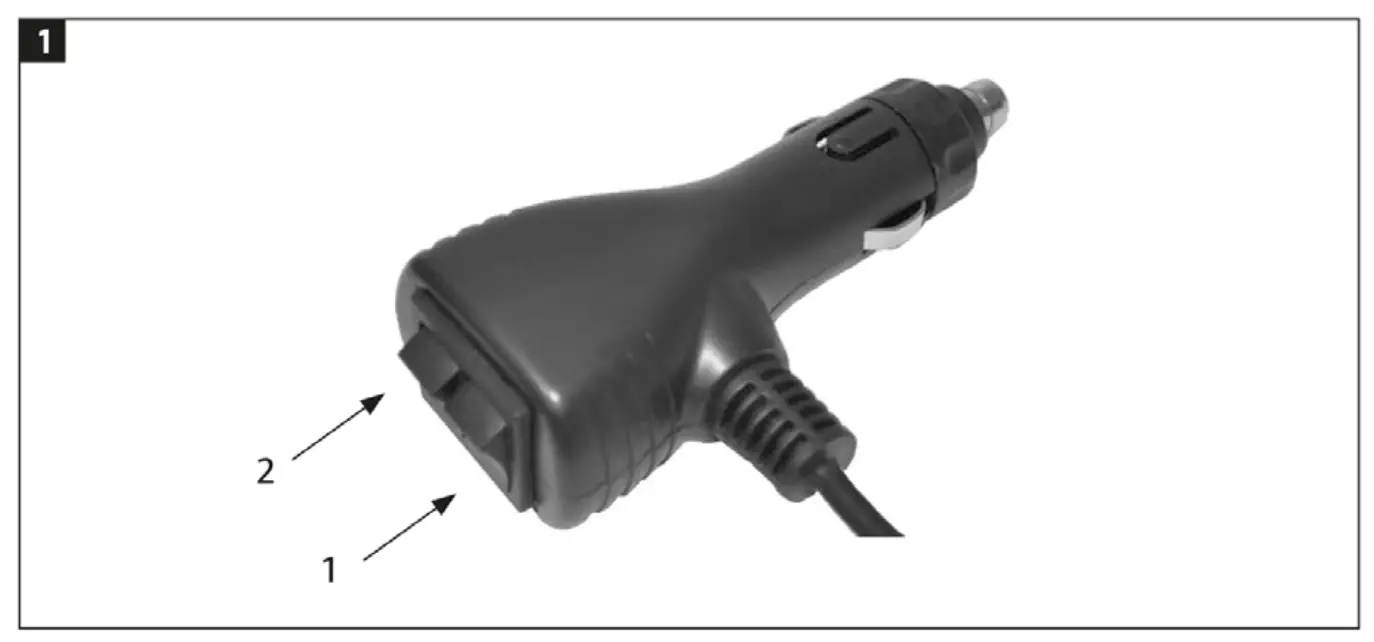
MOUNTING
MAGNETIC BASE
The base is magnetic and attaches to all magnetic surfaces. For mounting on vehicles, where there is a risk of the warning light coming loose, it is recommended to screw on the base instead.
FIG. 2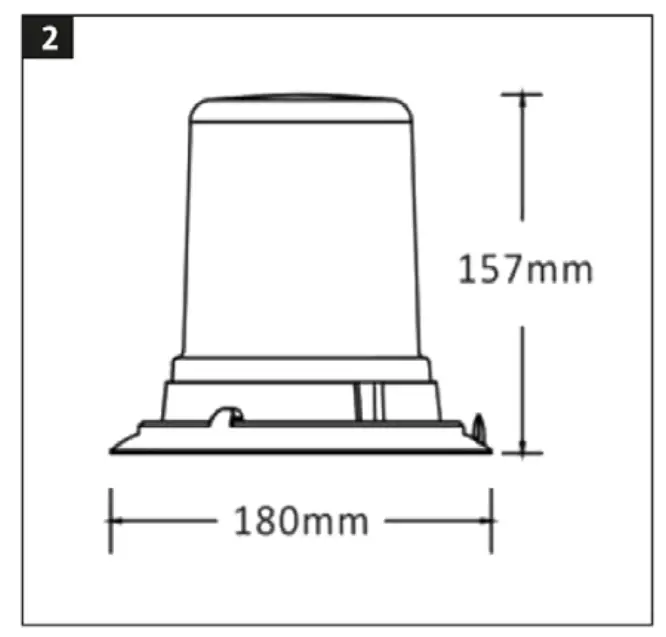
SCREW FASTENER
FIG. 3
CENTRE SCREW/DIN FASTENER
FIG. 4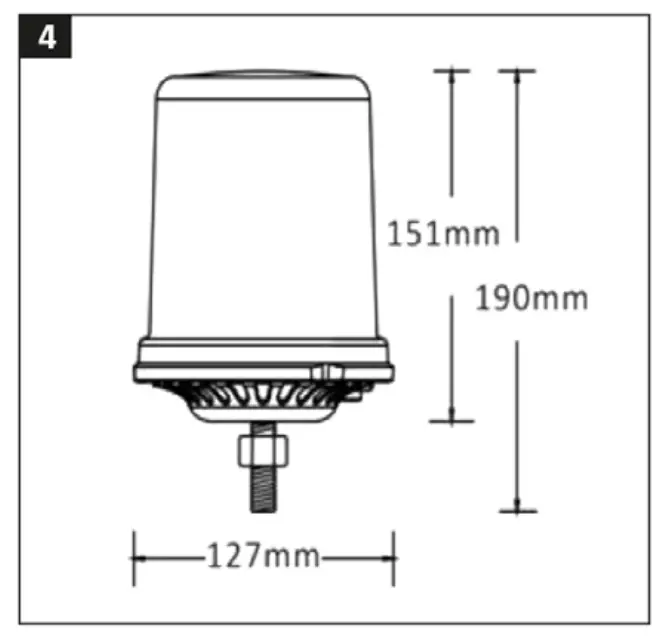
FIG. 5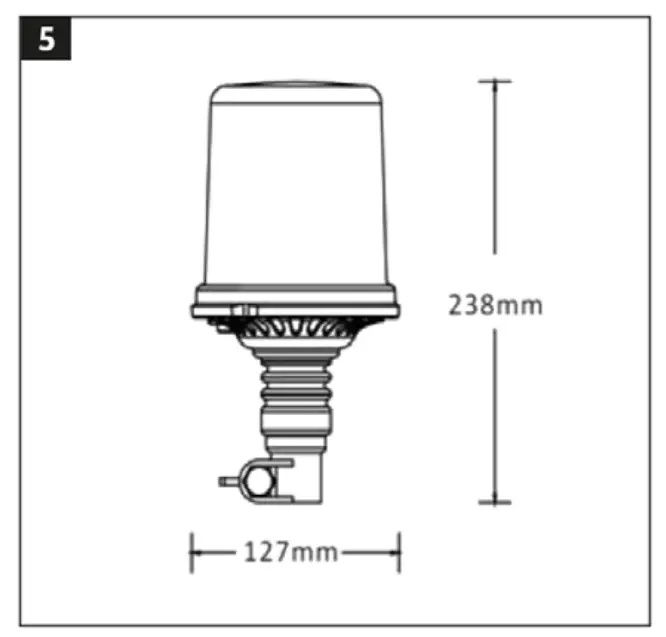
USE
CONNECTION WITH 12\24 V CONNECTOR
Starting/switching off
Connect to the vehicle’s 12/24 V socket. Press the switch on the 12/24 V connector to switch the warning light on and off.
CONNECTION THROUGH FIXED INSTALLATION
Connect the wires as follows:
- RED: +V DC
- BLACK: Earth
- WHITE: Synchronising:
- Connect the white wire to synchronise up to eight flashing lights.
- YELLOW: Choice offlashing pattern:
- Switch between 18 different flashing patterns by creating contact between the yellow and black wires for max one second. Repeat the procedure until the required flashing pattern starts. If the wires are connected for three to five seconds the previous flash pattern starts. Contact for more than five seconds switches the unit off. The last selected pattern is resumed when started.
FLASHING PATTERN
Switch between the following flashing patterns by pressing the MODE button. Switch patterns by holding in the MODE button for no more than 1 second. Press the button for 3-5 seconds for the previous pattern. If the button is pressed for more than 5 seconds the light will switch off. The last selected pattern is resumed when started.
| 1 | Single flash (slow) | 10 | Cycle (#1, #7) |
| 2 | Single flash (R65) | 11 | Cycle (#4, #8) |
| 3 | Double flash (slow) | 12 | Cycle (#5, #9) |
| 4 | Double flash (R65) | 13 | Cycle (#2, #8, #5, #9) |
| 5 | Four flashes | 14 | Single flash (slow) |
| 6 | Eight flashes | 15 | Single flash (fast) |
| 7 | Slow rotation | 16 | Double flash (slow) |
| 8 | Medium-fast rotation | 17 | Double flash (fast) |
| 9 | Rapid rotation | 18 | Constant |