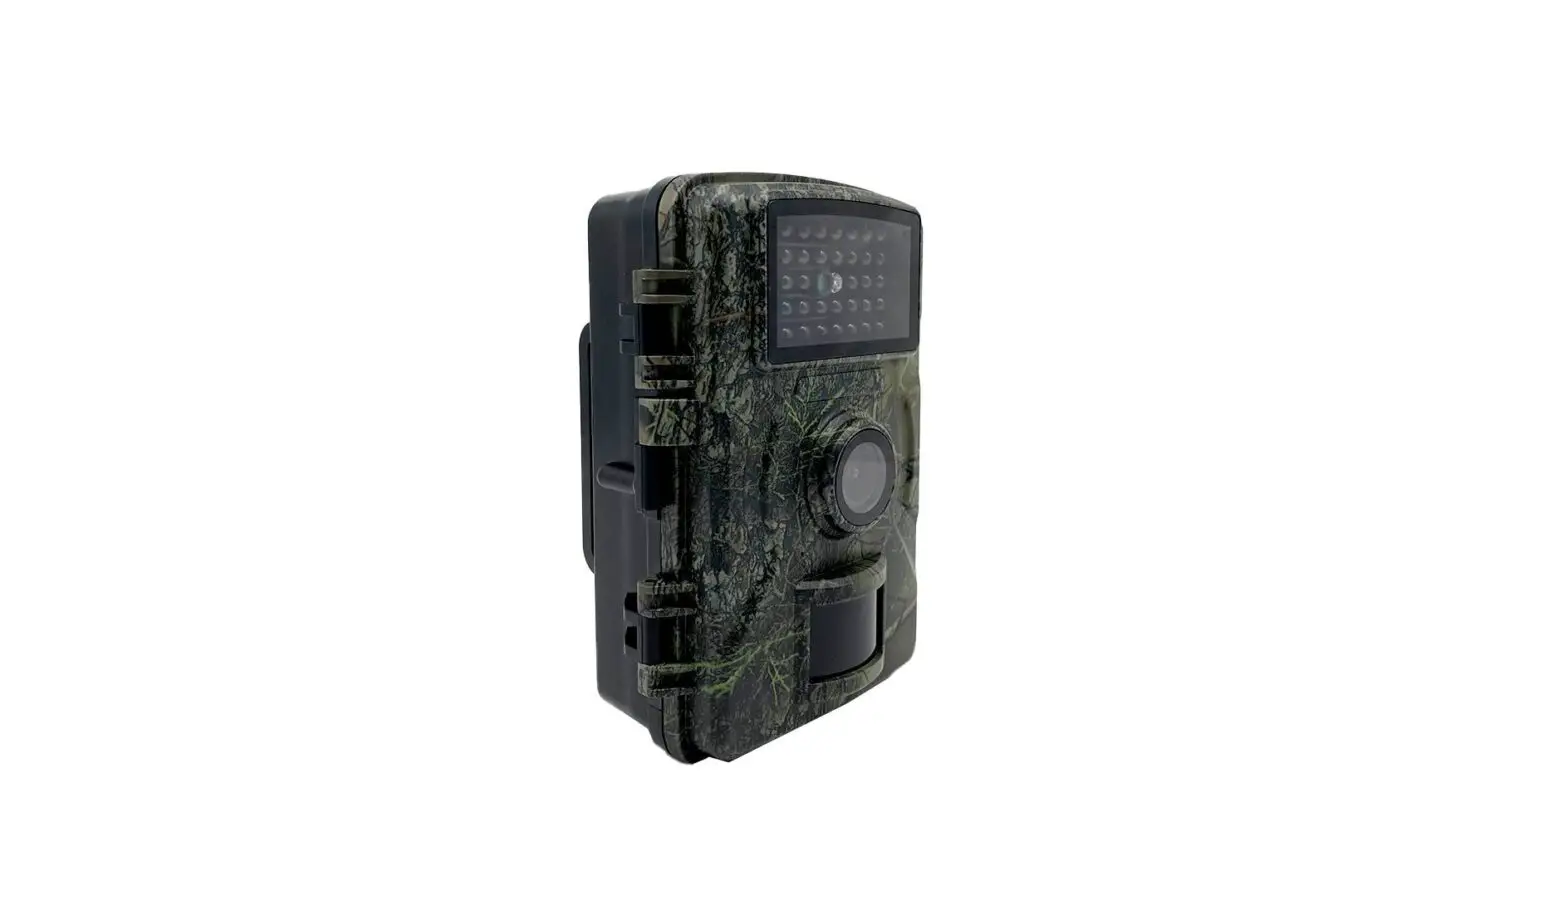
Berger Schroter DH1 16MP Wildlife Camera User Manual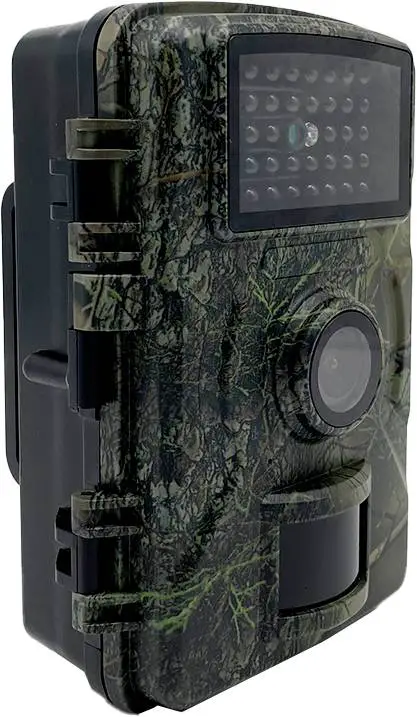
Technical data
| Model | DH1 Wildgame camera, 16MP |
| Dimensions | LxWxH: 135x95x65mm |
| Memory size | up to 32GB memory card |
| Power supply | Internal: 8x Mignon alkaline battery External: 6V DC connector, 2A |
| Standby power con- sumption | <0,35mA |
| Display | 2,0“ TFT Display |
| Image size | 1x – 3x image burst, 1.3MP to 16MP |
| Video size | 1920×1080, 1280×720, 640×480 |
| Video length | 10sec. to 3min. |
| Sound recording | yes |
| Trigger | Single image, single image+video, vi- deo |
| Trigger time | 0.7sec, with 4GB Micro SD card |
| White balance | yes, automatic |
| Lens angle | 90° |
| Infrared light | 38 Black-LEDs, 940nm |
| PIR Sensor | up to 10 m |
| Bitz range | approx. 20m |
| Protection class | IP66 |
| Installation | Mounting tape or tripod |
| Menu languages | D, GB, F, CZ, PL, P, NL |
| Special features | Password protection, date, time, moon phase and temperature on each image |
Scope of delivery
1x DH1 wildgame camera, 16MP
1x webbing for tree attachment
Designation
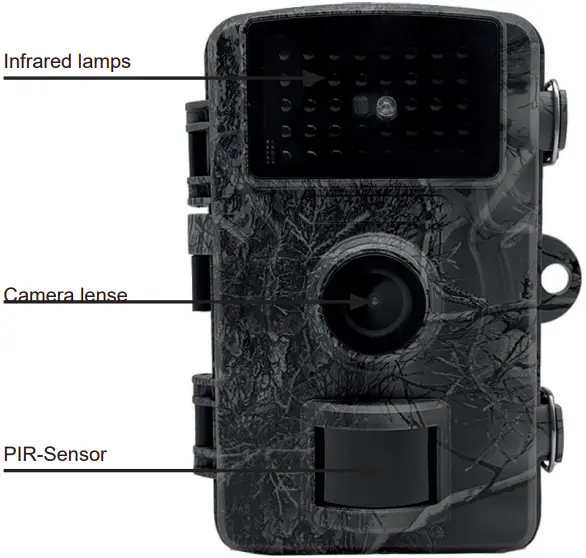
Description
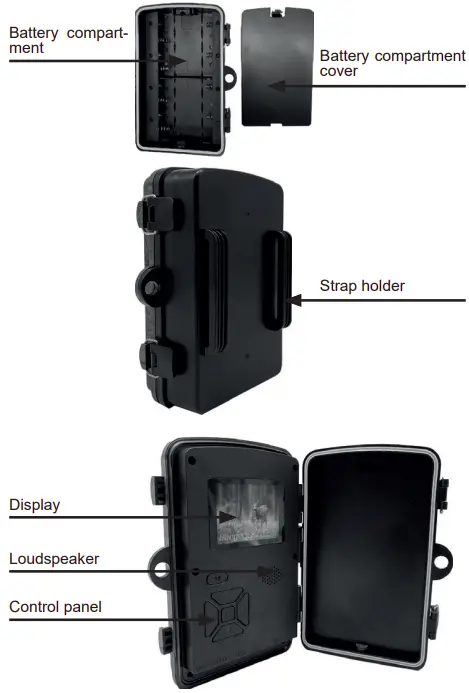
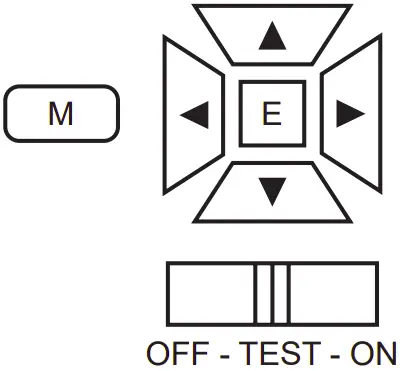
- This camera has the following connections: USB interface, TF card slot and external DC power connector. Three levels power/ mode switch for selection: OFF/TEST/ON;
- LED light indicator: red means PIR monitoring; white means image or video recording.
Use
Battery
The use of AA batteries is recommended for the power supply.
Make sure that the positive and negative terminals of the battery match the symbols on the housing.
If you are not going to use the camera for a long period of time, remove the battery from the camera to avoid possible damage to the camera due to leakage; In addition, the camera can also be powered by external DC power (6V/2A), solar panels, etc. In „TEST“ mode, „Low Battery“ is shown on the display when the battery is low.
Insert TF card
This camera has no built-in memory and therefore cannot be operated without a TF card. The TF card supports a capacity of up to 32 GB. Before inserting the TF card into the TF slot, please check if the capacity of the card exceeds 32 GB and make sure that the card has been tested.
Test mode
Turn the switch to the „TEST“ position and enter the setting mode.
In this mode, as with a normal digital camera, you can take pictures or videos or enter the menu to set parameters. There are six access keys on the keyboard:
Briefly press the „▲/▼“ key to set camera/video.
Briefly press the „E“ key to set manual photo/video recording. The captured photos or videos (depending on the camera settings) are saved on theTF card. Briefly press the „M“ key to enter the menu mode for changing settings, briefly press „E“ to confirm the setting changes.
ON-Mode
When the switch is in the „ON“ position, the camera switches to real-time mode. At the same time, the camera starts working without manual operation. When game or other objects enter the PIR detection range, photos or videos are taken immediately.
When game moves out of the PIR detection range, the camera switches off and goes into standby mode.
Description:
In general, it is recommended to place the camera at a height of 1 to 2 metres above the ground.
Note:
To avoid possible false triggering due to temperature and monitoring errors, do not point the camera at a heat source (e.g. the sun) or near branches. Remove or near tree branches near the front of the camera.
Advanced settings
The tracking camera is delivered with factory settings. You can change the settings according to your needs, please make sure the camera is in settings mode.
Advanced settings
Briefly press the „M“ key to enter or exit the menu. Briefly press the „▲/▼“ key. to move the cursor, briefly press the „◀/▶“ button to change the setting and briefly press the „E“ button to confirm the change; remember to briefly press the „E“ button to save the change, otherwise the new setting will be lost.
| Photo mode | Camera Video Take photo + video | Select whether you want to take a pic- ture or record a video. In Cam+Video mode you first take a photo and then a video. |
| Languages | Enter | English, Chinese (Simplified), Chinese (Traditional), Japanese, Korean, Russian, French, German, Czech, Portuguese, Polish, Dutch, Turkish, Thai |
| Image size | 16MP 12MP 8MP 5MP 3M 1.3M 0.3M | Choose the image pixels you want, 0.3MP to 16MP is optional, higher resolution has better image quality but takes up more TF memory so it takes longer to write larger files to the TF card and slightly slows down the exposure time |
| Video length | AVI 10 seconds 10 seconds to 3 minutes. | Videos in AVI format can be played back on most video players. |
| Date/Time | Enter | Briefly press the „ENTER“ key to set the date and time. |
| Password pro- tection | ON OFF | Set a password to protect the came- ra from being used by unauthorised users. |
| Camera Name | ON OFF | Select “ON” to assign a name for your camera. You can use a combination of 6 letters/digits. |
| Sound recor- ding | ON OFF | The default setting is on. When it is on, the camera can record, otherwise it only records silent video. |
| Formatting | ON OFF | If you format the TF card, all files will be deleted. If your TF card has been used in other devices, it is strongly recommended to format the TF card. |
| Reset factory settings | Cancel Confirm | Briefly press the „E“ key to restore the factory settings. |
File formatting
The pictures and videos from the camera are saved in the PHOTO or VIDEO folder on the TF card. The name of the picture file is saved as PICT0001.JPG and the name of the video file is saved as PICT0001.AVI. In Open mode, you can use the supplied USB data cable to download these files to the computer, or you can insert the TF card into the card reader and connect the computer to browse the files on the U-Disk. AVI video files can be played on most multimedia devices, e.g. Windows MediaPlayer, Quick Time, etc.
Questions & Answers
Question:
I have forgotten my password. What can I do?
Press and hold the „M“ + „E“ keys, switch on the unit, turn the switch to the „TEST“ position and switch off the unit. The camera will be reset to factory settings, all last set parameters (including any passwords) will be deleted.
Question:
My camera displays the following „At low voltage it is difficult to obtain night video. / It is difficult to obtain night video under low voltage.“ What does this mean?
When the camera is turned on, the message „It is difficult to obtain night video under low voltage“ appears, indicating that the battery is very low. If the battery voltage is lower than 4.0 V, the infrared light cannot be switched on. The camera cannot take pictures or record videos at night. The power consumption of the infrared light is very high and exceeds normal power consumption. It is recommended to set the video length shorter or as needed during the day. The camera does not need to switch on the infrared light and can still record videos.


