Apps Video Wall Control II App for Android
User Manual
System Requirement
APP name: Video Wall Control II
Ver. 1.4 ![]()
Android version 4.4 or later
Size: 77M
Google Play Download Link
https://play.google.com/store/apps/details?id=com.bw.videowallcontrol
Google Play Download QR code
 https://play.google.com/store/apps/details?id=com.bw.videowallcontrol
Before APP Installation
You have to connect Host / Client / Ethernet Switch / Access Point (Wi-Fi router) together.
Connects your mobile phone by Wi-Fi and set the IP address at same subnet with the Host / Client.
System default is Static IP which shown on the label at bottom of unit as 169.254.X.X (subnet mask 255.255.0.0) to hosts and clients, you could also set to DHCP or Static IP, please refer to user manual web setting chapter: IP Setup.
How to get the IP address of receiver:
- Connect monitor with receiver, local IP shows on right bottom screen when receiver booting or transmitter not connected( or no video input).
- Press remote control button MENU, 1, ENTER (Network Information), it will shows the receiver IP Address on screen.
How to get the IP address of transmitter:
- Connect monitor with receiver, connect receiver with transmitter and set in the same channel, remote IP shows on right bottom screen when receiver booting or no video input from transmitter.
Set IP address of transmitter/receiver by command:
Press and hold panel button “+” then power on to set factory default then enter engineering mode. In engineering mode Power and Link LED will be flash together, IP address of unit will be set to Static IP 192.168.0.88 temporarily, login to the web page by browser and change IP settings in API commands column as below(x can be one of numbers 1~254):
aspartame s ip_mode static
aspartame s ipaddr 169.254.x.x
aspartame s netmask 255.255.0.0
aspartame save
Commands can be applied one by one, or connected them by “;” to apply at once as below: astparam s ip_mode static;astparam s ipaddr 169.254.x.x;astparam s netmask 255.255.0.0;astparam save Also you could use private IP address/subnet mask you preferred like 192.168.x.x/255.255.255.0
Basic Operation
First Page 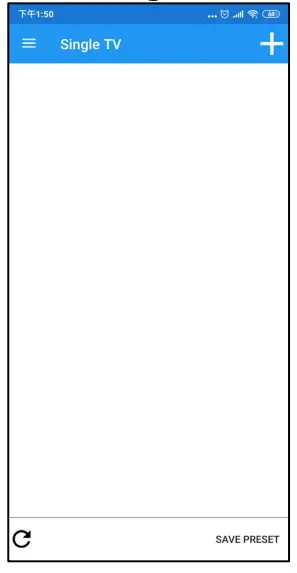
It will show Single TV page when enter the APP Touch top right 「+ 」button to enter Scan TV page
Add Receivers 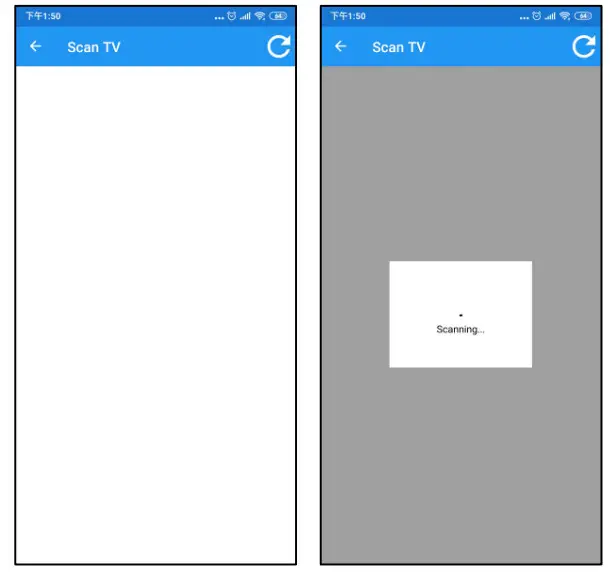
Touch top right refresh icon to start search existing receivers in the network.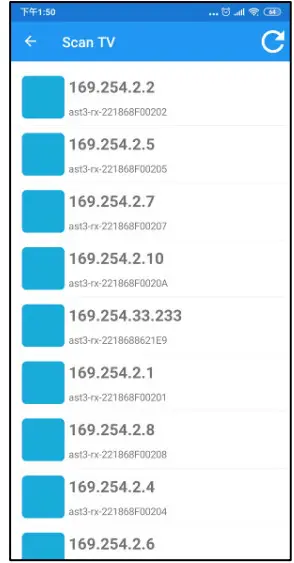
It will show all receivers with pure blue icon in the list Touch IP address to enter TV information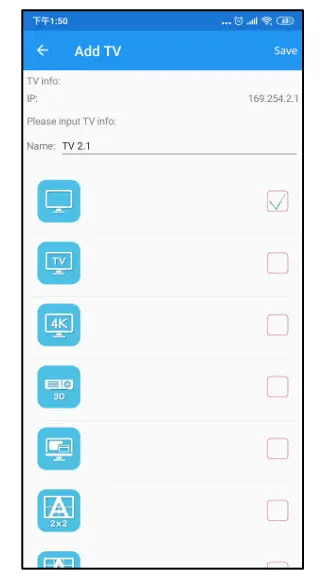
Enter the name of TV which connected to the receiver and select the icon you prefer.
Touch top right 「Save 」button to finish setting.
Notice: TV name must be unique and not duplicated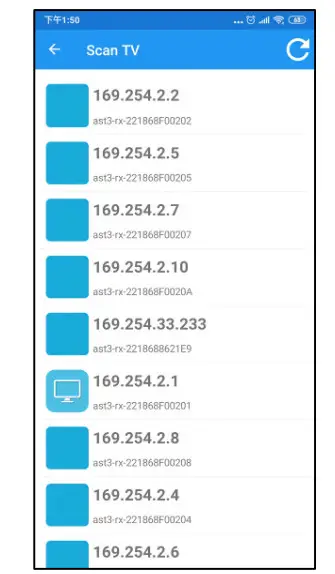
Return to Scan TV page you will see the icon you selected in front of the TV which you just add.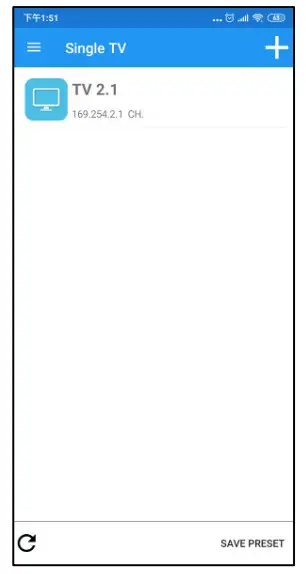
Return to Single TV page you will see the client which you just add.
Add more receivers by same steps above.
Add Transmitters
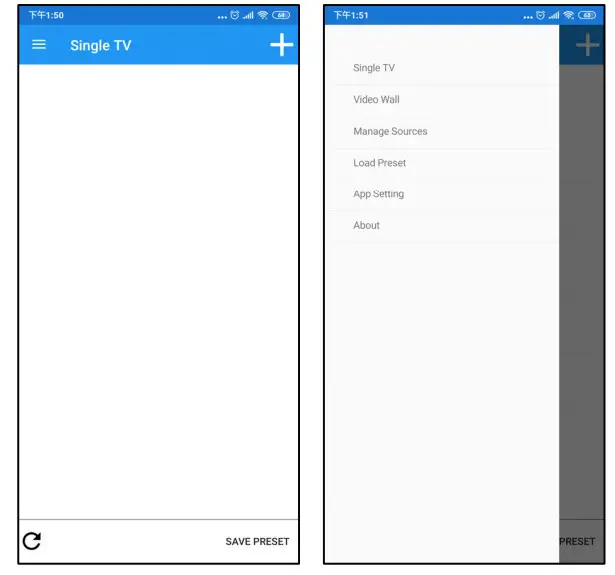
Touch top left Hamburger button to show full menu
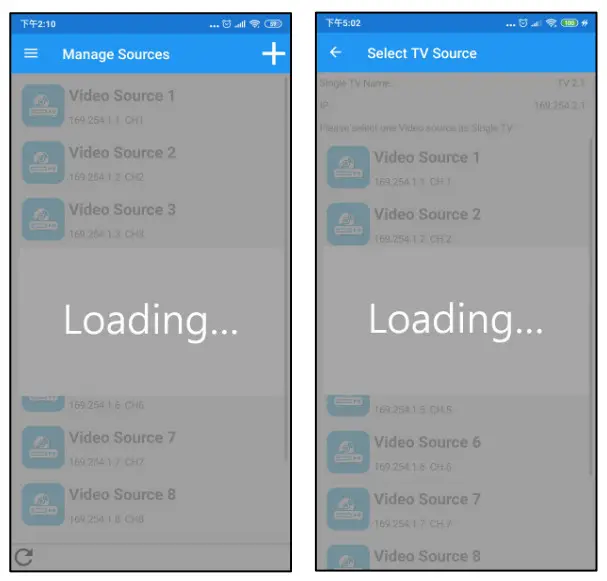
Touch Mange Sources to enter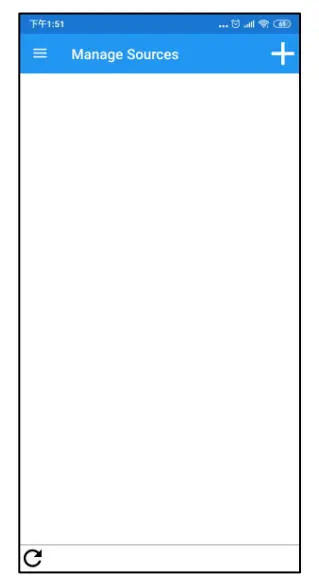
Touch top right 「+ 」to enter Scan Video Source page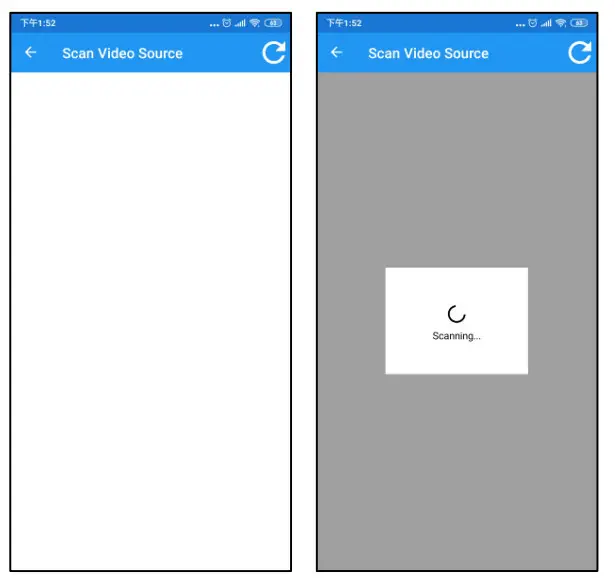
Touch top right refresh icon to start search existing transmitter in the network. 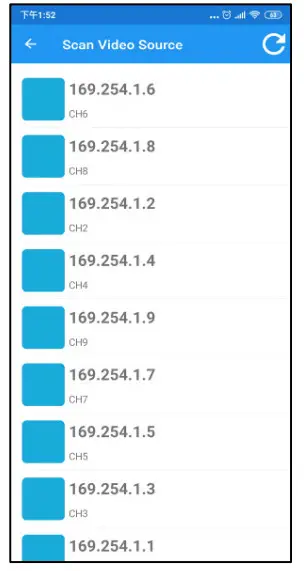
It will show all clients with pure blue icon in the list Touch IP address to enter video source information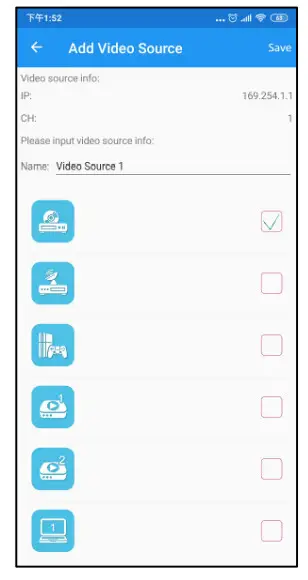
Enter the name of video source which connect to the transmitter and select the icon you prefer.
Touch top right 「Save 」button to finish setting.
Notice: the name and channel number must be unique and not duplicated.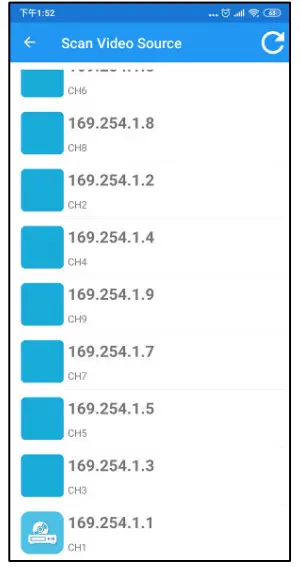
Return to Scan Video Sources page you will see the icon you selected in front of the transmitter which you just add.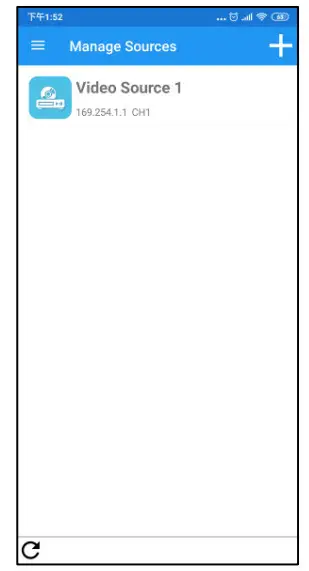
Return to Manage Sources page you will see the transmitter which you just add.
Add more transmitters by same steps above.
Set Channel of Transmitters
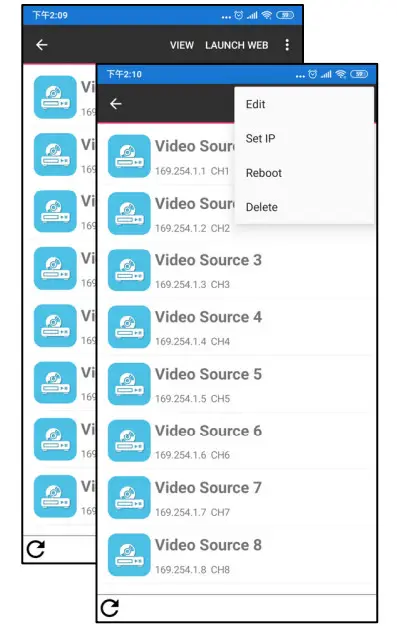
Long press the name of transmitter to show extra functions.
Touch top right 「… 」button to show full menu then touch Edit to enter setting page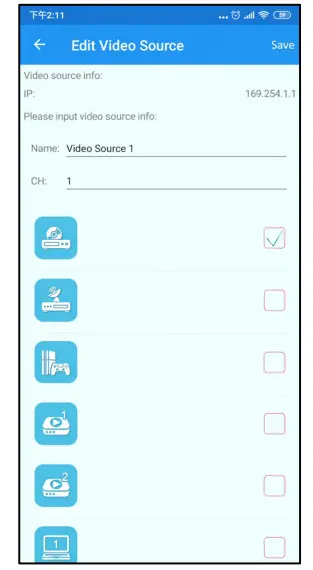
Enter channel number (0~999) then touch top right 「Save」button to finish setting
Switch Channel of Receiver 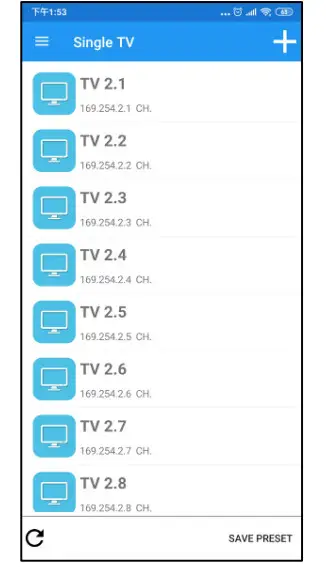
Back to Single TV page and touch name of receiver to enter Select TV Source page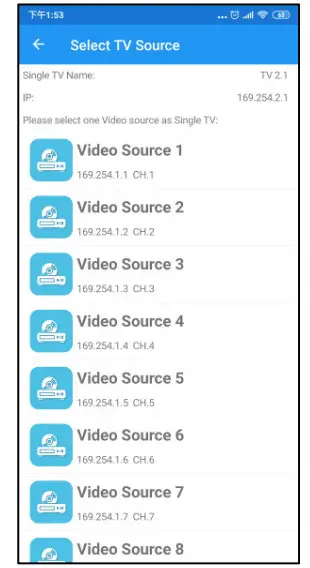
In Select TV Source page it will show all registered transmitter for selection.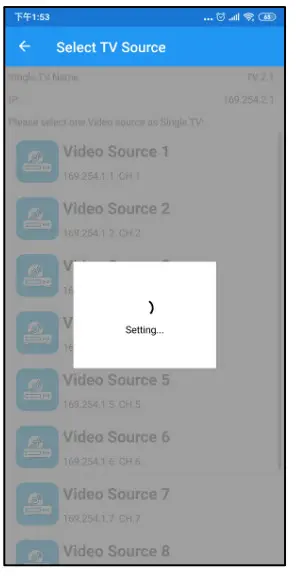
Touch the name of video source icon to switch.
The selected channel will be switch immediately.
Set TV Wall from receivers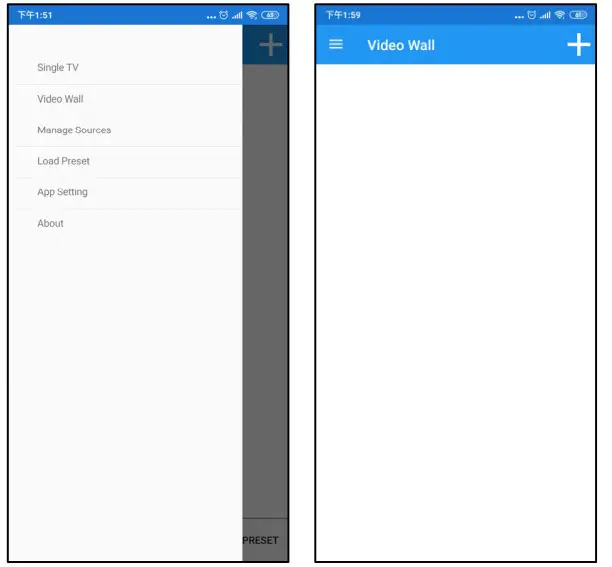
Touch top left Hamburger button to show full menu
Touch Video Wall then touch top right 「+ 」to enter Add
Video Wall page
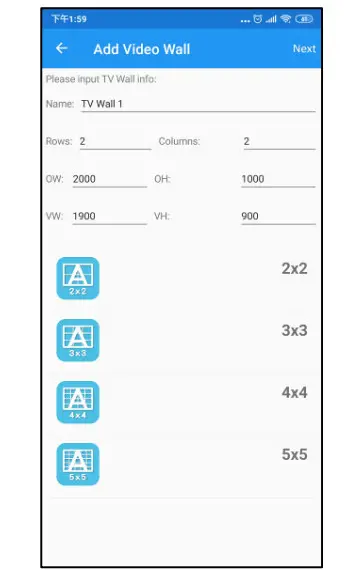
You could select default layout 2*2~5*5 in below then touch 「Next 」button.
Also, you can enter the number 1~5 of rows and columns to set video wall as a rectangle.
Enter the size (mm) of TV to set bezel and gap compensation as below: 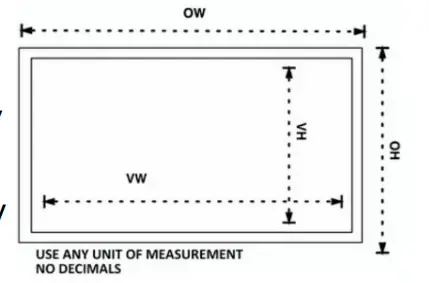
OW: Outside Width of TV
VW: Viewable Width of TV
OH: Outside Height of TV
VH: Viewable Height of TV
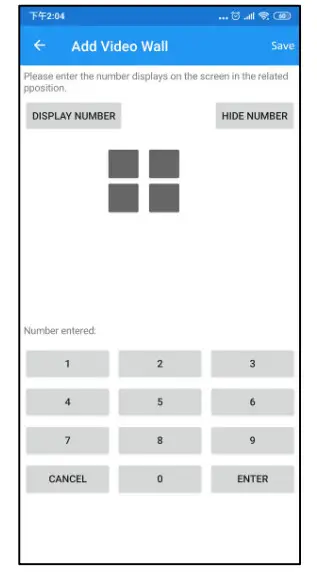
It will show the TV wall layout you select.
Touch DISPLAY NUMBER to show green numbers on the top left of TV.
Fill the number into gray blocks to define position of this monitor of receiver in TV wall.
Touch HIDE NUMBER to disable green number then touch 「Save」button.
Return to Video Wall page you will see the TV Wall which you just add.
Add more TV wall by same steps above.
Advanced Operation
Preview Image of Video Source 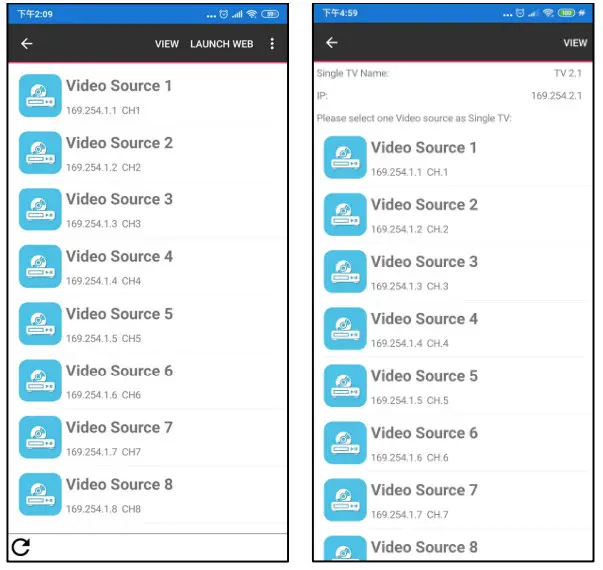
In Manage Source page, long press the name of video source to show extra function and touch VIEW button, or long press the name of video source when Select TV Source to show VIEW button.
It will show image of source in the middle in few seconds depends on the Wi-Fi network.
Touch the image to hide preview
Edit Information of Transmitter/Receiver 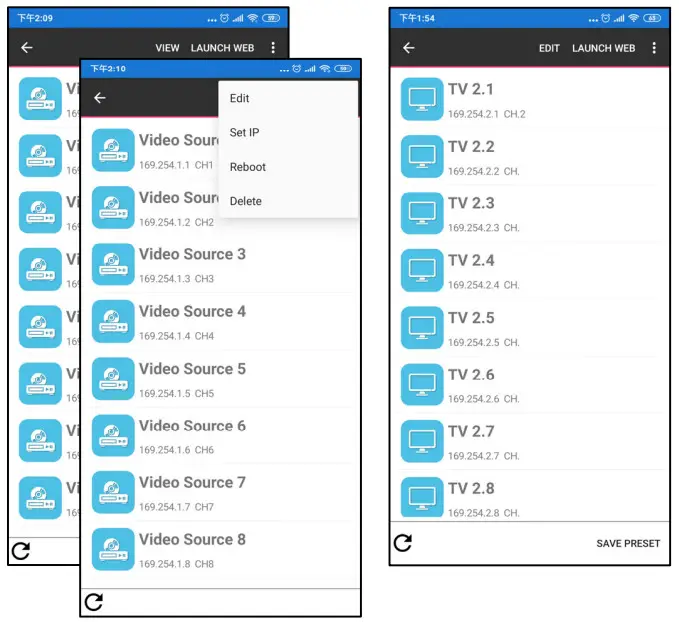
Long press the name of transmitter/receiver to show extra functions.
Touch top right「… 」button of transmitter to show full menu then touch Edit to enter setting page.
Touch Edit of receiver to enter setting page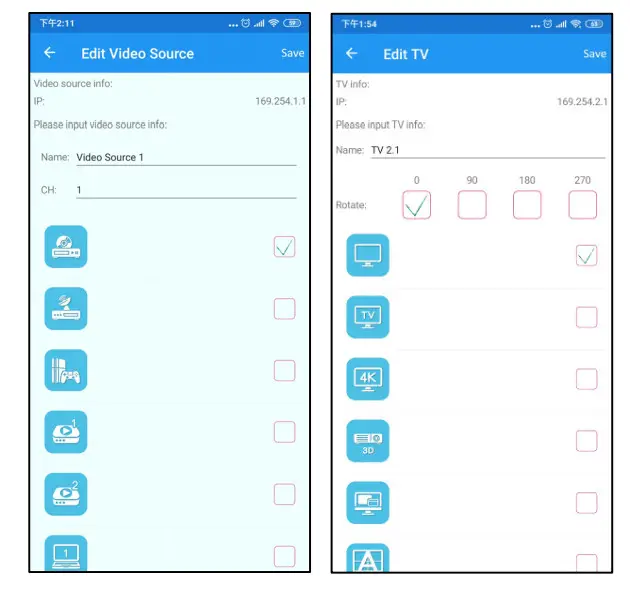
You can change:
The name and icon of Video Source/TV
The channel of transmitter
Rotate of TV for special video wall displaying.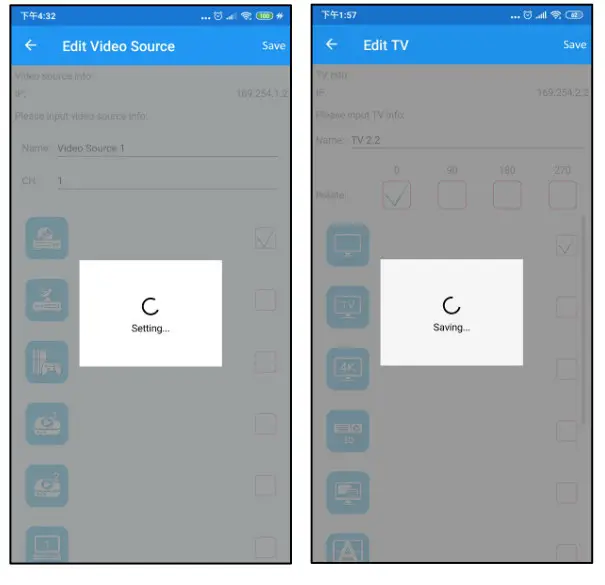
Touch top right 「Save 」button to finish settings
Launch Web of Transmitter/Receiver 
Long press the name of transmitter/receiver to show extra functions.
Touch Launch Web
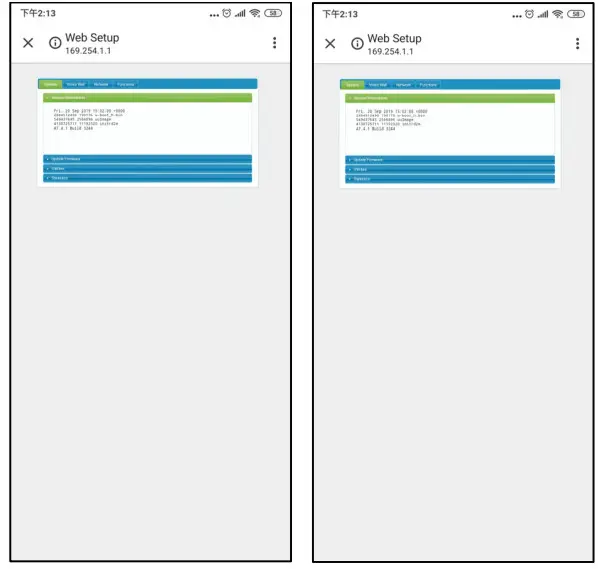
It will open web browser and login to the setting page of transmitter/receiver
For detail settings please refer user manual
Set IP of Transmitter/Receiver
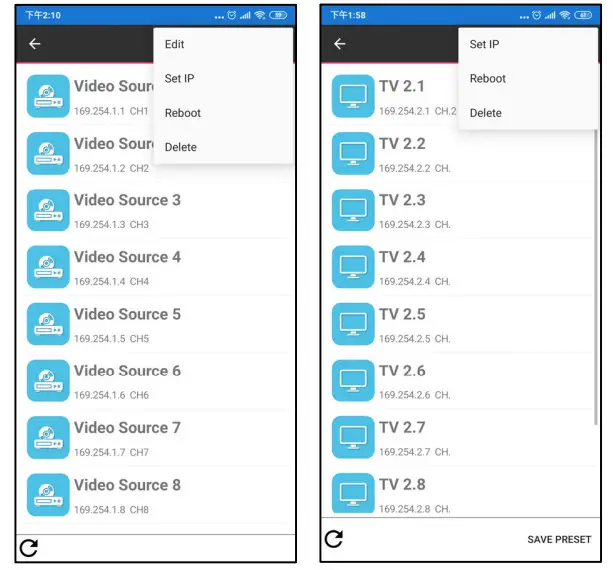
Long press the name of transmitter/receiver to show extra functions.
Touch top right 「… 」button to show full menu then touch Set IP to enter setting page
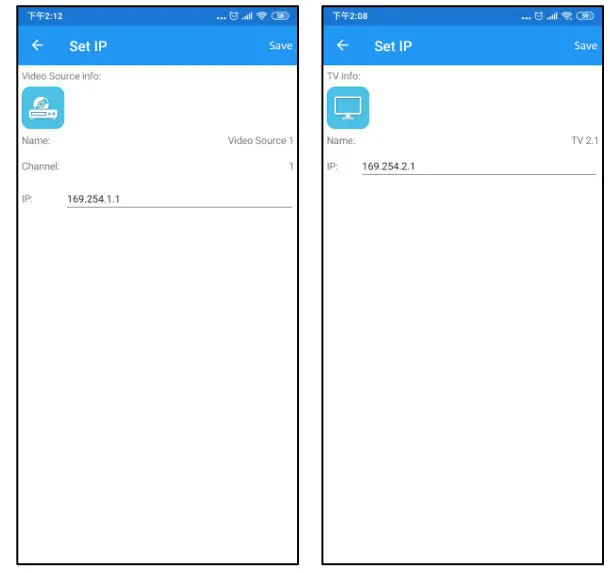
Enter the IP address then touch top right「Save」button to finish settings
Notice: default subnet mask is 255.255.0.0, to change subnet mask please launch web to get more detail.
Reboot Transmitter/Receiver
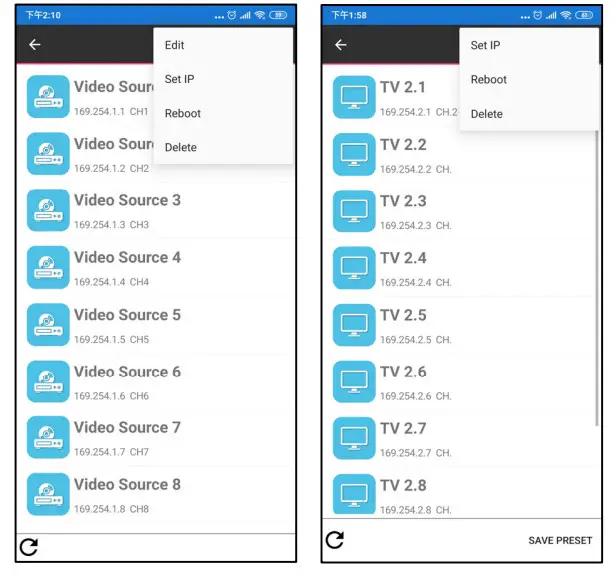
Long press the name of transmitter/receiver to show extra functions.
Touch top right 「… 」button to show full menu then touch Reboot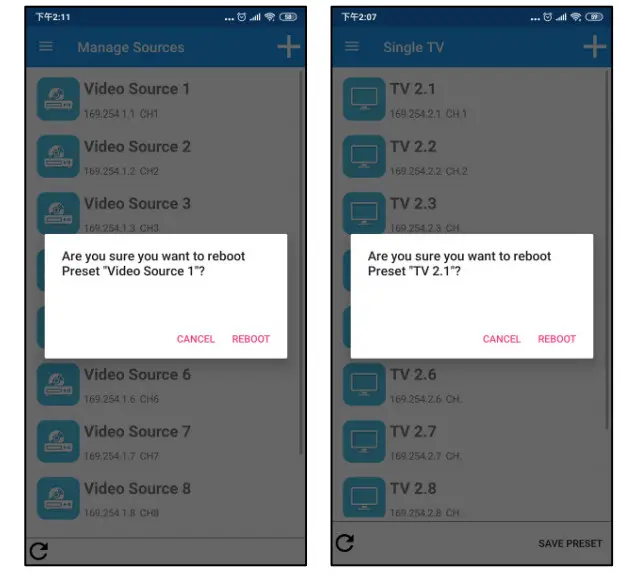
Touch 「REBOOT」to confirm
Delete Transmitter/Receiver 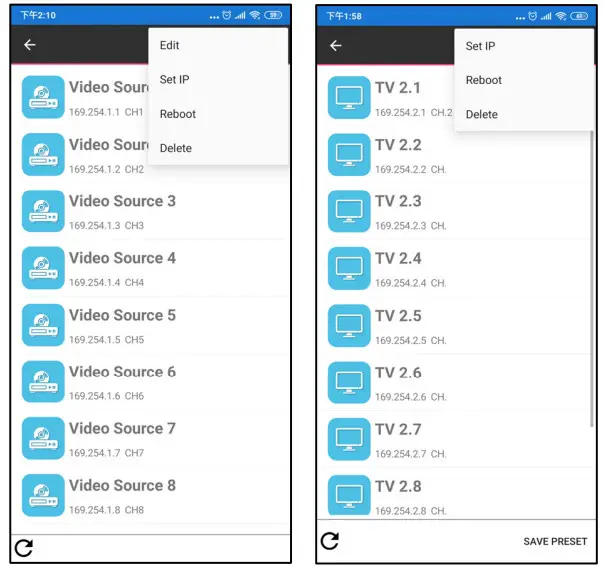
Long press the name of transmitter/receiver to show extra functions.
Touch top right 「… 」button to show full menu then touch Delete 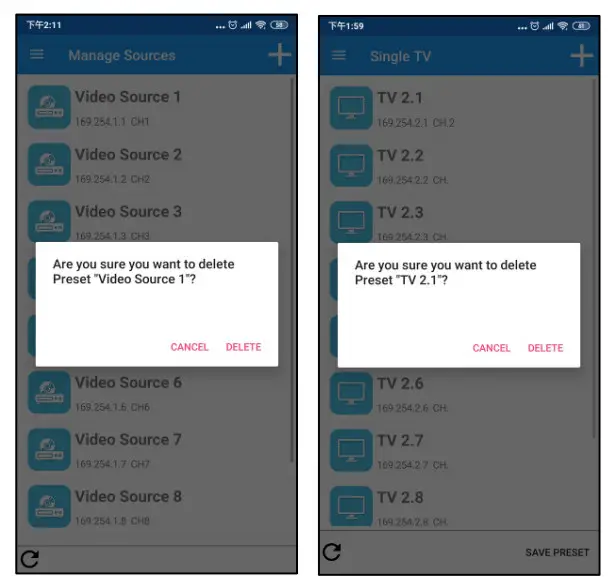
Touch 「DELETE 」 to confirm
Notice: this operation cannot be reverted
Preset Setting
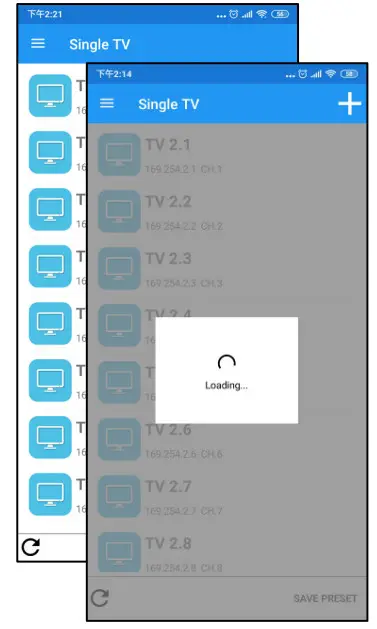
Back to Single TV page and touch bottom left refresh icon to update channel of receivers in list.
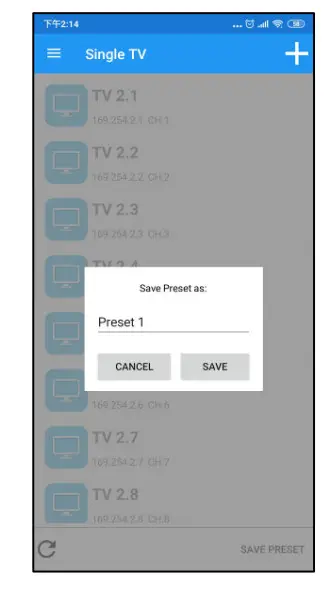
Touch bottom right 「SAVE PRESET 」to enter name of preset.

Touch top left Hamburger button to show full menu and touch 「Load Preset 」to enter
You will see the name of preset you just added.
Load Preset 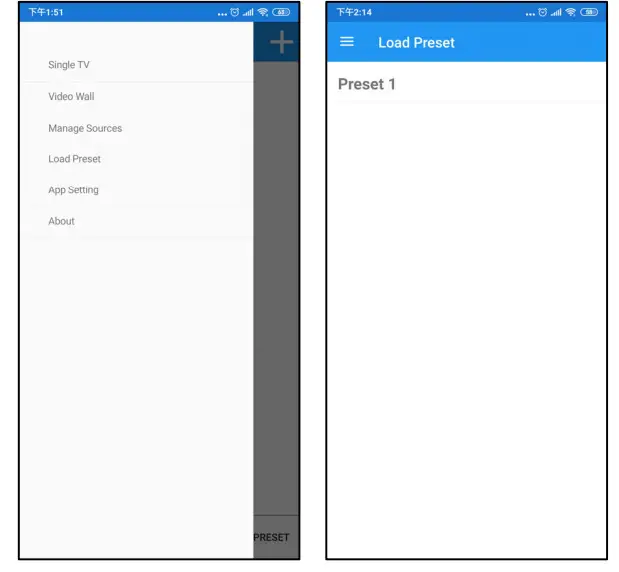
Touch top left Hamburger button to show full menu and touch「Load Preset 」to enter
You will see the list of preset.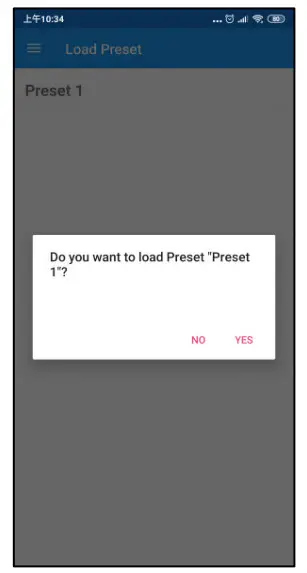
Touch the name of preset and touch 「YES 」to confirm
Edit/Delete Preset
Long press the name of preset to show extra functions. 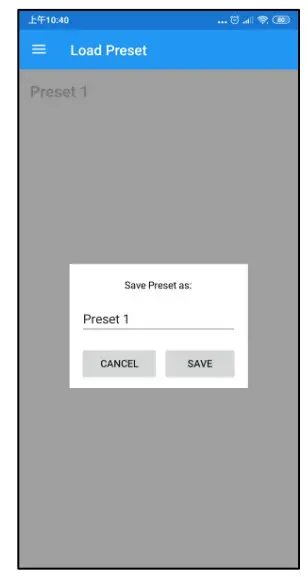
Touch EDIT to change name of preset and touch「SAVE 」to confirm 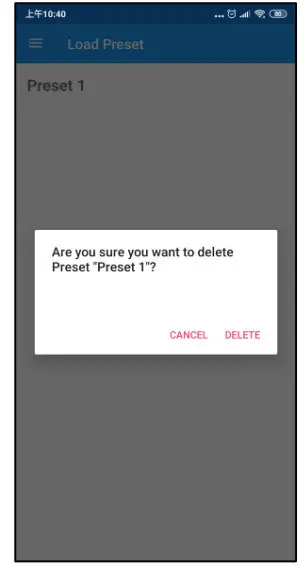
Touch DELETE and touch 「DELETE」to confirm
Notice: this operation cannot be reverted
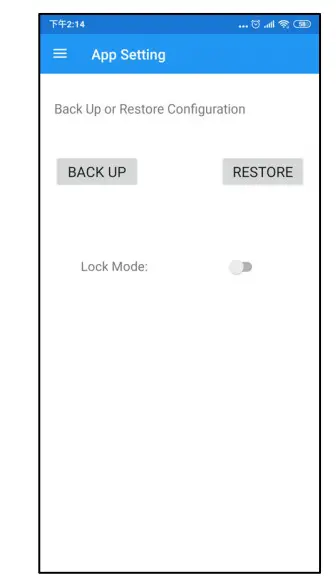
APP Setting
Backup APP Settings 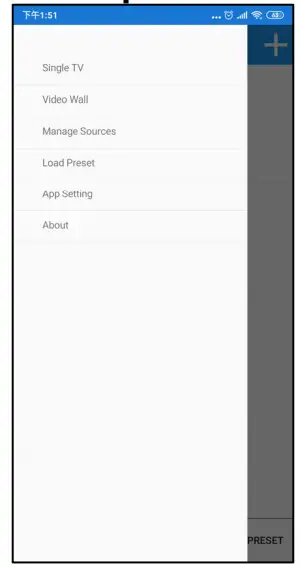
Touch top left Hamburger button to show full menu and touch 「App Setting 」to enter