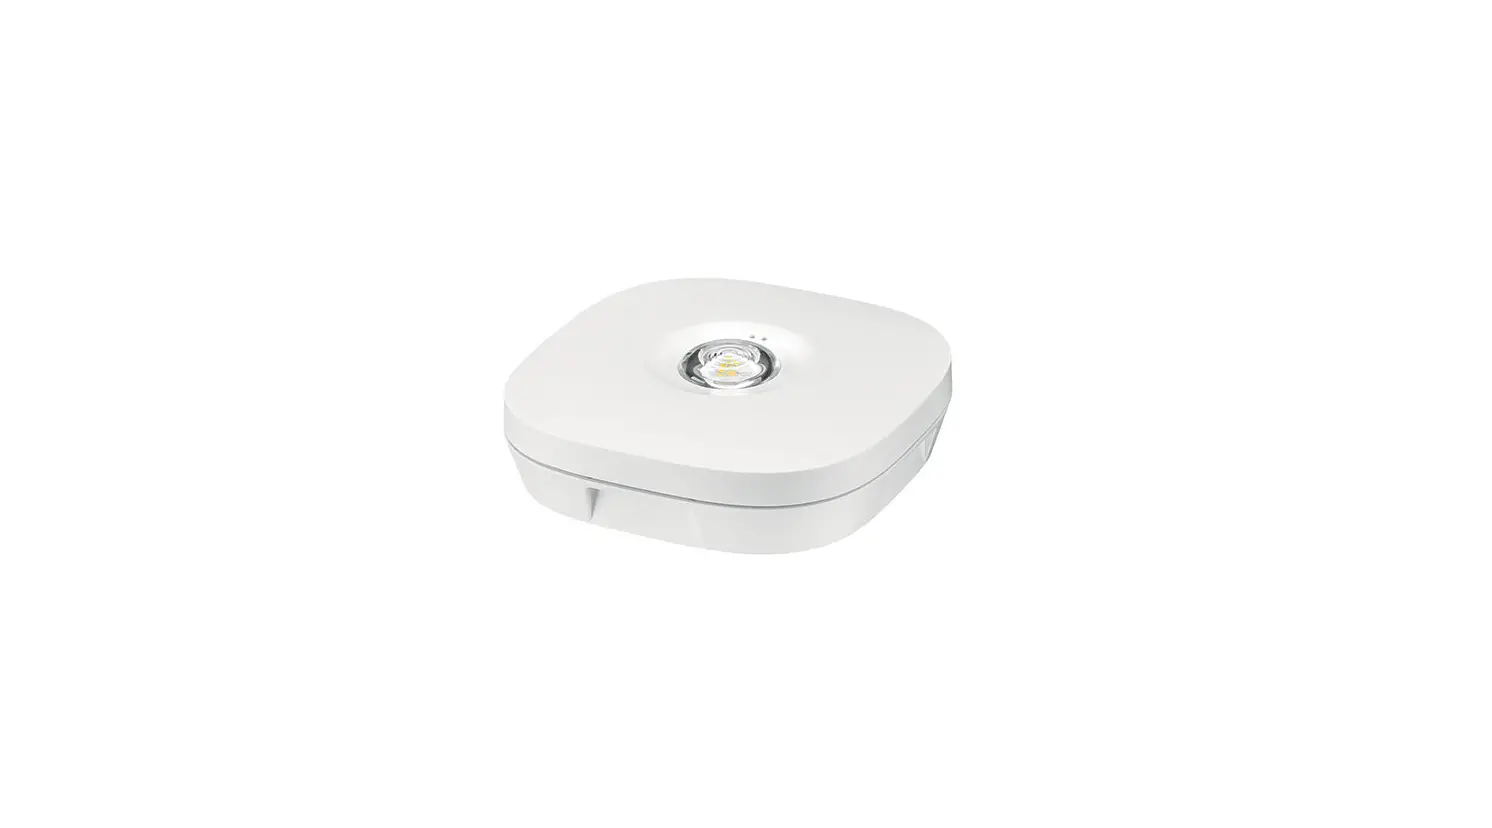
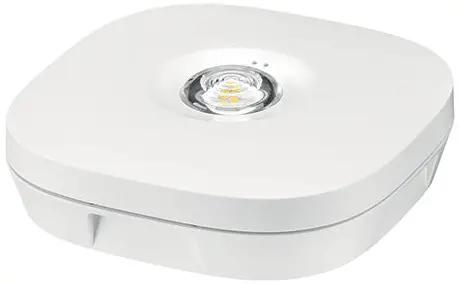
TRIDONIC EM ready2apply Emergency Lighting Units
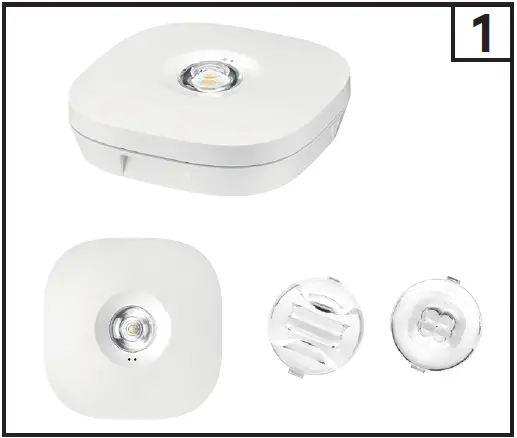
What’s In The Box
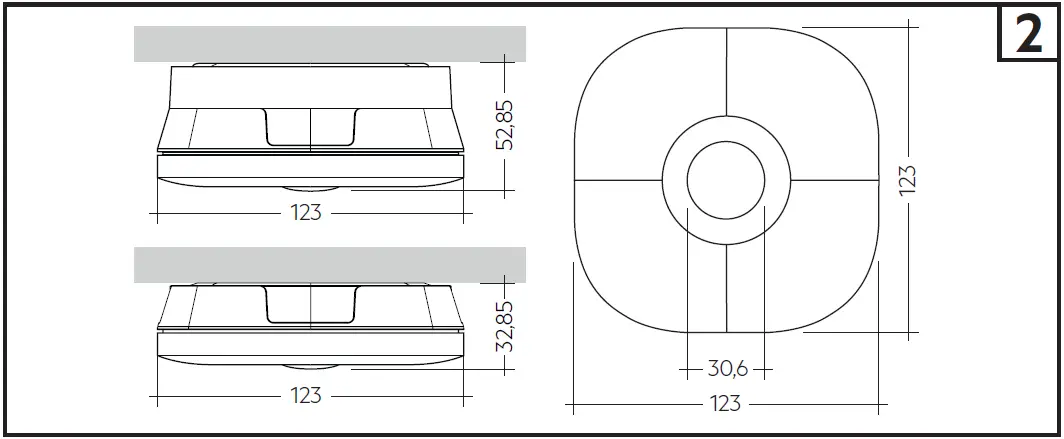
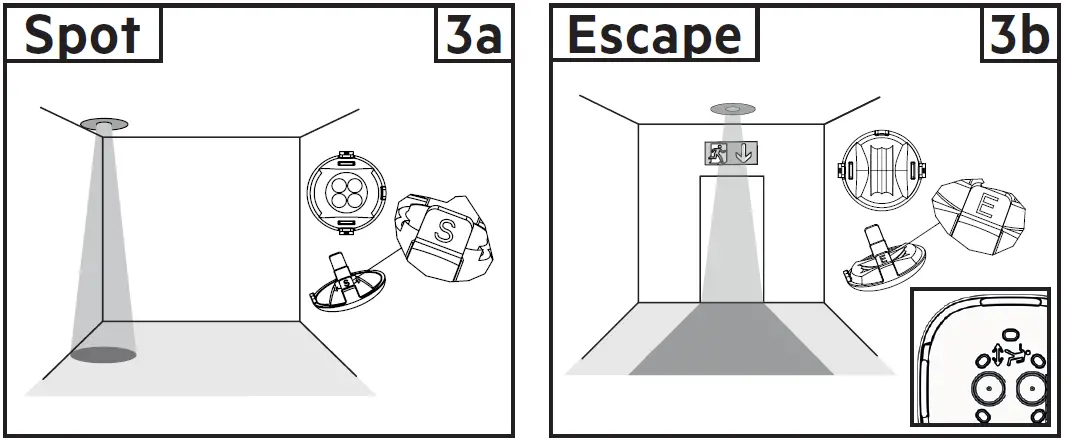
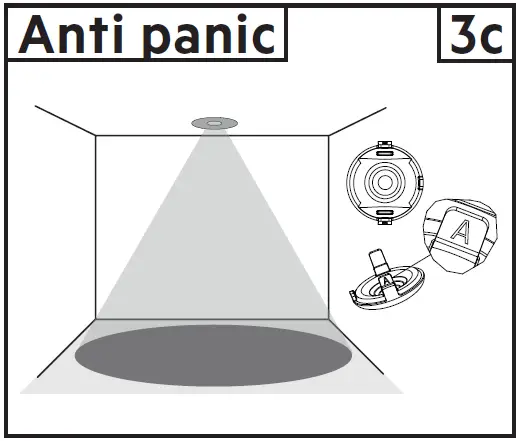
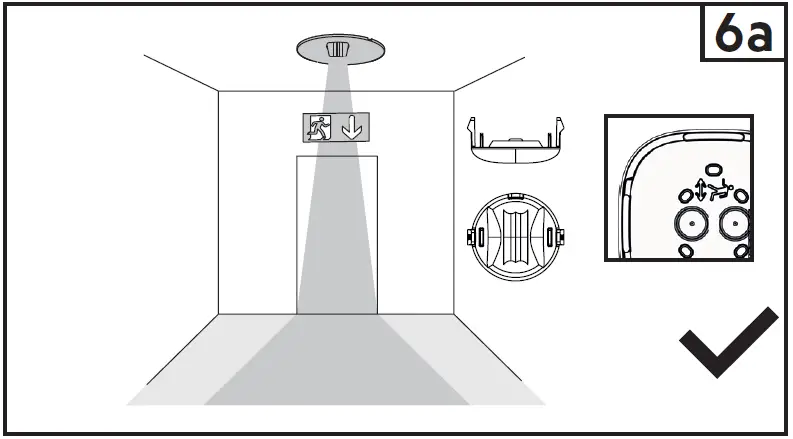
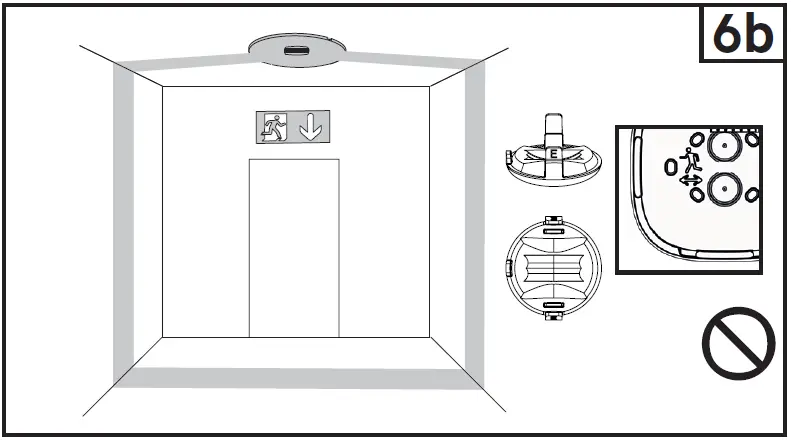
Mounting instruction EM ready2apply
Dimensions
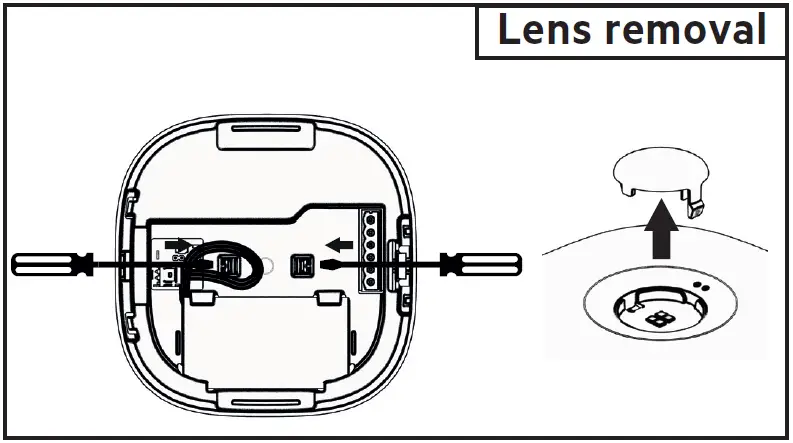
Installation must be performed by a qualified person. Take care when drilling to prevent damage to internal components.
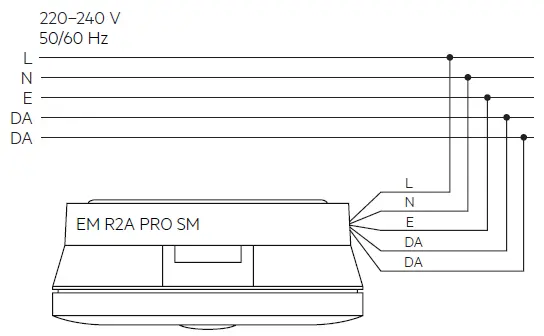
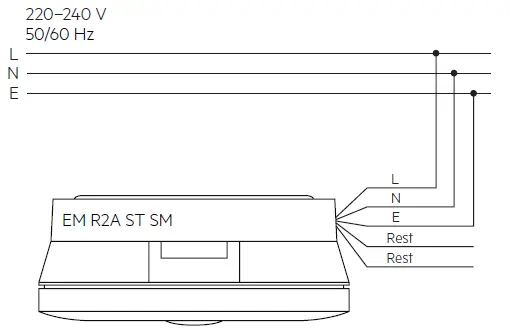
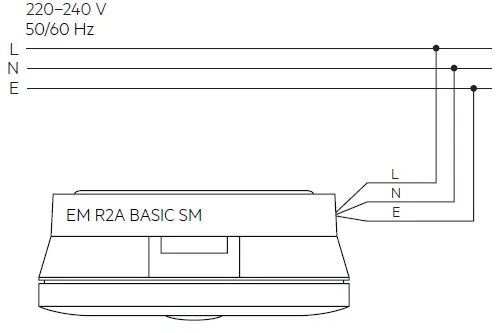
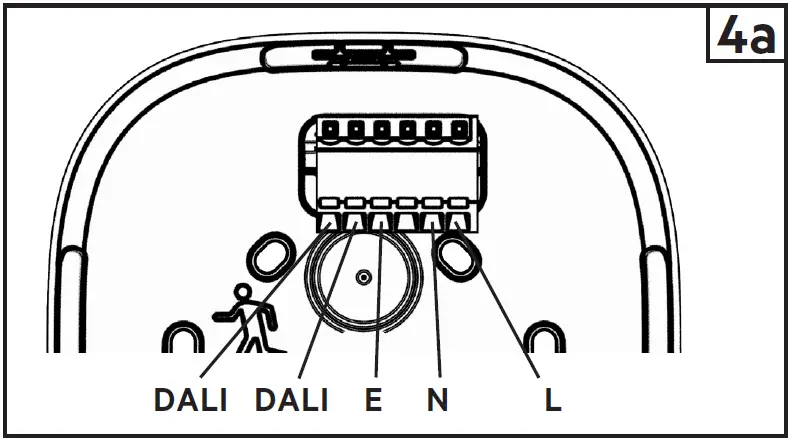
Terminal Description
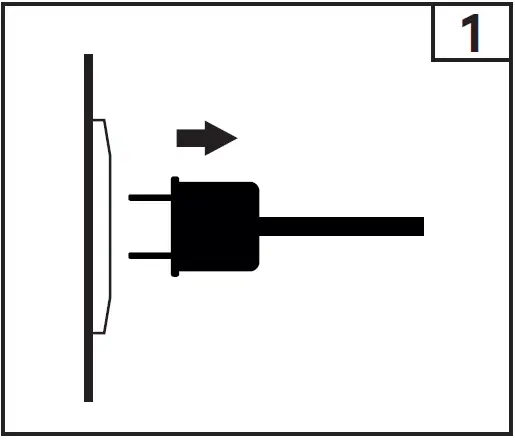
Battery connection
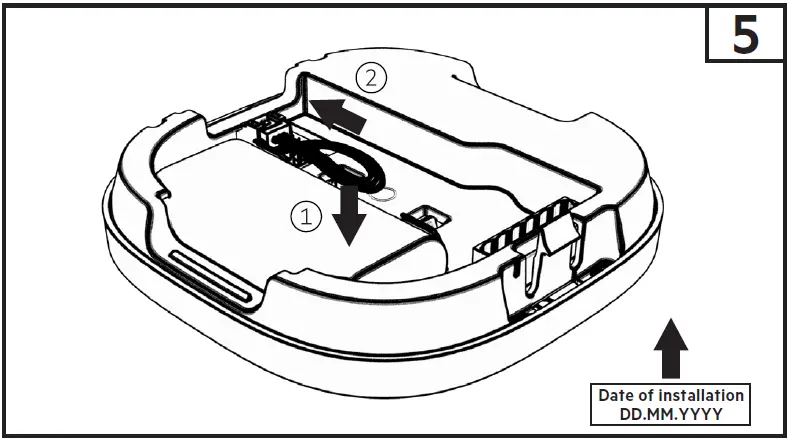
Battery exchange
For an impact-protecting rating > IK03 and ≤ IK07 use an M3x10 self-tapping screw for the assembly.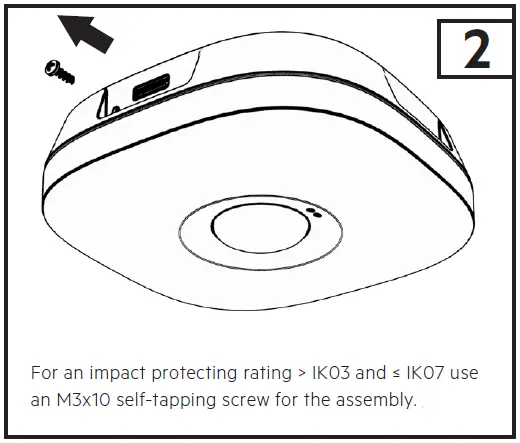
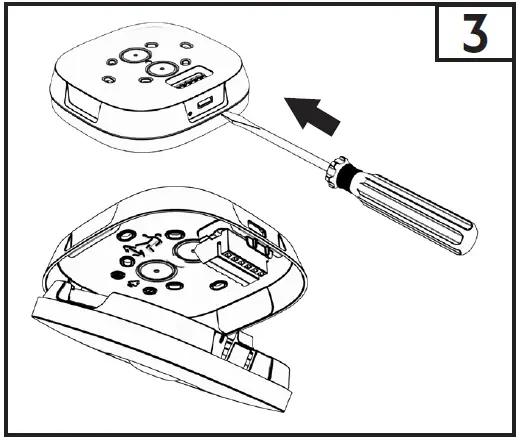
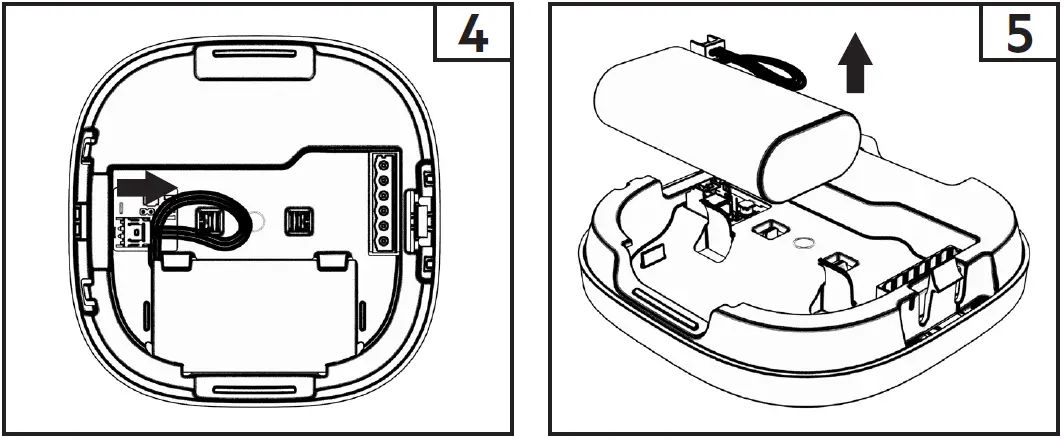
Do not damage the battery and other components during battery replacement.
For further product information refer to the product datasheet at www.tridonic.com.


