
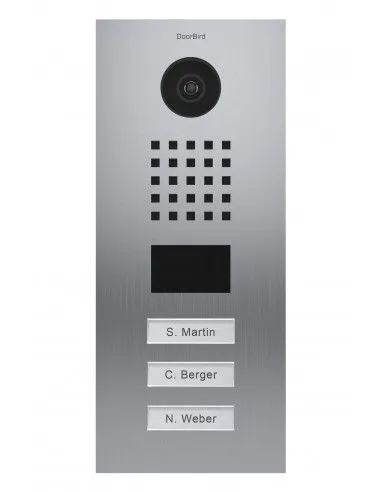
DoorBird D21X Call Buttons 
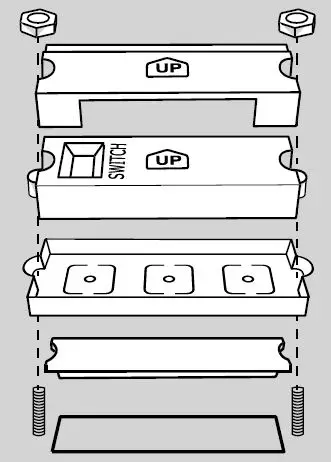
Make sure that the call button module is pointing upward according to the “UP” mark and is encased by the silicone seal. 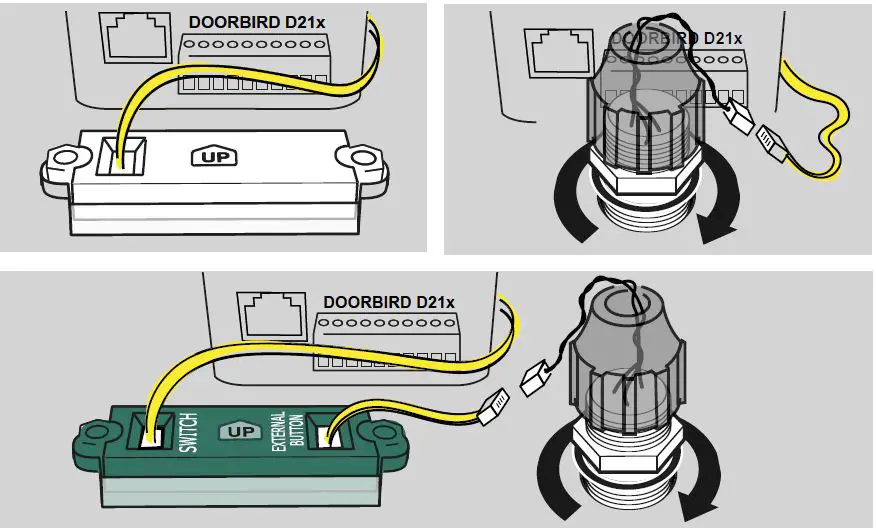
Use the yellow cable of the door station to connect a single call button.
For call buttons with a separate nameplate, the round call button is also connected to the nameplate module. Make sure that the sealing rubber is seated between the front panel and the nut.
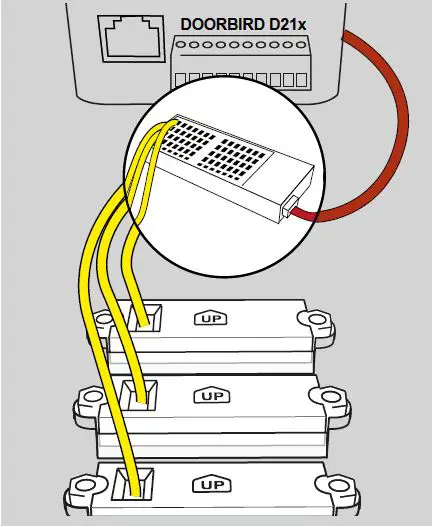
For door stations with several call buttons, the individual call buttons are connected to the ports of the Multi-Tenant Module using the yellow cable.
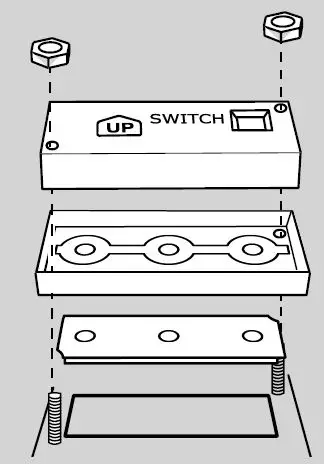
Make sure that the call button module is pointing upward according to the “UP” mark and is encased by the silicone seal. 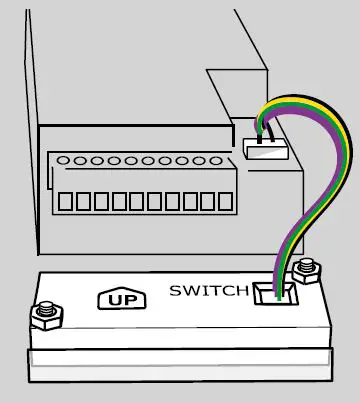
Use the four-wire cable from the “CB” port of the door station to connect a single call button. 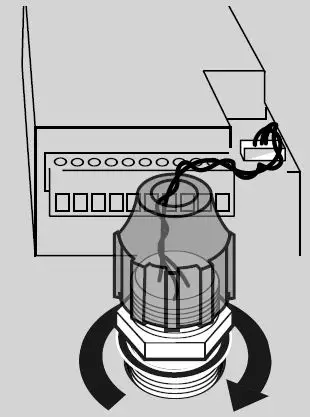
For the round call button, make sure that the sealing rubber is seated between the front panel and the nut.


