![]()
Multilingual Installation Guide
12QM-MBQUICK-103xR
Step 1
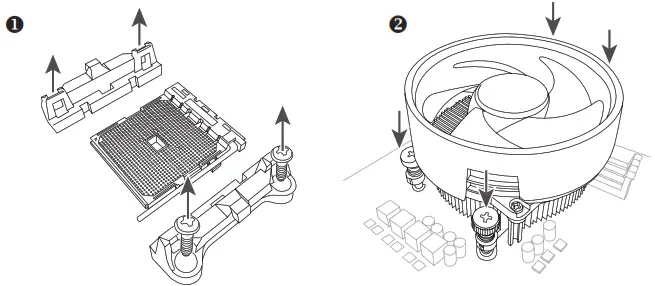
Install a CPU and CPU cooler.
Intel CPU
![]()
AMD CPU
Type A:
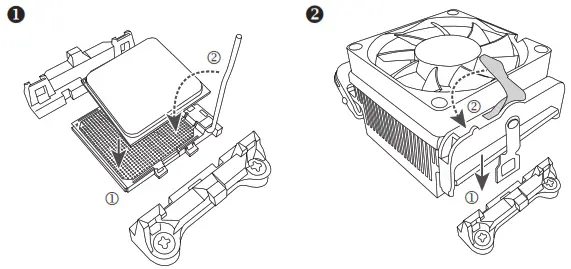
Type B:
Step 2
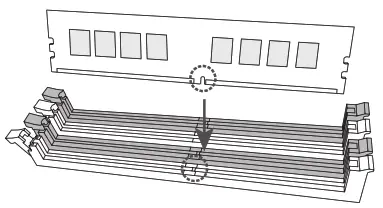
Install memory.
Step 3
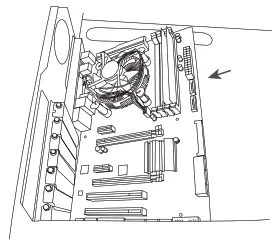
Prepare the case and Install the motherboard.
Step 4
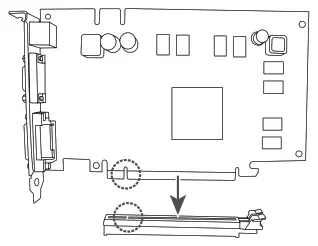
Install an expansion card.
Step 5
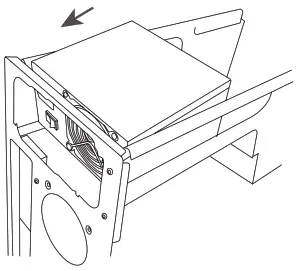
Install a power supply.
Step 6
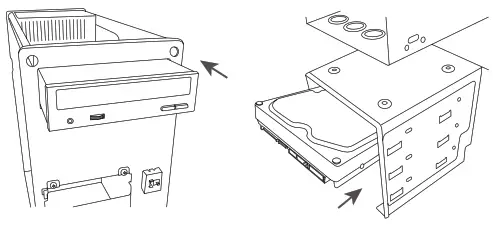
Install hard drives and optical drives.
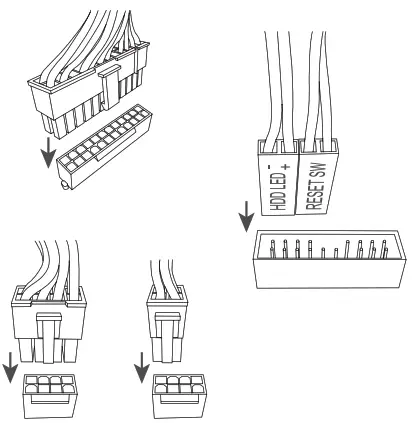
Step 7
Connect cables to the internal connectors.
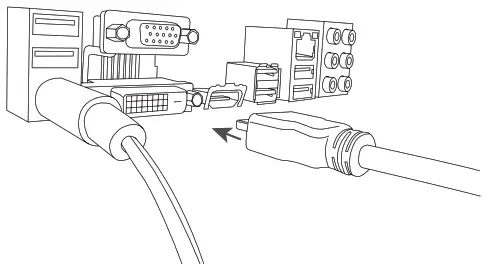
Step 8
Connect peripherals to the computer, such as a keyboard, mouse, monitor, etc.
.
http://www.gigabyte.com/WebPage/210/quick-guide.html?m=sw
The sequence of installation may vary depending upon the case and devices used.
For detailed installation instructions, please visit GIGABYTE’s website.
![]() To reduce the impacts on global warming, the packaging materials of this product are recyclable and reusable.
To reduce the impacts on global warming, the packaging materials of this product are recyclable and reusable.
GIGABYTE works with you to protect the environment.


