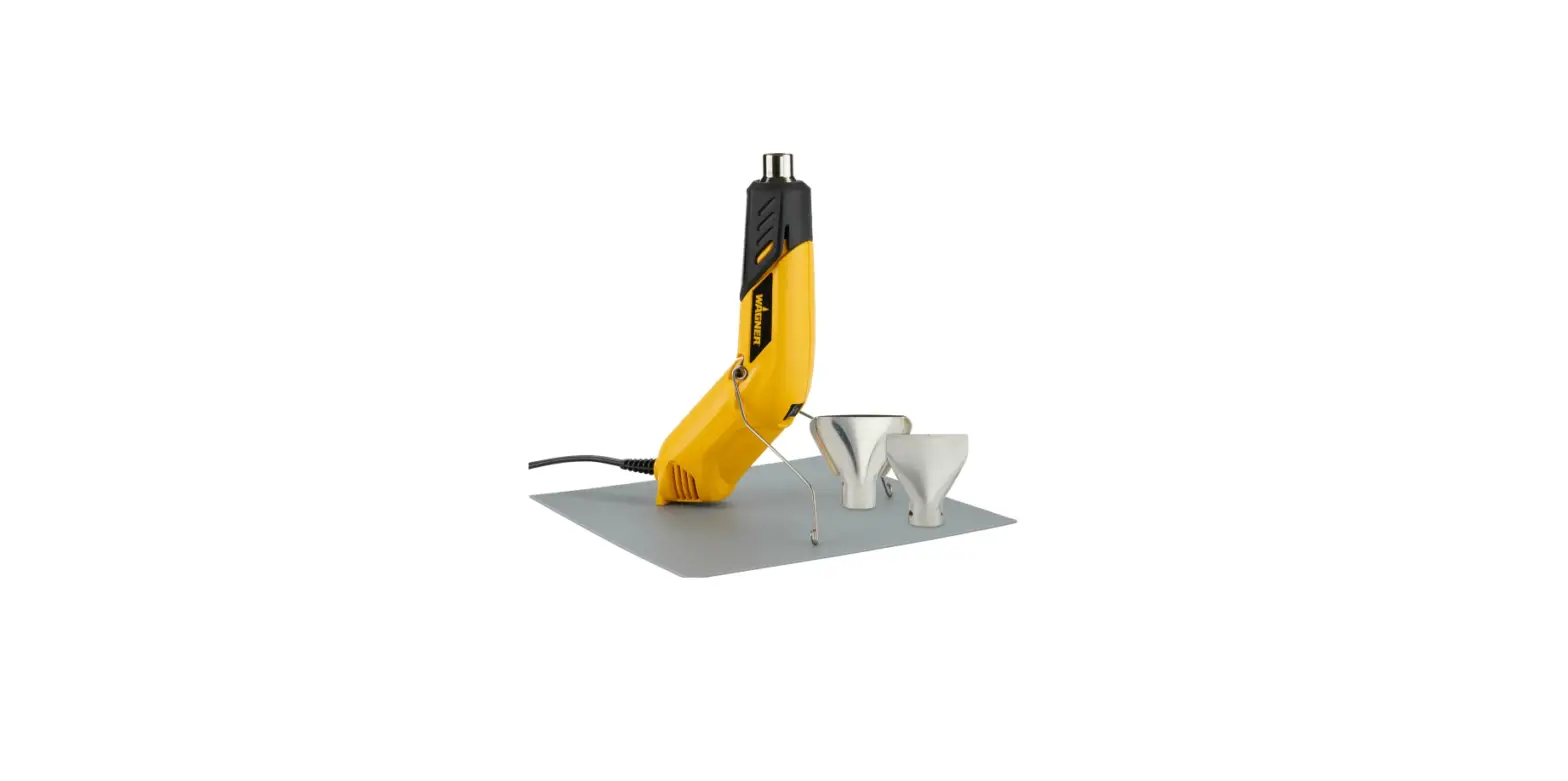
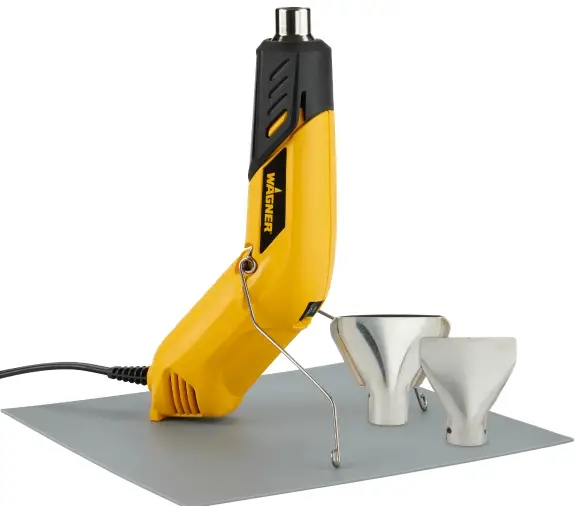
WAGNER furno micro Heat Gun craft kit
Using the Heat Gun
Many variables affect heating applications, such as the material being heated, ambient temperature, the distance from the gun to the substrate and the heating technique. For this reason, Wagner has provided temperature guidelines for certain applications. Always start the heat gun at the lowest temperature in the range then raise the temperature until the optimum temperature is achieved. Always keep the heat gun in motion and at least 2″ from the substrate when applying heat.
| Use | Temp. Setting | |
| 3FNPWJOH: | ‘MPPS DPWFSJOHT (BEIFTJWF CBDLFE) | 350 – 750 ‘ |
| 1BJOU | 900 – 1200 ‘ | |
| Drying: | 1BJOU | 450 – 750 ‘ |
| 1MBTUFS | 450 – 750 ‘ | |
|
Heating: | 4ISJOL-UVCF (FMFDUSJDBM) | 350 – 500 ‘ |
| 4ISJOL-XSBQ (XJOEPXT, DSBGUT) | 250 – 550 ‘ | |
| ‘SP[FO MPDLT | 350 – 650 ‘ | |
| ‘SP[FO XBUFS QJQFT | 750 ‘ – 1200 ‘ | |
| -PPTFOJOH: | Rusted bolts/nuts | 900 ‘ – 1200 ‘ |
| Molding and Bending: | 1MBTUJDT | 250 – 450 ‘ |
| 1MFYJHMBTT BOE ‘PSNJDB | 250 – 450 ‘ | |
| 8BYJOH: | 4LJT BOE TOPXCPBSET | 250 – 450 ‘ |
| 4FBMJOH: | Ends of nylon rope | 450 – 650 ‘ |
| Defrosting: | Refrigerator | 450 – 750 |
Always read the safety information included in this manual before using the heat gun.
- Plug the unit into a standard wall outlet.
- Turn on the heat gun by sliding the switch to (2) (the 2 should be visible).
- Note: Smoke may appear during the initial start-up due to the burning of manufacturing oils. The smoke should disappear in ess than a minute.
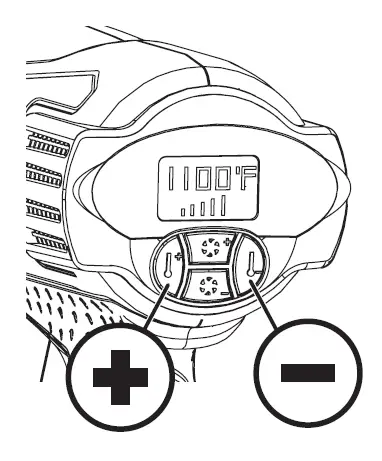
- Press the temperature adjustment buttons until the display reads the desired temperature. Press the air flow adjustment buttons to increase (+) or decrease (-) the airflow.

IMPORTANT: If the blower motor in the heat gun does not turn on when the switch is activated, turn the switch OFF (0) immediately. The heating element will burn out if it is not cooled by the blower.
- During rest periods or when you are finished with your project, slide the switch to Cool Down Mode (1), set the gun down in an upright position (nozzle pointing up), and allow to cool for a minimum or l5 minutes. ATter 15 minutes, turn the switch OFF (0) if you are finished, or turn the switch to the Usage setting (2) to continue.
Stripping Paint
The heat gun heats up the surface and causes the paint to soften, at which time it can be Scraped off easily without damagıng the surface. Some paints may soften even though they do not blister; some may become rubbery, and some may require higher heat. When working with several layers of paint, it speeds up the scraping process to heat the surface thoroughly, all the way to the wood. Then all the layers can be scraped at one time. A soft wire brush may be the best tool to use for very intricate surfaces. Mineral paints and finishes, such as cement paint and porcelain, do not soften with heat, so using a heating tool will not work for paint removal.
The best method of paint removal
Move the gun slowly and steadily forward at an angle to the surface, pointing the nozzle in the direction of motion. This allows you to scrape safely outside the hot air stream and keeps the scraper and the scraped surface cooler.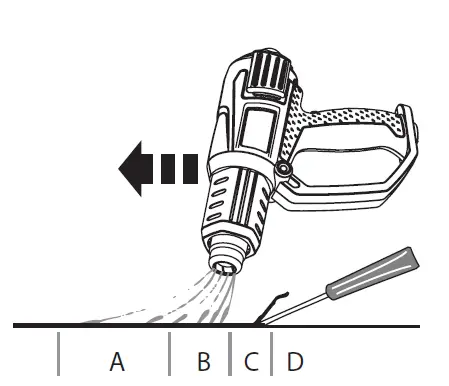
- A. Warm air preheats the surface.
- B. Paint is softened by hot air.
- A+B. Deep penetration of heat over total area.
- C. Paint can be easily scraped off as soon as it is softened and the gun is moved forward.
- D. Stripped surface allowed to cool.
Cleaning and Maintenance
Keep the intake openings on the housing clean and free of obstructions. Use a soft, dry brush to clean the openings periodically. Use only mild soap and a damp cloth to clean the heat gun. Many household cleaners contain chemicals which could seriously damage the housing. Do not use gasoline, turpentine, lacquer or paint thinner, dry cleaning fluids or similar products when cleaning the heat gun. Never allow any liquid to get inside the tol or immerse any part or the tool into a liquid.
Storage
Allow the heat gun nozzle to cool to room temperature before placing in storage the nozzle will turn dark over time because of the high heat. This is normal and will not affect the performance or life of the unit.
Accessories
The following accessories may come with the gun or may be purchased separately by calling 1-800-/2/4028,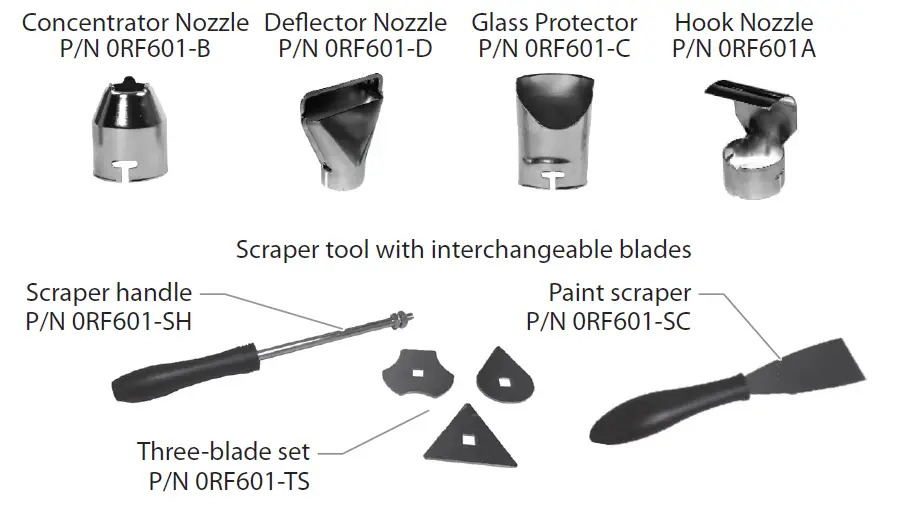
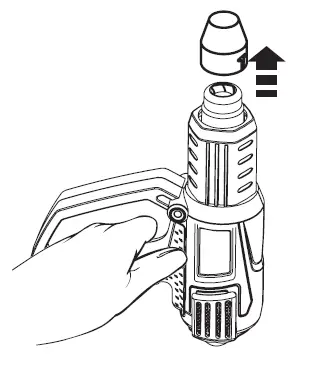
To attach an optional item to the gun:
- Set the heat gun upright on a level surface until the tip is cool.
- Set the item onto the tip of the heat gun and push it nirmly into place by hand.
To remove an optional item:
- Set the heat gun upright on a level surface until the tip is cool.
- Pull the item off of the tip.