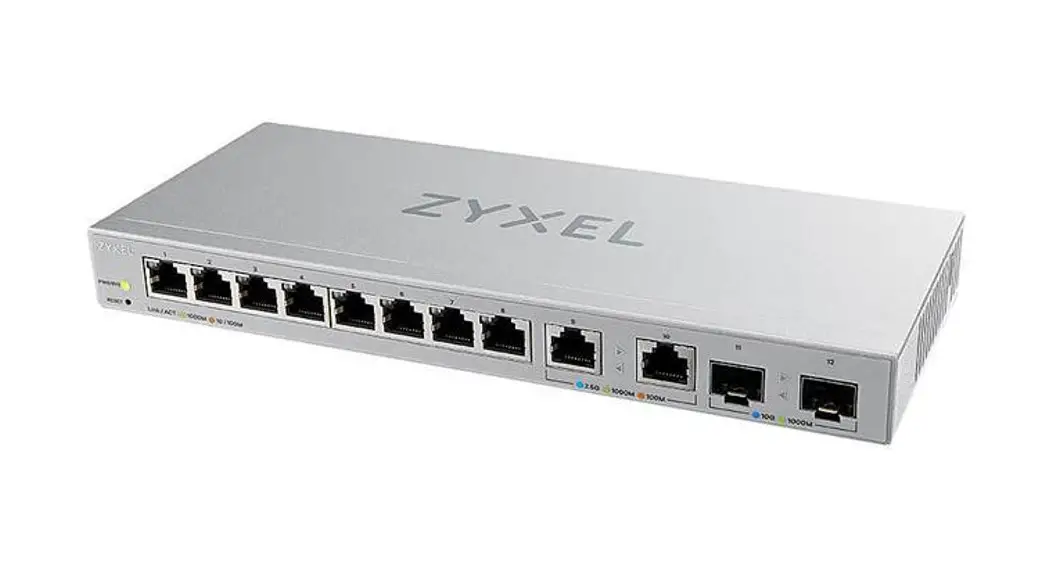
![]() XGS1210-12
XGS1210-12
12-Port Web-Managed Multi-Gigabit Switch
with 2-Port 2.5G and 2-Port 10G SFP+
Quick Start Guide
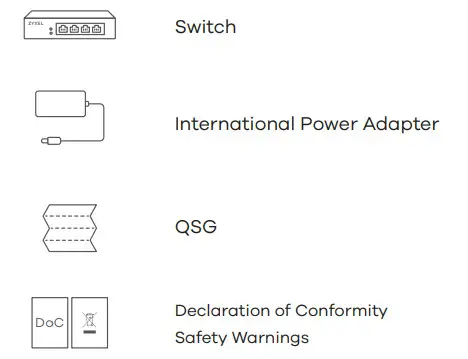
Package Contents
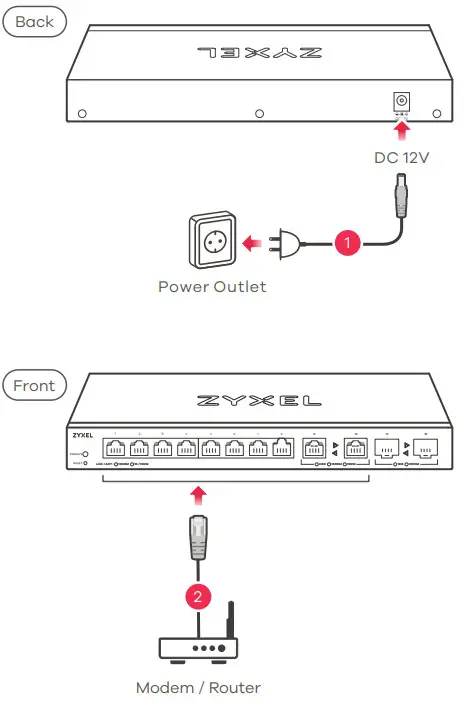
Hardware Installation
 Connect to an appropriate power source.
- Connect to a modem or router that has internet access.
 Connect to an appropriate power source.
Option A Manage Your Device
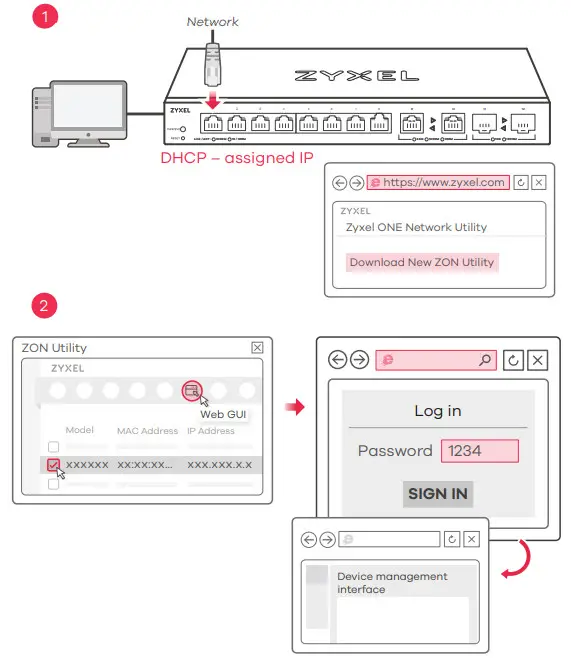
Configure the Switch with a Dynamically Assigned IP
 Connect the Switch and your computer to the same network that has a DHCP server.
- Use the ZON utility to discover the Switch. Select the Switch and click the Web GUI icon to access its web configurator.
 Connect the Switch and your computer to the same network that has a DHCP server.
Option B Configure the Switch with a Static IP
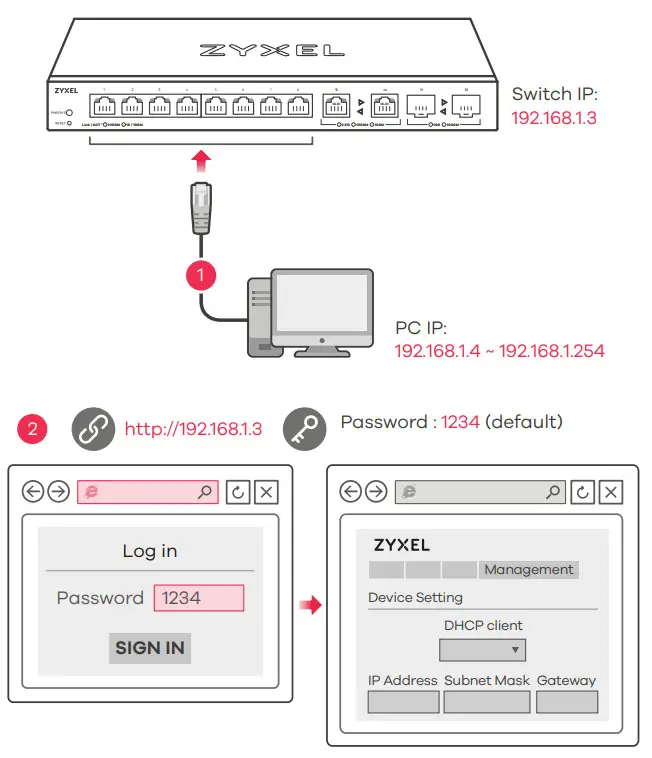 Connect your computer to the Switch using an Ethernet cable. Your computer must have an IP address in the same subnet as the Switch.
Launch your web browser and go to http://192.168.1.3. Enter 1234 as the password. Click SIGN IN.
LEDs
| PWR/SYS | Green – | On – Power on. Blinking – Starting up. Off – Switch off. |
| Ports 1-8 LINK/ACT | Green Amber – | On – 1000 Mbps connection ready. Blinking – Data transmitting. On – 10/100 Mbps connection ready. Blinking – Data transmitting. Off – No Connection. |
| Ports 9-10 (Left LED) (Right LED) | Skye Blue Green Amber – | On – 2.5 Gbps Connection Ready. Blinking – Data transmitting. On – 1000 Mbps connection ready. Blinking – Data transmitting. On – 100 Mbps connection ready. Blinking – Data transmitting. |
| Ports 11-12 (Left LED) (Right LED) | Blue Green – | On – 10 Gbps Connection Ready. Blinking – Data transmitting. On – 1000 Mbps connection ready. Blinking – Data transmitting. Off – No Connection. |
Troubleshooting
I cannot see or access the Login screen in the Web Configurator.
- Make sure you are using the correct IP address.
(The default IP address is 192.168.1.3.) - Make sure your computer is in the same subnet as the Switch. If you haven’t changed the default IP address, your computer IP address should be in the 192.168.1.4 ~ 192.168.1.254 range.
- Make sure you have entered the password correctly. If you have changed the password and have forgotten it, you’ll have to reset the Switch to its factory default.
(The default Password is 1234.)
A loop is detected.
- A loop may happen in the following example situations:
- The Switch is connected to another device in a loop state.
- The Switch is connected to another device with two cables.
- Loop Prevention is enabled by default. If a loop happens, the Switch will block the port in a loop state. If a loop happens on two ports, the Switch will block the higher-numbered port. For example, if a loop happens on ports 4 and 5, the Switch will block port 5, and its LED will be off. To restore a port in a loop state, disconnect it, check the network connections, and reconnect it.
- You can log into the Web Configurator. Go to System in the Web Configurator to check your port status.
![]() Your Networking Ally
Your Networking Ally

http://www.zyxel.com/support/warranty_information.shtml
Warranty Card
Thank you for purchasing a Zyxel product. Zyxel has a reputation for delivering high-quality, high-performance products and services to our customers. We recommend that you now visit the Zyxel website and register your product online. This will mean you can receive the latest firmware, drivers, and product-related information. If you still have further questions or inquiries related to the product, please contact our subsidiaries worldwide. Please note that warranty terms may vary by region. Full detailed information is available on our website, here: http://www.zyxel.com/support/warranty_information.shtml
Purchase Information
Zyxel Product Name:
Hardware Serial Number:
Date of Purchase:
(In certain countries, the warranty will be validated with the seller’s signature and stamp):
Support Information
USA![]() + 1 800 255 4101
+ 1 800 255 4101 [email protected]
See the User’s Guide at www.zyxel.com for more information, including customer support and safety warnings.
EU Importer
Zyxel Communications A/S
Gladsaxevej 378, 2. th. 2860 Søborg, Denmark
US Importer
Zyxel Communications, Inc
1130 North Miller Street Anaheim, CA 92806-2001
https://www.zyxel.com/us/en/
https://www.zyxel.com/dk/da/
Copyright © 2020 Zyxel Communications Corp. All Rights Reserved.


![Linksys 16-port/24-port Desktop Gigabit Switch Specifications Manual [lgs116, Lgs124]](https://static-data1.manualsee.com/1/img/125/56544/2021/02/Linksys-16-Port-24-Port-Desktop-Gigabit-Switch-Specifications-Manual-LGS116-LGS124.jpg "Linksys 16-port/24-port Desktop Gigabit Switch Specifications Manual [lgs116, Lgs124]")


