
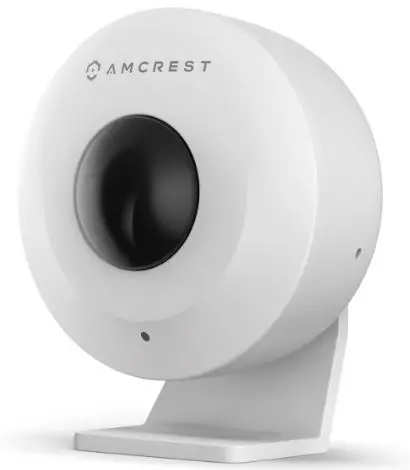
 AMCREST AL-PIRSEN1 Motion Sensor
What’s Included?
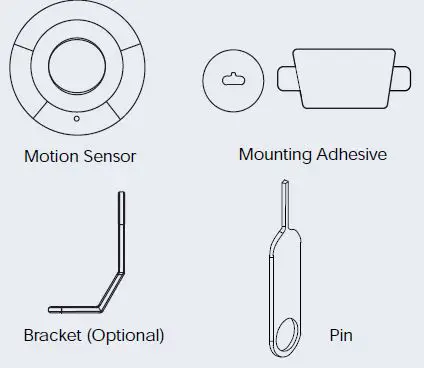
May include one or more depending on the package purchased. To purchase additional sensors, visit us at amcrest.com
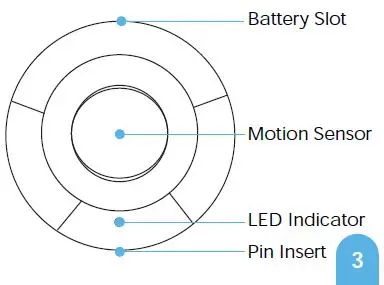
Overview
Specifications
| Environment | Indoor |
| Max Detection Distance | 26 feet |
| Max Detection Angle | 110° |
| Operating Temperature | 14°F ~ 113°F |
| Operating Humidity | 0-95% RH |
| Battery Type | CR2450 |
| Protocol | Bluetooth 5.0 |
LED Behavior
Please refer to the table below for details regarding the LED behavior of the device
| Behavior | Description |
| Flashing Rapidly | Sensor is pairing. |
| Solid (for 2 seconds) | Pairing successful |
| Flashing (3 times) | Pairing failed. **Try repeating setup. |
| Flashing Rapidly (after pairing) | Alarm has been triggered after |
| Steady Flash | Firmware upgrade is in progress. |
Pairing the Sensor
- Locate the Alarm Hub on the main menu.
- Tap on the “+” icon to pair the sensor to the hub.
- Follow the on-screen prompts to finish setting up the sensor.


Note: Once the sensor has been successfully paired, please begin the physical installation.
Installing the Motion Sensor
Location tips:
- Install the motion sensor indoors on a flat surface.
- The motion sensor should be placed 6 to 8 feet high to keep it from falling and out of reach of children or pets.
- To detect smaller objects, it is recommended to use one of the angled sides of the bracket.


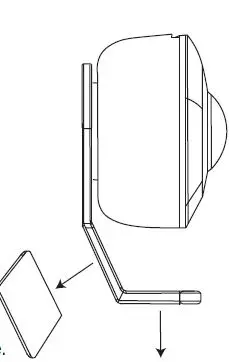
Install Using the Mounting Bracket
The bracket offers two separate angles for the sensor to face. Use the included two-sided mounting adhesive to install the sensor to the bracket.
- Peel the other portion of the circular mounting adhesive and adhere it to the back of the bracket.
- Peel the other portion of the circular mounting adhesive and adhere it to the back of the bracket.
- Place another mounting adhesive to the bracket to achieve the desired angle.
- Peel the other portion of the mounting adhesive and place the bracket onto a flat surface.

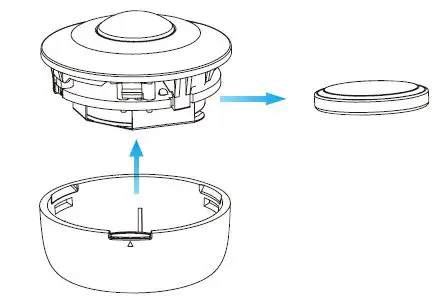
Changing the Battery
The sensor uses a CR2450 cell-type battery. The battery typically lasts up to one year before it needs to be replaced.
Note: For more information on this and other products visit: amcrest.com/support
- Make sure that the alarm hub is disarmed before changing the battery.
- Use the wide portion of the pin to open the sensor from the battery slot.
- Slide the old battery out of the sensor and replace it with a new battery.
- Snap the top portion of the sensor into place and secure it to the bottom portion of the sensor

How can we help?
We are dedicated to providing the highest quality support to our customers and are available 7 days a week
We’d Love to Hear From You!
We wanted to personally reach out and thank you for purchasing from our Amazon store. Selling on Amazon is what we do to support our family, and product reviews are the lifeblood of our business. It would mean the world to us if you could take one minute of your time to help share the love by leaving us an honest review using the link below:
LINK
- Online Quick Start Guide amcrest.com/support
- Need help? [email protected]
- www.amazon.com/ryp
Thank you again for being one of our amazing customers!
Sincerely,
Amcrest Team


