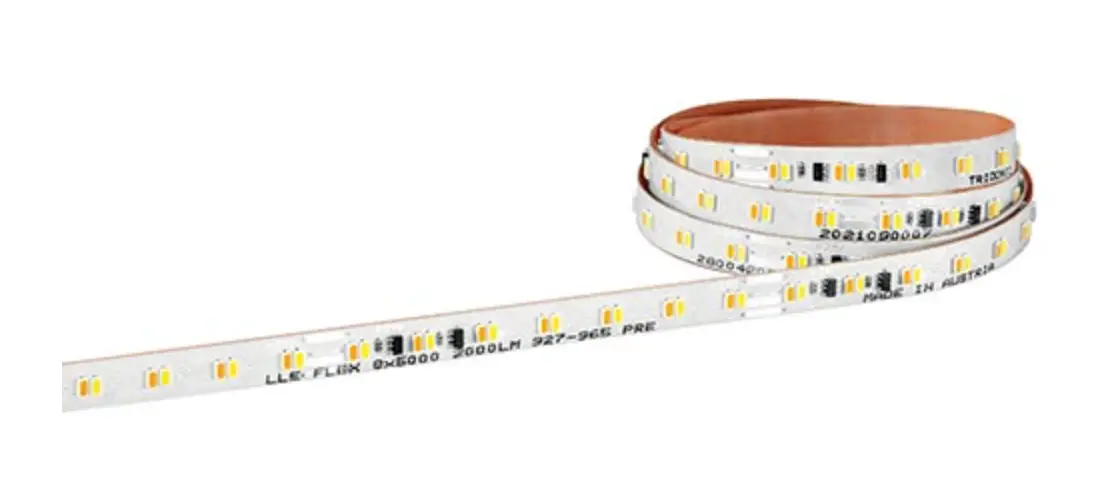
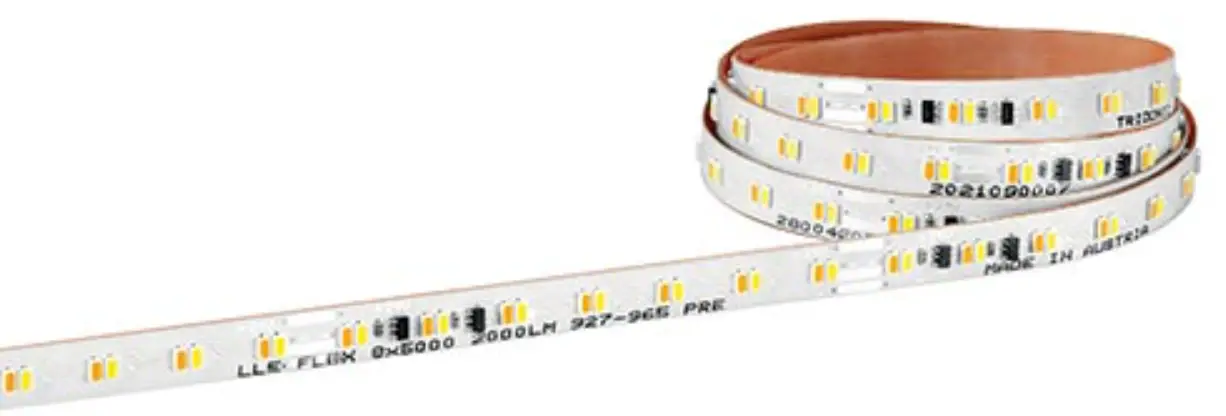
TRIDONIC LED Light Engine, LED Flexible
Preparation
Use ESD safety equipment!
For details see ESD-Guideline on: www.tridonic.com
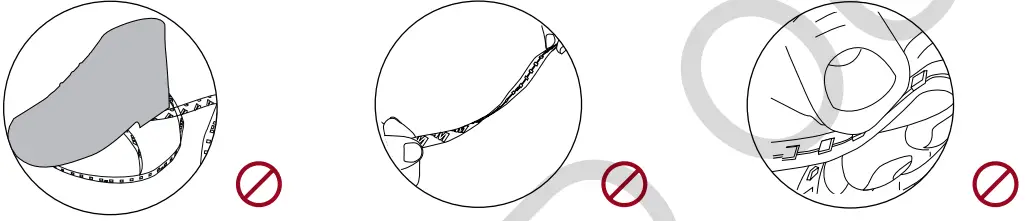
Don‘t expose the LLE-FLEX EXC2 to tensile or compressive stresses. Prevent shear- or peel forces.
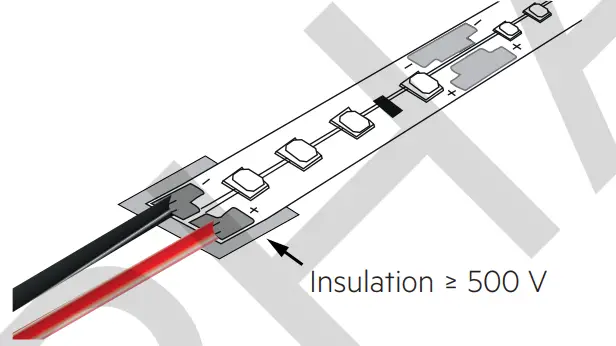
Connection by soldering
Ensure insulation in the connection area against conductive surfaces.
Do not use excessive solder, soldering time max. 2 s at max. 275 °C. Keep the stripping length of the connecting cables as short as possible.
Additional insulation by means of insulation foil ≥ 500 V in the connection area is recommended.
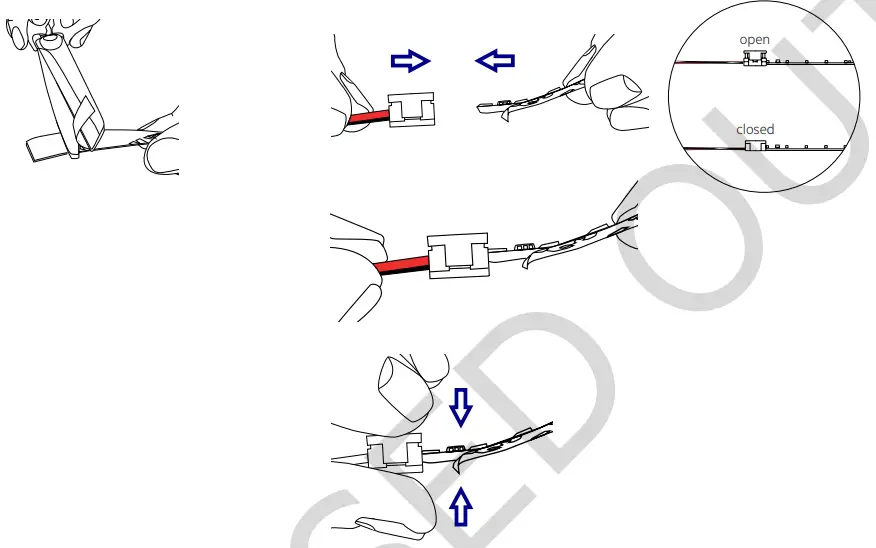
Connection with ACL Connector Plug (only for tape with 8 mm width)
Remove the liner of the adhesive tape in the area of the connection pads (min. 5 mm).
Slide the ACL Connector onto the LLE-FLEX EXC2 and lock it by pressing the connector together firmly.
Check if the ACL Connector is closed properly to ensure a reliable connection.
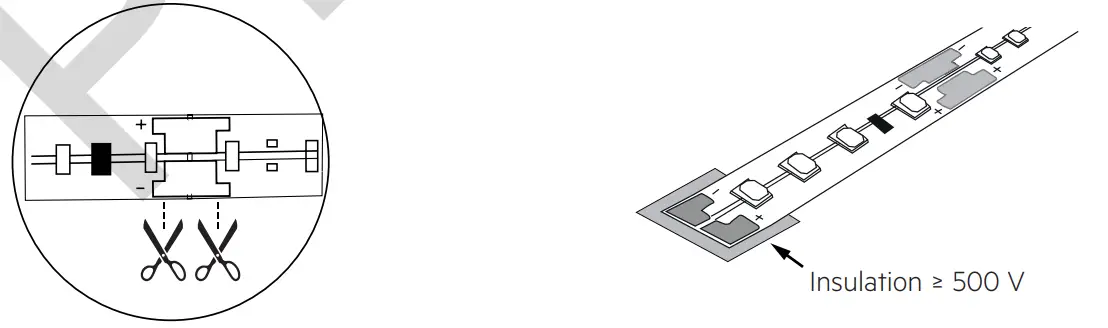
Cutting the LLE-FLEX EXC2
To separate the LLE-FLEX EXC2 cut left or right (depending on the connection direction) from the soldering pad.
Use a sharp tool such as an electronic side cutter or scissors.
Additional insulation by means of insulation foil ≥ 500 V at the end of the tape is recommended.
Subject to change without notice.
www.tridonic.com


