![]() RANGER XP 1000 2 Seat Seizmik
RANGER XP 1000 2 Seat Seizmik
Skid Plate Manual
Part # 76-10163
76-10163 RANGER XP 1000 2 Seat Seizmik Skid Plate
Always observe the warnings and precautions in this manual when using your Seizmik products. For best results, carefully follow the instructions in this manual and make no modifications.
If you have any questions, or comments, need assistance or are missing parts, please call 1-866-838-3366 between 9:00 AM and 5:00 PM EST. You can email us at [email protected]
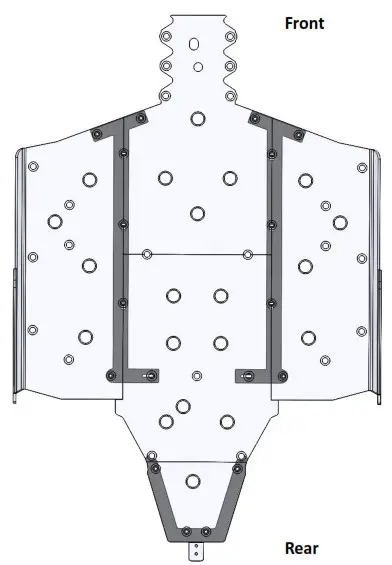
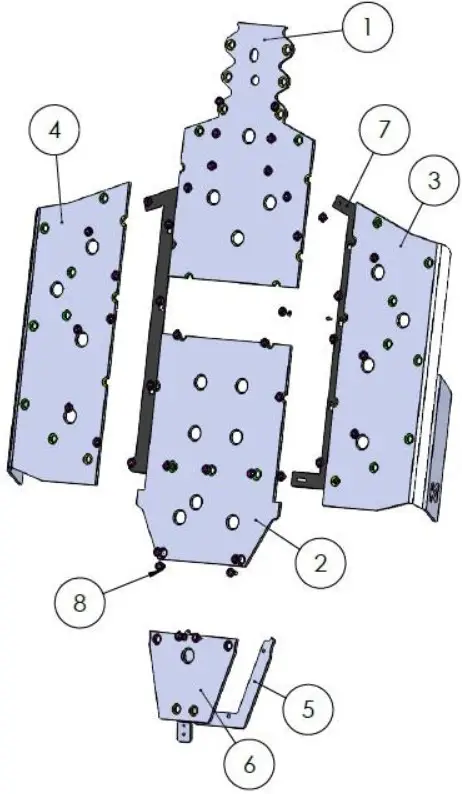
View looking up at the underside of the vehicle
Parts List
| ITEM NO. | DESCRIPTION | PART # | QTY. |
| 1 | SP_SK09_P1_02 Front Panel | 76-10192 | 1 |
| 2 | SP_SK09_P2_02 Middle Panel | 76-10193 | 1 |
| 3 | SP_SK2O_P3_02 Driv Side Panel | 76-10194 | 1 |
| 4 | SP_SK2O_P4_02 Pass Side Panel | 76-10195 | 1 |
| 5 | SP_SK09_P5_02 Spacer | 76-10196 | 1 |
| 6 | SP_SK09_P6_03 Rear Panel | 76-10197 | 1 |
| 7 | SP_SK09_81_05 Bracket | 76-10198 | 2 |
| 8 | Skid Plate Washer | 54-96007 | 41 |
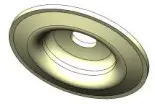
| 9 | Insert Washer | 54-96008 | 2 |
| 10 | M6 Clip Nut | 54-96009 | 18 |
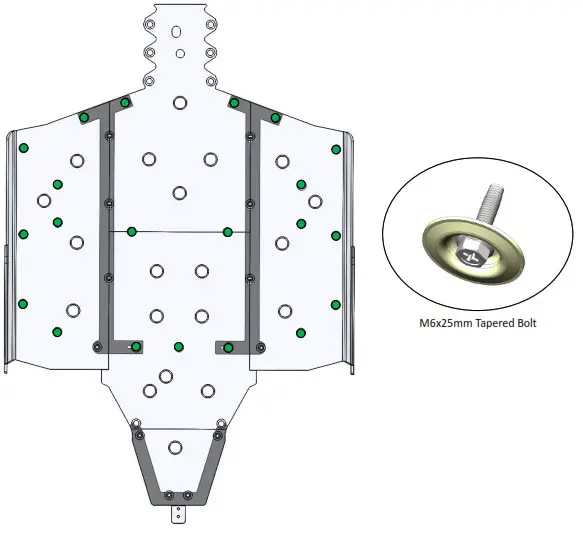
| 11 | M6x25mm Tapered Screw | 54-96017 | 35 |
| 12 | Hex Hange Screw M6x1.0x35 | 99-10006 | 6 |
 | Skid Plate Washer |
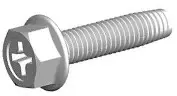 | Tapered Hex Screw M6x25mm |
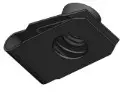 | M6 Clip Nut |
 | Skid Plate Insert Washer |
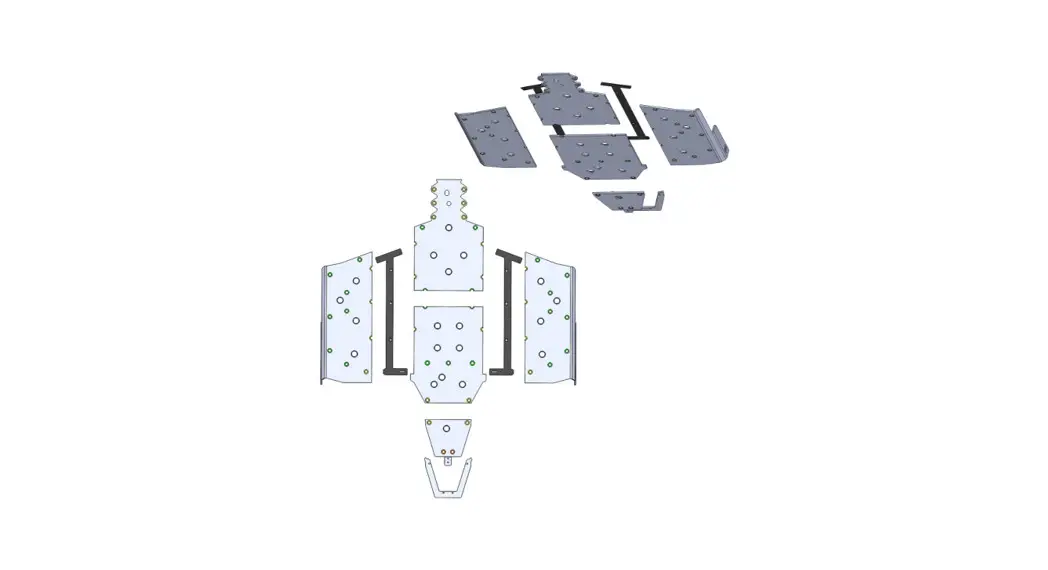
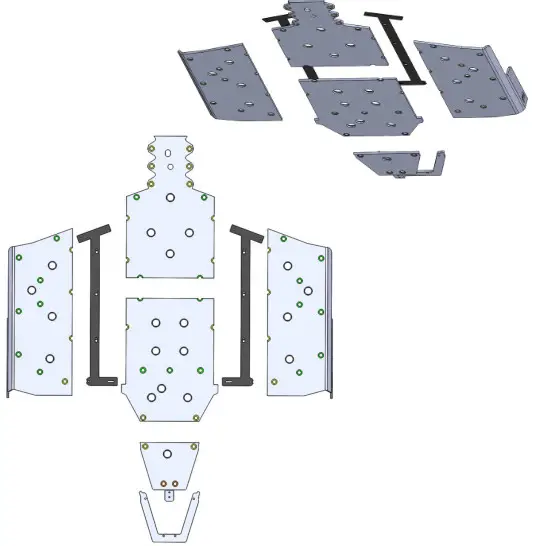
![]() ALL GREEN holes use M6x25mm tapered bolt and washer into factory threaded holes.
ALL GREEN holes use M6x25mm tapered bolt and washer into factory threaded holes.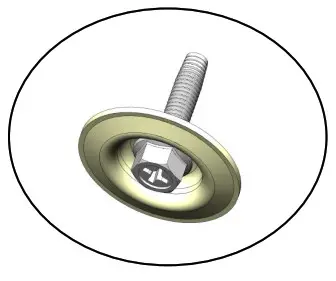
![]() YELLOW holes use M6x25mm tapered bolt and washer into clip nuts unless called out otherwise.
YELLOW holes use M6x25mm tapered bolt and washer into clip nuts unless called out otherwise.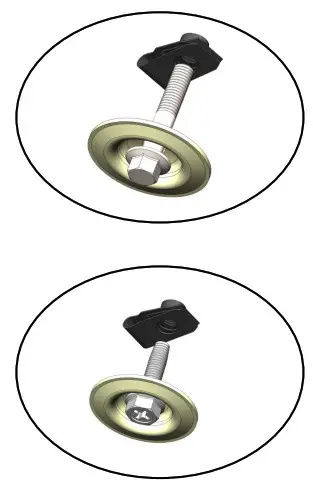
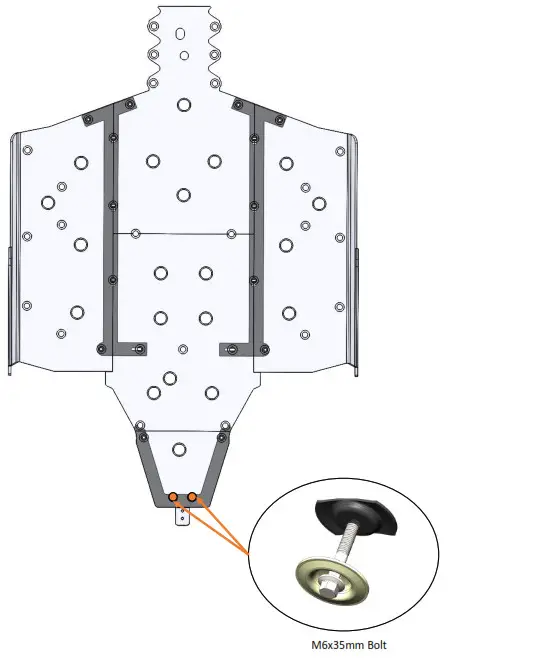
![]() ALL ORANGE holes use M6x35mm flange head bolt and insert washer placed into factory hole in sheet metal.
ALL ORANGE holes use M6x35mm flange head bolt and insert washer placed into factory hole in sheet metal.
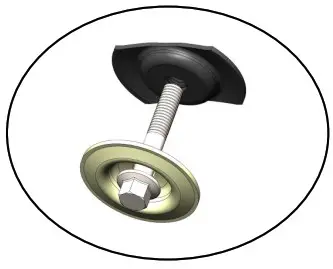
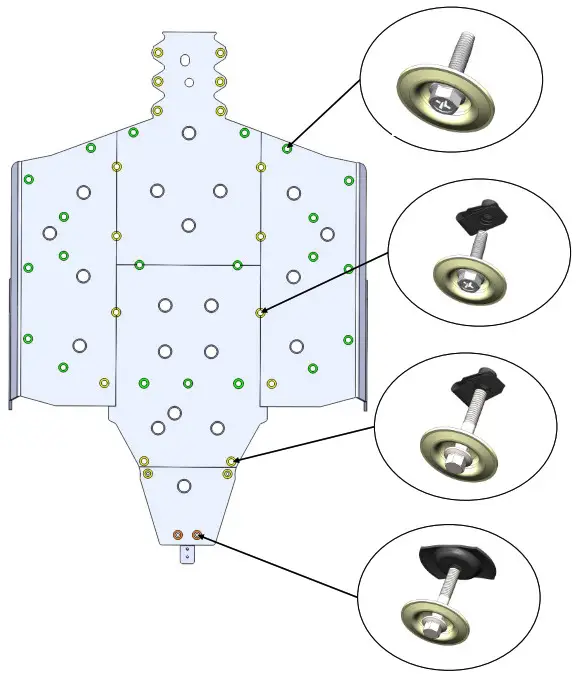
![]() Uses OEM Threaded holes
Uses OEM Threaded holes
Bolts thread into clip nuts
Uses insert washer into sheet metal hole

Attach all clip nuts to specified holes in metal brackets. 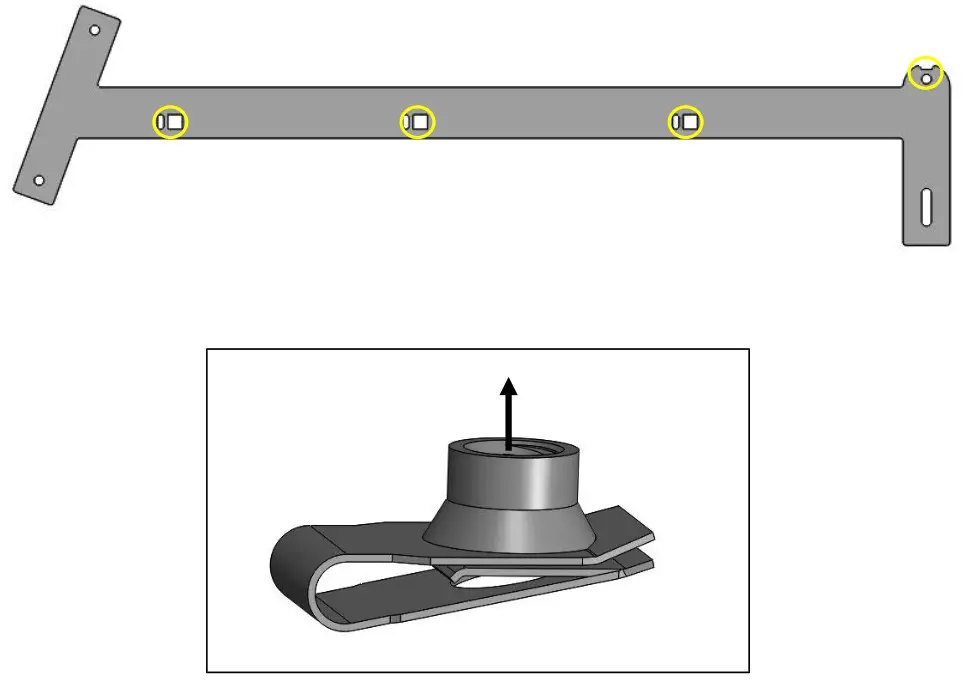 Threading should face upwards, toward vehicle

To start, remove the stock skid plate. Then, attach clip nuts to the vehicle undercarriage in the locations shown (Shown in YELLOW). Clip nut threads should face upward, toward the vehicle.
Place insert washers in Sheetmetal holes in the vehicle (Shown in ORANGE).
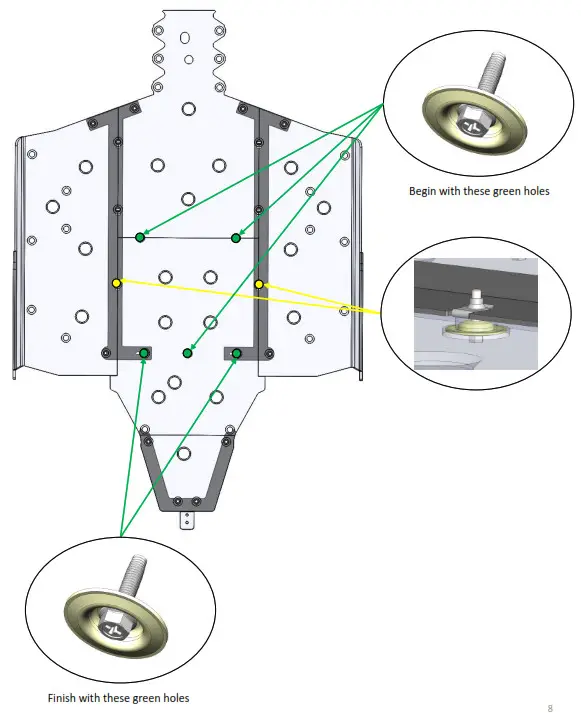
To start, loosely install the center 3 bolts and washers (Shown in GREEN) so that the middle panel is held in place on its own.
Next, attach the metal brackets to the middle panel using 2 bolts and washers (shown in GREEN) and 2 bolts and washers (Shown in YELLOW) into the clip nuts that you attached to the metal brackets. The metal brackets go between the panels and the vehicle frame. The panels will sandwich the brackets to the underside of the vehicle frame.
 |  |