Avalon Water Cooler Cleaning Instructions
Begin cleaning your Apple on water-cooler:
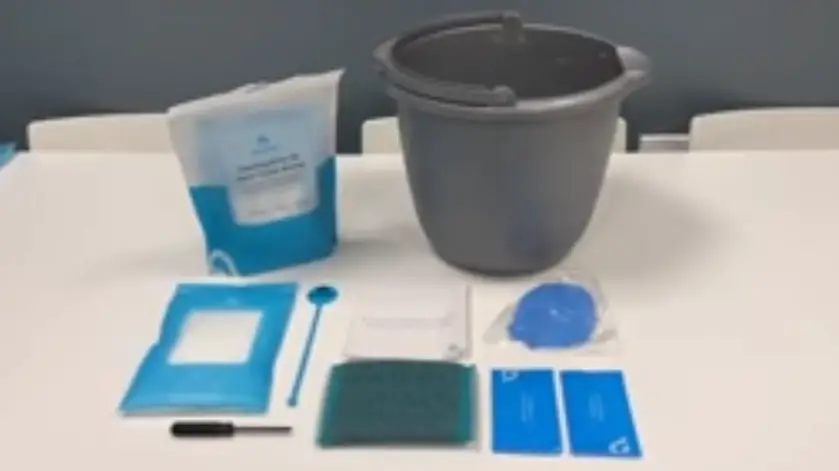
1. You first want to lay out the contents of your cleaning kit.
2. Your cleaning kit will come with:
- Citric acid crystals.
- A Screwdriver
- A Stirrer
- A Scrubbing brush
- Latex Gloves
- Disinfecting wipes and
- Instruction manual
3. You also want to grab your own:
- Bucket for draining the cooler and
- Mixing the cleaning solution to start cleaning your cooler
You want to drain the current contents of the water cooler:
- So that way you have room to fill the unit with your cleaning solution.
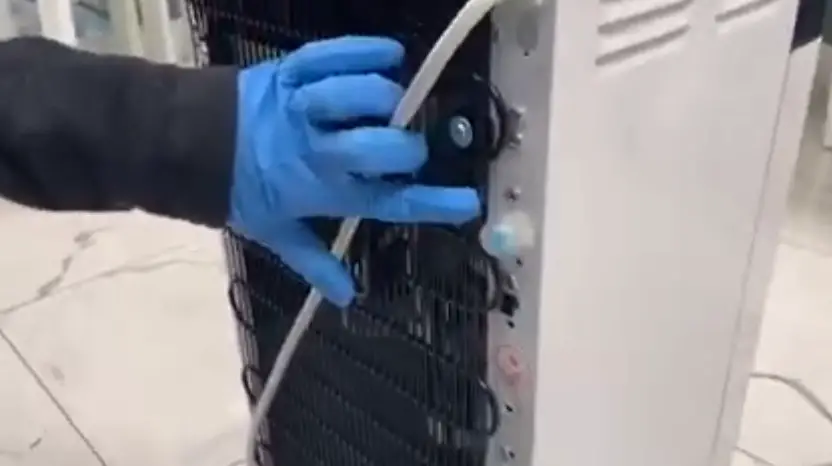
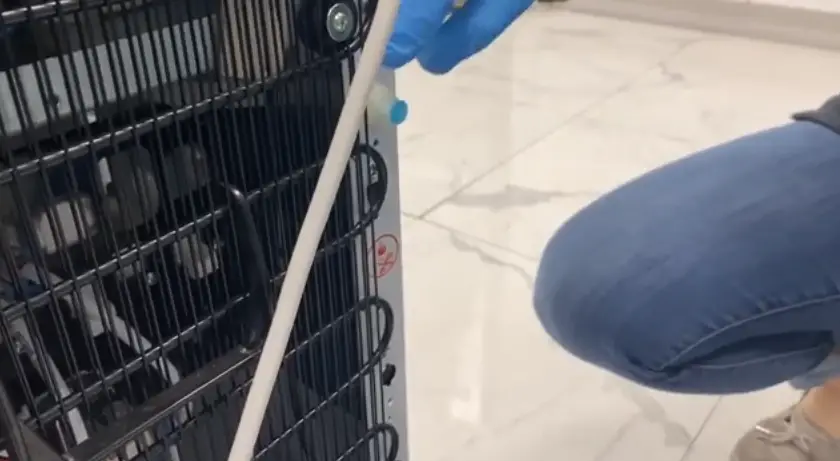
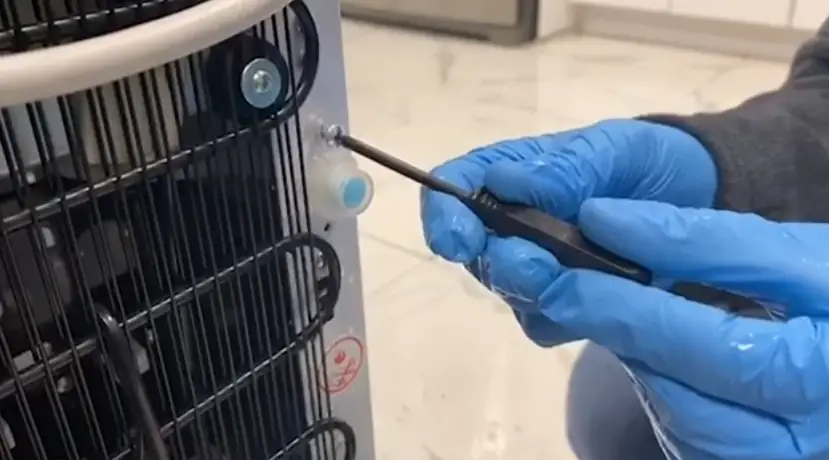
- So, you want to locate your drain plug on the back of the unit and you also want to make sure that you have your bucket handy for this.
- so you’re going to remove the screw and the drain cover
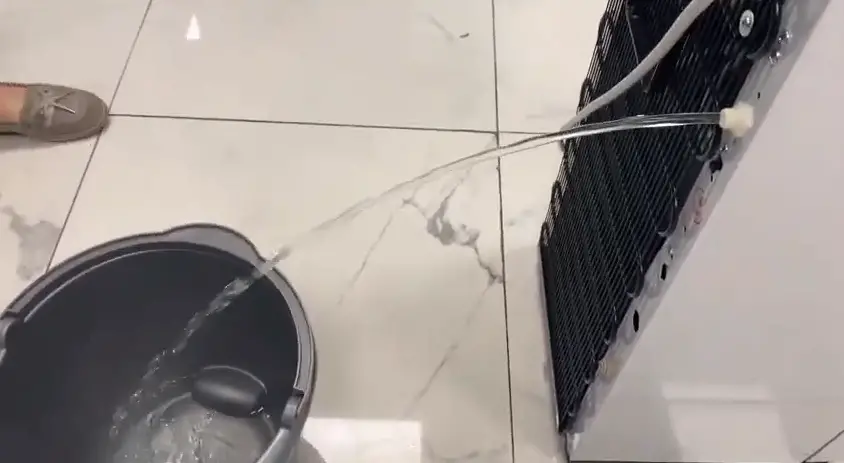
- so that way we can access the plug once you’ve removed the cap to the pluck to the drain you can go ahead and remove the plug.
- Once your unit has completed draining you can go ahead and clip the plug back in place but you can leave the cap in the screw off.
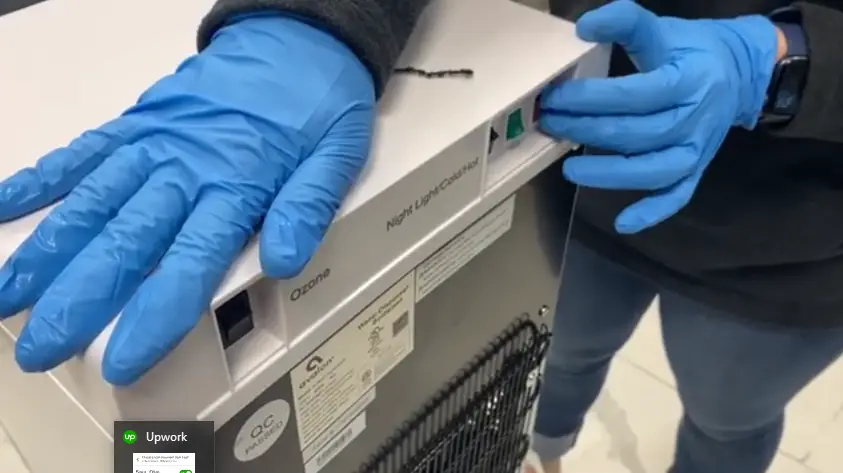
For now, as we will be draining the unit again you now want to open up the cooler to make sure that all the water has been drained.
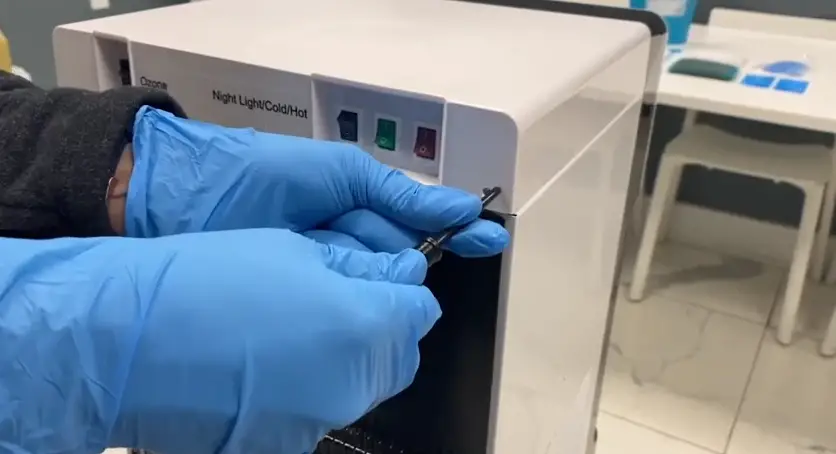
So to do that, you want to remove the two screws near the top of the cooler and then we’re going to lift the cover.
To lift the cover: you want to pull it forward towards the front and you’re going to hear a loud pop and there you go and you can allow the cover to rest in the back of the unit.
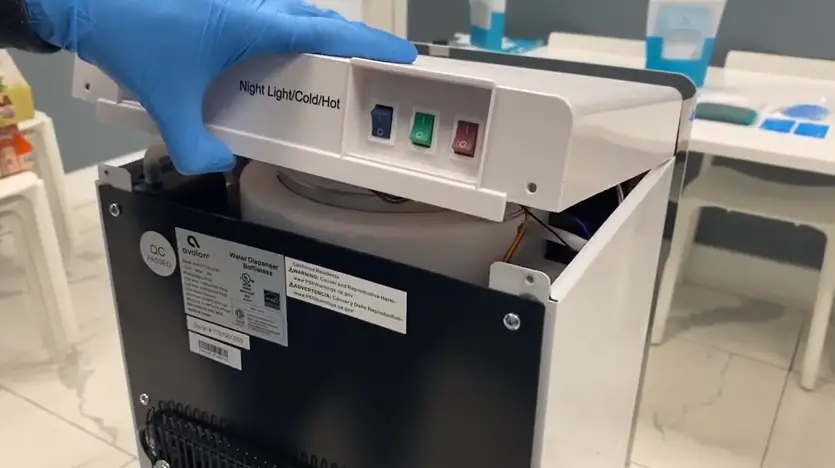
Once you remove the cover to your cooler: we can go ahead and remove the cold tank lid .
So, we can make sure that all the water has been drained from the unit.
Now you want to go ahead…..
If your unit has clips you want to just push those clips in to be able to remove the cover:
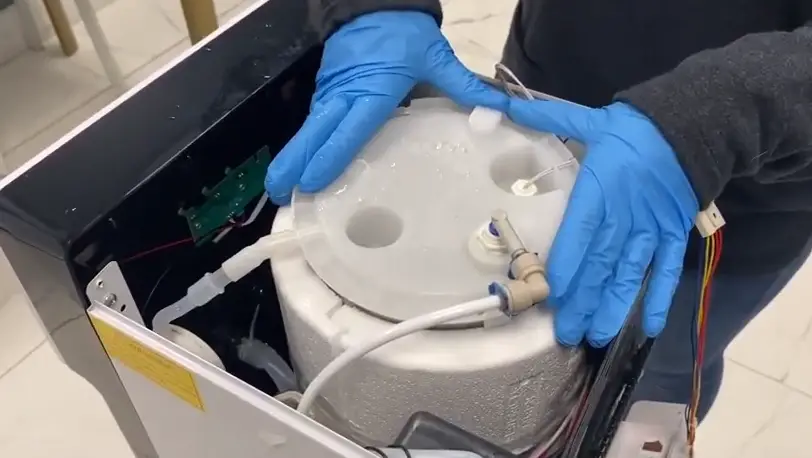
Once you have the cover removed you can just kind of prop it up so that it will rest like so inside of the unit.
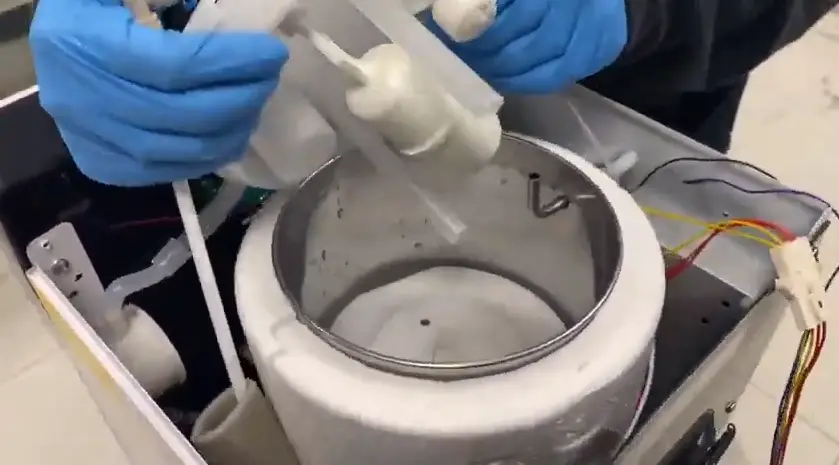
You can see this round piece…
Here is your cold tank separator.
You want to remove this….
So that, you can clean the tank properly
So, you can just twist it a little bit as you lift it out of place as you can see there is some water remaining inside of your cold tank.
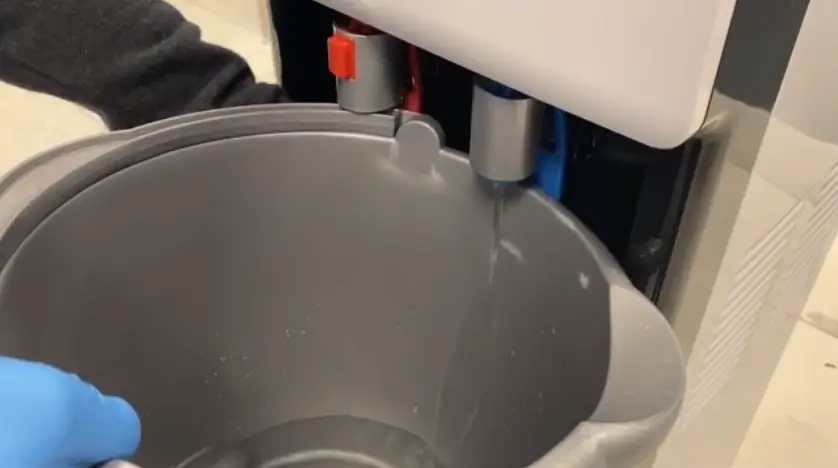
So what, We’re gonna do now is go ahead and drain the rest of the water from your hot and your cold spouts.
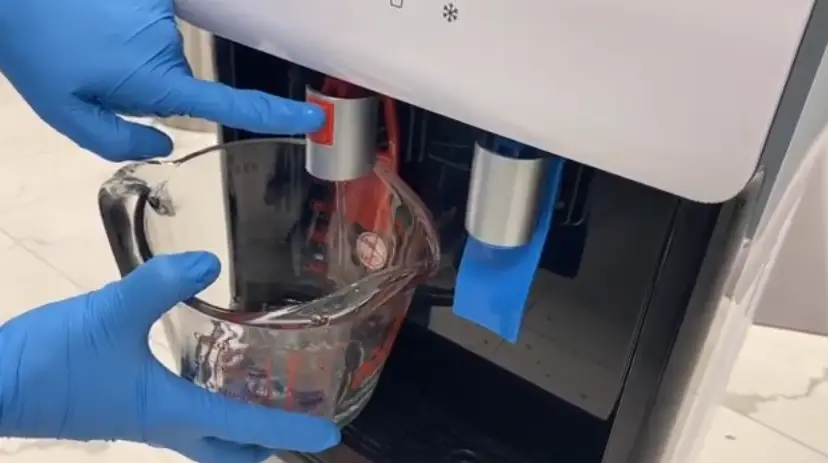
On the front of the cooler so we’re gonna drain that water from your cold spout:
Once you have completed draining the water from the cold spout you can go ahead and repeat those steps with the hot spout and you can allow the water to flow until it completely stops dispensing.
Once you’ve drained your cooler completely, you’re now ready to mix together your cleaning solution:
So that, You can pour it into your cooler to do that you definitely want to grab your bucket.
You also are going to want to add Four liters or about sixteen cups of water to your bucket and you’re going to want to mix it with your bag of citric acid crystals.
So now, I’m going to go ahead and I’m going to add the four cup or excuse me the sixteen cups of water to my bucket.
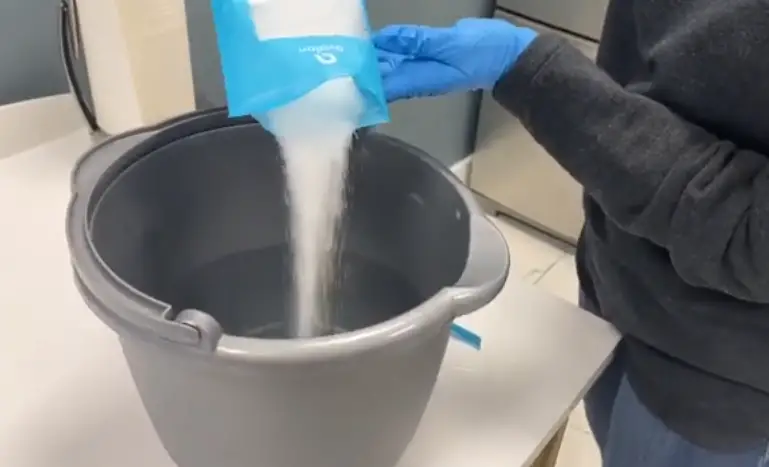
Now that, You’ve added your sixteen cups or four liters of warm water to your bucket you can go ahead and add your citric acid crystals once you’ve added your citric acid crystals you’re going to want to grab your stirrer so that way you can mix it all together.
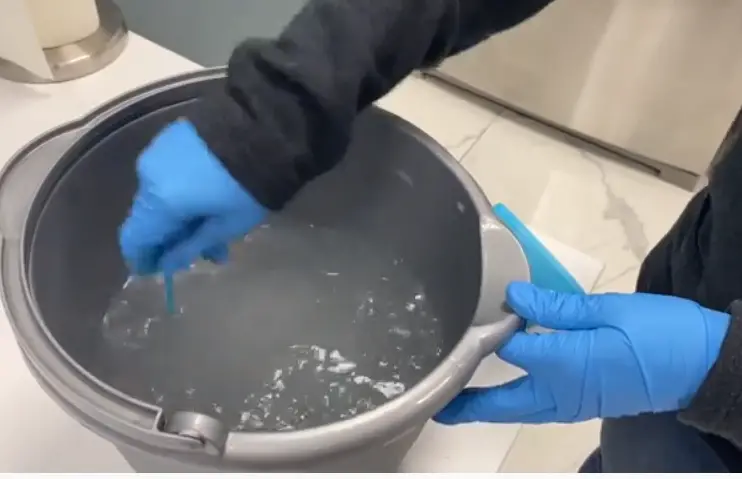
You want to make sure that, you mix it well is not to leave any of the secured acid crystals on the bottom of the bucket.
Now that, you have your cleaning solution mixed together.
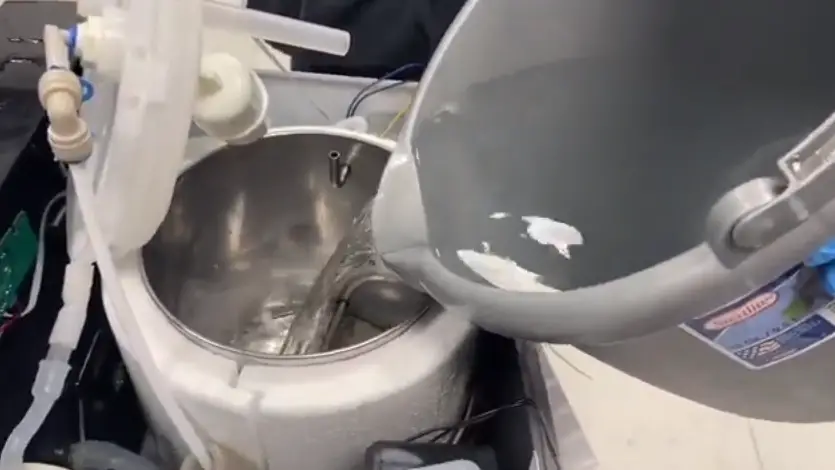
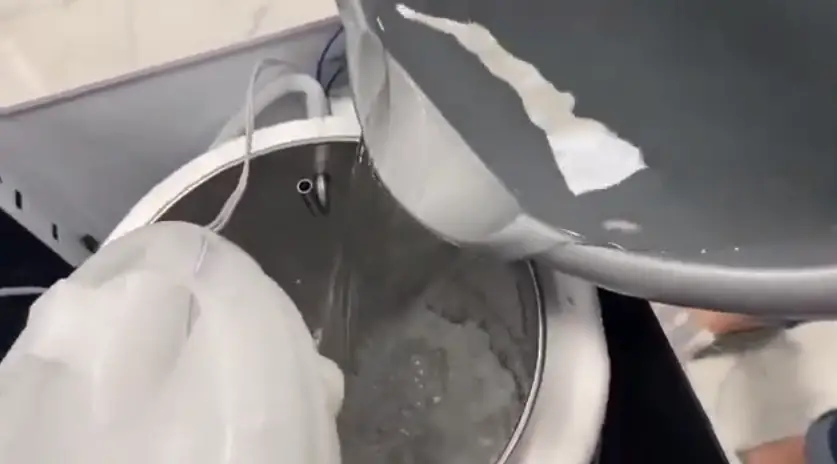
…….. You can go ahead and add it to your cold tank .
Now you want to make sure, you try to pour it towards the center of your cold tank as that’s where the water feeds into your hot tank.
Once you have filled your cold tank and your hot tank with your cleaning solutions.
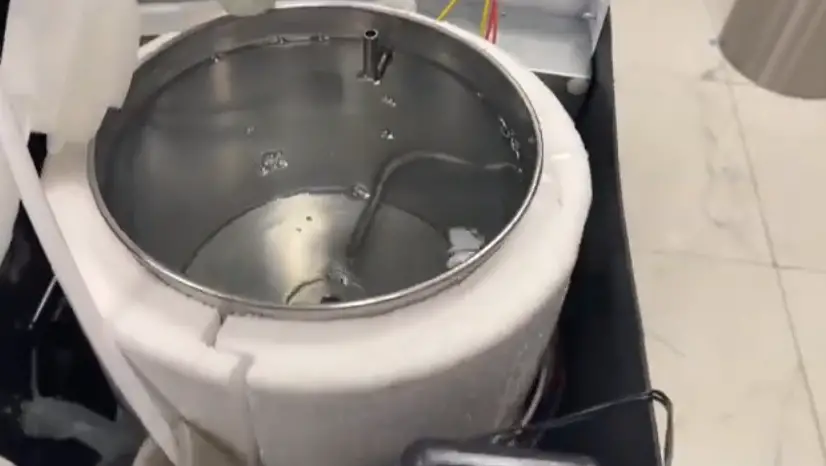
We can go ahead and put the cold tank lid back on the unit and you can also rest the cover on the top of the unit as well but you don’t have to screw it in place just yet what we’re going to do is plug the unit in and we’re going to turn on the hot switch.
So that, It can begin to heat the water and we’re going to allow this to sit for probably about twenty to thirty minutes that way you can clean the unit properly after about twenty to thirty minutes.
You want to turn the hot switch off and allow the cooler to sit for about ten to fifteen minutes.
So that, The water can cool a little bit before you begin to drain it after allowing the water inside of the unit to cool a bit.
You’re ready to drain the water out of the cooler:
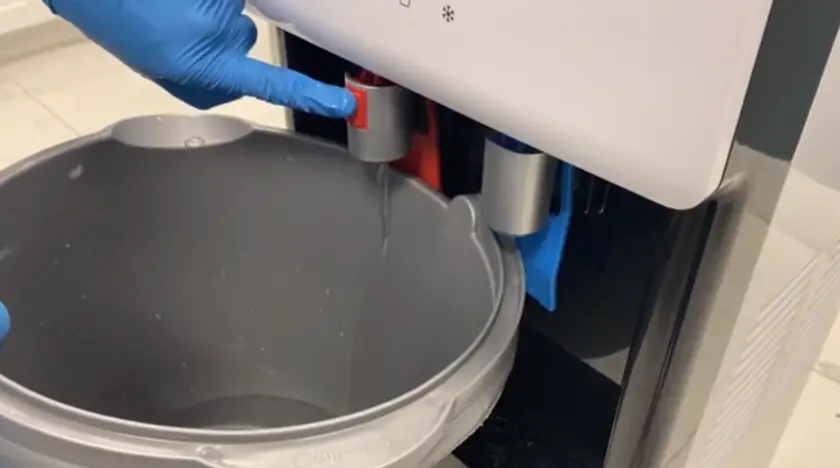
Now, you want to start by draining the water from your hot and your cold spouts to allow the cleaning solution.
To run through those spouts and to clean them as well:
So, we’re going to start with our cold spout and you just want to drain a bit of water just to allow it to flow through the spouts to clean them once.
You’ve completed the cold spout you can do the hot spout as well:
Once you’ve drained, your cleaning solution from each of your spouts, you can then drain the remaining cleaning solution from the drain at the back of the unit.
So since, we’ve already removed the cover we can just go ahead and remove the blue plug to allow the water to drain.
Once you have drained the unit completely, you go ahead and we can lift the cover off the cooler.

- Once again and we can also remove the coal tank lid .
- Once again and remember if you have the clips just push those in to remove them and we can just let this kind of rust here it’ll work.
You have your coal tank opened up….
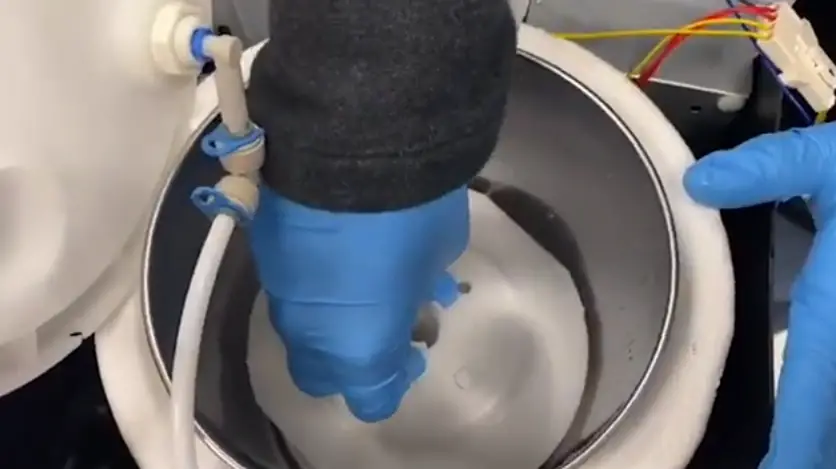
Once you have your coal tank opened up, we can go ahead and pour plain regular water into the coal tank and the purpose for this is to rinse the unit of any remaining cleaning solution and again when you’re filling the coal tank again you want to make sure that, you’re angling it and trying to get it in the center there.
So we can fill the hot tank as well and we’re using warm water to do this once you’ve filled your unit with plain regular water to rinse the cooler you then want to go ahead and rinse the cooler through the spouts.
Just as you did, when we were cleaning it so we want to run some of that water through each of the spouts so that way we can rinse them.
So, We’ll start with the cold once you’re finished with the cold we can then go ahead and drain from the hot once you’ve drained the water from the spouts.
We can drain the remaining water from the back of the cooler again.
- Once you’ve drained your water cooler about two or three times with plain water you’re then ready to go ahead and put your cap and screw back over your drain.
- So we’re gonna go ahead and put that back in place okay.
Once you’ve drained your water cooler and you’ve rinsed it to three times with plain water you’re then ready to put your separator back in place now.
You want to make sure that you also rinsed your separator either using regular dish soap or you can have used the citric acid crystal mixture to winces as well.
So, let’s go ahead and put this back in place now.
We just want to make sure that, we line this up with this small piece right there sometimes it helps.
If you look into the center of this hole to help you line it up and there you go now.
We can go ahead and put the coal tank lid back on and when doing that you also want to make sure that you line up this little metal piece, just outside of this little space here inside of the cold tank and make sure you push that down thoroughly and again if you have Clips make sure that they are clipped and secured.
Now, we can go ahead and put the lid back on to the cooler so you want to slide it into the front first and once you have that lined up and make sure that the wires are inside and we can go ahead and put that right back down.
Now, you may just have to kind of give it a swift a little smack to push it back.
Then, we can go ahead and put the screws back in place.
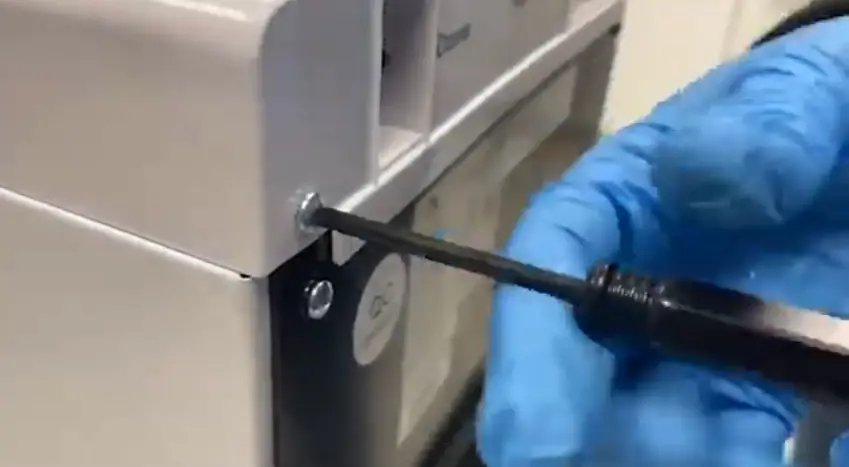
Once, you have your screws back in place and your unit is closed up you can.
Then plug the unit back into the wall and allow it to fill once it’s so you can turn your switches on the back of the unit back on while your unit is filling.
You can use the Avalon disinfectant wipes to wipe down the outside of your water cooler as well as the spouts.
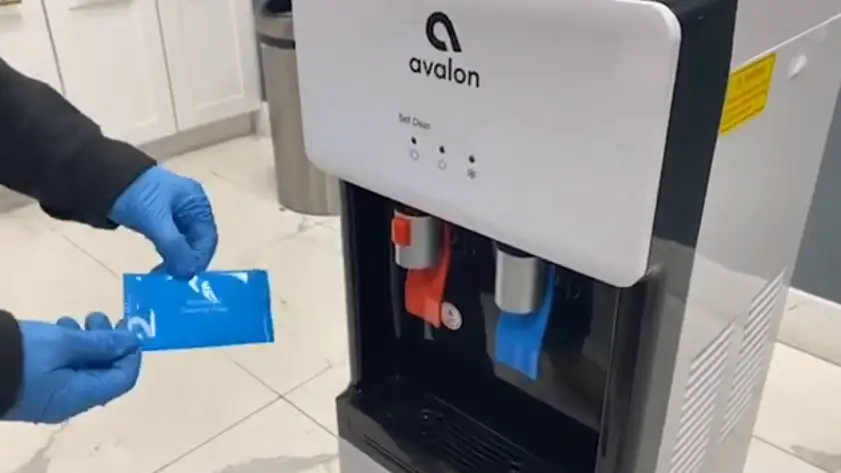
I’m going to make sure that you rinse the spouts thoroughly and be careful about accidentally dispensing water while you’re doing.
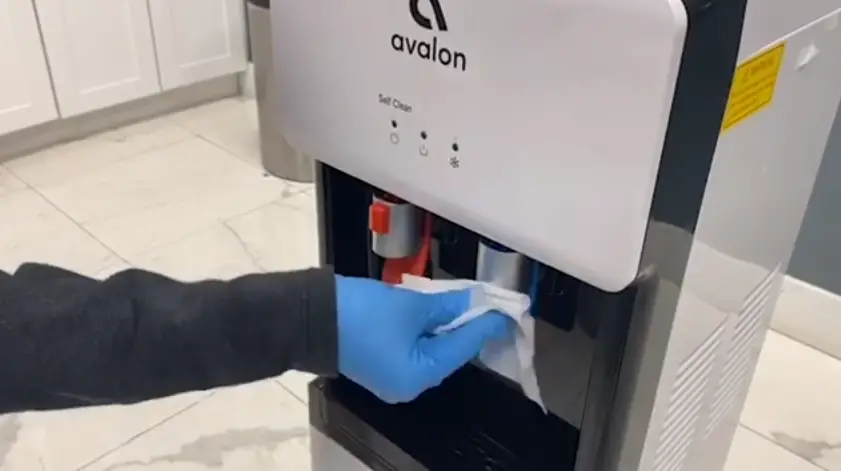
So make sure, you want to get in the bottom of the spout as well.
Once you’ve wiped the outside of your unit down and your unit is plugged in.
It’s then ready to be used as normal….


