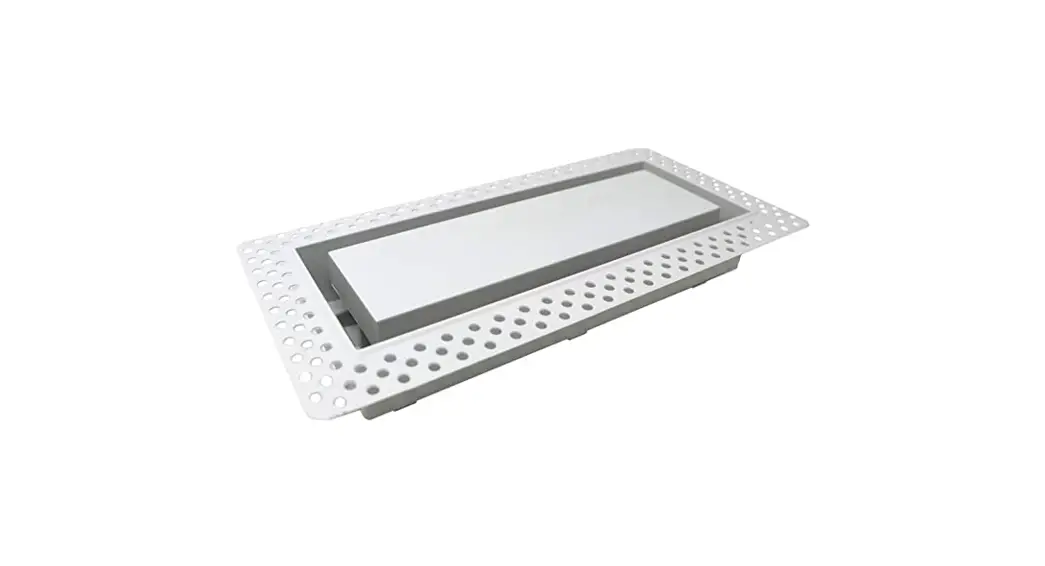
![]() Flush Wall Vent Lite BS Plastic Drywall Bead
Flush Wall Vent Lite BS Plastic Drywall Bead
Installation Guide
Features
- Install requires drywall mudding, best done by a pro.
- Paint to match wall surface.
- No air-flow adjustment.
IMPORTANT: For wall and ceiling drywall surfaces only.
Installation
Materials Needed
- Bonding spray
- Stapler
- Drywall compound
- Sanding material
Instruction
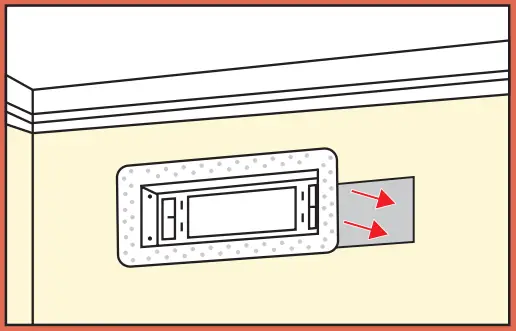
- Dry fit Drywall Flush Vent into duct opening. Ensure flange is flat to the wall.

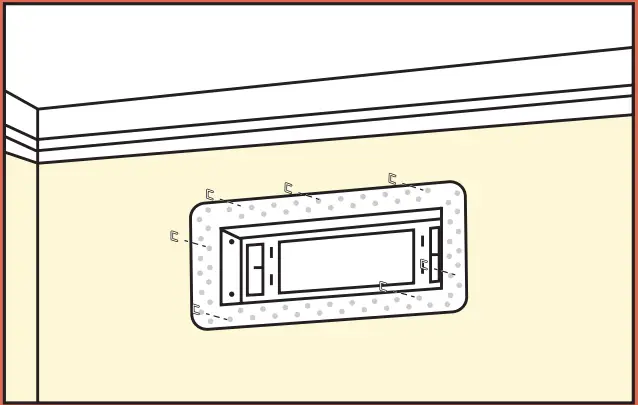
- Use bonding spray to glue beaded flange to drywall surface. Staple in place.

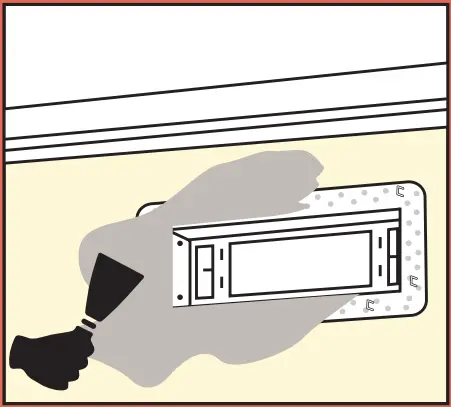
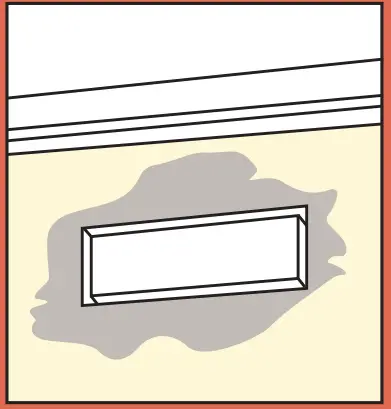
- Use drywall compound mud to cover flange. Allow to dry.

- Sand mud so surface transitions smoothly. Repeat steps 3 and 4 as needed.

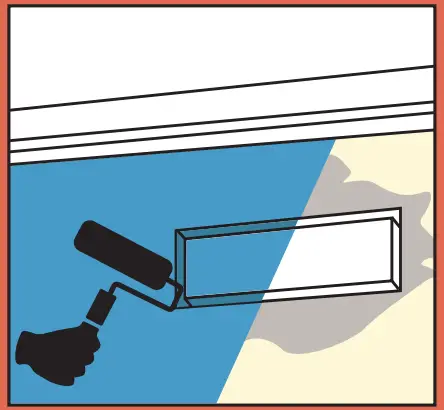
- Paint walls and all surfaces of the Drywall Flush Vent. Enjoy! *can also be used with wallpaper.

Support
[email protected] ariavent.com
Patent information http://www.ariavent.com/pages/patents
Made in Canada.


