![]()
![]() QUICK START GUIDE
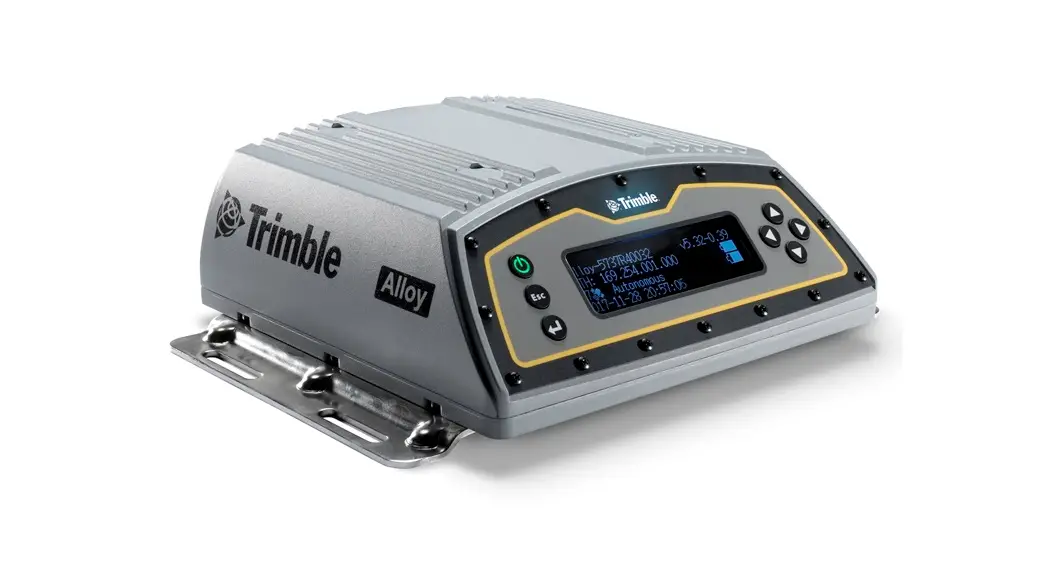
QUICK START GUIDE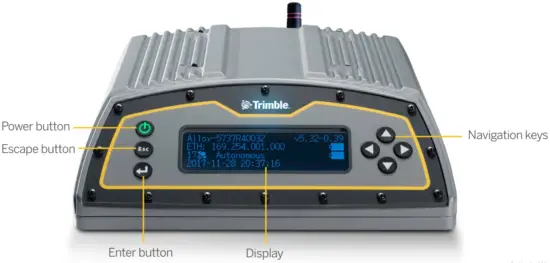

WHAT’S IN THE BOX
Description
- Alloy accessory kit, P/N 109ACC-00
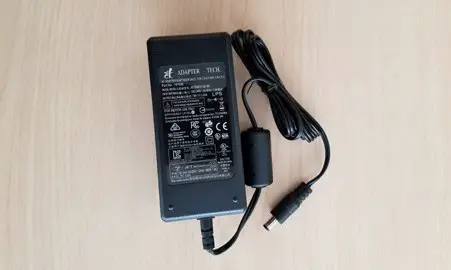
- Power supply, 65 W, 19 V, 3.43 A, 100-240 V AC, P/N 107000

- Power cord kit – USA, EU, UK, AUS, with a C7 connector, P/N 78651
- Power cord, 6 ft, Japan with a C7 connector, P/N 78656
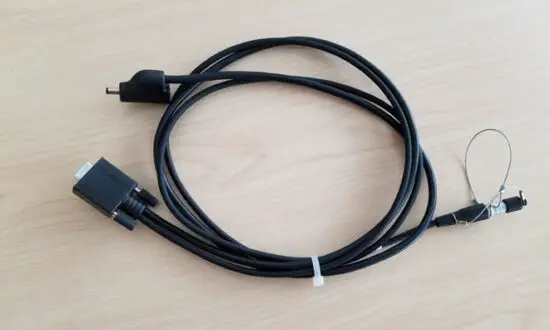
- 1.5 m cable, DB9(F) Y to OS/7P/M to Power Jack, P/N 59044
- 1.8 m cable, DB9/M-DB9/F, Data, P/N 19309-00
- CBL 2M Ethernet 10BaseT CAT5, P/N 50150-00
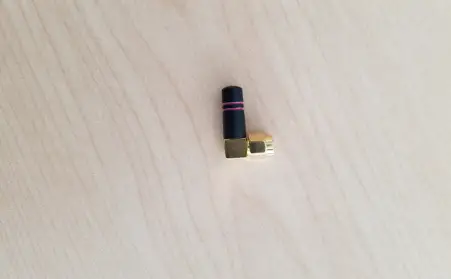
- Antenna 2.4 GHz stick antenna, SMA P/N 120030

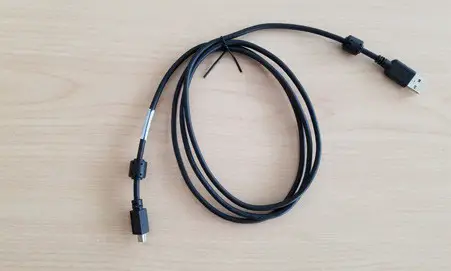
- USB Mini-B Plug Host to A Jack accessory cable, P/N 74399-00
- USB Mini-B Plug to A Plug accessory cable, P/N 74408-00

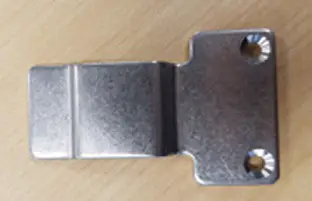
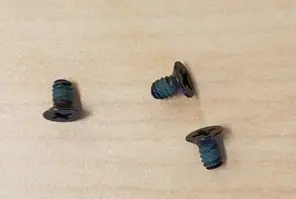
- Tripod clip, EM/TM3, P/N 41124, and Screws 6-32 x ¼ 100FM BLK SS NYL, P/N 27953


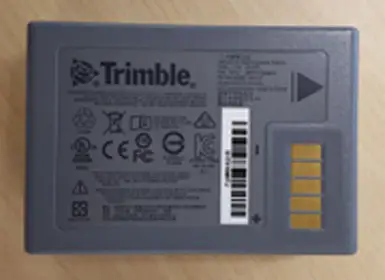
- Smart battery, P/N 76767/176767


CONNECTING THE POWER CABLE (P/N 59044)
- Remove the protection cap from either power port 3 or 4.
- Remove the protection cap from the LEMO end of the cable.
- Line up the red dot on the LEMO end of the cable with the red line on the LEMO socket of the respective power port3.
- Insert the cable plug into the Alloy LEMO socket.
- Connect the DC barrel connector to the power supply.
DISPLAY
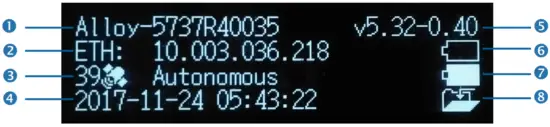
| Description | Description | ||
| 1 | Serial number | 5 | Firmware version |
| 2 | IP address | 6 | Battery 1 |
| 3 | Number of satellites and positioning mode | 7 | Battery 2 |
| 4 | UTC date and time | 8 | Logging status |
Rotating the display
- From the Home screen, press
 . The System Setup screen appears.
- Press the down arrow until Rotation is highlighted. Press .

- Press again. The Rotation setting is selected.
- Press the right arrow key to select Reversed and then press . Note that the navigation arrow keys are also reversed.


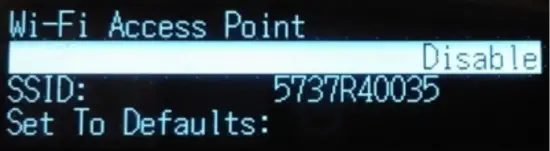
Setting up the Wi-Fi
- From the Home screen, press . The System Setup screen appears.
- Press the down arrow key until the Wi-Fi Access Point is highlighted. Press .

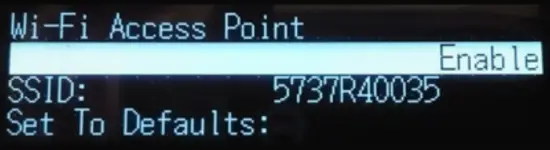
- Press again to activate the Disable/Enable setting. If the Wi-Fi Access Point is disabled, press the down key to change to Enable. Press to save.
- Press Esc twice to return to the Home screen.

- Open a handphone and navigate to the System Settings and Wi-Fi setup.

- Select the serial number of the current receiver (for example, AP 5737R0035) and click to connect.
The encryption is WPA2 (usually automatic). The encryption type is AES (usually automatic). Type in the password Abcde Abcde. - Press OK. The handphone should be now connected to the Alloy receiver with a warning that there is “no Internet access”.
- Open a web browser on the handphone. In the address bar, enter 192.168.142.1.
The Alloy web interface is now open on the phone.

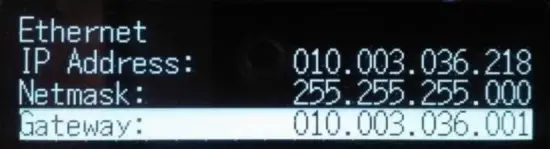
Setting up the Ethernet
- From the Home screen, press . The System Setup screen appears.
- Press the down arrow key until Ethernet is highlighted. Press .
- At DHCP, press . The DHCP setting is selected. If required, disable/enable DHCP.

- If DHCP is disabled, using the arrow keys move to the IP Address field. Press . Enter your IP address (for example, 10.3.36.218).

- Using the arrow keys, move down to the Netmask field. Press . Enter the required netmask.
- Using the arrow keys, move down to the Gateway field. Press . Enter the required gateway address.
- When finished, press C once, then press Esc to return to the System Setup screen.
- Restart the receiver for the changes to take effect.
- Open a web browser on a computer connected to the LAN. In the address bar, enter your IP address (for example, 10.3.36.218). The Alloy web interface appears.


Help is available in the web interface, or go to realtimenetworks.trimble.com/Trimble-Alloy.aspx.
© 2018–2022, Trimble Inc. All rights reserved. Trimble and the Globe & Triangle logo are trademarks of Trimble, registered in the United States and in other countries. All other trademarks are the property of their respective owners.
P/N 10950-XX-QS. Revision E, February 2022.
 Trimble Inc.
10368 Westmoor Drive
Westminster CO 80021
USA
TRANSFORMING THE WAY THE WORLD WORKS![]()


