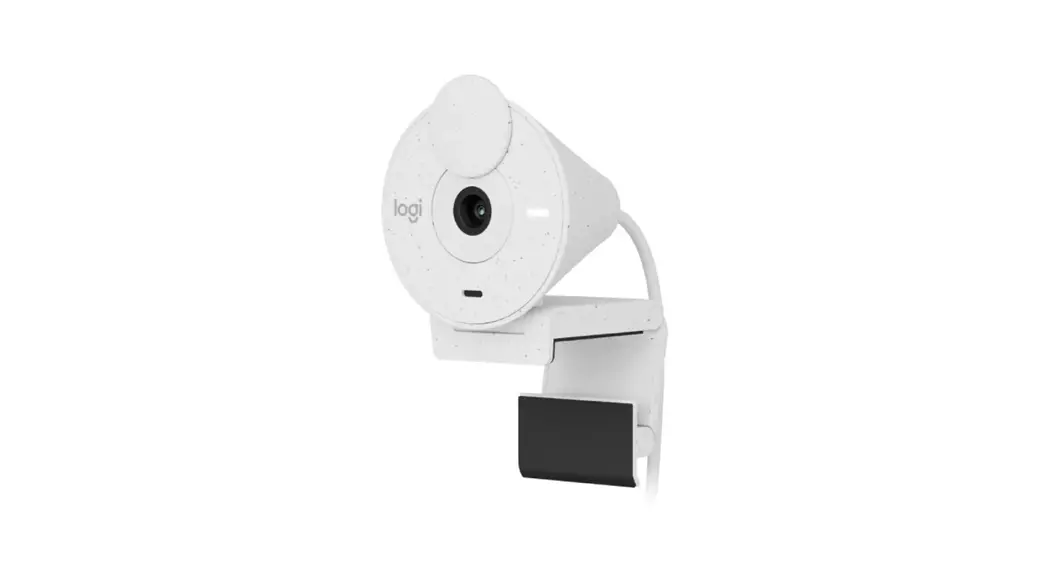
![]() BRIO 300 Full HD Webcam Installation Guide
BRIO 300 Full HD Webcam Installation Guide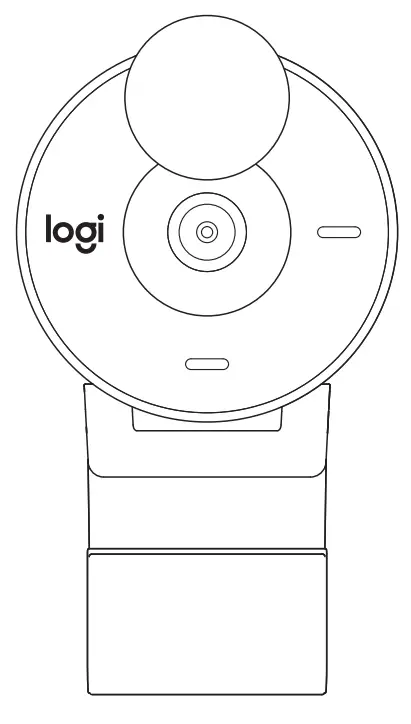
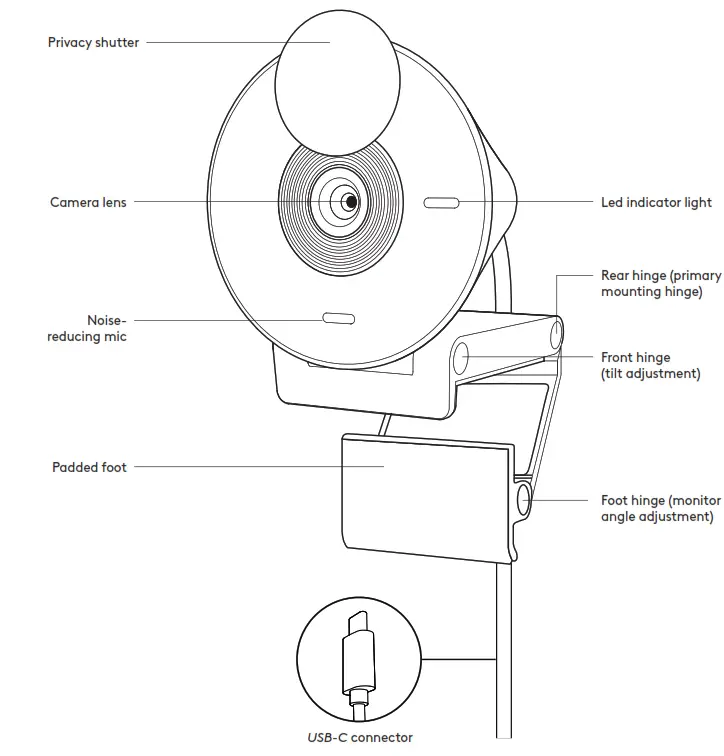
KNOW YOUR PRODUCT
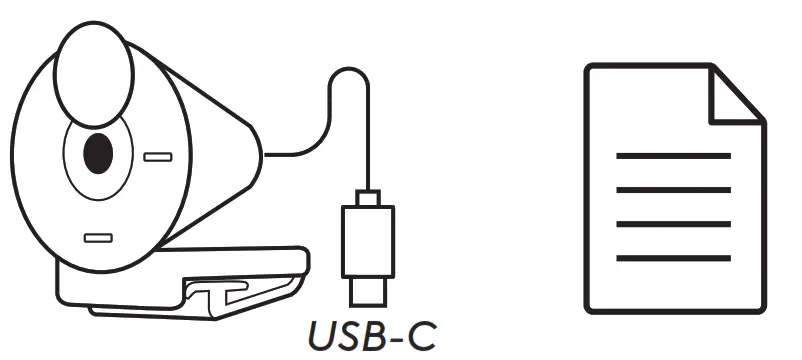
WHAT’S IN THE BOX
- Brio 300 with attached USB-C cable
- User documentation
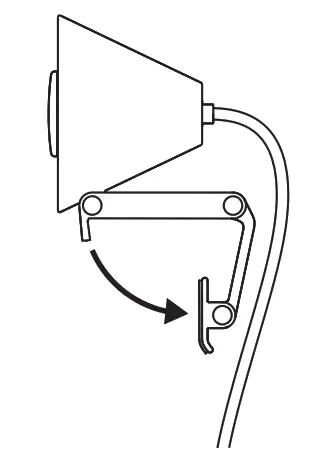
OPEN THE MOUNT
Open the mounting arm
PLACE ON MONITOR
Place the Brio 300 on top of your monitor and ensure that the front tab of the mount is snug against the front of your screen
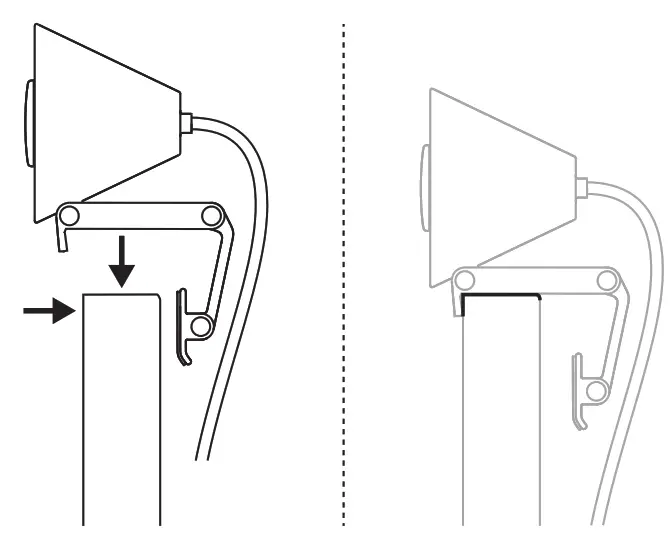
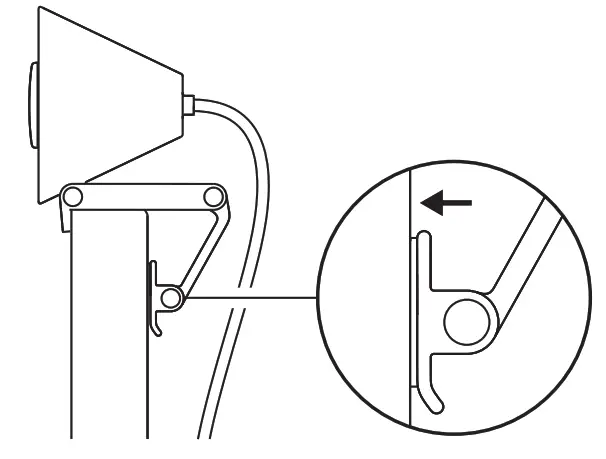
COMPRESS TO FIT MONITOR
Move the mounting arm towards the back of your screen so that it fits the width of the monitor Please note that you may need to adjust the angle of the “foot hinge” to fit your monitor’s shape
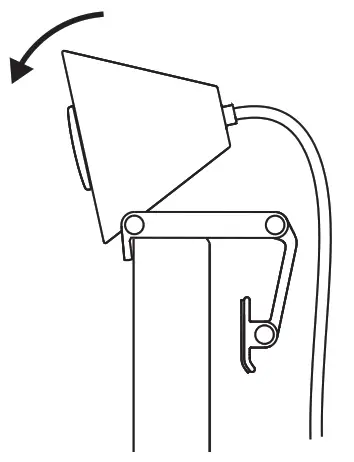
ADJUST THE ANGLE
Adjust the angle of the Brio 300 by tilting it forwards or backwards
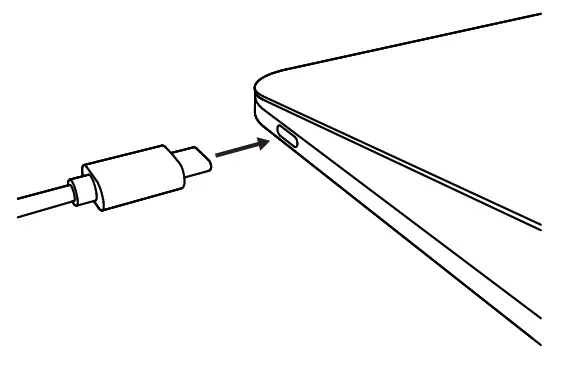
PLUG DIRECTLY INTO COMPUTER
Plug the attached USB-C connector into the corresponding port on your computer If possible, we recommend plugging the Brio 300 directly into your computer and not through a USB hub
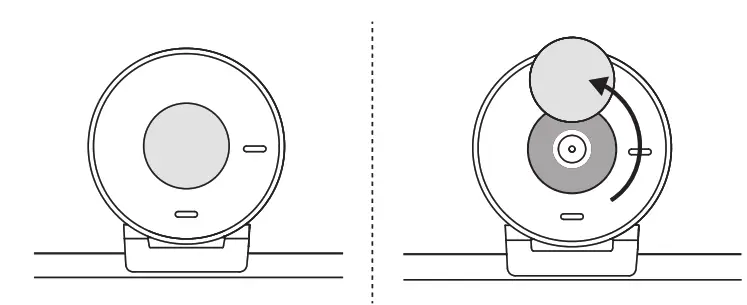
OPEN THE PRIVACY SHUTTER
Open the privacy shutter by gently pushing it from the left or right direction of the device; the cover will snap into its “off” position above the camera
INSTALL TUNE
Logi Tune helps boost your webcam performance with periodic software and firmware updates
It is recommended to update your webcam and take advantage of the great features of Brio 300
To do so, download Logi Tune from www.logitech.com/tune

DIMENSIONS
Webcam:
Height x Width x Depth: 2 58 in (65 63 mm) x 2 09 in (53 1 mm) x 1 78 in (45 mm),incl mount clip
Product weight:
2 63 oz (74 6 g), incl mount clip & cable
Attached Cable length:
1 5 m (5 ft)
www.logitech.com/support/Brio300
© 2023 Logitech Logitech, Logi and the Logitech logo are trademarks or registered trademarks of Logitech Europe S A and/or its affiliates in the U S and other countries USB-C and all other trademarks are the property of their respective owners Logitech assumes no responsibility for any errors that may appear in this manual Information contained herein is subject to change without notice.


