REVOPOINT Pop 3D Scanner Hand Scanner
 Using This Manual
Read/Watch Before Scanning
We have provided tutorial videos and documents of the POP D scanner below for your reference:
- User Manual
- Quick Guide
- Video Tutorials
- FAQ
Join Official Forum to get Software Updates & Tutorials & Showcases & Contests & Discussions![Register Now]
Download related software from
- www.revopointd.com/download/
- For Android users, get Handy Scan from the Play store
- For IOS/Mac users, get a Hand Scan from Apple Store
- Contact us with [email protected]
The operating temperature of this product is °C to °C. It does not meet the standard operating temperature for military grade application, which is required to endure greater environment variability. Operate the product appropriately and only for applications that it meets the operating temperature range of that grade.
Product Introduction
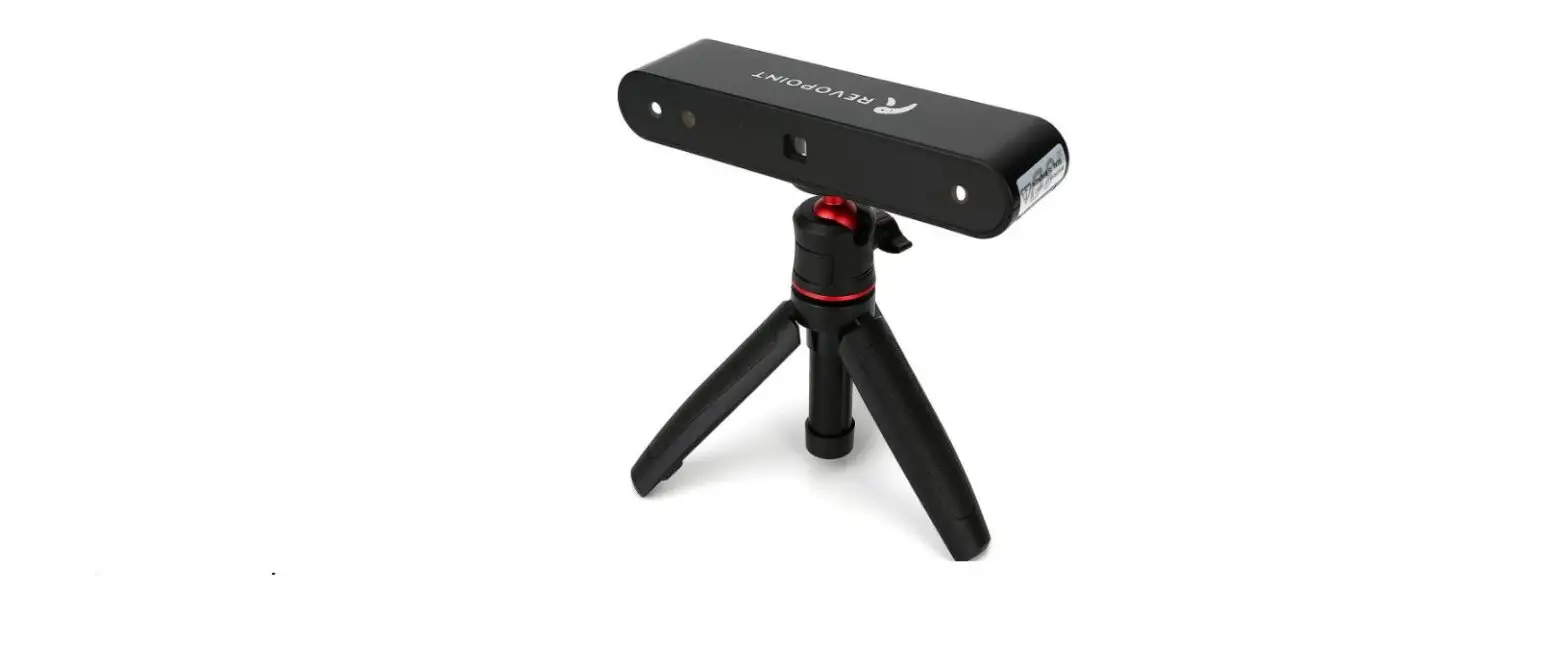
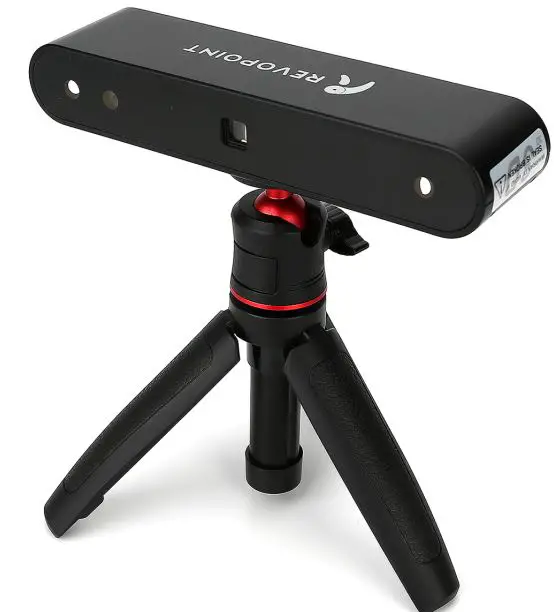
The Revopoint POP D scanner has a built-in binocular structured light, ensuring the highly-accurate acquisition of D point cloud data. With a set of depth cameras (two IR sensors and one projector) and one projector, the POP scanner can obtain single-frame accuracy as high as mm. Its powerful specifications allow a variety of applications such as scanning models, sculptures, human faces, industrial parts, and more.
POP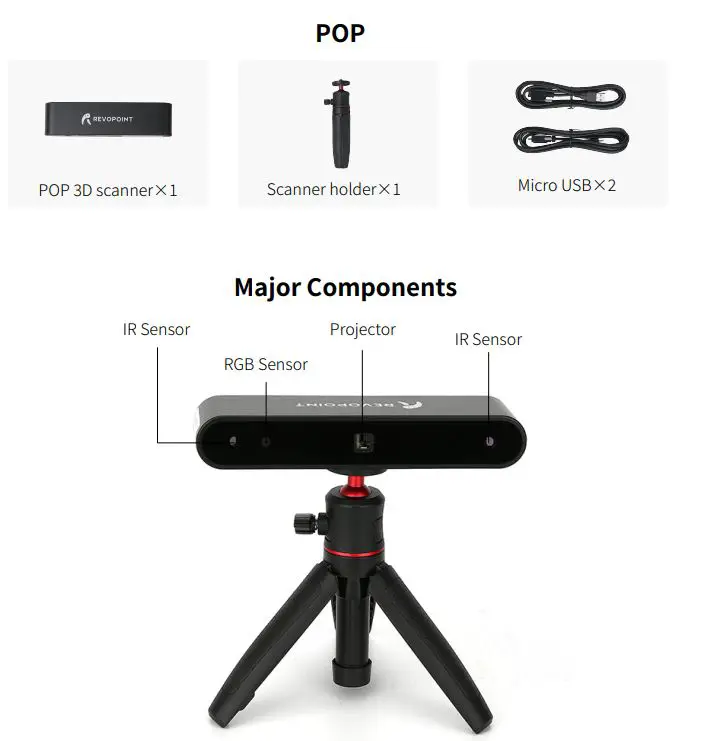
- Depth-sensing camera (with two IR sensors and one projector)
- One color camera (to capture textures in full color)
Scanner Holder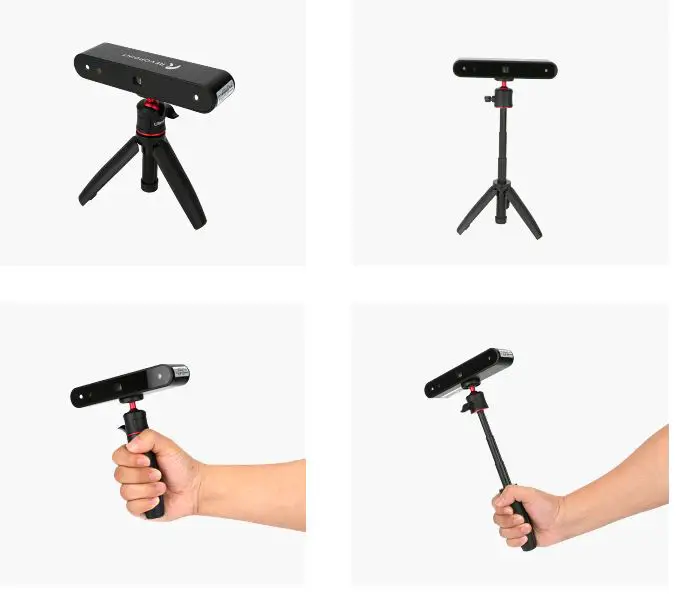
The holder can be held in your hand or used as an adjustable-height, stable tripod.
USB Cables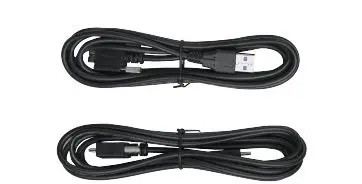 both for power supply and data transmission
Gift Box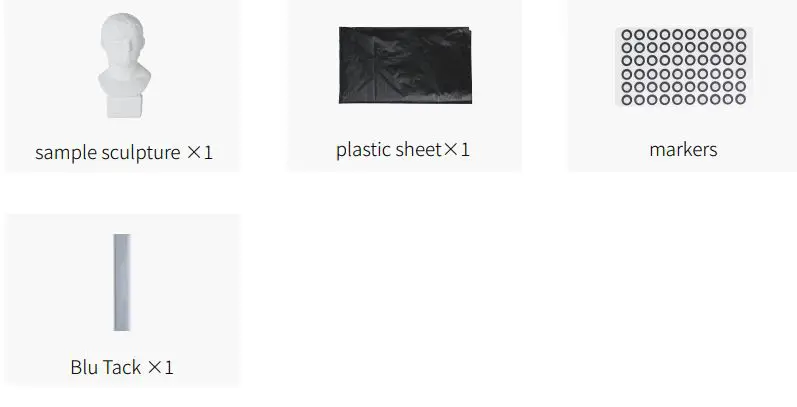
Hardware Connection 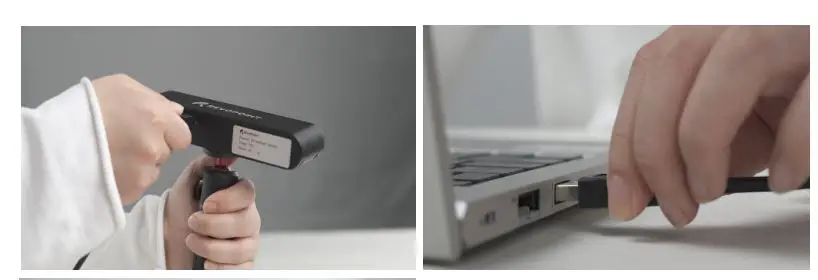
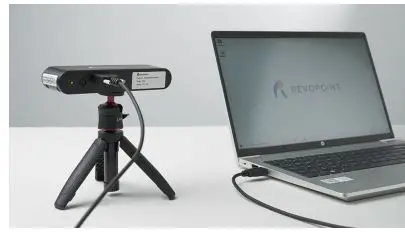
Check the POP is connected to the USB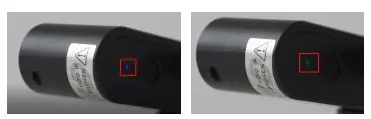
- when the indicator light turns green from blue, the POP works
- Indicator light in blue: Starting
- Indicator light in green: Work normally
Software: Handy Scan & Handy Studio
Your package contains a flash drive with the necessary software (Handy Scan) and a brief overview document. Visit our website www. revopointdcom if you misplace the drive and to download the most recent version.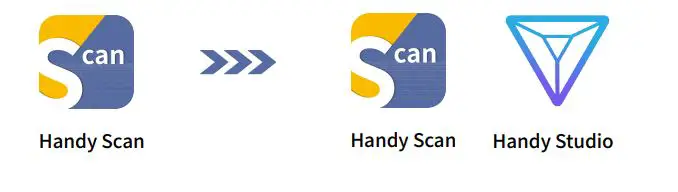
On Phone and Mac, Handy Scan Only!
Scan software: Handy Scan
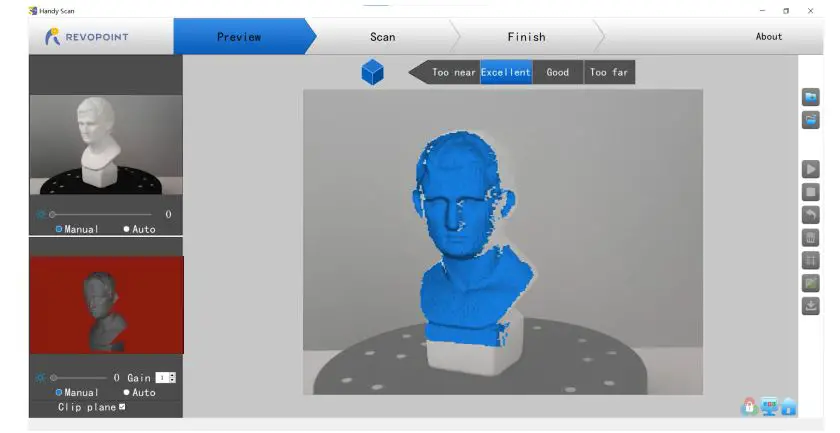
Open Handyscan software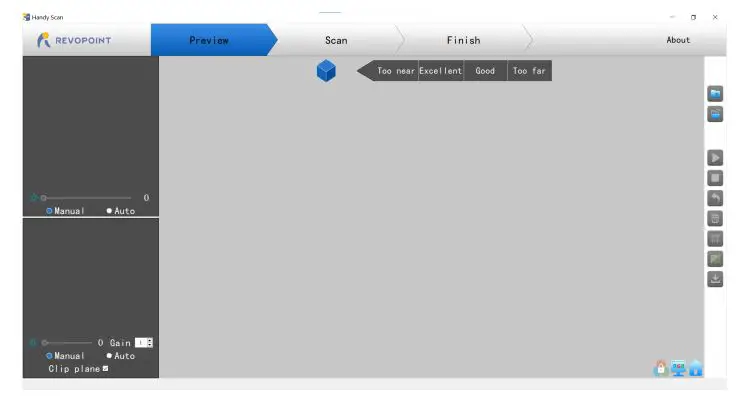
- Place the object on proper site

- Adjust the distance to the “Excellent”

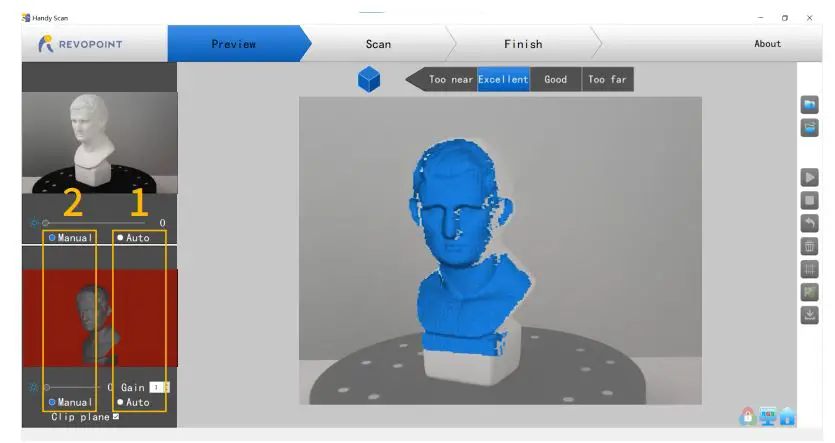
- Adjust RGB and Depth parameters: click “Auto” first, then “Manual” Refer to User Manuel for detailed parameter adjusting

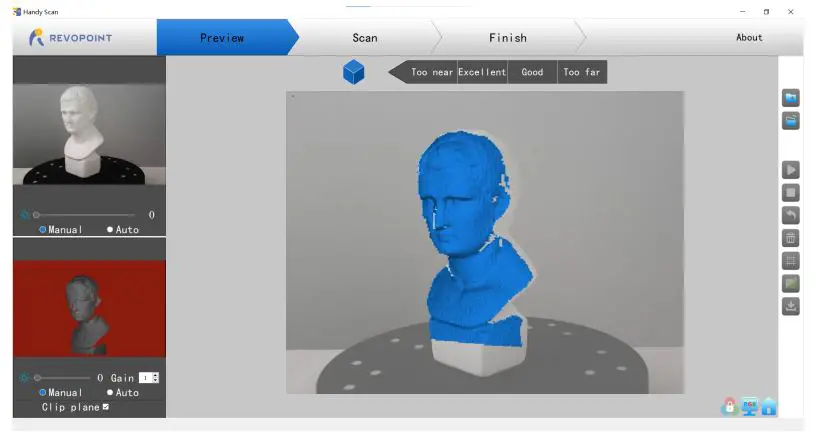
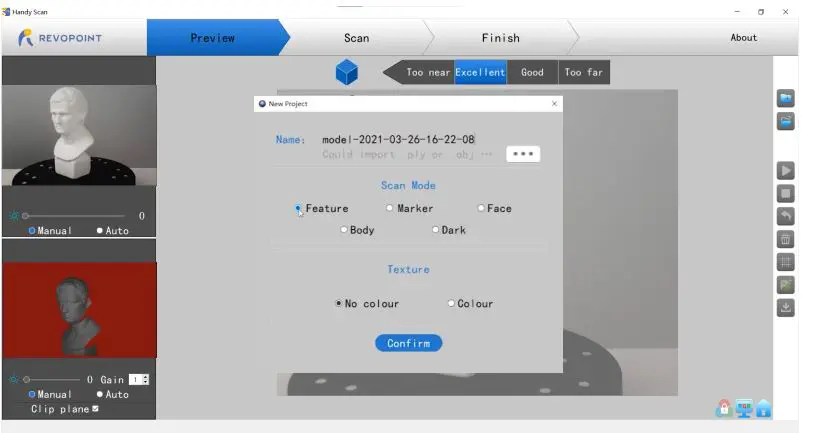
- Click” “to start a new project

- Select a Scan mode and Texture:
- For the first operation, we recommend “Feature” and “No color”;
- Refer to User Manual for other scan modes and Texture selecting.

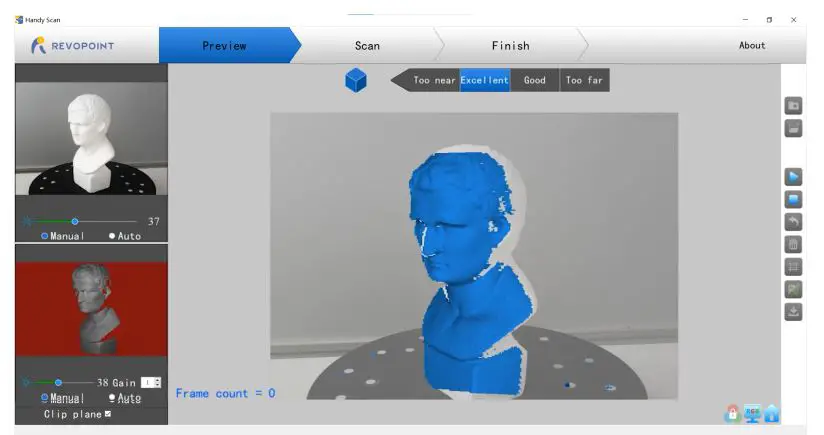
- Click ” ” to scan

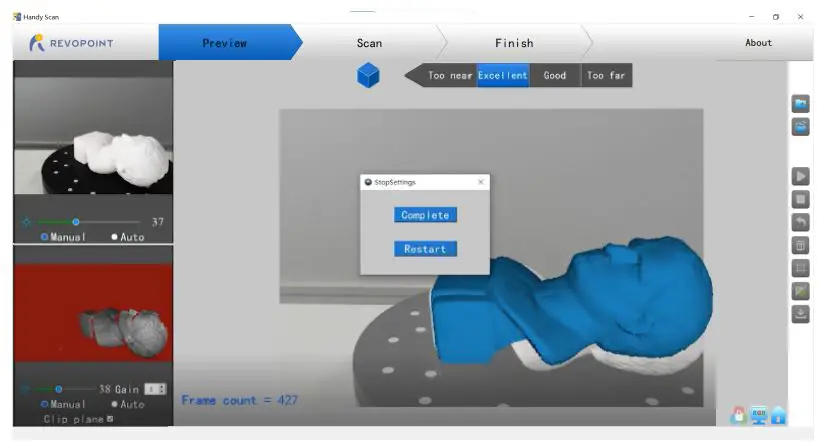
- Click “ ” to complete your scan.

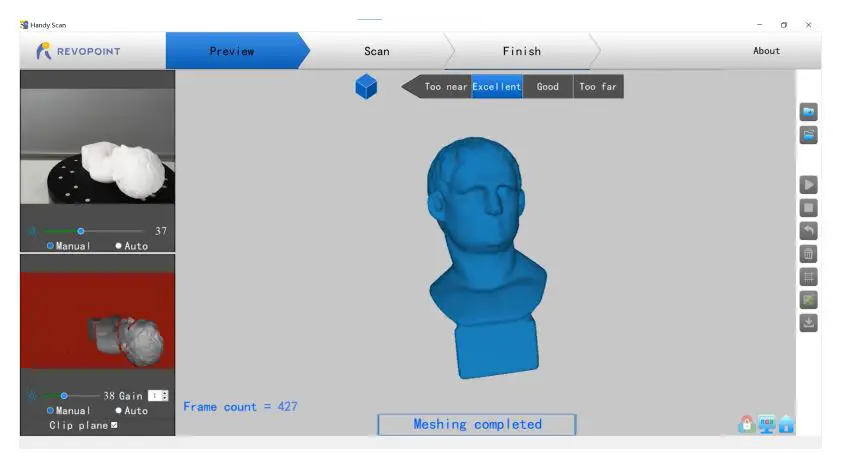
- Click “ ” to mesh

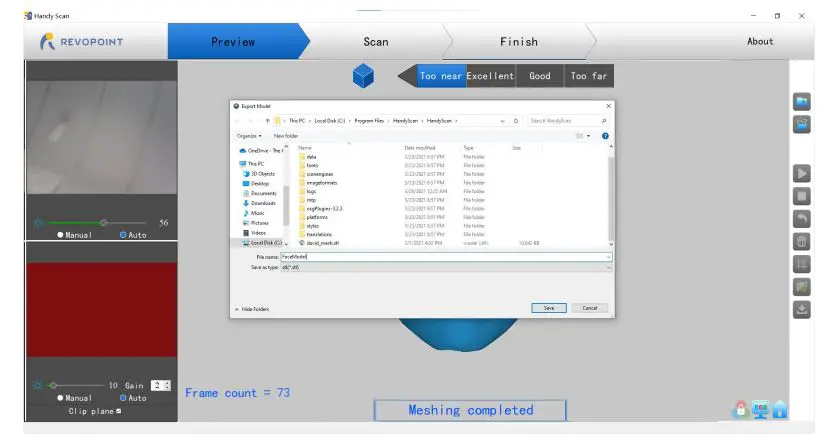
- Click “ ” to export the 3D model Name the file and save in ply., obj. or stl.


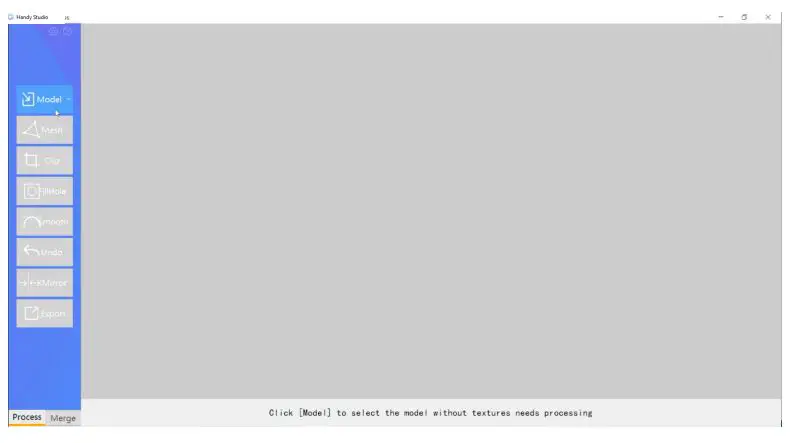
Process Software:3D Model Process
- Double Click to open 3D Model Process

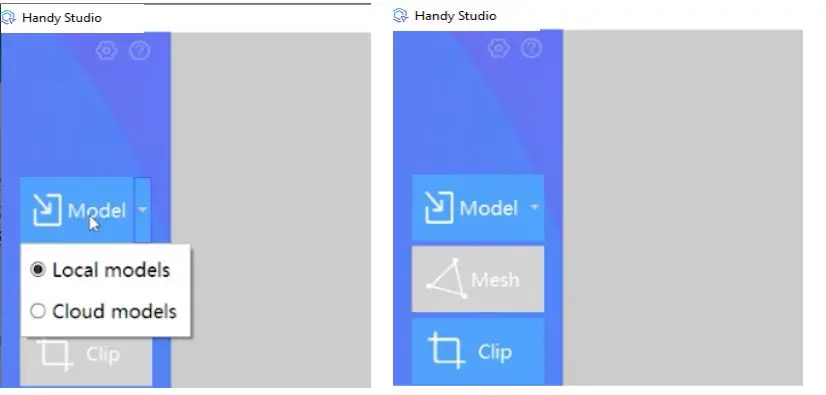
- Select local model, and Import the scanned 3D model

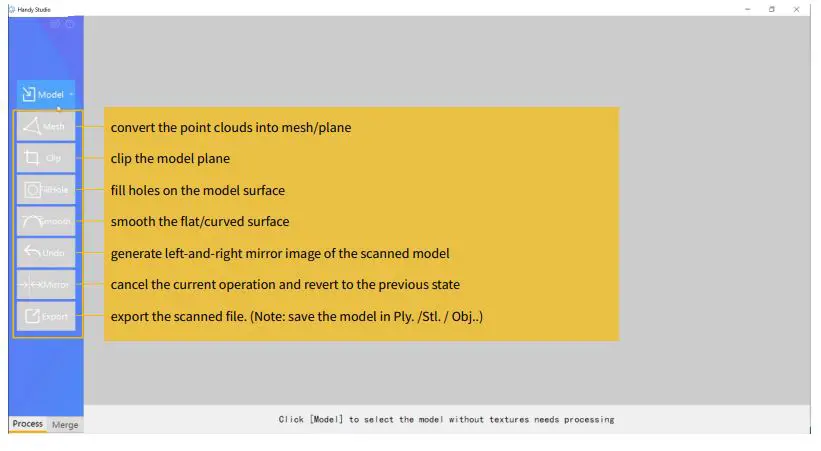
- Function Buttons: Click one by one to process the scanned model

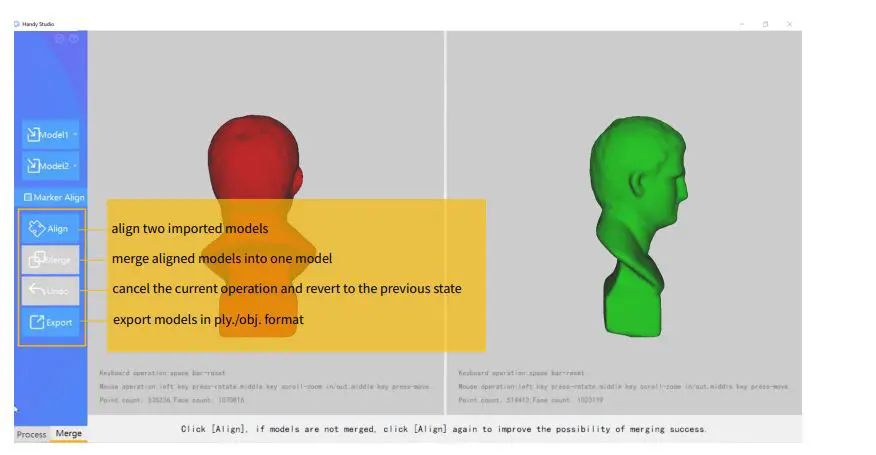
- Merge