![]()
USER MANUAL
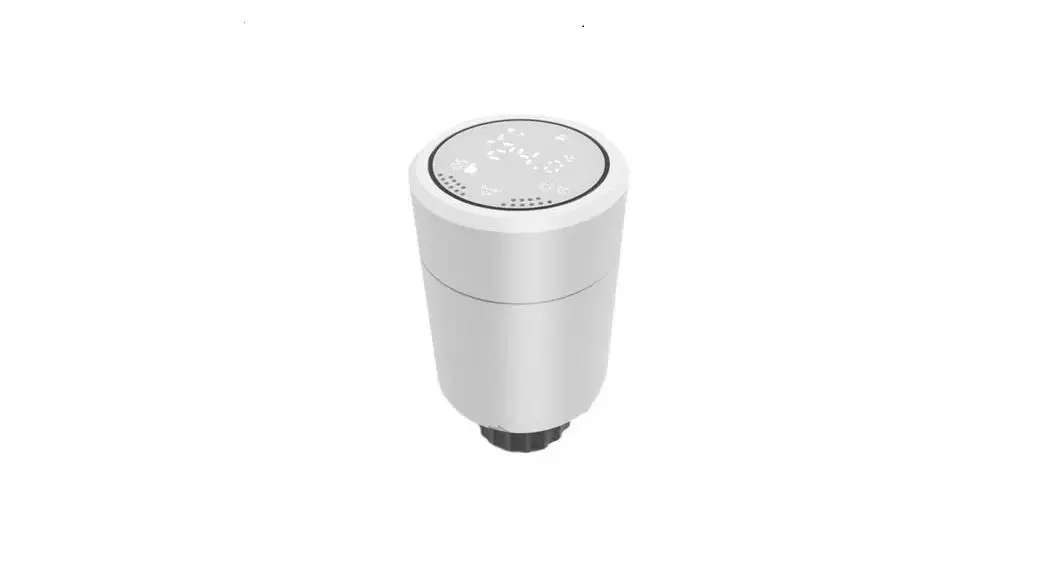
Immax NEO Smart Zigbee Thermostatic Head
PRODUCT SPECIFICATIONS
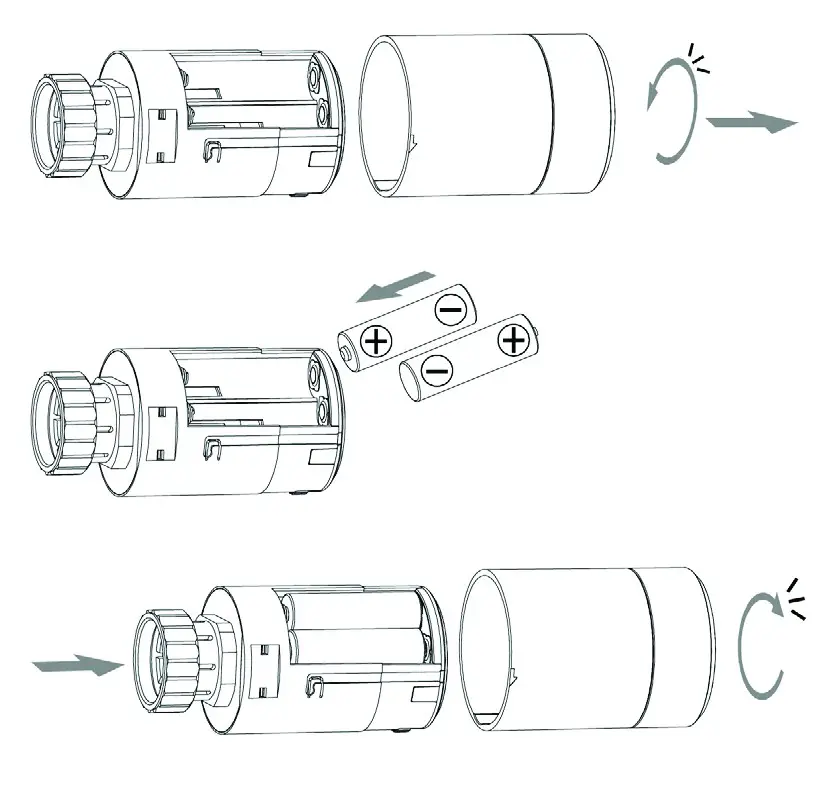
Power supply: 2 x AA1.5 V, alkaline batteries
Temperature measurement accuracy: +-0.5°C
Sensor: NTC (10k)1%
Max. extension: 4.5 mm
Temperature setting range: 5~35°C -10~60°C (-10~60°F)
Size (mm):53*89.5mm
Temperature display range: 1 ~ 70 °C
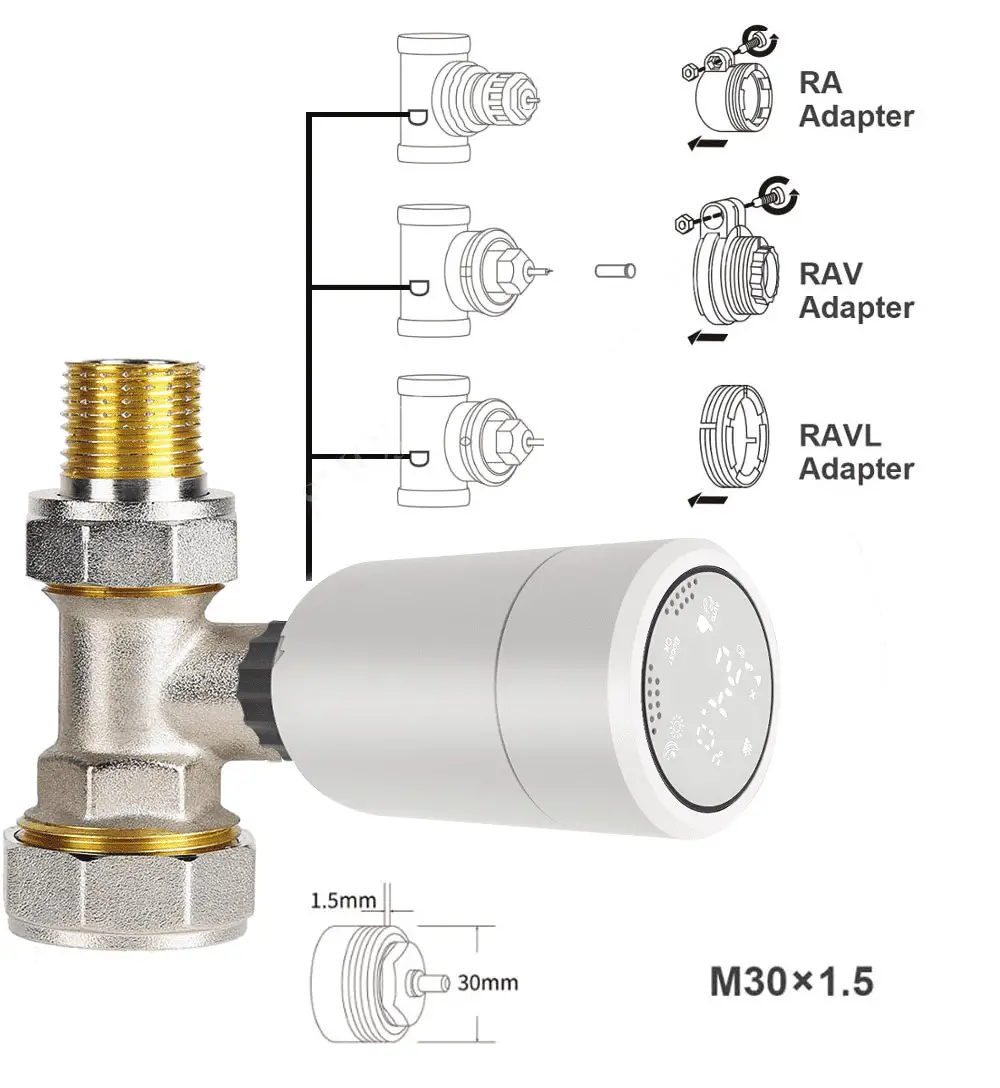
Thread size: M30 * 1.5
Protocol: Zigbee
Frequency: 2400MHz~2483.5MHz
Maximum RF output power: 10dBm – max 19dBm
Download the “Immax NEO PRO” app from Google Play and App Store or scan the attached QR code.

https://smartapp.tuya.com/immaxneosmart
Password to set advanced functions: 123456
- After the ZigBee gateway is configured, enter the gateway to add sub-devices,and wait for the actuator to be powered on and the system self-check is completed.
- long press
 and
and  to active flashing access network connected mode
 .
. - In the Immax NEO PRO app, confirm that the WiFi connection symbol flashes quickly and continue following the instructions in the app.
For information on setting up the Immax NEO PRO, please refer to the Smart Gateway User Guide.
| Icon | |
| A | |
| B |
![]()
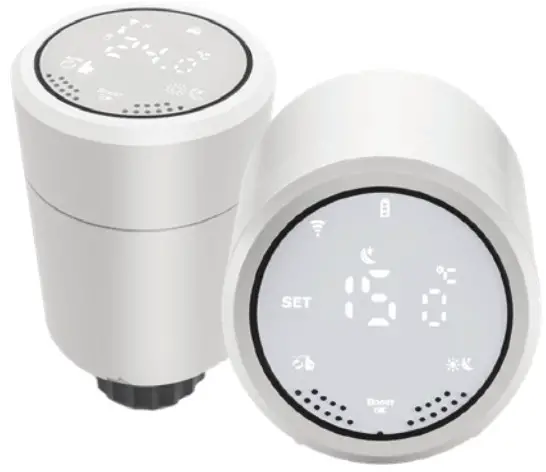
| Icons | Description |
| 1. Short press to switch between Auto and Manual mode 2. Long press to enter Advanced Settings | |
| 1. Short press to switch between Comfort Mode and ECO Energy Saving Mode 2. Long press for 3 seconds to display the valve open status | |
| 1. Long press within 3 seconds to start the BOOST function: the BOOST rapid heating mode is started, a short press of any key will end this function and return to the previous operating mode 2. Press the key for more than 3 seconds to activate the Lock/Unlock function | |
| Rotation | 1. Clockwise, the value increases 2. Counterclockwise value decreases |
INSTALLATION AND INITIAL COMMISSIONING
| When the thermostatic head is switched on, all icons are displayed for 3 seconds. |  |
| Setting the time: when the icon and |  |
| If the “Ad” icon appears, press the button |  |
| E1 Engine failure | |
| E2 Sensor failure | |
SPECIAL FEATURES
| Holiday mode | Long press |
| Open window function | Open window detection is disabled by default. If you want to enable the feature, you can do so in Advanced Settings. |
| Comfort mode | Long press |
| ECO energy saving mode | Long press |
SETTING THE AUTOMATIC MODE
Long press ![]() (more than 3 seconds) to enter Advanced Settings. Then press
(more than 3 seconds) to enter Advanced Settings. Then press ![]() to select
to select ![]() and short press
and short press ![]() to proceed to Auto mode setting. Short press
to proceed to Auto mode setting. Short press ![]() to select which mode you want to set: 5 = 5+2 days, 6 = 6+1 days, or 7 = 7 separate days. Press
to select which mode you want to set: 5 = 5+2 days, 6 = 6+1 days, or 7 = 7 separate days. Press ![]() to confirm the selected mode and then rotate to set the desired temperature, time and day. Press
to confirm the selected mode and then rotate to set the desired temperature, time and day. Press ![]() to save. If you do not press anything, the values are automatically saved in 10 seconds.
to save. If you do not press anything, the values are automatically saved in 10 seconds.
| period | Default period | Default temperature |
| 1 | 6:00 | 20°C |
| 2 | 8:00 | 15°C |
| 3 | 11:30 | 15°C |
| 4 | 12:30 | 15°C |
| 5 | 17:30 | 20°C |
| 6 | 22:00 | 15°C |
ADVANCED SETTINGS
Long press ![]() (more than 3 seconds) to enter Advanced Settings. Then press
(more than 3 seconds) to enter Advanced Settings. Then press ![]() to select and short press
to select and short press ![]() to enter the Advanced settings. Press
to enter the Advanced settings. Press ![]() the icon to cycle through the functions and rotate to change the values for the functions. Press
the icon to cycle through the functions and rotate to change the values for the functions. Press ![]() to save. If you do not press anything, the values are automatically saved in 10 seconds.
to save. If you do not press anything, the values are automatically saved in 10 seconds.
| Item | Parameter settings | default | |
| 1 | Correction of measured temperature | -9+9°C (then the temperature with this correction is displayed) | -1°C |
| 2 | Open window function:value: temperature and time | 1: if displayed, the function is disabled. Rotate to set the temperature by how much the temperature on the sensor must drop to activate the function (temperature setting range: 5-25°C). 2. detection time: 5-60 min (the time it takes for the temperature to drop for the function to be activated) Press | — |
| 3 | Automatic lockout if no one does anything to the thermostatic head for 10 minutes | 0: off 1: on | 0 |
| 4 | Minimum temperature setting | 1-15°C | 5°C |
| 5 | Maximum temperature setting | 16-70°C | 35°C |
| 6 | Duration of BOOST mode | 100s-900s Steps 100 seconds | 300 |
| 7 | Start/stop setting of the difference from the desired temperature | 0,5 – 1,5 | 1 |
| 8 | Valve control type | 0: PID 1: on/off | 0 |
| 9 | Reset | Set the display to 88 and then clockwise or counterclockwise to 00. Press the button to | |
| 10 | Valve type | 0: easy to close 1: hard to close (higher energy consumption) | 0 |
VALVE CONTROL TYPE
0: The thermostatic head controls the valve based on a learning algorithm that works with the thermodynamic properties of the object (cooling rate, etc.)
1: The valve behaviour is set as follows:
- If the desired room temperature is 2 degrees higher than the actual temperature measured by the thermostatic head, the valve opens 100%.
- If the desired room temperature is 1 degree higher than the actual temperature measured by the thermostatic head, the valve opens at 75%.
- if the desired room temperature is 0.5 degrees higher than the actual temperature measured by the thermostatic head, the valve opens to 50%.
- if the desired room temperature is 1 degree lower than the actual temperature measured by the thermostatic head, the valve opens to 25%.
- if the desired room temperature is 2 degrees lower than the actual temperature measured by the thermostatic head, it closes the valve (0%).
CONNECTOR COMPATIBILITY
SAFETY INFORMATION
WARNING: Keep out of reach of children. This product contains small parts that may may cause suffocation or injury if swallowed.
WARNING: Each battery has the potential to leak harmful chemicals that can damage skin, clothing or the area where the battery is stored. To avoid the risk of injury, do not allow any substance from battery come into contact with your eyes or skin. Any battery can rupture or even explode if exposed to fire or other forms of excessive heat. Use caution when handling batteries. To reduce the risk or injury caused by improper handling of batteries, take the following precautions:
- Do not use different brands and types of batteries in the same device.
- When replacing batteries, always replace all batteries in the device.
- Do not use rechargeable or reusable batteries.
- Do not allow children to install batteries without supervision.
- Follow the battery manufacturer’s instructions for proper battery handling and disposal.
NOTE: The product and batteries should be disposed of at a recycling center. Do not dispose of with regular household waste.
WARNING: To ensure safe use of the product, wires must be routed at the point of installation according to Installation must only be carried out by a person with appropriate electrical certification.
During installation or when a fault is detected, the supply cable must always be disconnected from the socket (in the case of direct connection, the relevant circuit breaker must be switched off). Improper installation can lead to product damage and injury.
WARNING: Do not disassemble the product, possibility of electric shock.
WARNING: Use only the original power adapter supplied with the product. Do not put the device into operation if the power cord shows signs of damage.
WARNING: Follow the instructions in the instructions in the enclosed manual.
MAINTENANCE
Protect the equipment from contamination and dirt. Wipe the unit with a soft cloth, do not use rough or coarse material.
DO NOT use solvents or other aggressive cleaners or chemicals.
A Declaration of Conformity has been issued for this product, for more information please visit www.immax.cz
Manufacturer and importer:
IMMAX, Pohoří 703, 742 85 Vřesina, EU | www.immax.cz
Made in China![]()


