kogan 6500 Lumens Full HD Wifi Projector User Guide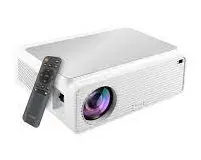
SAFETY & WARNINGS
Read this manual fully and carefully before using the product.
- Do not look directly into the light from the projector.
- A direct burst of Intense light can harm your eyes and cause severe damage to the eyes of infants.
- Do not use or store the projector in a damp, humid environment.
- Do not attempt to repair this product yourself. If the product or its power supply experiences any malfunction or damage, stop using it immediately and contact Kogan.com to arrange a repair.
- Ensure the projector is a safe distance from other heat-emitting devices or the service life of the projector may be shortened.
- It is strongly suggested not to use the projector for more than 6 hours
consecutively.
COMPONENTS
- Projector

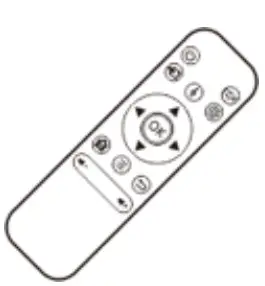
- Remote Control

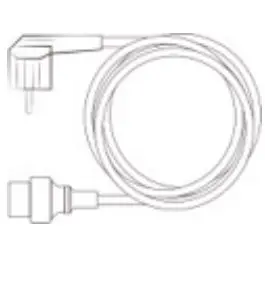
- Power Cable
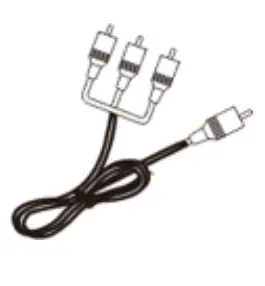
- 3-in-1 Video Cable
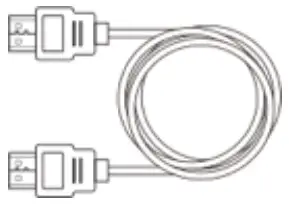
- HDMI Cable

- AAA Battery (x2)

- Lens Cover

- Warranty Card

- User Guide

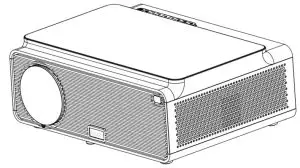


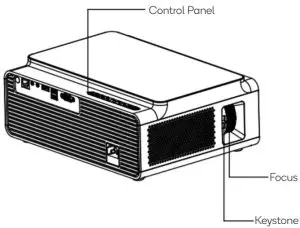
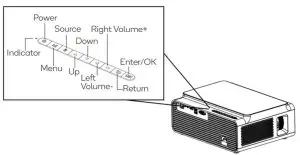
OVERVIEW

Remote Control
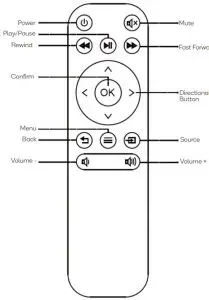
OPERATION
Getting Started
- Remove all packaging material including the blue plastic film from the metal surface of the projector.
- Connect the projector to a power outlet using the supplied cable, the indicator light on will turn RED.
- Press the power button on the projector or remote control, it starts work, the indicator light on will turn WHITE.
- The boot screen appears.
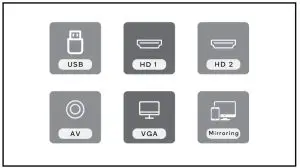
Image Adjustment
To achieve a clear image:
- Adjust the keystone correction to make the picture a rectangle.
- Adjust the focus ring to make the picture clear.
Keystone: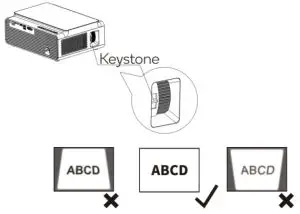
Focus: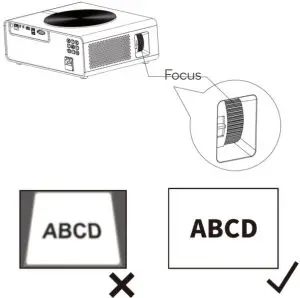
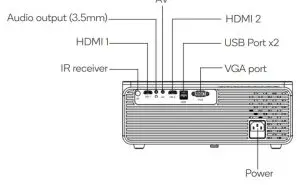
Connect Input Devices
Use the source button to select the desired signal source (USB/HDMI 1/HDMI 2/AV/VGA).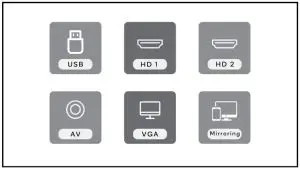
- On the remote control: Press “
 ” and press “
  ” or “ ” to select the source. To confirm press “OK”.
 - On the projector: press “S” and then press “ ” or “” to select the source. To confirm press “OK”.
PC:
- Connect projector to a PC using either a VGA cable (not supplied) or HDMI cable.
- Select either “HDMI” or “VGA” (depending on the cable you have used) on the input select screen.
MacBook or MacBook Air:
- Connect projector to a Mac using either a Type-C to HDMI adapter to connect your MacBook or a Mini Display to HDMI adapter to connect with your MacBook Air (adapter not included).
- Select “HDMI” on the input select screen.
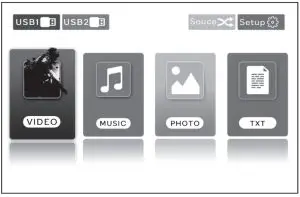
USB:
- Insert a USB storage device into one of the USB ports on the projector.
- Choose “USB” on the input select screen.
- Select from: “Video, Music, Photo or Text”.
- Confirm the file you want to play.

Soundbar:
- Use the supplied AV cable to connect to a soundbar.
- Turn on both the projector and the soundbar.
- The projector will output all audio to the soundbar.
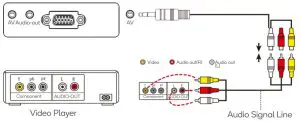
AV:
- Connect the projector to your AV device using supplied 3-in-1 composite AV cable to the projector.
- Turn on both the projector and AV device.
- Choose “AV” on the input select screen.
Amazon fire TV Stick:
- Plug the TV Stick into the HDMI port of the projector.
- Choose “HDMI” on the input select screen.
Note: only 1080P TV Sticks are supported, not the 4K TV stick
Game Console:
- Connect the game console to HDMI port of the projector.
- Turn on both the projector and game console.
- Choose “HDMI” on the input select screen.
Wireless Connection (Android device only):
To activate this function, your Android device must support the Multi creen/Wireless display.
- Select “Mirroring” on the input source screen.
- Ensure your Android device is connected to the internet.
- On your Android device use the “Multi-Screen” function to search and connect to the projector.

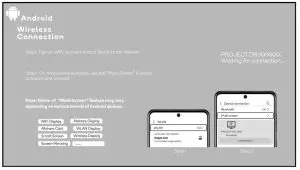
The fluency of screen mirroring with a wireless connection will be affected by the network environment.
- A bandwidth of 100Mbit or more is recommended when using screen mirroring.
- Ensure your Android device is close to the projector when using a wireless connection. A distance within 1 meter is recommended.
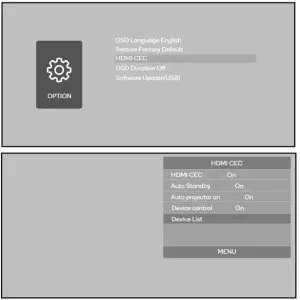
HDMI CEC:
CEC (Consumer Electronics Control) allows users to control multiple HD devices that support CEC with one remote control, eliminating the need to use multiple remotes to control your devices.
- Connect device(s) which support CEC to the projector by HDMI.
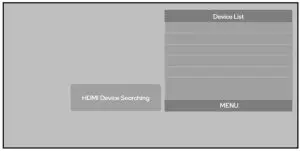
- Choose SETTING > OPTION > HDMI CEC > Device List.

- Search for and select the device(s).

Ceiling Mount Installation
This projector is compatible with most universal wall mounts (sold separately).
- Remove the four rubber feet.
- Enter MENU > PICTURE Projection Mode and select the ceiling-mounted.


SPECIFICATIONS
Imaging System
LCD
Light source
LED
Colour
16.8m full colour
Projection Distance
1.5~7m
Projection size
50-300″
Aspect Ratio
16:9 / 4:3
Keystone Correction
±15°Vertical Manual
Power
110-240V~50/60Hz
Dimension
30.5 x 24.5 x 8.7cm
Resolution
Native 1920×1080 Full HD
Input Interface
HDMIx2/VGA/AV/ USBx2/AUDIO IN
Zoom Function
100%-75%
Output Interface
AUDIO OUT
Projector Weight
= 2.5kg
Projection Size and Distance
Optimum projection distance: 3m
| Distance | Screen size |
| 1.5m | 35″ |
| 1.75m | 50″ |
| 2.4m | 72″ |
| 3.3m | 100″ |
| 3.9m | 120″ |
| 5.5m | 180″ |
| 7m | 300″ |
Need more information?
We hope that this user guide has given you the assistance needed for a simple set-up. For the most up-to-date guide for your product, as well as any additional assistance you may require, head online to help.kogan.com


 User Guide")


 User Guide")


 User Guide")


