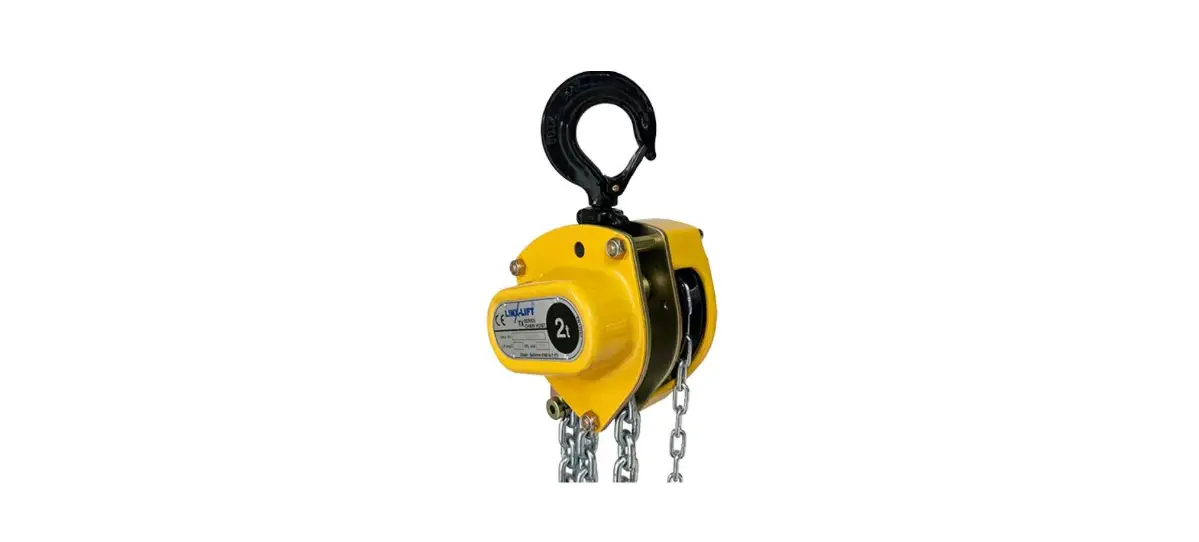
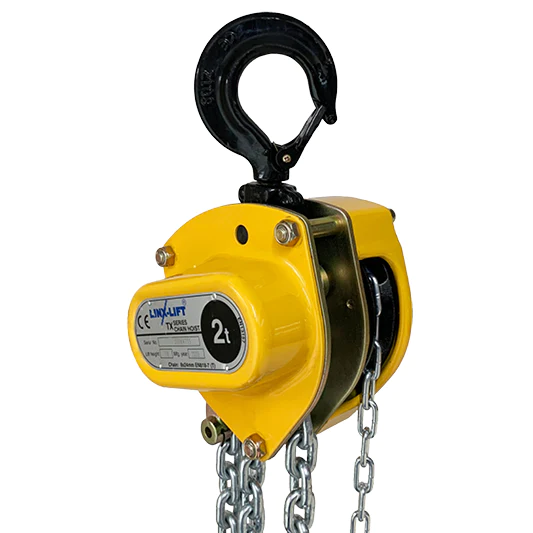
LINX-LIFT TX Series Manual Hand Chain Hoist
WARNING!
This equipment should not be installed, operated or maintained by any person who has not read and understood all the contents of this manual. Failure to read and comply with the contents of this manual may result in serious bodily injury or death and/or damage to property.
DEFINITIONS
This TX Series chain hoist has been designed for vertically lifting and lowering loads, by hand, under the normal atmospheric conditions of the work place.
- DANGER!
Indicates an imminently hazardous situation which, if not avoided, may result in death or serious injury. - WARNING!
Indicates an imminently hazardous situation which, if not avoided, may result in death or serious injury. - CAUTION!
Indicates a potentially hazardous situation which, if not avoided, may result in minor or moderate injury.
SAFETY RULES
General
Failure to read and comply with the contents of this manual can result in serious bodily injury or death and/or property damage. Although you may be familiar with this or similar equipment, it is strongly recommended that you read this manual before installing, operating or maintaining the product.
Equipment described herein should not be used in conjunction with other equipment unless the necessary and the required safety devices applicable to the system are used. The company shall have no liability to the client for any loss, damage or other claims for compensation arising from this type of misuse. Modifications to upgrade, re-rate, or otherwise alter this equipment should be authorized only by the original equipment manufacturer.
DANGER!
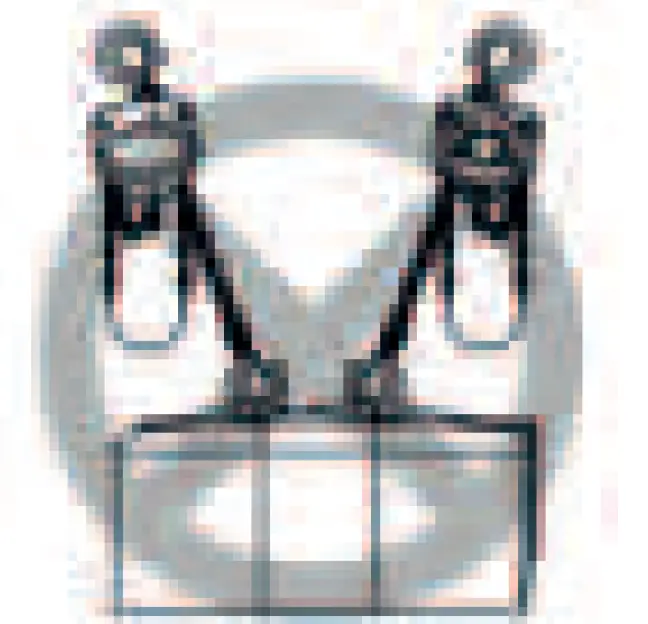
- NEVER use a hoist for lifting, supporting or transporting people.

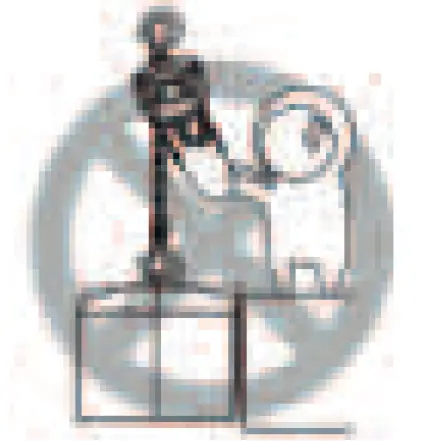
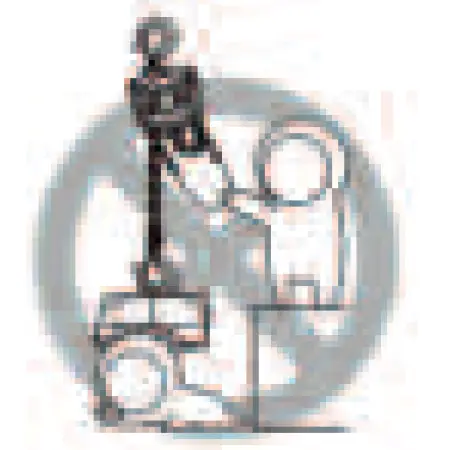
- NEVER use your foot to apply pressure on the hoist.

- NEVER use two or more hoists together to lift load beyond the rated capacity of hoist.

- NEVER lift up load beyond the rated capacity of the hoist.

- NEVER lift or transport loads over or near people.

Rules before use
CAUTION!
Hoist operators are required to read this manual, the warnings contained within it and follow safety instructions and warning labels on the hoist or lifting systems. The operator is also required to familiarize themselves with the hoist controls before being authorized to operate the hoist or lifting system.
WARNING!
Do not use the hoist if there are deep nicks or gouges to the hook or load chain or if the hook is stretched. Contact the distributor of the hoist and replace the hook with new parts.
CAUTION!
- Ensure that all information displayed on the name plate is clear and visible.
- Check the hoist daily before use according to the Daily Inspection guidelines.
- Check the weight of the load and choose a hoist of suitably rated capacity.
- Ensure that hooks are not deformed and they rotate freely and smoothly.
- Ensure that the function of the brake system is normal.
- Lubricate load chain according to the recommendations of the manufacturer.
Rules for operation
WARNING!
- NEVER use a twisted, kinked, damaged or stretched load chain.

- NEVER use the hoist chain as a sling.

- NEVER use the hoist as a support.

- NEVER support a load on the tip of the hook.

- NEVER run the load chain over sharp edges.

- NEVER weld or cut a load suspended by a hoist.


WARNING!
- NEVER use a damaged hoist or one that is not working properly.
- NEVER swing a suspended load.
- NEVER use the hoist chain as a welding electrode.
- NEVER operate a hoist so far that the bottom hook touches the hoist body.
- NEVER operate a hoist so far that the load chain pulls the anchorage.
- NEVER operate a hoist if excessive noise occurs.
- NEVER allow your attention to be diverted when operating the hoist.
- NEVER lift a load weighing less than 10% of the rated capacity of the hoist.
- NEVER fully extend the load chain so that the end stop touches the hoist chassis.
Rules after use
CAUTION!
Put down the load slowly and safely after lifting.
WARNING!
NEVER suspend a load for an extended period of time.
Inspection and maintenance
CAUTION!
Ensure that only qualified service personnel inspect the hoist periodically.
WARNING!
Do not attempt repair of a hook by heat treating, bending or attaching anything by welding. Such procedures will weaken the hook and may cause failure.
OTHER
CAUTION!
Always consult the manufacturer or your dealer if you plan to use a hoist in an excessively corrosive environment (salt water, sea air and/or acid, explosive environment or other corrosive compounds, etc.).
WARNING!
NEVER use a hoist which has been taken out of service until the hoist has been properly repaired or replaced.
MAIN SPECIFICATION
Operating conditions
Allowable ambient conditions:
Operation temperature: -10 ° C to +60 ° C
Operation humidity: IOO%RH or less. This product should not be used under water. Non-asbestos material: Friction discs are made of asbestos free material.
Technical specifications
| Model | TX-0.5T | TX-1T | TX-1.5T | TX-2T | TX-3T | TX-5T | TX-7.5T | TX-10T | TX-20T | TX-30T | |
| Capacity | t | 0.5 | 1 | 1.5 | 2 | 3 | 5 | 7.5 | 10 | 20 | 30 |
| Load chain | mm | 5×15 | 6×18 | 7.1×21 | 8×24 | 7.1×21 | 10×30 | 10×30 | 10×30 | 10×30 | 10×30 |
| Hand chain | mm | 5×25 | |||||||||
| Number of load chain falls | 1 | 1 | 1 | 1 | 2 | 2 | 3 | 4 | 8 | 12 | |
| Height of lift (standard) | m | 3 | |||||||||
| Hand chain drop | m | 2.5 | |||||||||
| Hand chain overhauled to lift the load one metre | m | 41.4 | 57.2 | 77.1 | 67.5 | 154.2 | 173.6 | 260.4 | 347.2 | 347.2×2 | 347.2×2 |
| Effort required to lift rated load | N | 186 | 270 | 302 | 460 | 311 | 462 | 475 | 488 | 488×2 | 488×2 |
| Running test load | kN | 6.13 | 12.25 | 18.38 | 24.5 | 36.75 | 61.25 | 91.9 | 122.5 | 245 | 367.5 |
| Dimensions (mm) | A | 128 | 138.5 | 161 | 161 | 161 | 180 | 180 | 194 | 209 | 312 |
| B | 122 | 148 | 175 | 175 | 232 | 258 | 329 | 384 | 625 | 691 | |
| H min | 295 | 345 | 410 | 431 | 414 | 600 | 770 | 798 | 890 | 1380 | |
| D | 35 | 40 | 45 | 52 | 55 | 68 | 68 | 85 | 110 | 110 | |
| K | 22 | 26 | 29 | 35 | 39 | 43 | 43 | 58 | 81 | 81 | |
| NET weight | kg | 7.7 | 11.1 | 15.65 | 17.6 | 22.5 | 39.2 | 65.6 | 83.9 | 163.3 | 220 |
| Additional weight per extravert height of lift | kg | 1.4 | 1.6 | 1.9 | 2.2 | 3 | 5.2 | 7.3 | 9.5 | 19 | 27.7 |
OPERATION
Introduction
This hoist has been designed for the vertical lifting and lowering of loads, by hand, under normal atmospheric conditions of the work place. However, since dealing with heavy loads may involve unexpected danger, all of the Safety Rules must be followed.
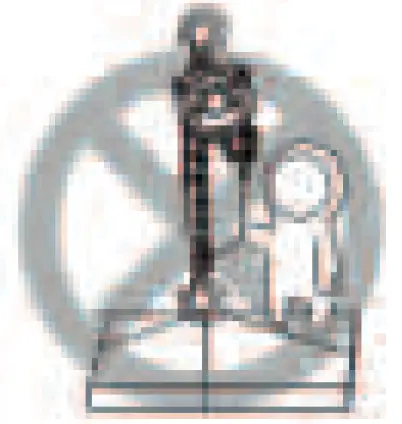
Working Environment Safety: the operator must be aware of the following points whilst using the hoist.
- The operator must have a clear and unobstructed view of the entire travel area before operating the hoist. When this is not possible, additional personnel must serve as scouts in the nearby area to assist.
- The operator must check the entire travel area is safe and secure before operating the hoist.
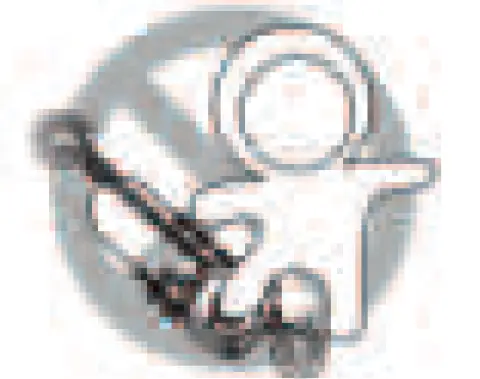
Operational use
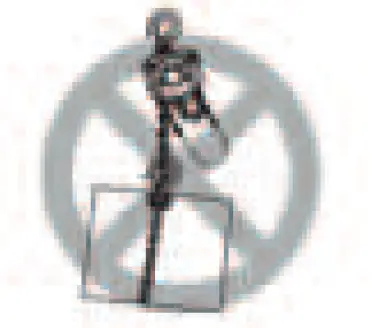
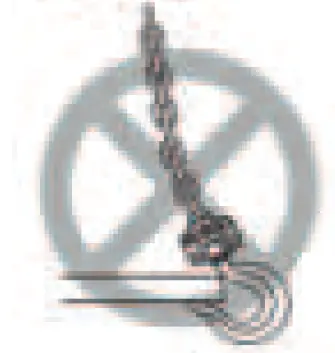
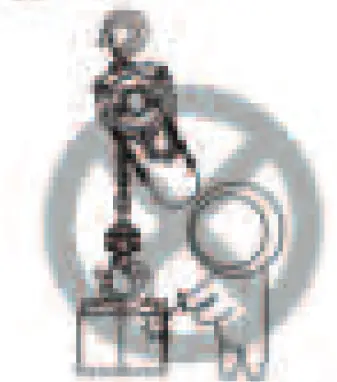
Face the hand chain wheel side of the hoist, pull the hand chain clockwise to raise the load and counter clockwise to lower the load.
The clicking sound of the pawl when the load is being raised indicates normal operation.
Overload device (if fitted)
The optional overload protection device will come in to operation at between 1.3 to 1.8 times the WLL of the hoist.
INSPECTION
General
There are two types of inspection, the Daily Inspection performed by the operator before using the hoist, and the more thorough Periodic Inspection performed by qualified service personnel who have the authority to remove the hoist from service.
Daily inspection
| Item | Method | Discard criteria | Remedy |
| Name plate | Check visually | All information should be clear and visible. | Replace the name plate |
| Function | Face the hand chain wheel side of the hoist, pull hand chain clockwise to raise the load and pull hand chain coupler clockwise to lower the load. The clicking sound of the pawl when load is being raised indicates normal operation. | Repair or replace parts as necessary | |
| Hook | Check visually | No wear, deformation or damage, and the swivels should rotate freely. | Replace |
| Hook latches | Check visually | No deformation or flaws. | Replace the part |
| Load chain | Check visually | No obvious rust or corrosion. Lubrication must be on surface. | Oil the load chain, replace the load chain |
| Other | Check visually | No missing nuts and/or split pins. No flaws or damage on the hoist surface. No missing and/or twisted chain stopper. | Replace the parts |
Periodic inspection
Periodic inspection shall be made at the interval shown below and should follow the given procedures. NORMAL (Normal use): Six monthly inspection
HEAVY (Frequent use): Quarterly inspection
SEVERE (Excessively frequent use): Monthly inspection
| Item | Method | Discard criteria | Remedy | |||||||||||||||||||||||||||||||||||||||||||||||||||||||||||||||||||||||
| 1. Hook assembly | Measure dimension*
These values are nominal since the dimension is not controlled to a tolerance. The A dimension should be measured when the hook is new. The A dimension should not be greater than 1.05 times that measured and recorded at the time of purchase. | |||||||||||||||||||||||||||||||||||||||||||||||||||||||||||||||||||||||||
1.1 Stretch and wear | ||||||||||||||||||||||||||||||||||||||||||||||||||||||||||||||||||||||||||
| Measure | Replace | |||||||||||||||||||||||||||||||||||||||||||||||||||||||||||||||||||||||||
| 1.2 Flaw | Check visually | Should be free from significant rust, weld splatter, deep nicks or gouges. | Replace | |||||||||||||||||||||||||||||||||||||||||||||||||||||||||||||||||||||||
| 1.3 Rotate | Check visually and function | Should rotate freely with no roughness. | Replace | |||||||||||||||||||||||||||||||||||||||||||||||||||||||||||||||||||||||
| 1.4 Hook yoke | Check visually and function | Should not be slack or be missing rivets, nuts or bolts. | Replace | |||||||||||||||||||||||||||||||||||||||||||||||||||||||||||||||||||||||
| 1.5 Hook latch | Check visually | Proper positioning and smooth operation. | Replace |
| Item | Method | Discard criteria | Remedy | |||||||||||||||||||||||||||||||||||||||
| 2. Load chain 2.1 Wear | Measure | Measure
| Replace | |||||||||||||||||||||||||||||||||||||||
| 2.2 Flaws, deformations | Check visually | Should be free from twists or flaws. | Replace | |||||||||||||||||||||||||||||||||||||||
| 2.3 Rust | Check visually | Should be free from obvious rust. | Remove rust, oil the chain | |||||||||||||||||||||||||||||||||||||||
| 3. Bottom hook pin | Replace the hook pin if there is obvious deformation. The screw thread of the hook pin should be free from flaws and deformation. Measure
| |||||||||||||||||||||||||||||||||||||||||
| 3.1 Twist, deformations | Check visually, measure | Replace | ||||||||||||||||||||||||||||||||||||||||
| 3.2 Rust | Check visually | Should be free from obvious rust. | Remove rust, oil the pin | |||||||||||||||||||||||||||||||||||||||
| 4. Top / bottom hook pin hole4.1Deformations | Measure | 
| Replace hook assembly | |||||||||||||||||||||||||||||||||||||||
| Item | Method | Discard criteria | Remedy | |||||||||||||||||
| 5. Brake system 5.1 Rust | Check visually | All parts should be free from rust. | Remove rust, oil the parts or replace | |||||||||||||||||
| 5.2 Flaw on friction disc | Check visually | Should be free from flaws. | Replace | |||||||||||||||||
| 5.3 Wear on friction disc | Measure | Retain uniform thickness and friction disc shall not be worn more than 0.5mm.
| Replace | |||||||||||||||||
| 5.4 Flatness of friction disc | Check clearance with gauge | Clearance should be uniform. Internal part should not be thicker than external part. | Replace | |||||||||||||||||
| 5.5 Pawl | Check visually | Should be free from wear on the surface. | Replace | |||||||||||||||||
| 5.6 Pawl spring | Check visually | Should be free from deformation. | Replace | |||||||||||||||||
5.7 Ratchet disc | Measure | Measure the external diameter A of ratchet disc.
| Replace | |||||||||||||||||
| 6. Lifting system 6.1 Load sheave | Check visually | Should be free from wear and deformation. | Replace | |||||||||||||||||
| 6.2 Gears | Check visually | Teeth should be free from excessive wear or flaws. | Replace | |||||||||||||||||
| 6.3 Gear box | Check visually | Should be free from wear or deformation. | Replace | |||||||||||||||||
| 6.4 Hand wheel | Check visually | No excessive wear or deformation on the surface of hand chain pocket. Turn and check if it touches the cover. | Replace | |||||||||||||||||
| 7. Body 7.1 Top hook pin hole on the side plate | Measure dimension D.
| Replace | ||||||||||||||||||
| Item | Method | Discard criteria | Remedy | ||||||||
| 7.2 Top hook pin | Measure |
Measure the external diameter of the top hook pin. | Replace | ||||||||
| 7.3 Guide plate | Check visually | Should be free from wear and deformation. | Replace | ||||||||
| 7.4 Chain stopper ring | Check visually | Should be free from wear and deformation. | Replace | ||||||||
| 8. Function 8.1 Lifting and lowering | Lift and lower a light load | No abnormal difficulty in lifting and lowering. | Overhaul and service | ||||||||
| 8.2 Brake | Lift and lower a light load | Confirm that none of the problems listed below occur during lifting and lowering:
| Overhaul and service |
MAINTENANCE
General
Incorrect maintenance may result in serious bodily injury or death. Only trained and competent personnel should maintain this equipment.
WARNING!
Always test the hoist using the information provided in this manual before returning it to service following any maintenance work.
CAUTION!
- Always take care to ensure that hands or clothes do not get caught in the chain, idle sheave or other moving parts.
- Never operate the hoist when it requires maintenance.
- Always inspect all parts if abnormal difficulty in lifting and lowering occurs.
- Never perform maintenance on the hoist whilst it is supporting a load.
- Always wipe off dirt and water.
- Always store the hoist in a dry and clean place.
Lubrication
Ensure that the load chain, hook latches, top/bottom hook pin and hook yoke, etc. are kept lubricated. The load chain is one of the important parts of the hoist and should be lubricated well with machine oil.
CAUTION!
- Lubricate the load chain weekly, or more frequently, depending on severity of service.
- Lubricate the load chain more frequently than normal if used in a corrosive environment.
Troubleshooting
| Problem | Cause and explanation | Remedy |
| The pawl makes the proper clicking sound but fails to lift the load. | Worn friction discs.When used at high frequency without performing maintenance regularly, the friction discs will wear down. This will create gaps between the friction disc and hand wheel and cause the brake to slip. | Disassemble and replace the friction discs. |
| The pawl produces absolutely no sound and fails to lift the load. | The pawl has been improperly assembled. If the pawl is assembled facing the wrong way, or otherwise assembled incorrectly, it will not cleanly mesh with the ratchet disc. | Disassemble and then reassemble parts correctly. |
| The pawl is not moving smoothly. Unless maintenance is performed regularly, dirt will adhere to the grease on the pawl and pawl shaft. Movement will become sluggish and the pawl will remain stuck in the kicked out position. | Disassemble and then reassemble parts correctly. | |
| The chain is tight when lifting, even without a load. ( A squeaking noise can be heard at times.) | Worn gear teeth or worn bearing. Unless maintenance is performed regularly, greased parts will dry, resulting in wear and damaged, improper meshing gears. | Disassemble and replace the pinion, load gear, gear case, side plate and ball bearing. |
| Improper lowering or the chain is extremely tight when lowering. | The brake is too tight. Due to shock during work, or because the load was left suspended for a long period of time, the brake tightened. | Free the brakes forcibly by jerking the hand chain. |
| The brake is rusted. Unless maintenance is performed regularly, rusting will occur. | Disassemble and replace parts where necessary. | |
| The load falls the instant lowering is started. | The braking surface is dirty. During assembly, the braking surface must be wiped clean of dirt. | Disassemble and then reassemble parts correctly. |
| The braking surface is oily. The braking surface must not be allowed to become soiled with grease or machine oil because it is a dry-type brake. | Disassemble and then reassemble parts. Do not oil or grease the braking surface or friction plates. | |
| Load slipping | The braking surface is dirty or oily. The braking surface must not be allowed to become soiled with grease or machine oil because it is a dry- type brake. During assembly, the braking surface must be wiped cleaned of dirt. | Disassemble and then reassemble parts. Do not oil or grease the braking surface or friction plates. |
| The brake does not function when lifting a light load of less than 10% of rated hoist capacity. | The brake mechanism may have disengaged following full extension of the load chain causing the chain end stop to come in to contact with the hoist chassis. | Lift a load of at least 10% of the rated capacity of the hoist to re-engage the brake. |
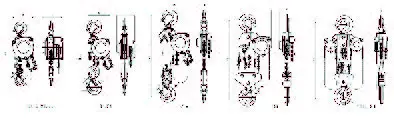
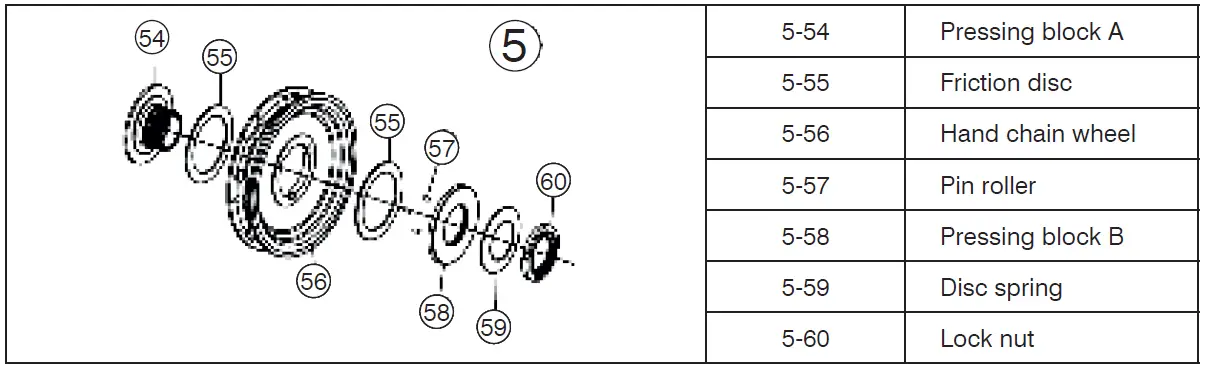
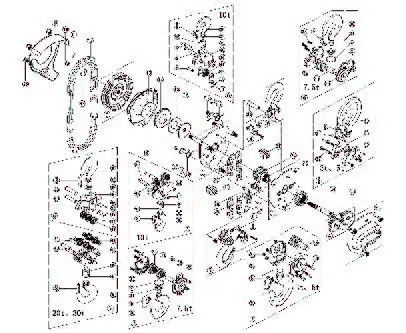
SPARE PARTS LIST
Exploded view diagram
Parts list
| No. | Part name | No. | Part name | No. | Part name |
| 1 | Gear side plate assembly | 19 | Pawl spring | 37 | Hook pin |
| 2 | Brake side plate assembly | 20 | Load chain | 38 | Bottom hook frame set |
| 3 | Gear case assembly | 21 | Guide roller | 39 | Top hook frame |
| 4 | Disc gear assembly | 22 | Load sheave | 40 | Top hook frame set |
| 5 | Hand chain wheel | 23 | Splined gear | 41 | Roller needle |
| 6 | Top hook assembly | 24 | Drive shaft | 42 | Chain sling plate |
| 7 | Bottom hook assembly | 25 | Lock nut | 43 | Hook shaft |
| 8 | Safety latch assembly | 26 | Top hook shaft | 44 | Bottom hook frame set |
| 9 | Hand wheel cover | 27 | Tail chain pin | 45 | Holdinq screw |
| 10 | Castle nut | 28 | End anchor | 46 | Stripper |
| 11 | Split pin | 29 | Stripper | 47 | Spring washer |
| 12 | Hand chain | 30 | Top/Bottom hook | 48 | Washer |
| 13 | Ratchet disc cover | 31 | Bearing ring | 49 | Top hook shaft |
| 14 | Ratchet disc | 32 | Roll ball | 50 | Top hook wheel shaft |
| 15 | Friction disc | 33 | Hex bolt | 51 | Bottom hook wheel pin |
| 16 | Break seat | 34 | Top hook wheel | 52 | Bottom hook pin |
| 17 | Snap ring | 35 | Bottom hook wheel pin | ||
| 18 | Pawl | 36 | Top hook frame set |


