ET2 E42084-90PC, E42086-90PC Luminance 30X36 Inch Mirror Installation Guide
![]()
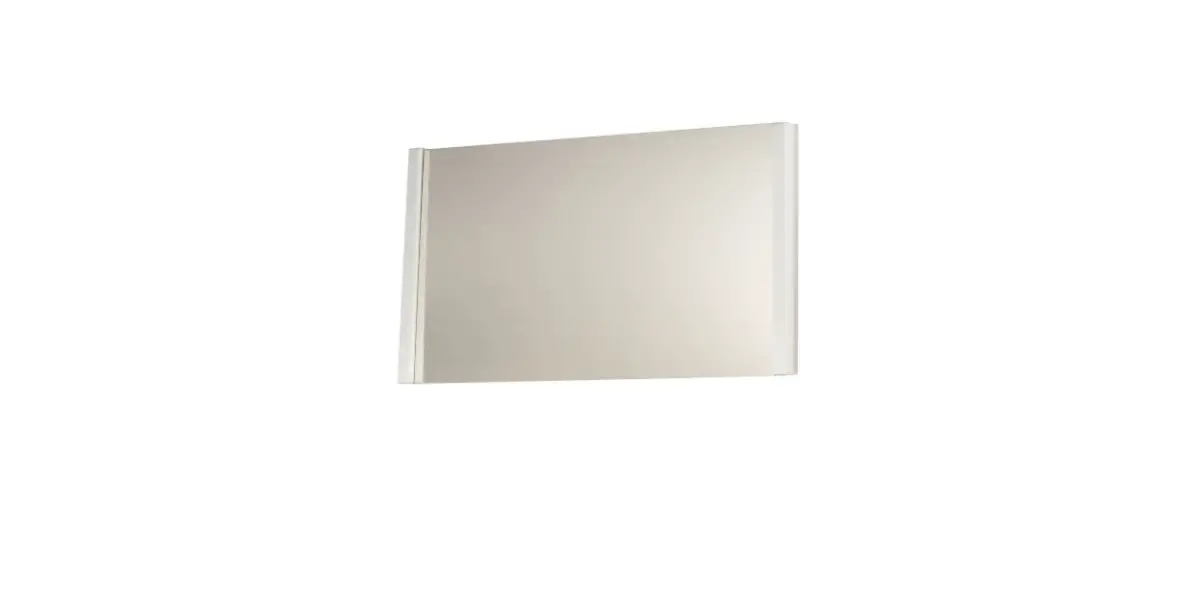
PRODUCT NAME: LUMINANCE 30″ X 36″ MIRROR
ITEM NUMBER: E42084-90PC / E42086-90PC
Please consult your electrician for installing fixture and wiring.
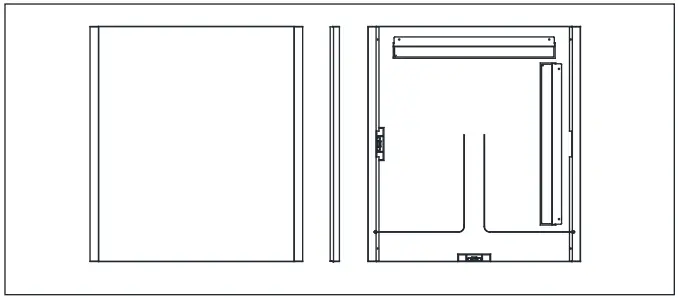
Install the Fixtures
- Ensure that the electrical box is located behind the mirror location.

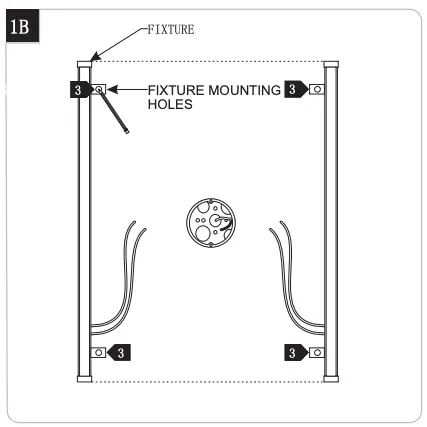
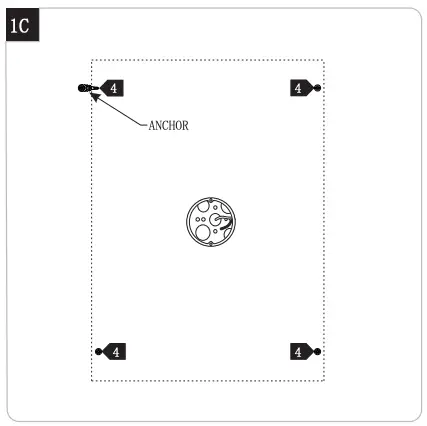
- Using the paper template (provided) and a fixture; level, measure, and mark the location of mirror(s) and fixtures.
- Place the fixture on the marked location and mark the location of the holes for the fixture
Note: Ensure that the mounting holes are located behind the mirror
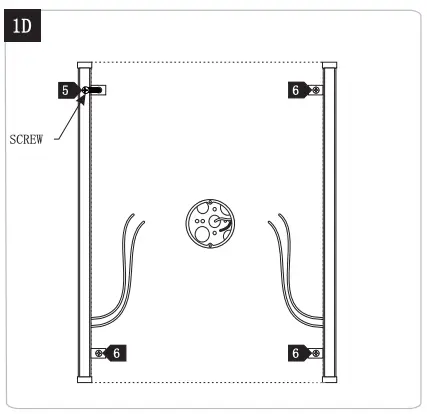
- At a mounting hole location, push the anchor into the wall up to the threads.

- Screw the anchors in the rest of the way with a Phillipshead screwdriver.
- Repeat steps 4-5 for the other anchors and screw.


Wiring Driver & Fixtures
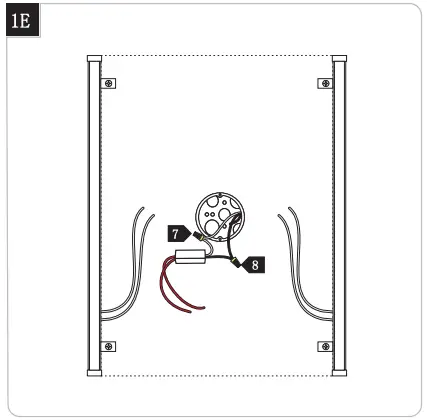
7. Connect the white driver wire to the neutral power line.
8. Connect the black driver wire to the hot power line.
9. Properly place the driver input wires, and wire nut connections into the electrical box.
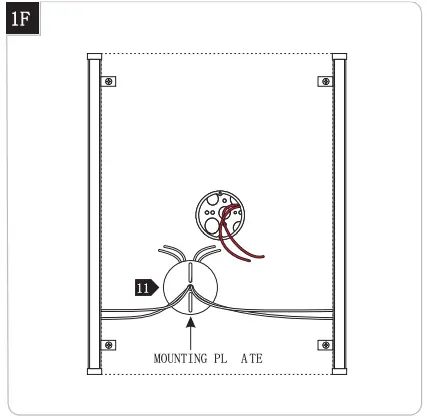
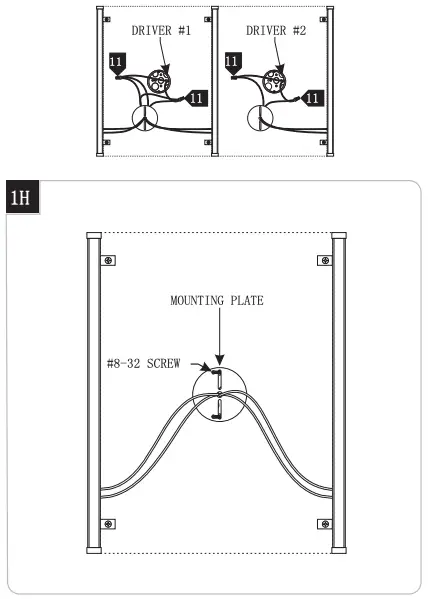
10. Feed the fixture wires through the mounting plate center hole
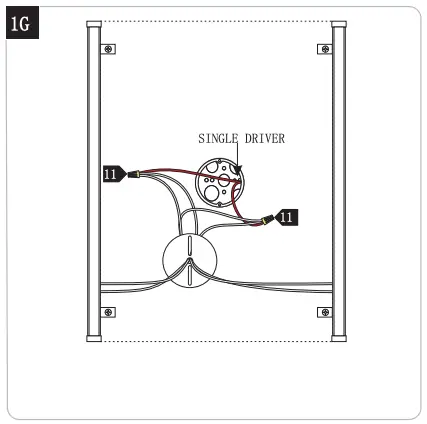
11. Connect the lead wire of fixture marked “+” to Led driver output wire marked “+”with connector, and connect the lead wire of fixture marked “-” to Led driver output wire marked “-”with connector. Never connect the wire with “+” to wire with “-”.
2 Multiple mirror’s driver installation
12 Properly place the wires and wire nut connections inside the electrical box.
13. If necessary push any excess fixture wire into the electrical box through the mounting plate.
14. Attach the mounting plate to the electrical box using the two #8-32 screws provided.
Install the Mirror
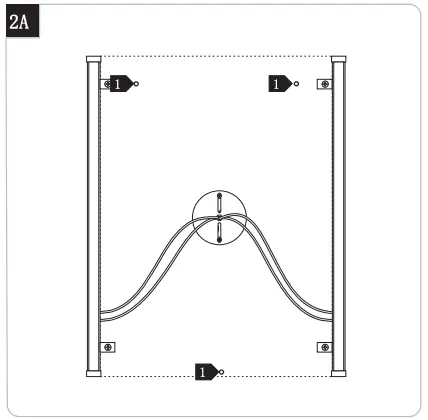
1. Drill holes for installation the bracket
2. Place the wall anchors into holes
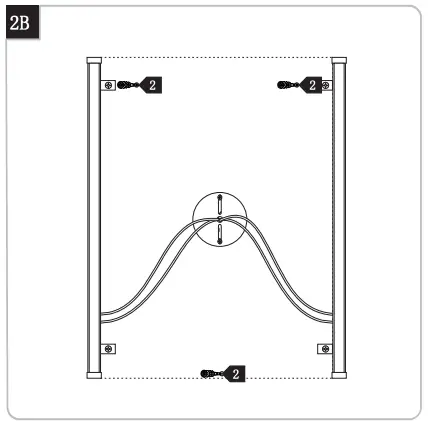
Accessories bag include:
- Wall anchors 7pcs
- Wood screws 6pcs
- T shape sccrew 1pc
- Wire nut 4pcs
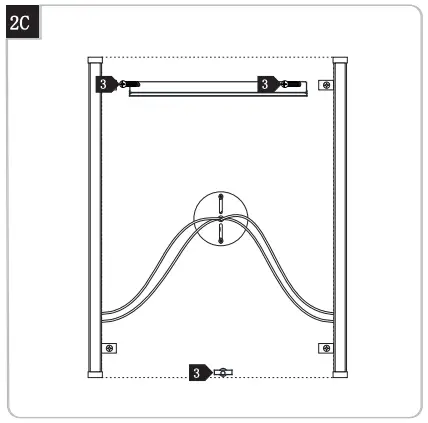
3. Mount the bracket with screws
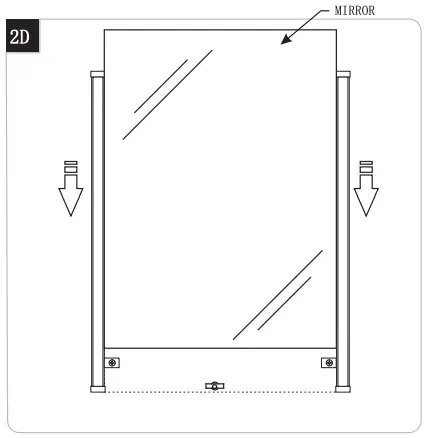
4. Hang the mirror onto bracket and secure the part at the backside of bottom mirror with T screws if needed.


