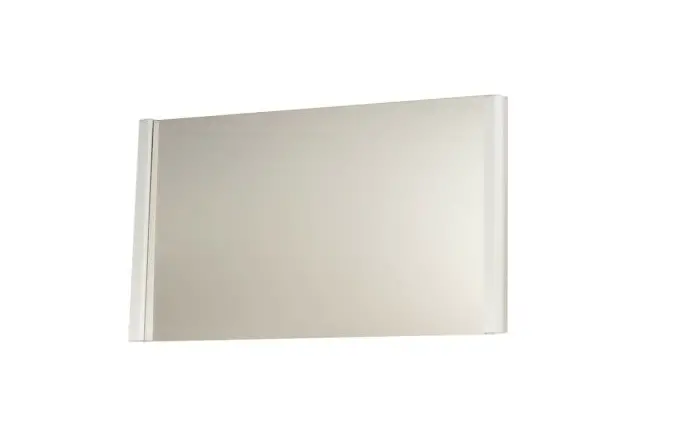
ET2 Contemporary Lighting E42080-90PC Luminance 24×30 Inch Mirror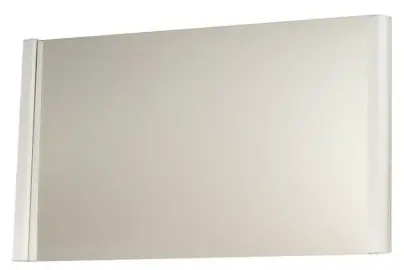
Install the Fixtures
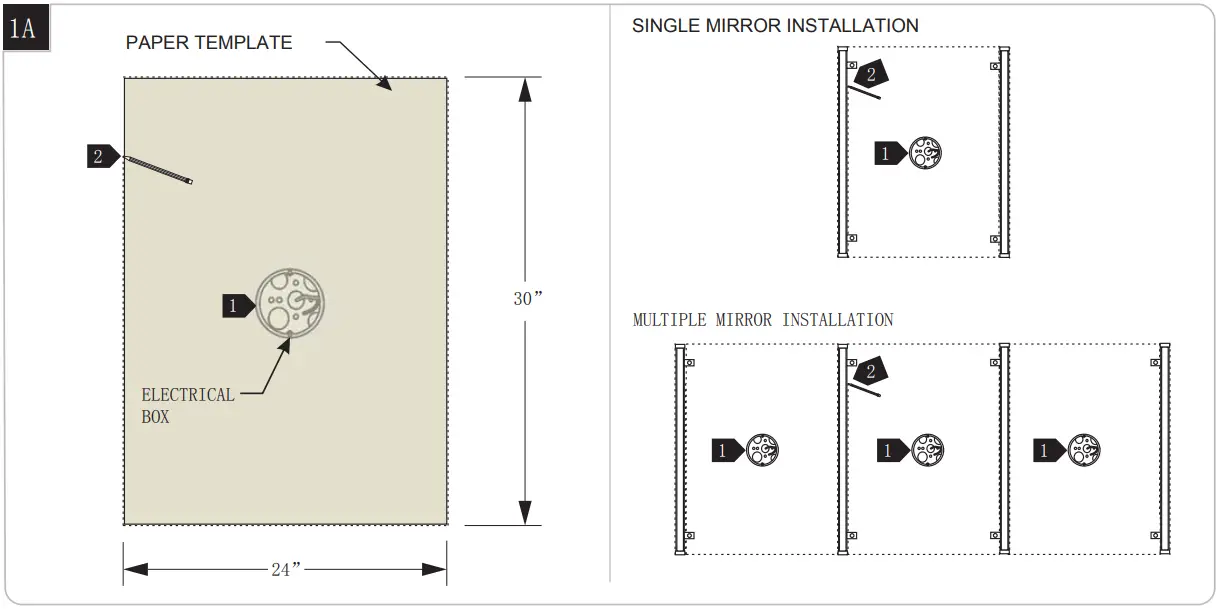
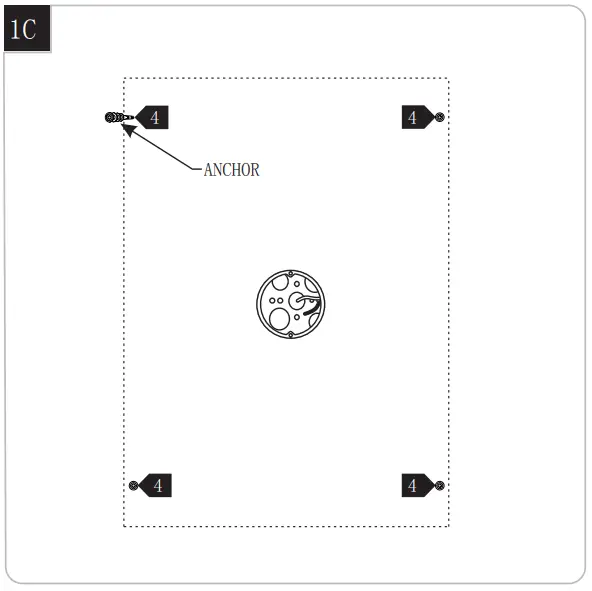
- Ensure that the electrical box is located behind the mirror location.
- Using the paper template (provided) and a fixture; level, measure, and mark the location of mirror(s) and fixtures.

- Place the fixture on the marked location and mark the location of the holes for the fixture
Note: Ensure that the mounting holes are located behind the mirror
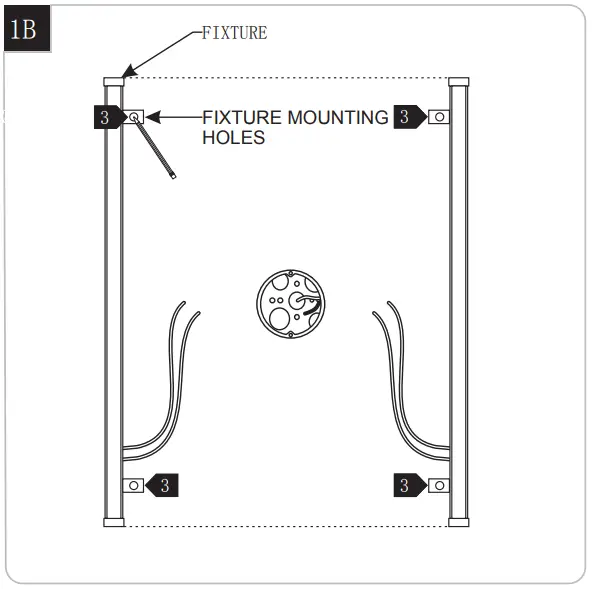
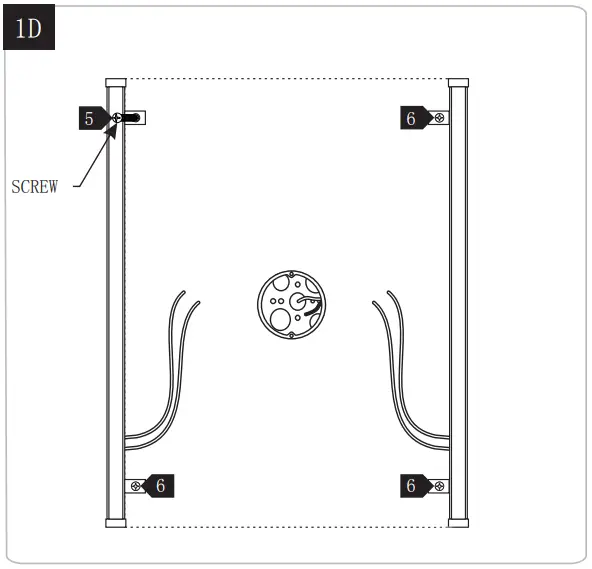
- At a mounting hole location, push the anchor into the wall up to the threads.

- Screw the anchors in the rest of the way with a Phillipshead screwdriver.
- Repeat steps 4-5 for the other anchors and screw.

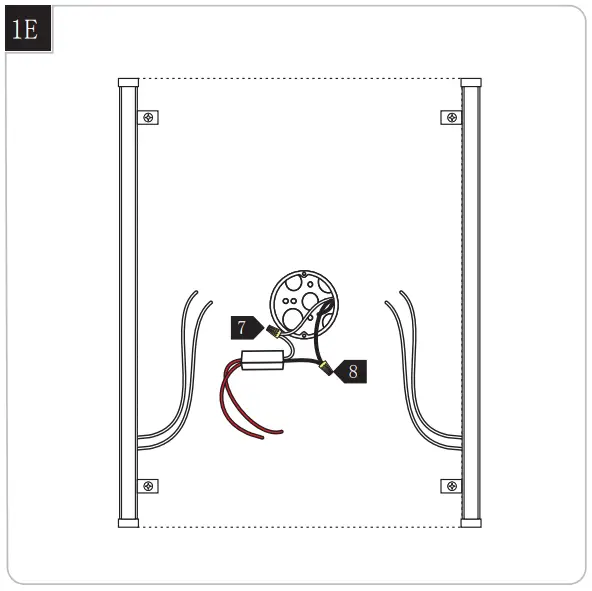
Wiring Driver & Fixtures - Connect the white driver wire to the neutral power line.
- Connect the black driver wire to the hot power line.
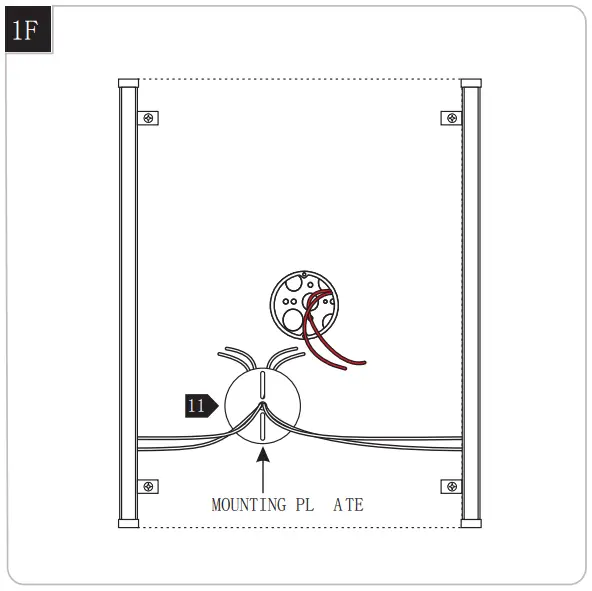
- Properly place the driver input wires, and wire nut connections into the electrical box.
- Feed the fixture wires through the mounting plate center hole .
- Connect the lead wire of fixture marked “+” to Led driver output wire marked “+”with connector, and connect the lead wire of fixture marked “-” to Led driver output wire marked “-”with connector. Never connect the wire with “+” to wire with “-”.
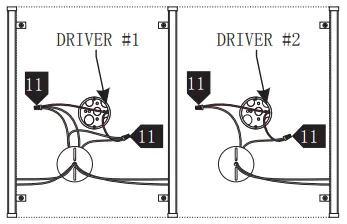
2 Multiple mirror’s driver installation - Properly place the wires and wire nut connections inside
the electrical box. - If necessary push any excess fixture wire into the electrical box through the mounting plate.
- Attach the mounting plate to the electrical box using the two #8-32 screws provided.


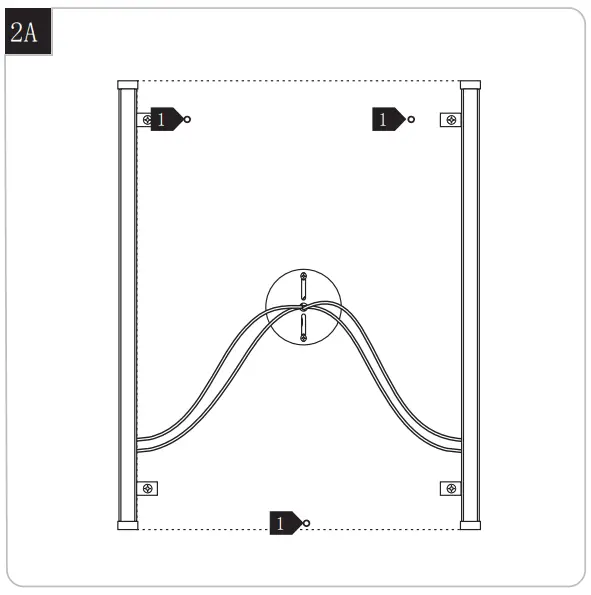
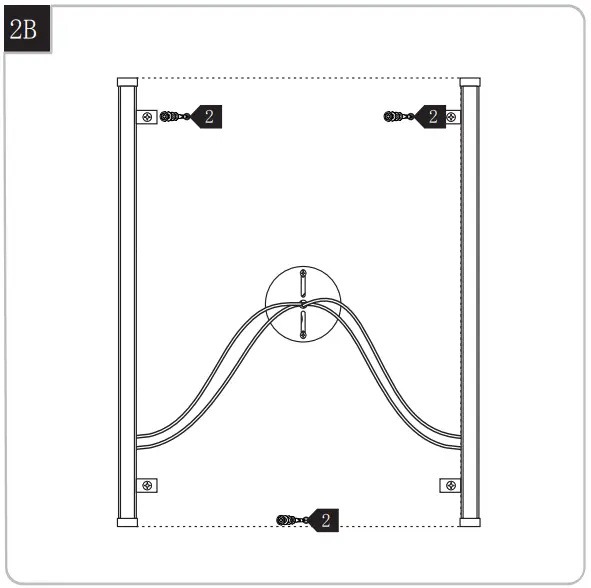
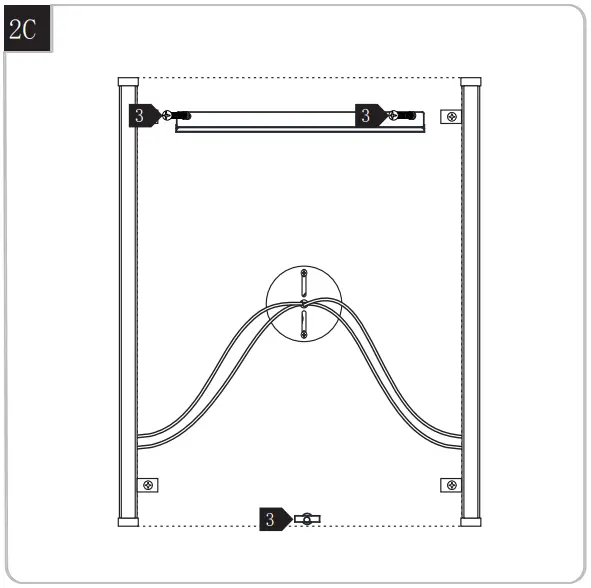
Install the Mirror
- Drill holes for installation the bracket
- Place the wall anchors into holes

- Mount the bracket with screws
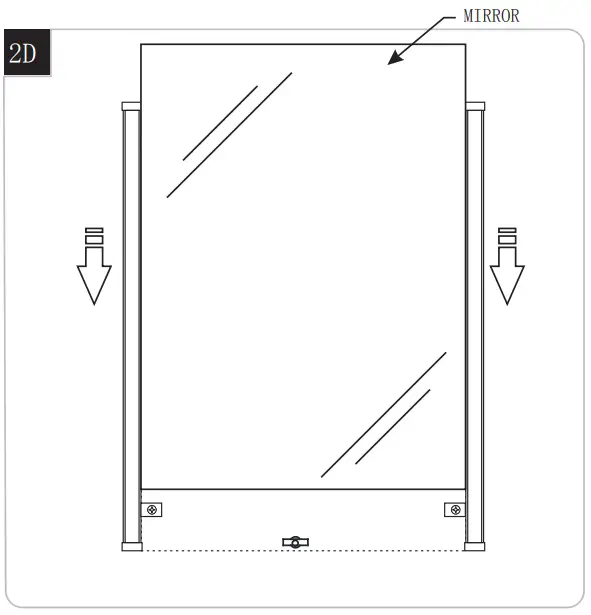
- Hang the mirror onto bracket and secure the part at the backside of bottom mirror with T screws if needed.