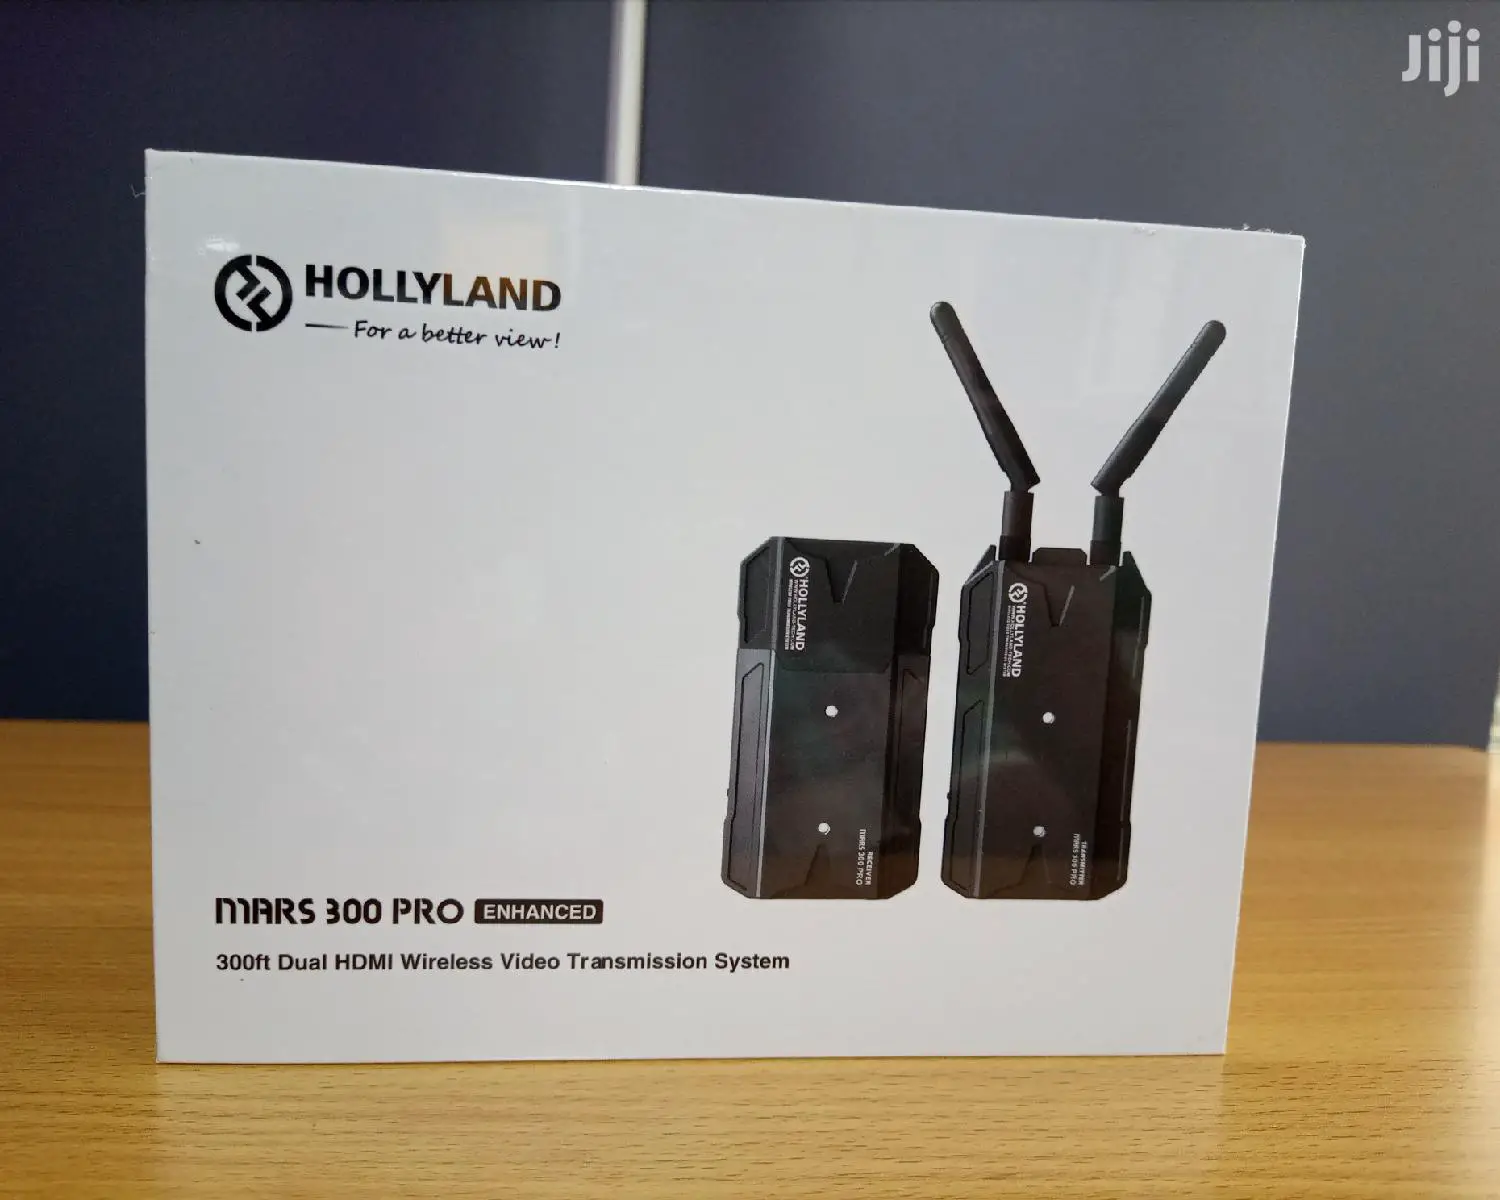
HOLLYLAND MARS 300 Pro Standard Single Transmitter
KEY FEATURES
- Wheel Button on the Side, One-button Rolling Adjustment
- OLED Screen Display on the Side
- 300ft Transmission Range between TX and APP (LOS)
- Transmission Latency is 0.1s
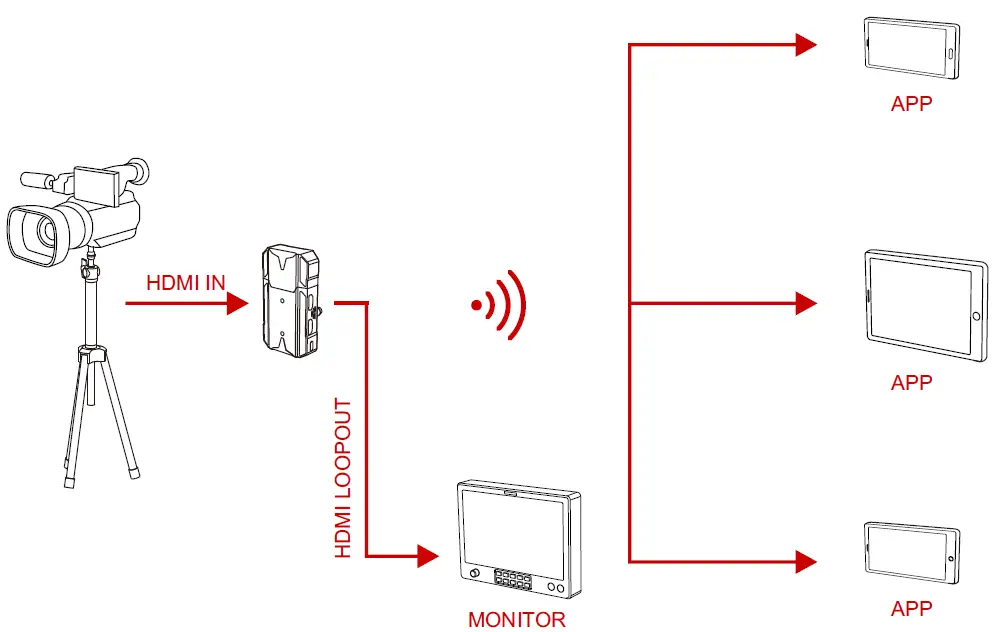
- HDMI Input & HDMI Loop out at TX
- Supports USB Type-C Power Supply
- 1 Transmitter Supports up to 3 APPs Monitoring
- Supports Smart Channel Selection
- Supports APP Firmware Upgrade
PACKING LIST
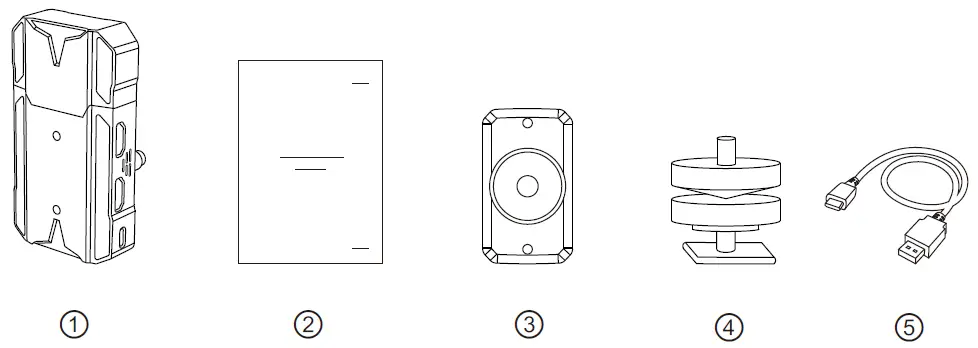
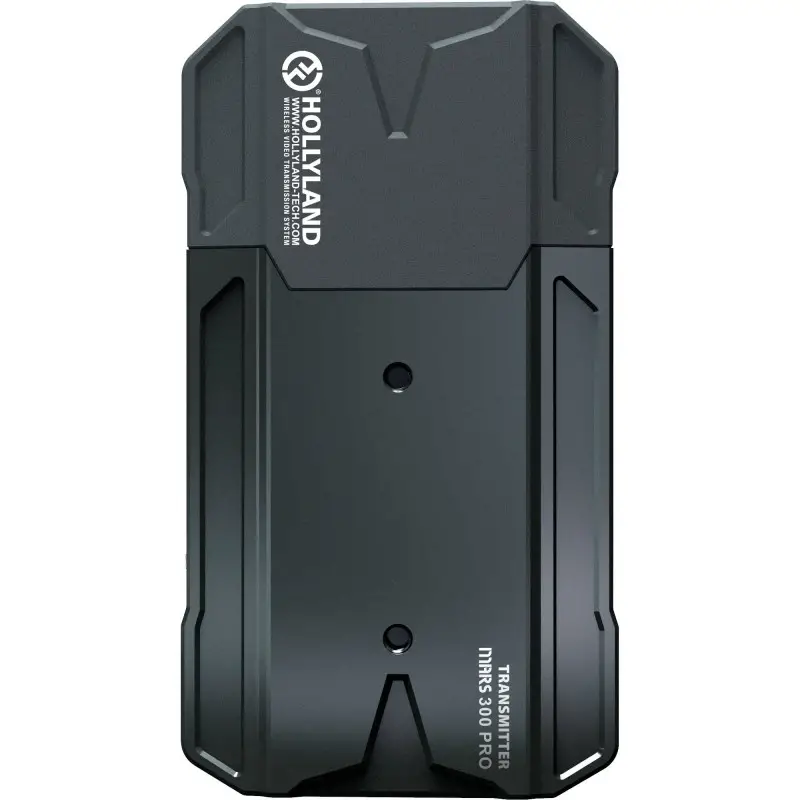
- Transmitter x1
- User Guide x1
- Expansion Accessory x1
- Cold Shoe x1
- USB Type-A to Type-C data cable x1
TYPICAL SETUP
PRODUCT INTERFACES
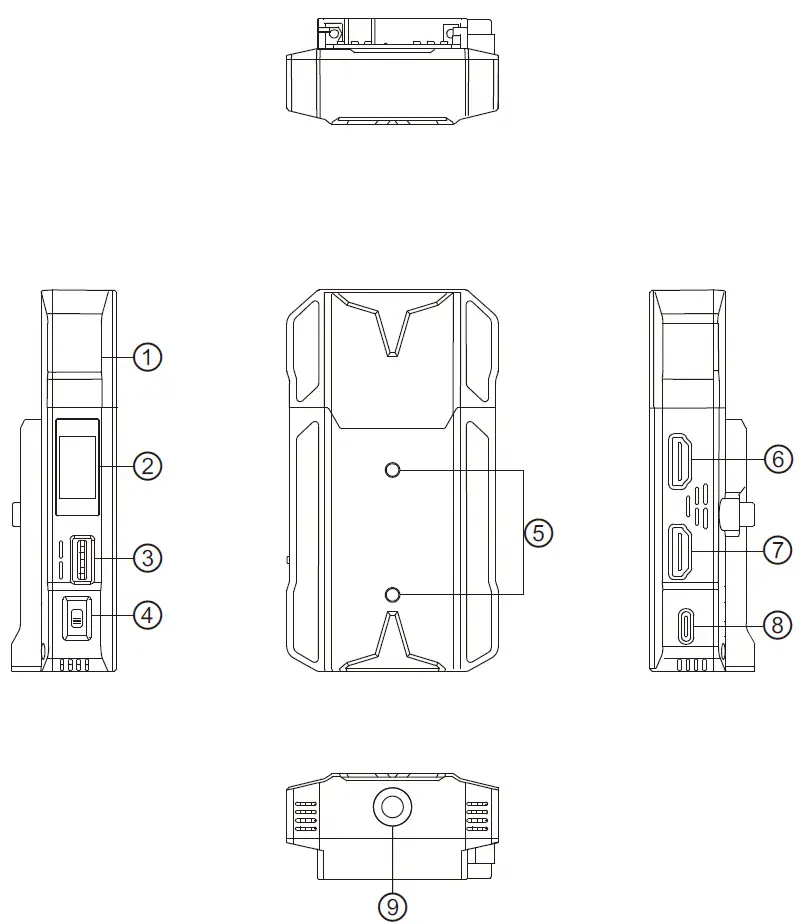
- Built-in Antenna
- OLED Screen
- Wheel Button
- Power Switch
- Mounting Hole of the Expansion Accessory
- HDMI Loop out
- HDMI Input
- USB Type-C Interface
- 1/4 Screw Hole
INSTALLATION
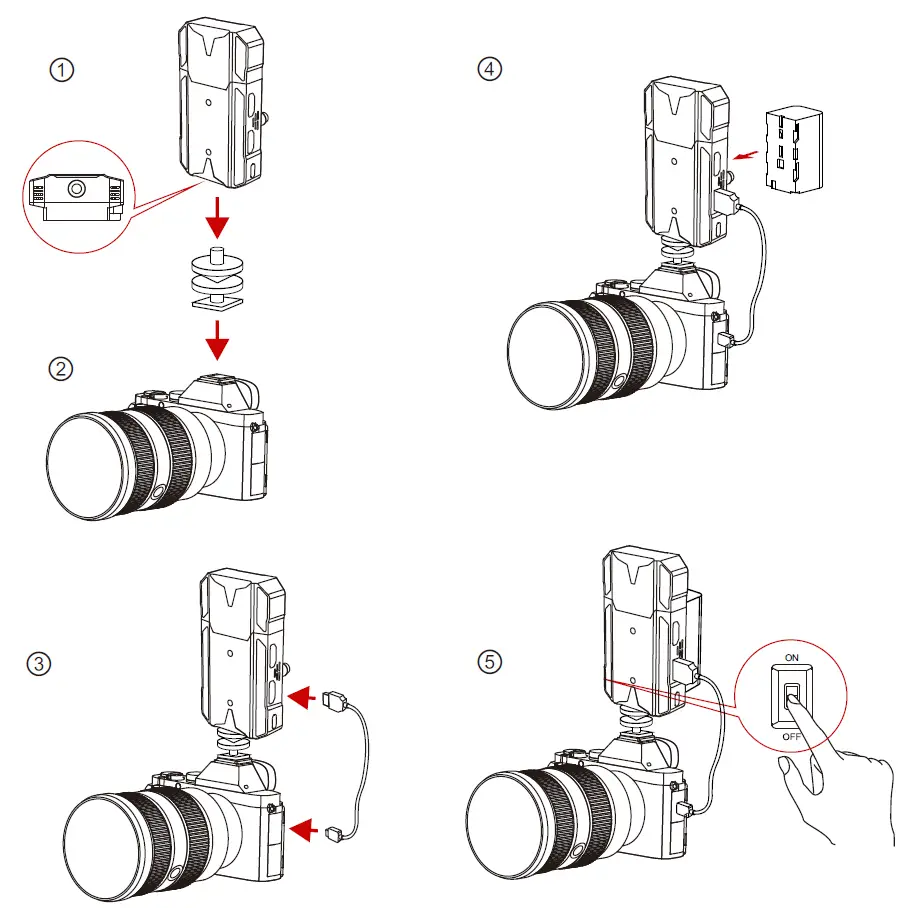
- Install the transmitter as demonstrated.
- Vertical Installation: Secure the cold shoe with 1/4 screw hole at the bottom of the transmitter and mount it to the camera.
Horizontal Installation: Connect the expansion accessary to the transmitter’s mounting hole and secure the cold shoe with hole at the expansion accessary. Then install them on the camera. - Connect the HDMI input of the transmitter with camera’s by HDMI cable.
- Connect to a power supply (Compatible with NP-F970 or the same series of batteries).
- Turn on the device.
OLED DISPLAY
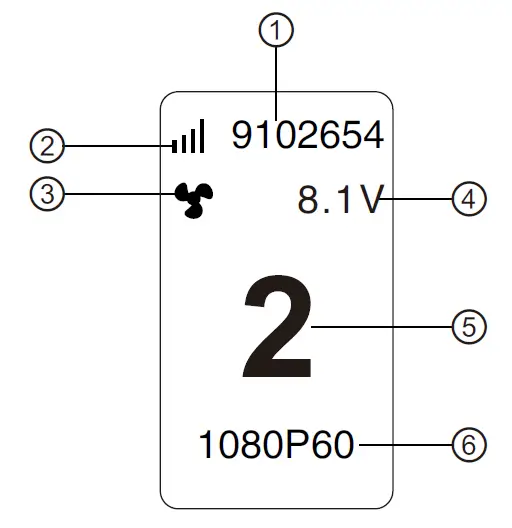
- Device ID
- WiFi Signal Strength
- Fan Status Display
- Battery Voltage Display
- Channel Display
- Video Format
QUICK GUIDE
ENTER MENU
Long press the wheel button for about 3 seconds to enter the root menu interface.
Push up or down the wheel button to switch the menu page, press down the wheel button to confirm.
CHANNEL CHANGE
Push up or down the wheel button to change the channel at transmitter. Press down the wheel button to confirm the channel.
IOS System and Android System Installation and Connection
- “HollyView” APP Download
- Enter the WiFi connection interface of the phone. Find the device’s WiFi (WiFi names as “HLD+Device ID” ). Input WiFi password to connect (Factory default password: 12345678). After the WiFi connection is successful, enter the APP to monitor the screen.
PARAMETERS
| Transmitter | |
| Interface | HDMI Input (Type A Female) HDMI Loop out (Type A Female) USB Type-C |
| Supply Interface | USB Type-C Supply: 5V/2A Battery Supply: 5-12V DC |
| Power Consumption | < 11W |
| Weight | 136g |
| Deminsion | (L*W*H): 110*61*21mm The battery plate excluded |
| Input / Output Video Format | HDMI: 480p60 576p50 720p50/59.94/60 1080i50/59.94/60 1080p23.98/24/25/29.9/30 1080p50/59.94/60 |
| Frequency | 5GHz |
| Modulation Mode | OFDM |
| Transmission Power | Maximum 21dBm |
| Transmission Latency | 0.1s |
| Bandwidth | 20MHz |
![]()


