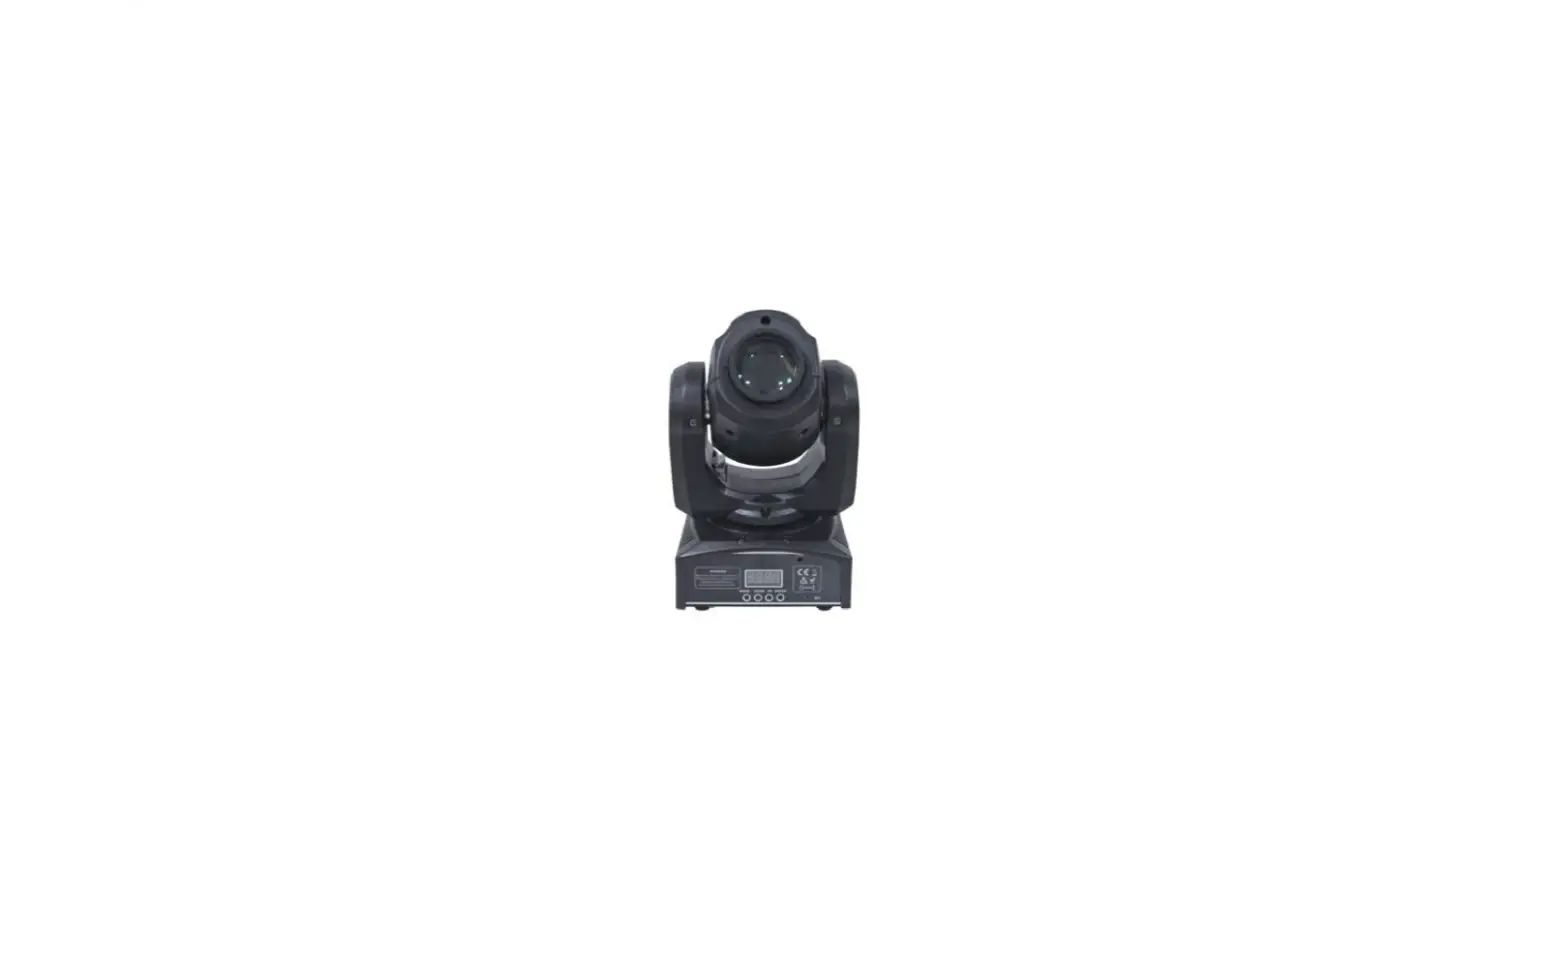
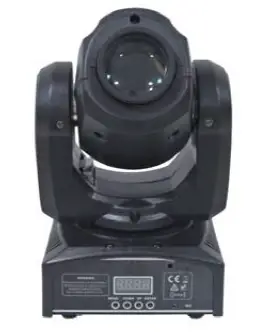
ibiza PLUTON10-LZR 12w LED ‘Spot’ Moving Head

BEFORE YOU BEGIN
Contents of the carton:
- 1 x LED moving head
- 1x Mains lead
- 1x User Manual
Unpacking Instructions
Immediately upon receiving a fixture, carefully unpack the carton, check the contents to ensure that all parts are present and have been received in good condition. Notify the freight company immediately and retain packing material for inspection if any parts appear to be damaged from shipping or the carton itself shows signs of mishandling. Keep the carton and all packing materials. In the event that a fixture must be returned to the factory, it is important that the fixture be returned in the original factory box and packing.
Safety Instructions
Please read these instructions carefully, they include important information about the installation, usage and maintenance of this product.
- Please keep this User Guide for future reference. If you sell the unit to another user, be sure that he also receives this instruction booklet.
- Always make sure that you are connecting to the proper voltage, and that the line voltage you are connecting to is not higher than that stated on the decal or rear panel of the fixture.
- This product is intended for indoor use only!
- It is essential that the device is earthed. A qualified person must carry out the electric connection.
- To prevent risk of fire or shock, do not expose fixture to rain or moisture. Make sure there are no flammable materials close to the unit while operating.
- The unit must be installed in a location with adequate ventilation, at least 20in (50cm) from adjacent surfaces. Be sure that no ventilation slots are blocked.
- Always disconnect from power source before servicing or replacing fuse and be sure to replace with same fuse size and type.
- Secure fixture to fastening device using a safety chain. Never carry the fixture solely by its head. Use its carrying handles.
- Maximum ambient temperature (Ta) is 104° F (40°C). Do not operate the fixture at temperatures higher than this.
- In the event of a serious operating problem, stop using the unit immediately. Never try to repair the unit by yourself. Repairs carried out by unskilled people can lead to damage or malfunction. Please contact the nearest authorized technical assistance center. Always use the same type of spare parts.
- Don’t connect the device to a dimmer pack.
- Make sure the power cord is never crimped or damaged.
- Never disconnect the power cord by pulling or tugging on the cord.
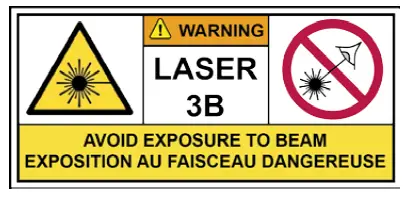
- Avoid direct eye exposure to the light source while it is on.
DISCONNECT DEVICE: Where the MAINS plug or an appliance coupler is used as the disconnect device, the disconnect device shall remain readily operable.
Features
- 11/13 DMX channels
- Color wheel : 7 colors + white
- 7 fixed gobos + spot
- Green laser with 4 gobos
- Gobo Shake & Gobo Scroll effects
- Strobe effect
- Manual focus
- Modes : DMX, sound activated, master-slave or 4 built-in programs
- 5 dimmer curves (standard, stage, TV, architecture & theater)
- Pan/Tilt inversion
- Fan cooled
Specifications
- Power supply…………………………………………………………………………. 100-240Vac 50/60Hz
- Consumption………………………………………………………………………………………………… 45W
- Fuse ……………………………………………………………………………………………………………….. 2A
- Light sources …………………………………………………………………………….1x WHITE 12W LED …………………………………………………………………………………..Green laser 30mW (532nm)
- Light output……………………………………………. 5120 lux @ 2m; 1189 lux @4m (13° beam)
- Beam angle…………………………………………………………………………………………………….. 13°
- Pan/Tilt……………………………………………………………………………………. 540°/230° (16 bits)
- Dimensions……………………………………………………………………………… 159 x 147 x 265mm
- Weight………………………………………………………………………………………………………… 3.4kg
Installation
The unit should be mounted via its screw holes on the bracket. Always ensure that the unit is firmly fixed to avoid vibration and slipping while operating. Always ensure that the structure to which you are attaching the unit is secure and able to support a weight of 10 times of the unit’s weight. Also always use a safety cable that can hold 12 times the weight of the unit when installing the fixture.
The equipment must be fixed by professionals at a place where is out of the reach of people and where nobody can pass by or under it.
Fuse Replacement
WARNING:
- Disconnect the power cord before replacing a fuse and always replace with the same type fuse.
- With a flat head screwdriver wedge the fuse holder out of its housing.
- Remove the damaged fuse from its holder and replace with exactly the same type of fuse.
- Insert the fuse holder back in its place and reconnect power.
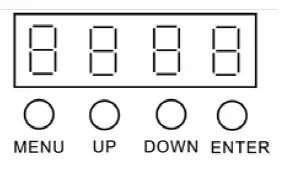
CONTROL PANEL
To access the main menu press the MENU button. Press the UP or DOWN buttons until you reach function you wish to change. When you reach the function you wish to change, press the ENTER button. When a function is selected, use the UP or DOWN buttons to change the function settings. Once your changes are made, press the ENTER button, and then press and hold the MENU button for at least three seconds to confirm and lock the change into the system memory. To exit without making any adjustments, press the MENU BUTTON. The display will lock after 30 seconds.
Press the MENU button for 3 seconds to unlock.
| ADDR | 001 – 512, DMX Address setting |
| CHND | 11 ch 13 ch, select the channel mode |
| SHND | SHOW 0 – SHOW 4, Select the show mode |
| SLND | Mast SL 1 SL 2 ( MASTER, SLAVE OPTION) |
|
dINd | Dimmer Mode Stda(Standard) StGE(Stage) tv(TV) ArAL(Architectural) tHAL(Theatrical) |
| AUTO | OFF (sound controlled mode) ON (Auto Mode) |
| SENS | 000 – 100 Sound sensitivity control (0 close, 100 The most sensitive) |
| PINT | Yes – No (PAN Reverse) |
| TINT | Yes – No (TIL Reverse) |
| LED | On – Off (Background LIGHT ON/OFF) |
| DISP | Disp Dsip (Reverse Display) |
| TEST | Test |
| RSET | Reset |
Settings
DMX Address Setting
- Press the MENU, UP or DOWN button until “ADDR” is displayed, press ENTER.
- The current address will now be displayed and flashing. Press the UP or DOWN buttons to find your desired address.
- Press ENTER to confirm.
DMX channel mode
- Press the MENU button until “CHND” is displayed, press ENTER. Either “11CH”, “13CH” will be displayed
- Press the UP or DOWN buttons to find your desired DMX channel mode and press ENTER to confirm and exit.
Show modes 0-4 (Factory programs).
Show mode can run with or without sound active mode active.
- Press the MENU button until “SHND” is displayed, press ENTER.
- “Sh X” will now be displayed, “X” representing a number between 0-4. Programs 1-4 are factory programs, while “Sh 0” is random mode. Press the UP or DOWN buttons to find your desired show.
- When you have found your desired show press ENTER.
dINd
This option is for setting dimmer curves. Press MENU to select dINd, Then press Enter to start setting, UP or DOWN to select the dimmer curves, there are five dimmer curves Stda, StGE, tv, ArAL and tHAL for your choice, then press Enter again to confirm your selection.
Stda Standard
- StGE Stage
- Tv TV
- ArAL Architectural
- tHAL Theatrical
SLnd
This option is for setting the unit’s Master-slave mode. Press MENU to select SLnd Then press Enter to start setting. You will find MAST, SL1, SL2. Press UP or DOWN to choose Master or slave, then press Enter again to confirm your selection.
- MAST: Choose the device as master
- SL1: Choose the device as slave
- SL2: Assistant Mode
AUTO program (sound active mode)
- Press the MENU button until “AUTO” is displayed, press ENTER.
- The Display will show either “ON” or “OFF”. Press the UP or DOWN buttons to select “ON” or “OFF”.
- If you choose “OFF”, the unit will be in sound controlled mode and you can set the sound sensitivity.
Sound sensitivity
- Press the MENU button until “SENS” is displayed, press ENTER.
- A number between 0-100 will be displayed. Press the UP or DOWN buttons to adjust the sound sensitivity. 0 being the least sensitive and 100 being the most sensitive. When you have found your desired setting press ENTER to confirm.
Pan Inversion
- Press the MENU button until “PINT” is displayed, press ENTER. Either “YES” or “NO” will be displayed
- To activate the Pan inversion press the UP or DOWN buttons until YES is displayed, press ENTER to confirm. To deactivate Tilt inversion, select NO and press
Tilt Inversion
- Press the MENU button until “TILT” is displayed, press ENTER. Either “YES” or “NO” will be displayed
- To activate the Tilt inversion press the UP or DOWN buttons until YES is displayed, press ENTER to To deactivate Tilt inversion, select NO and press Enter.
Display back light
- Press the MENU button until “LED” is displayed, press enter
- The display will show either “ON” or “OFF”. Press the UP or DOWN buttons to select “ON” to keep the LED display on at all times, or “OFF” to switch to have the LED display switch off after 10 seconds
- Press ENTER and then press and hold the MENU button for at least three seconds to confirm
Display Reverse 180°
- Press the either the MENU button until “DISP” is displayed, press ENTER
- Press the UP button to select “DSIP” to reverse the display, or “DISP” to change the display back
- Press ENTER to CONFIRM
Self test program
- Press the MENU button until “TEST” is displayed, press ENTER
- The fixture will now run a self test. Press MENU to exit.
Reset
- Press the MENU button until “Reset” is displayed. Press the ENTER button and the unit will reset itself.
DMX CHANNELS
| Mode 1 (11) | Channel | Mode 2 (13) | Channel | |
| 1 | Pan | 1 | Pan | |
| 2 | Tilt | 2 | Pan Fine | |
| 3 | Color | 3 | Tilt | |
| 4 | Gobo | 4 | Tilt Fine | |
| 5 | Laser Motor (4 gobos) | 5 | Color | |
| 6 | Strobe | 6 | Gobo | |
| 7 | Dimmer | 7 | Laser Motor (4 gobos) | |
| 8 | Laser Strobe | 8 | Strobe | |
| 9 | Pan/Tilt speed | 9 | Dimmer | |
| 10 | Function | 10 | Laser Strobe | |
| 11 | Dimmer Curves | 11 | Pan/Tilt speed | |
| 12 | Function | |||
| 13 | Dimmer Curves |
| Function | Value | Percent / Setting | Mode 11CH | Mode 13CH |
| Pan | 000-255 | 0~100% | 1 | 1 |
| Pan Fine | 000-255 | 0~100% | 2 | |
| Tilt | 000-255 | 0~100% | 2 | 3 |
| Tilt Fine | 000-255 | 0~100% | 4 | |
|
Color | 000-008 009-017 018-026 027-035 036-044 045-053 054-062 063-071 072-080 081-089 090-098 099-107 | Color 1 Color 1 +Color 2 Color 2 Color 2 +Color 3 Color 3 Color 3 +Color 4 Color 4 Color 4 +Color 5 Color 5 Color 5 +Color 6 Color 6 Color 5 +Color 7 |
3 |
5 |
| 108-116 117-125 126-127 128-189 190-193 194-255 | Color 7 Color 7 +Color 8 Color 8 Color Scroll from fast to slow Stop Color Scroll from slow to fast | |||
|
Gobo | 000-007 008-015 016-023 024-031 032-039 040-047 048-055 056-063 064-071 072-079 080-087 088-095 096-103 104-111 112-119 120-127 128-189 190-193 194-255 | Gobo 1 Gobo 2 Gobo 3 Gobo 4 Gobo 5 Gobo 6 Gobo 7 Gobo 8 Gobo 1 shake Gobo 2 shake Gobo 3 shake Gobo 4 shake Gobo 5 shake Gobo 6 shake Gobo 7 shake Gobo 8 shake Gobo Scroll, Fast to Slow Stop Gobo Scroll , Slow to Fast |
4 |
6 |
| Laser Motor | 000-007 008-131 132-255 | Stop Forward rotate Reverse rotate | 5 | 7 |
|
Strobe | 000-007 008-015 016-131 132-139 140-181 182-189 190-231 232-239 240-247 248-255 | Close Open Strobe Slow->Fast Open Fast Close Slow Open Open Fast Open Slow Close Open Random Strobe Open |
6 |
8 |
| Dimmer | 000-255 | 0~100% | 7 | 9 |
| Laser Strobe | 000-007 008-015 | Close Open | 8 | 10 |
| 016-131 132-240 240-247 248-255 | Strobe Slow->Fast Open Random Strobe Open | |||
| Pan/Tilt Speed | 000-255 | Fast -> Slow | 9 | 11 |
|
Function | 000-069 070-079 080-089 090-099 100-109 110-119 120-199 200-209 210-249 250-255 | Null Blackout while Pan/Tilt Move Null Blackout when Color wheel move Null Blackout when Gobo Wheel move Null Reset All Null Sound Active |
10 |
12 |
|
Dimmer Curves | 000-050 051-100 101-150 151-200 201-250 | Standard Stage TV Architectural Theatre |
11 |
13 |
Cleaning
Due to fog residue, smoke, and dust cleaning the internal and external lenses should be carried out periodically to optimize light output.
- Use normal glass cleaner and a soft cloth to wipe down the out-side casing.
- Clean the external optics with glass cleaner and a soft cloth every 20 days.
- Always be sure to dry all parts completely before plugging the unit back in.
IMPORTANT NOTE: Electric products must not be put into household waste. Please bring them to a recycling centre. Ask your local authorities or your dealer about the way to proceed.
©Copyright LOTRONIC 2017


