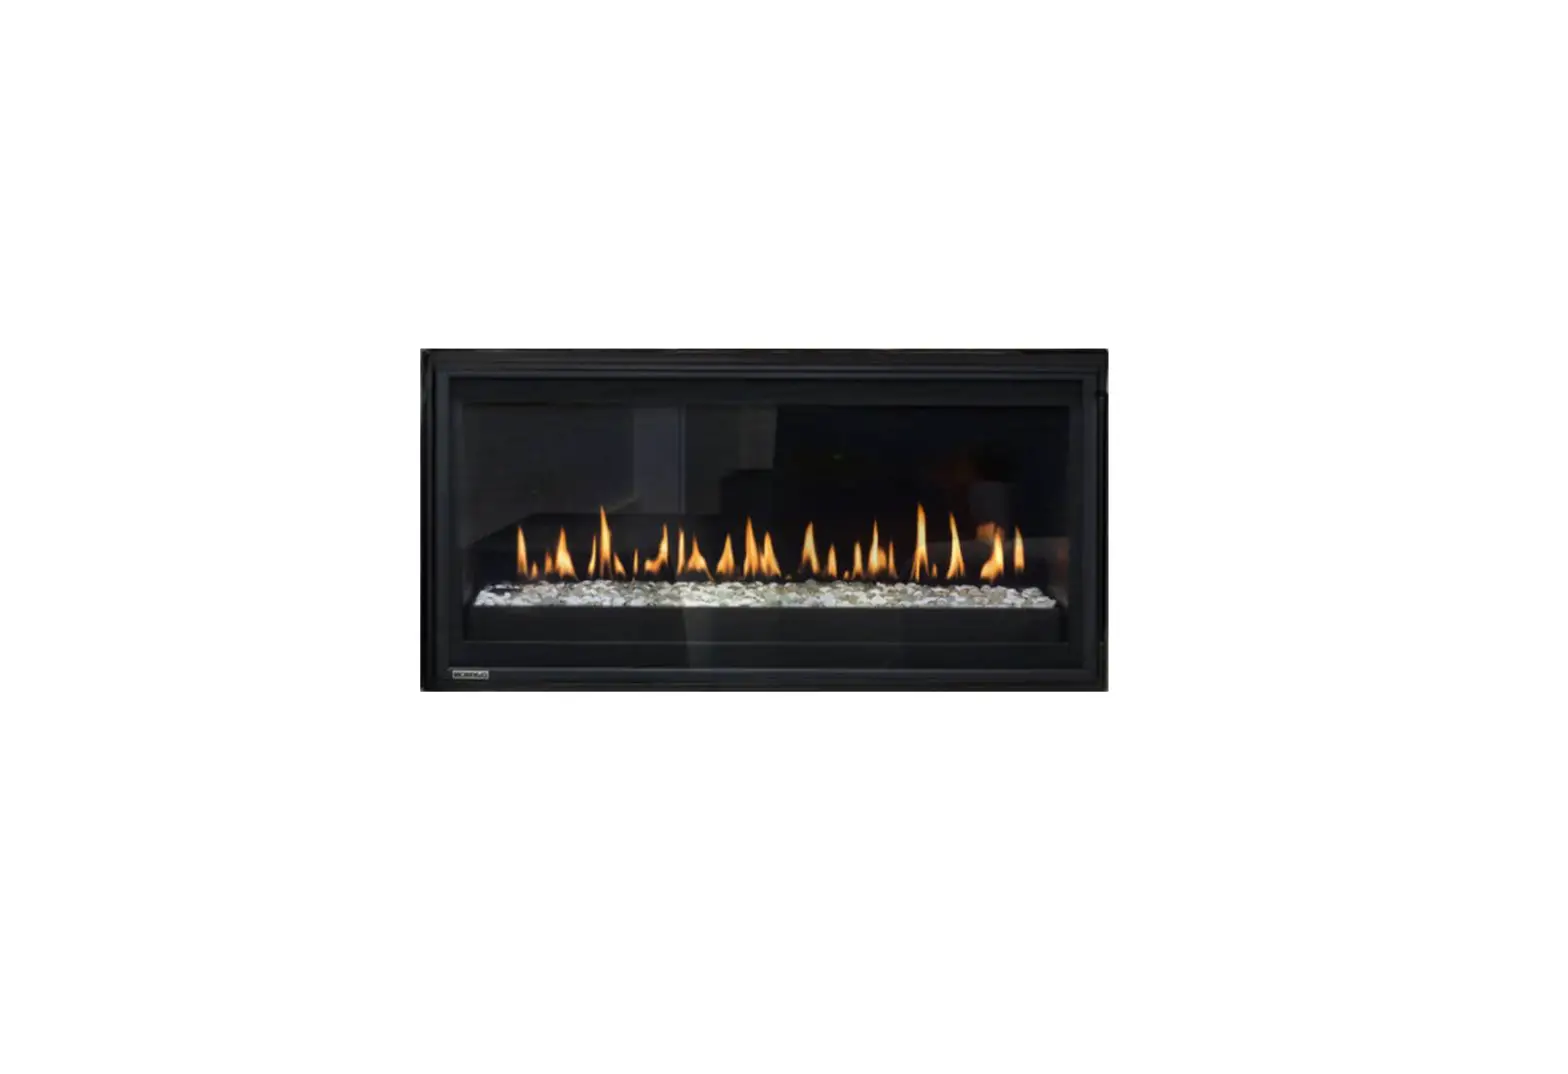
MONTIGO PL38DF PL Series Porcelain Panel Kit
 |
|
⚠CAUTION |
| Ensure that all power to the appliance is off at the electrical breaker or fuse before beginning installation. Ensure gas is turned off at the shutoff valve before beginning installation. |
⚠WARNING |
| When installing the replace – gas lines, ttings, accessories or any other objects cannot impede the proper movement of the door buckles |
⚠WARNING |
Some materials used in the manufacturing process of this product can expose you to Benzene which is known in the State of California to cause cancer and birth defects or other reproductive harm. For more information go to www.P65warnings.ca.gov |
|
Installation
Product Overview
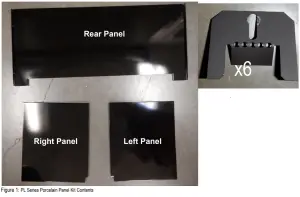
Kit Contents:
- Rear pane
- Side panels
- Panel retainer clips (qty: 6)
- 13 black screws
Tools Required:
- Drill / Drive
Before you begin
Always ensure the kit part number is correct for the fireplace model and all kit contents are included. The model number may be found on the rating plate under the valve blind of the fireplace.
Note: Use gloves when handling the porcelain panels. Handle panels with care. Porcelain panels are delicate and may become scratched if struck or dropped.
Installation
Step 1: Remove the fireplace screen barrier by grasping the top flange at both sides and pulling outward. Lift up and away from the front of the fireplace.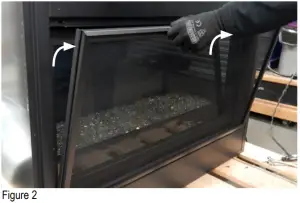
Step 2: Remove the horizontal access panel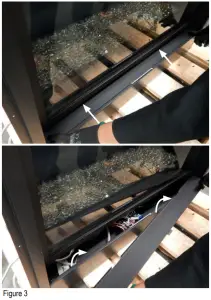
Step 3: Locate the door buckles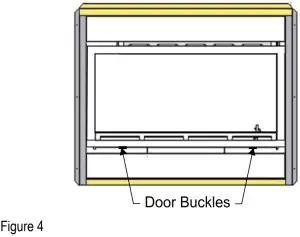
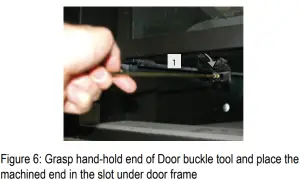
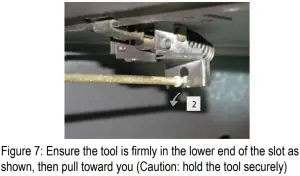
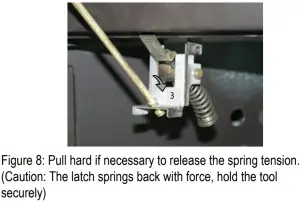
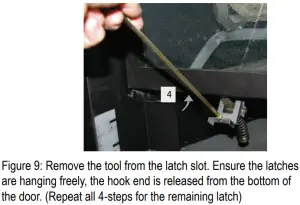
Step 4: Release the door buckles using the door buckle tool.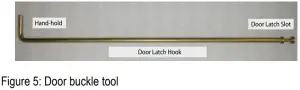
Step 4: Remove the burner media. Take care to avoid scratching the paint on the burner or burner tray.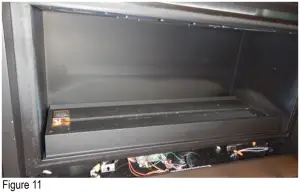
Step 4: Remove tek screws securing the burner tray.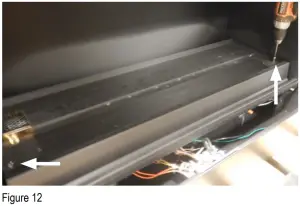
Step 5: Remove front air deflector.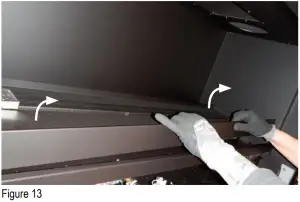
Step 6: Remove pilot cover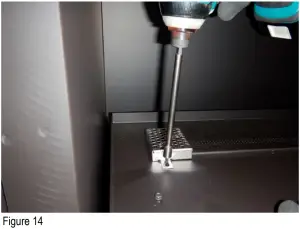
Step 7: Remove burner tray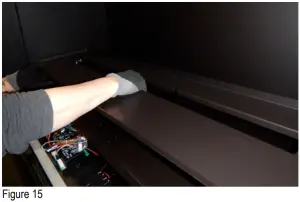
Step 8: Remove tek screws securing the rear air deflector.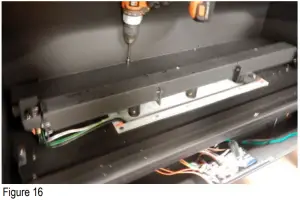
Step 9: Remove the rear air deflector.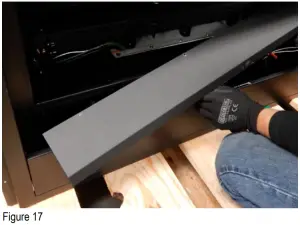
Step 10: Align the rear porcelain panel with the back side of the fireplace. The flat edge of the panel aligns with the top of the fireplace.
Note: handle porcelain panels with care to avoid damage to the panel or burner.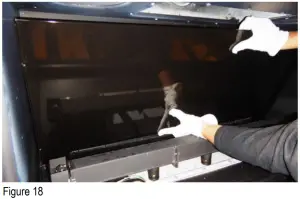
Step 11: Align one of the side panels. The rear panel is held in place with the side panels. The notch in each side panel aligns with the lower front edge of the fireplace.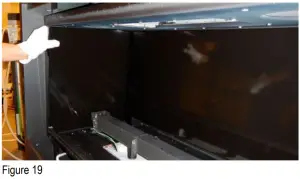
Step 12: The side panels are held in place using three clips per side, 2 on the top and one on the bottom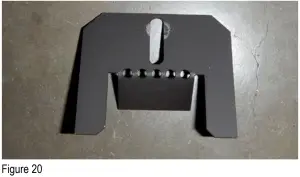
Step 13: Secure the top and bottom clips using tek screws.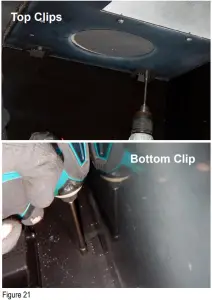
Step 14: Repeat for the other side.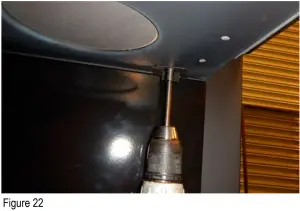
Step 15: Reinstall the rear air deflector.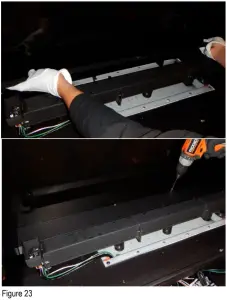
Step 16: Reinstall the burner media tray and secure using screws.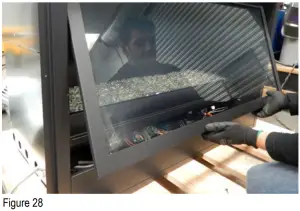
Step 17: Reinstall the pilot cover.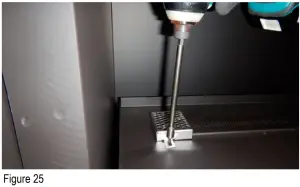
Step 18: Reinstall the front air deflector.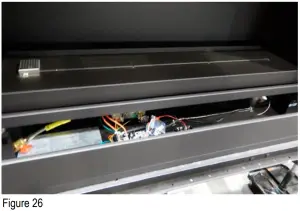
Step 19: Reinstall the burner media.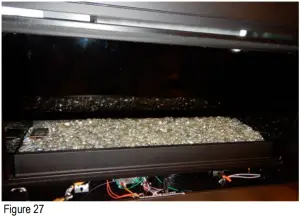
Step 20: Reinstall the door. Installation is the reverse of removal.
⚠ WARNING |
| When installing the replace – gas lines, ttings, accessories or any other objects cannot impede the proper movement of the door buckles. |
Step 21: Reinstall the horizontal access panel.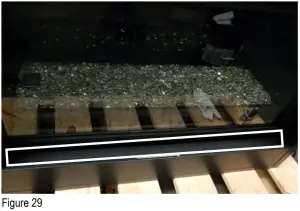
Step 22: Reinstall the screen barrier by inserting the posts on the bottom of the screen and pressing the retainers at the top of the screen.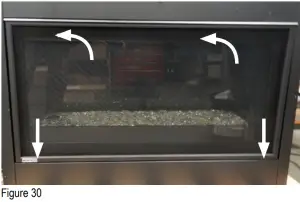
PL Series Porcelain
Panel
Installation


