
![]() REPLACEMENT LED CORD SPLICE
REPLACEMENT LED CORD SPLICE
INSTRUCTIONS
For Kasco Models 345037, 345065, 345066
SUGGESTED TOOLS
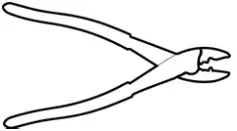 | Crimpers |
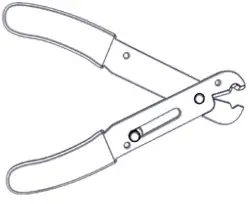 | Wire strippers |
PARTS INCLUDED
| Description | Qty | Part No. |
| Cable splitter, 3-way | 1 | 345031 |
| Cable splitter, 4-way | 1 | 345036 |
| Cable splitter, 6-way | 1 | 345034 |
| Cable joiner | 1 | 347220 |
| Gland cord grip | 2 | 347221 |
| Barrel connector | 2 | 346063 |
| Heat shrink tube | 2 | 150567 |
| Potting compound | 1 | 636444 |
| Potting nozzle | 1 | 341223 |
| Plunger | 1 | 341222 |
| Cable splitter cap | 3-6 | 345033 |
Refer to your original LED light kit owner’s manual for complete light kit instructions.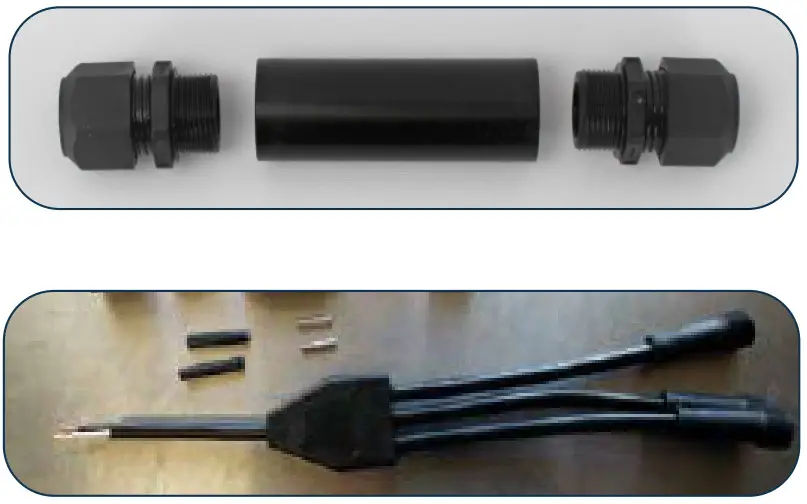
IMPORTANT SAFETY INFORMATION
Read and follow this important safety and handling instructions. Following these instructions will help ensure your safety and the quality performance of your equipment.
- Under NO circumstances should anyone enter the water with the electrical equipment plugged in and/ or in operation.
- Disconnect all equipment from the electrical service prior to any maintenance or service work.
- Use extreme caution around water, especially cold water, as in spring, fall, and winter, which poses a hazard itself.
- NEVER lift or drag the fountain or light kit by the power cords. To pull the unit to the side of the pond, use the anchoring ropes.
- Do not use waders in ponds/lakes that are deep, with drop-offs, drastic slopes, or soft bottom material.
- Do not use a canoe or boat that tips easily during installation.
INSTRUCTIONS
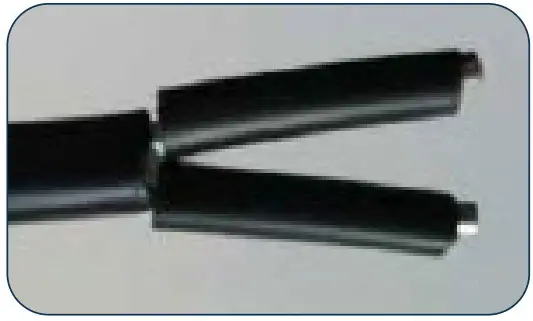
| 1. Prepare the wires on the main power cord by removing 1-1/2” of the outer cord jacket, leaving the black, white, and green conductors exposed. Cut the green wire all the way back to the jacket. Strip the conductor insulation on the black and white wires back, leaving the copper wires exposed 1/4”. | |
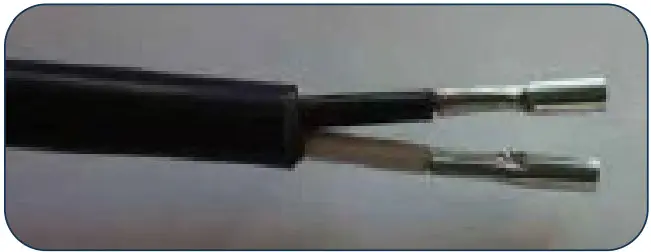 | 2. Crimp one end of the barrel connectors onto the black and white wires of the main power cord. |
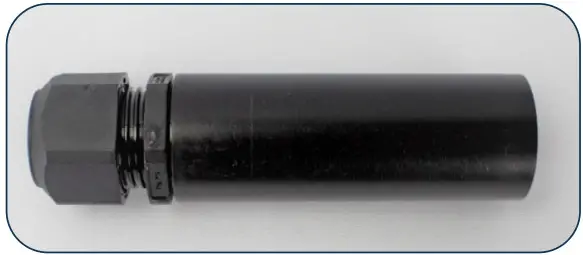 | 3. Insert the gland cord grip in one end of the cable joiner and tighten. |
 | 4. Slide the cable joiner over the main power cord (the cord grip end goes on first). |
 | 5. Slide one shrink tube over the white wire and one over the black wire. |
 | 6. Slide the other gland cord grip onto the splitter cord. |
| IMPORTANT: Make sure all cord grips and shrink tubing is installed before the final crimping of the cord wires. | |
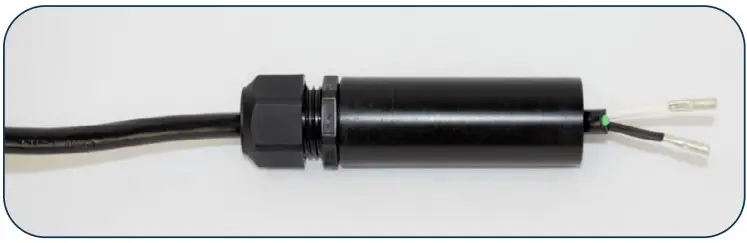
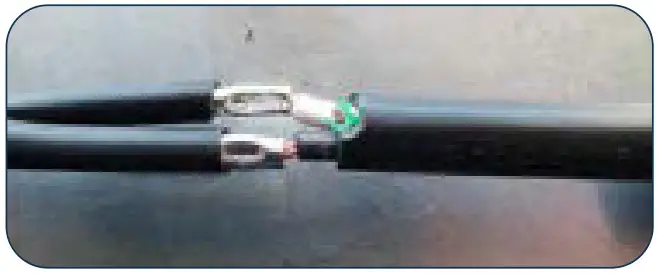 | 7. Crimp the white wires together and the black wires together from the main power cord and the splitter. |
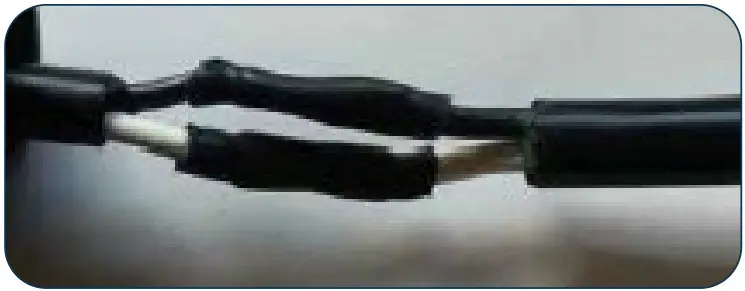 | 8. Slide the shrink tube over the connectors so it covers all the exposed wires and crimps connections. Heat the shrink tubing until it is tight around the connections. |
 | 9. Center the cable joiner over the wires. Then tighten the cord grip nut on the main power cord side so that it is tight on the power cord. |
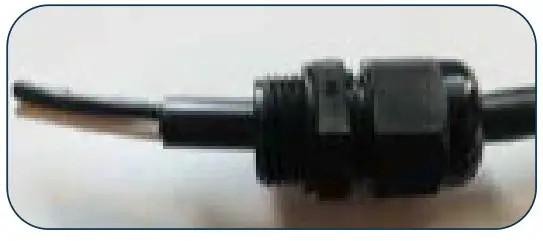
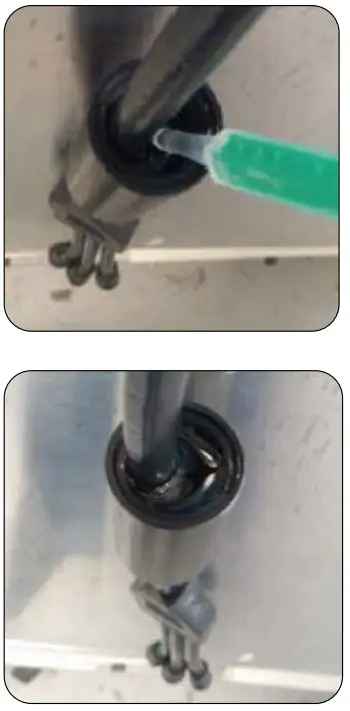 | 10. Hang the cord in a vertical position with the open end of the cable joiner (splitter side) on top. Use the potting kit to fill the inside of the cable joiner, making sure the potting completely covers the black jacket of the splitter cord. |
| 11. Screw the gland cord grip (splitter side) into the cable joiner completely and tighten the cord grip nut to the splitter cord. Let it sit for 30 minutes while the potting cures. |
| 12. Make sure there are no wires exposed on either side of the cable joiner assembly. |
The light kit power cord assembly is now ready for installation.
![]() 800 Deere Rd. Prescott, WI 54021
800 Deere Rd. Prescott, WI 54021
715.262.4488
[email protected]
kascomarine.com
DOCUMENT # 884017


