![]()
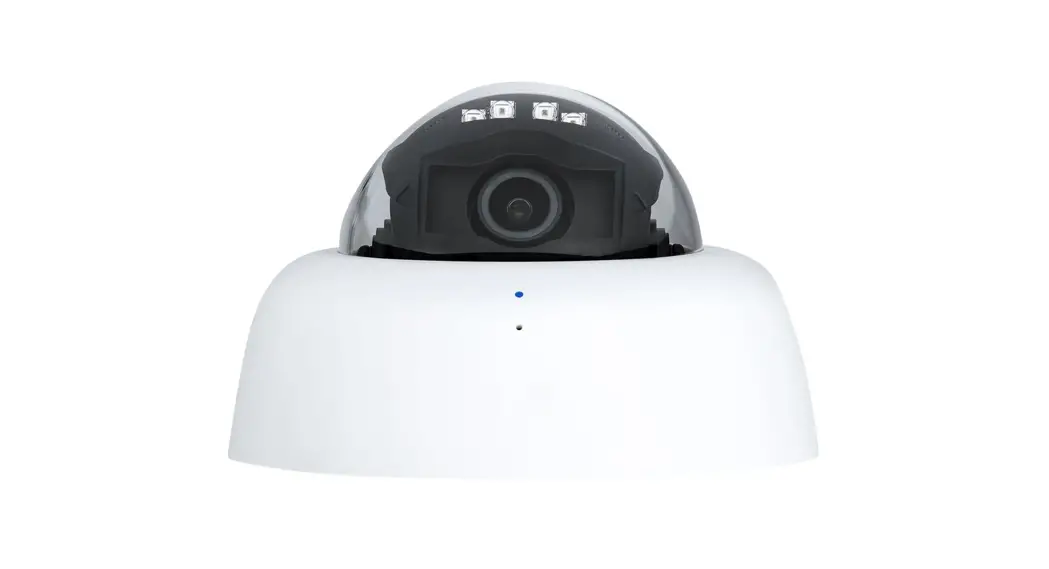
D40 Setup Guide
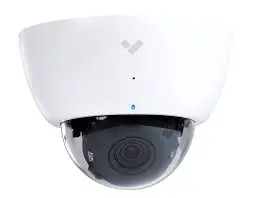
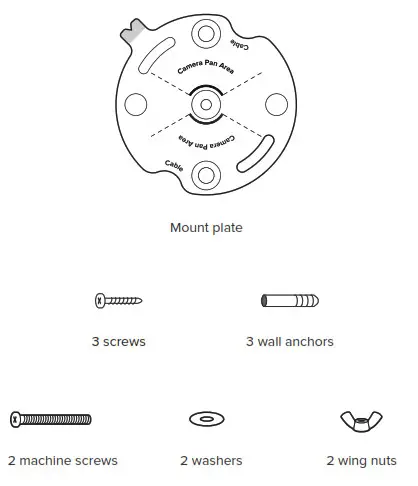
In the box

What you’ll need
- A working internet connection
- 802.3af Power over Ethernet (PoE) switch, or a PoE injector
- A smartphone or laptop
- A Phillips screwdriver or power drill with a Phillips driver bit
- 1/4-inch (6.5mm) drill bit for wall anchors
- 1/8-inch (3mm) drill bit for pilot holes
- 3/16-inch (4.5mm) drill bit for machine screws
Connect
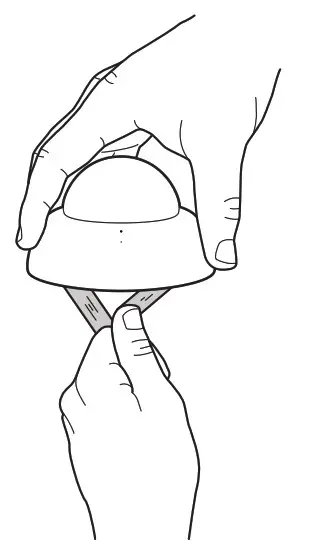
Grasp the plastic mount plate strap and pull the cover off of the camera.
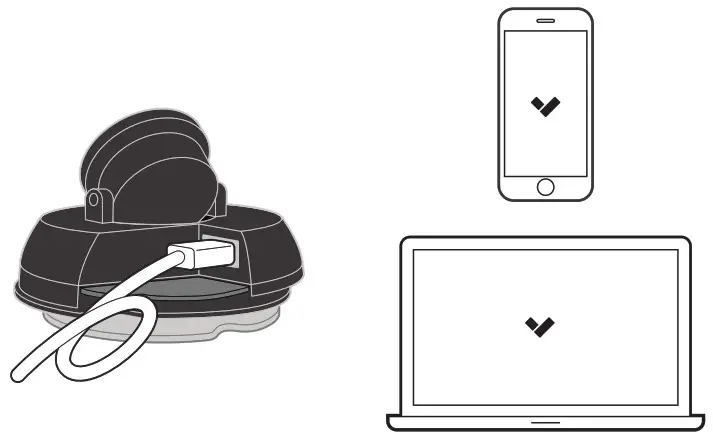
Conned the camera to an 802.3af Power over Ethernet port on your network. An orange LED on the camera’s ethernet port will indicate that it is powered and booting up. A green LED on the ethernet port will indicate the camera is active.
Go to www.verkada.com/start
Mount
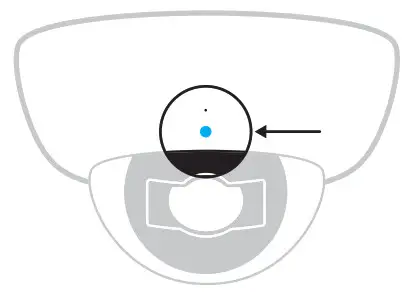
On the bottom of the camera, rotate the mounting plate clockwise until it stops and is lined up with its corresponding blue the colored notch on the camera base.
Firmly pull and separate the mounting plate from the camera base. Remove and discard the plastic mount plate strap.
Mount
continued
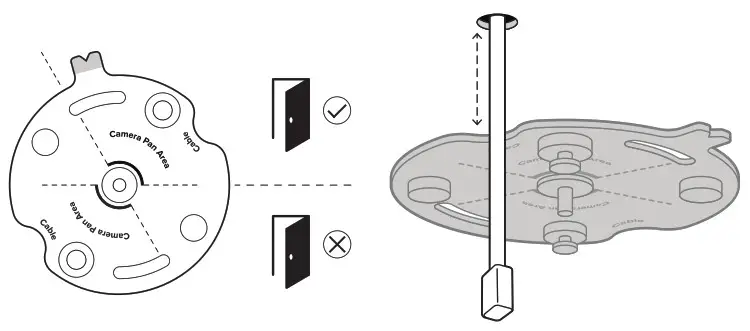
When placing the mounting plate, take care to orient it such that your camera’s target is situated within the “Camera Pan Angle”. If your cable is routed through a hole in the mounting surface, position one of the mount plate’s notches labeled “Cable” as close to the cable hole as possible.
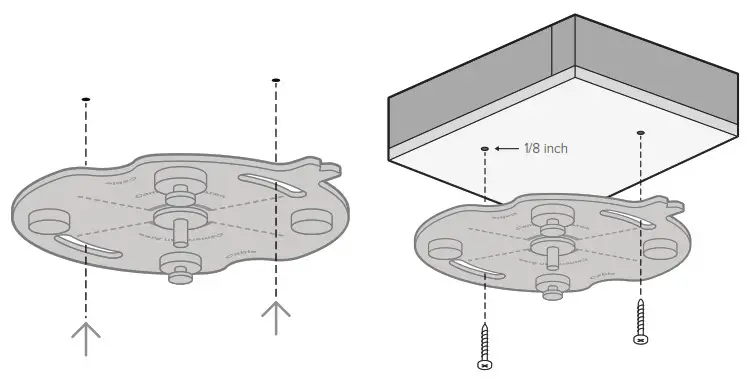
Use the mounting plate to mark holes for mounting screws.
For a solid material like wood or metal, drill 1/8-inch pilot holes. Drive mounting screws directly into the pilot holes.
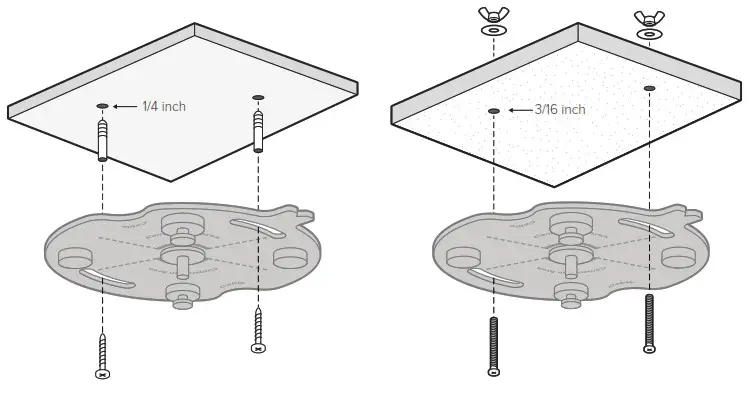
For drywall, drill 1/4-inch holes. Insert plastic anchors into holes and drive mounting screws into anchors.
For a drop ceiling, drill 3/16-inch holes through the ceiling tile and insert machine screws. Behind the ceiling tile, place washers and wing nuts on each screw and hand tighten.
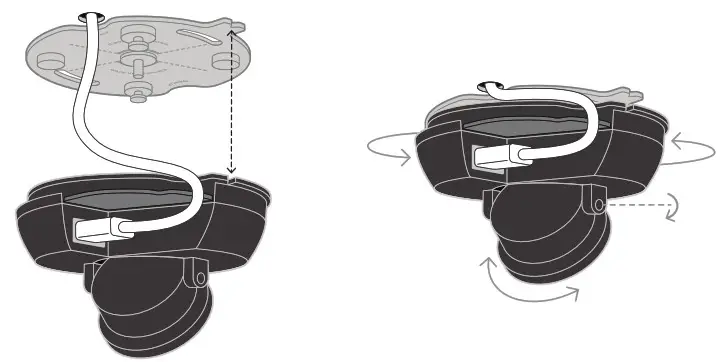
Plug in the camera. Line up the blue notches on the mounting plate and the camera body and place the camera over the center pin on the mounting plate.
With the camera on the mounting plate, rotate the entire camera body on the mounting plate to adjust the pan angle. Tilt and rotate just the camera lens for further adjustment.
Secure

Route the cable snuggly between the camera base and the mounting plate. Place the cover on the camera. Be sure the magnets have pulled the cover flush against the mounting surface.
Status LED
![]() Solid orange
Solid orange
Camera is on and booting up Flashing orange
Camera is updating firmware Flashing blue
Camera is recording, but
cannot reach the server![]() Solid blue
Solid blue
Camera is running, connected, and streaming video
Support
Thank you for purchasing a Verkada camera.
If for any reason things don’t work right or you need assistance, please contact us immediately.
Sincerely – The Verkada Team


