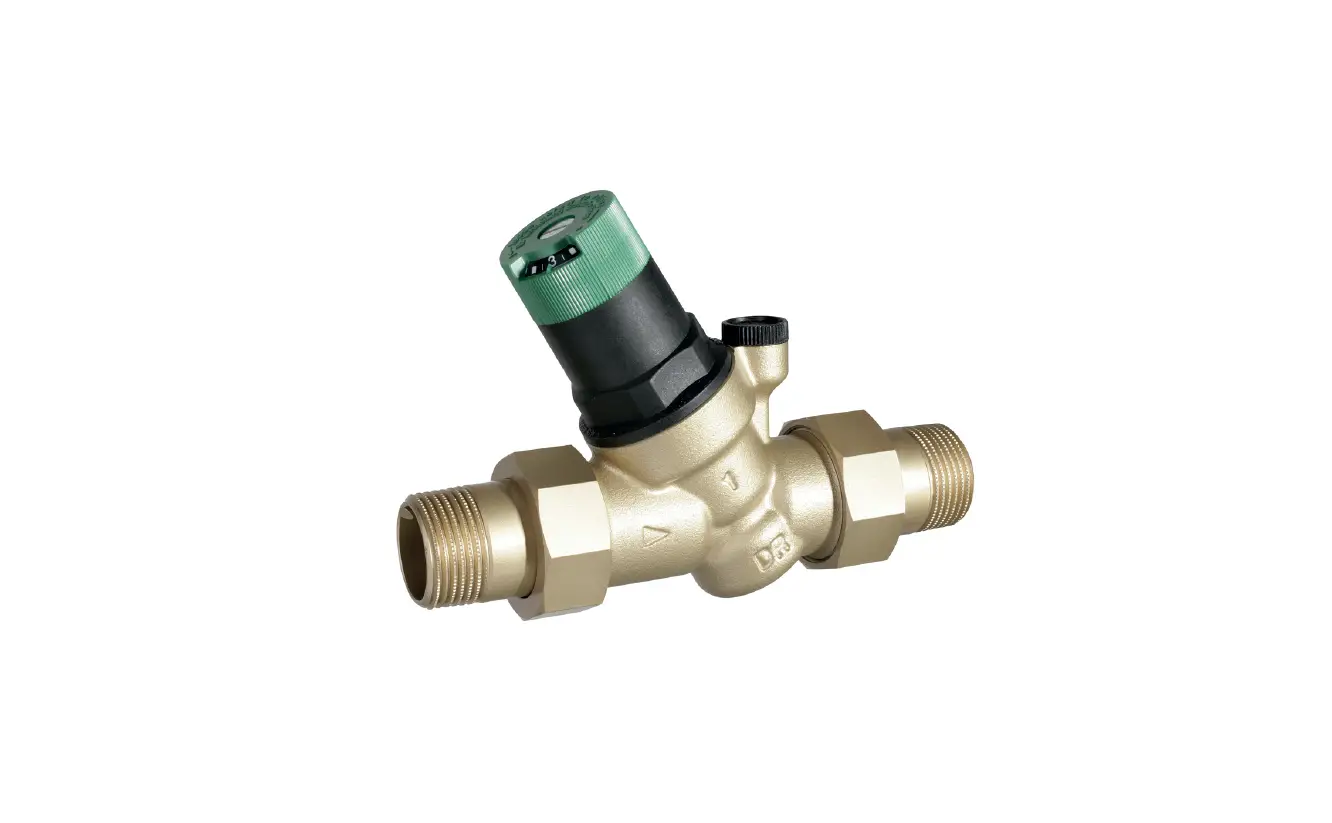
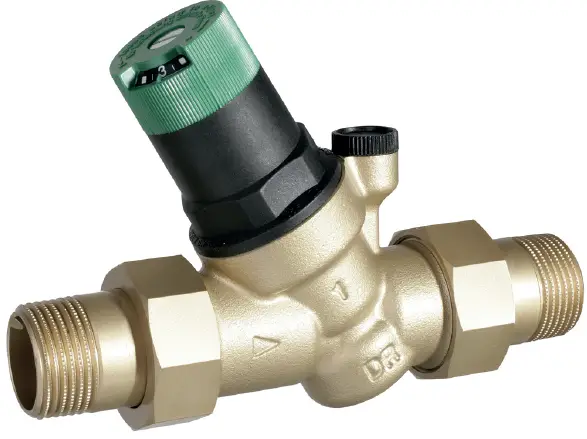
resideo D05FS Pressure Reducing Valve
Safety Guidelines
- Follow the installation instructions.
- Use the appliance
- according to its intended use
- in good condition
- with due regard to safety and risk of danger.
- Note that the appliance is exclusively for use in the applications detailed in these installation instructions (see 2 Technical Data). Any other use will not be considered to comply with requirements and would invalidate the warranty.
- Please take note that any assembly, commissioning, servicing and adjustment work may only be carried out by authorized persons.
- Immediately rectify any malfunctions which may influence safety.
Technical Data
| Media | |
| Medium: | Drinking water |
| Connections/Sizes | |
| Connection sizes: | 1/2″ – 2″ |
| Nominal sizes: | DN15 – DN50 |
| Pressure values | |
| Max. inlet pressure: | 25 bar |
| Outlet pressure: | 1.5 – 6 bar |
| Preset outlet pressure: | 3 bar |
| Min. pressure drop: | 1 bar |
| Operating temperatures | |
| Max. operating temperature medium accord. to EN 1567: | 30 °C |
| Max. operating temperature medium (10 bar): | 70 °C |
Options
For Options visit homecomfort.resideo.com/europe
Assembly
Installation Guidelines
- Horizontal and vertical installation position possible
- In vertical installation position spring bonnet with adjustment knob facing upwards
- Install shut-off valves
- The installation location should be protected against frost and be easily accessible
- Pressure gauge can be read off easily
- Simplified maintenance and cleaning
- To guarantee perfect functioning, a filter must be inserted ahead of the pressure reducing valve.
- Provide a straight section of pipework of at least five times the nominal valve size after the pressure reducing valve (in accordance with EN 806-2)
- Requires regular maintenance in accordance with EN 806-5
Assembly instructions
CAUTION! When using soldering connections, do not solder the connections together with the pressure reducing valve! High temperature will irreparably damage important internal working components!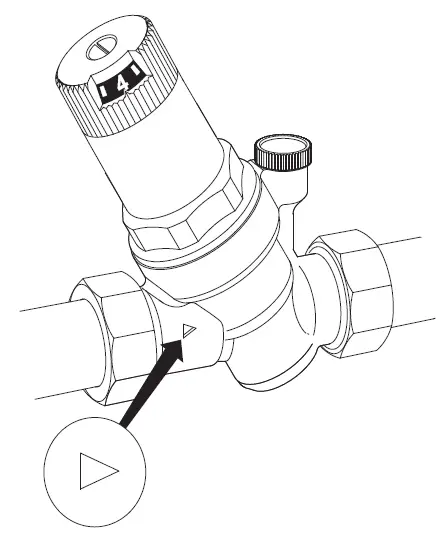
- Thoroughly flush pipework
- Install pressure reducing valve
- Note flow direction
- Install without tension or bending stresses
- Set outlet pressure
Start-up
Setting outlet pressure
Set outlet pressure min. 1 bar under inlet pressure.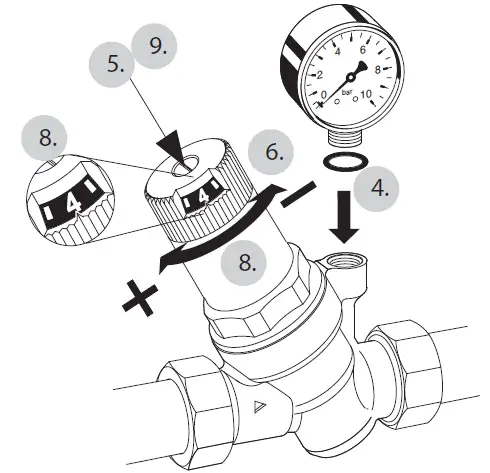
- Close shut-off valve on inlet
- Release pressure on outlet side (e.g. through water tap)
- Fit pressure gauge (optional)
- Close shut-off valve on outlet
- Loosen slotted screw
- Do not remove slotted screw
- Slacken tension in compression spring
- Turn adjustment handle counter clockwise (-) until it does not move any more
- Slowly open shut-off valve on inlet
- Turn adjuster knob until the manometer shows the desired value
- Retighten slotted screw
- Slowly open shut-off valve on outlet
Maintenance
In order to comply with EN 806-5, water fixtures must be inspected and serviced on an annual basis. As all maintenance work must be carried out by an installation company, it is recommended that a servicing contract should be taken out. In accordance with EN 806-5, the following measures must be taken:
Inspection
- Close shut-off valve on outlet
- Check outlet pressure using a pressure meter when there is zero through-flow
- If the pressure is increasing slowly, the valve may be dirty or defective. In this instance, carry out servicing and cleaning (See 6.2 Maintenance)
- Slowly open shut-off valve on outlet
Maintenance
Do not use any cleansers that contain solvents and/or alcohol for cleaning the plastic parts, because this can cause damage to the plastic components – water damage could result. Detergents must not be allowed to enter the environment or the sewerage system!
- Close shut-off valve on inlet
- Release pressure on outlet side (e.g. through water tap)
- Close shut-off valve on outlet
- Loosen slotted screw
- Do not remove slotted screw
CAUTION! There is a spring in the spring bonnet. It may cause injuries if the spring is derailing. - Make sure tension in compression spring is slackened!
- Do not remove slotted screw
- Slacken tension in compression spring
- Turn adjustment handle counter clockwise (-) until it does not move any more
- Unscrew spring bonnet
- Use double ring wrench ZR06K
- Remove slip ring
- Remove valve insert with a pair of pliers
- Remove filter and clean
- Check that sealing ring, edge of nozzle and slotted ring are in good condition, and if necessary replace the entire valve insert
- Reassemble in reverse order
- Adjust setting scale and set outlet pressure
Disposal
Observe the local requirements regarding correct waste recycling/disposal!
Troubleshooting
| Problem | Cause | Remedy |
| Beating sounds | Pressure reducing valve is too large | Call Technical Customer Service |
| Water is escaping from the spring bonnet | Diaphragm in valve insert is faulty | Replace valve insert |
| Too little or no water pressure | Shut-off valves up- or downstream of the pressure reducing valve are not fully open | Open the shut-off valves fully |
| Pressure reducing valve is not set to the desired outlet pressure | Set outlet pressure | |
| Filter in pressure reducing valve is contaminated | Clean or replace filter | |
| Pressure reducing valve is not fitted in flow direction | Fit pressure reducing valve in flow direction (note direction of arrow on housing) | |
| The outlet pressure set does not remain constant | Filter in pressure reducing valve is contaminated or worn | Clean or replace filter |
| Valve insert, sealing ring or edge of nozzle is contaminated or worn | Replace valve insert | |
| Rising pressure on outlet (e.g. in boiler) | Check check valve, safety group etc. |
Spare Parts
For Spare Parts visit homecomfort.resideo.com/europe
Accessories
For Accessories visit homecomfort.resideo.com/europe
Manufactured for and on behalf of
Pittway Sàrl, Z.A., La Pièce 4,
1180 Rolle, Switzerland
by its authorised representative
Ademco 1 GmbH
For more information
homecomfort.resideo.com/europe
Ademco 1 GmbH, Hardhofweg 40,
74821 MOSBACH, GERMANY
Phone: +49 6261 810
Fax: +49 6261 81309
Strandvejen 42 Saksild 8300 Odder 86 62 63 64
www.automatikcentret.dk
[email protected]


