![]()
![]()
PRODUCT MANUAL
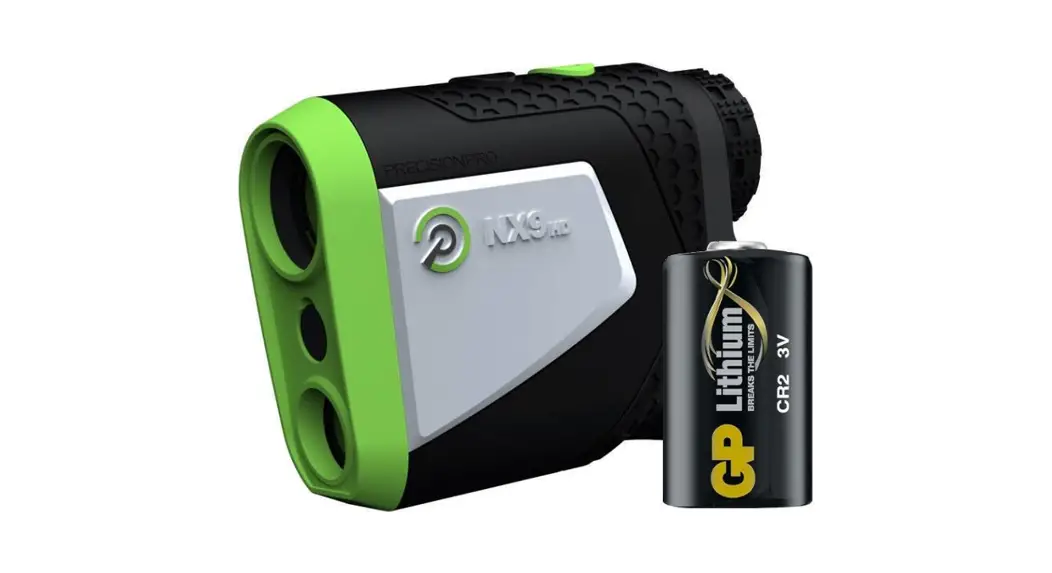
NX9 SLOPE GOLF RANGEFINDER
PRODUCT OVERVIEW
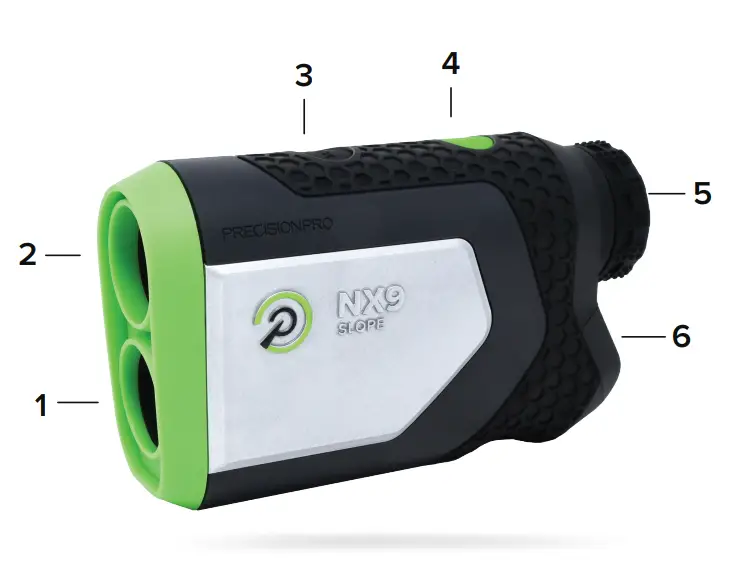
- Laser Lens
- Optical Lens
- Mode Button (Slope + Yards/Meters)
- Power & Activate Laser Button
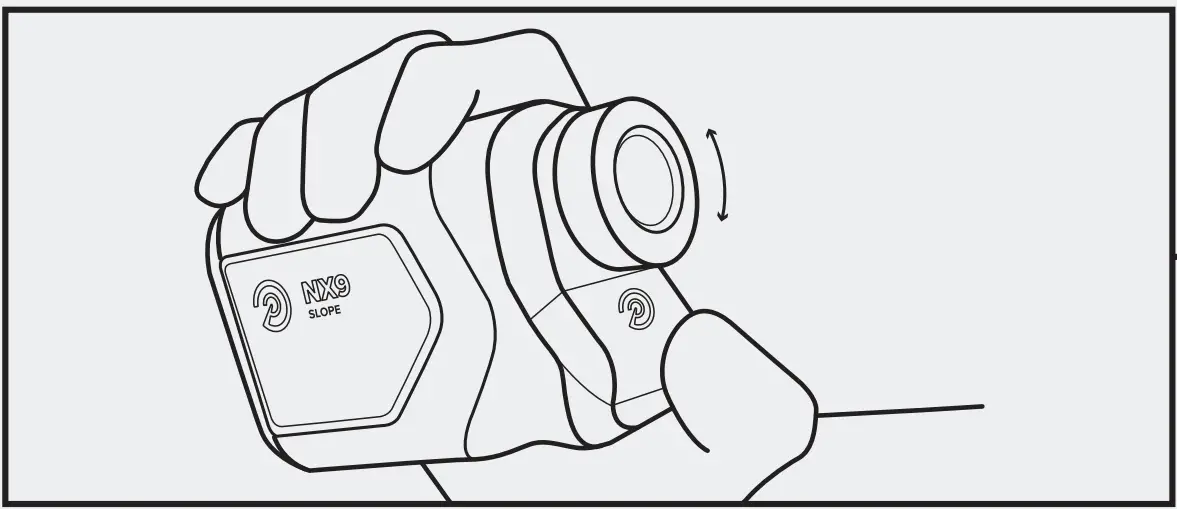
- Adjustable Eyepiece
- Battery Door
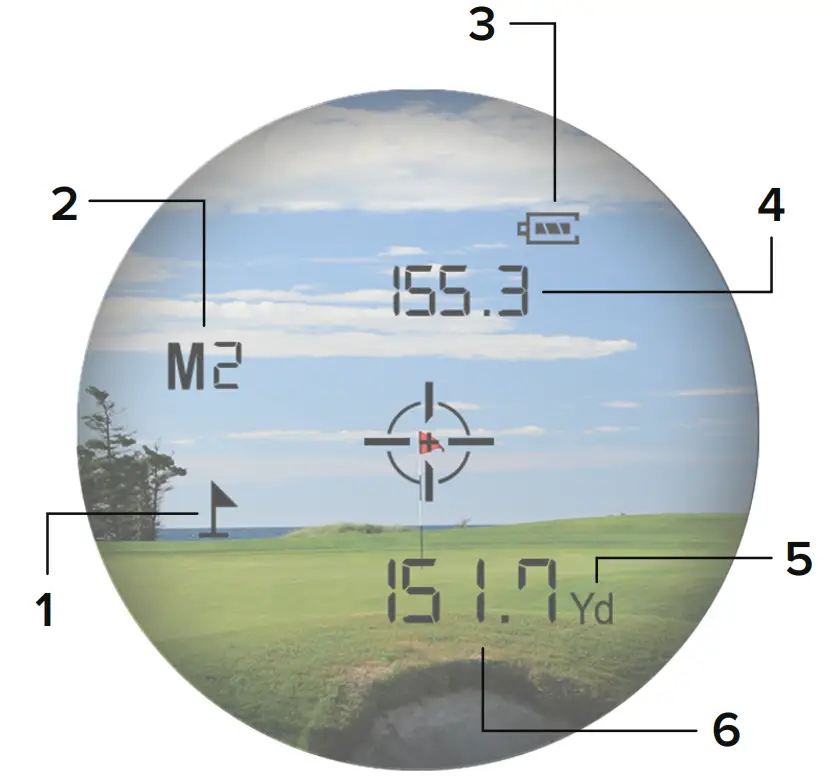
- Target Acquisition Indicator
- Mode Indicator (M1 – Slope Off M2 – Slope On)
- Battery Indicator
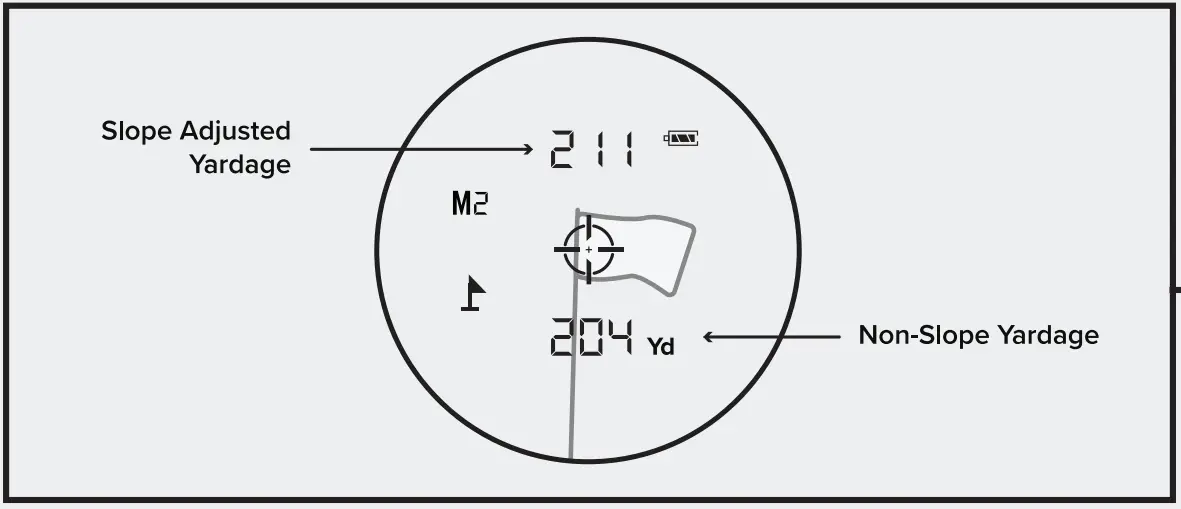
- Slope-Adjusted Distance
- Yards/Meters Indicator (Yd – Yards M – Meters)
- Non-Slope Distance
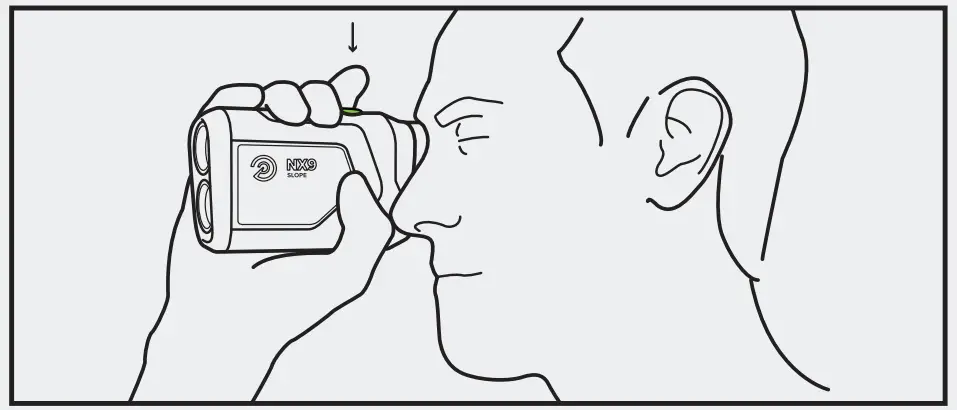
HOW TO USE
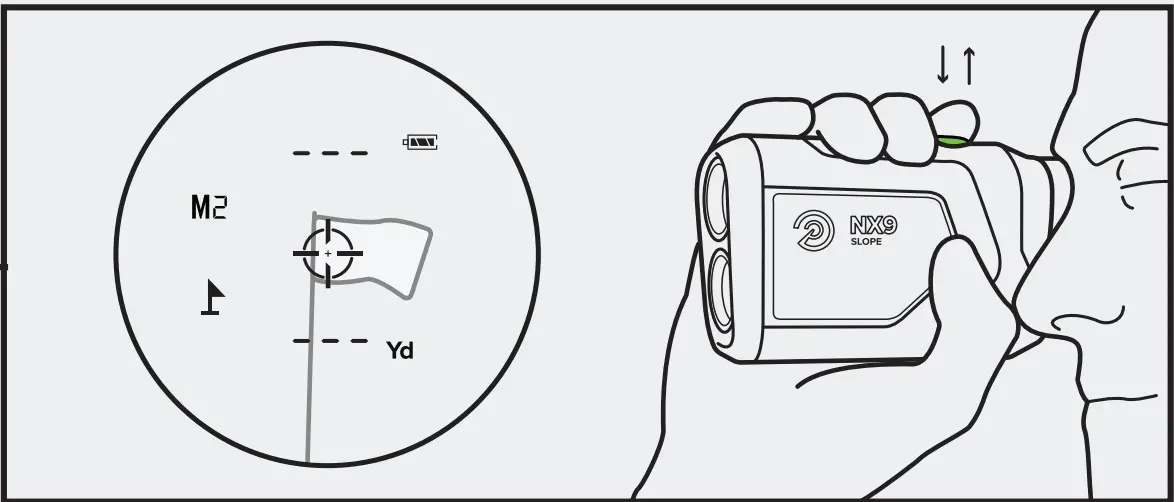
- Look through the eyepiece and press the green power button to turn on the rangefinder. The crosshair will appear in the middle of the screen.

- Adjust the focus of the rangefinder by rotating the dial left or right until the display appears sharp.

- If the slope is on (M2), the slope-adjusted distance will appear above the crosshair. The non-slope distance will appear below the crosshair.’

- Point the crosshair at the target — flag, tree, bunker, etc. Then press and release the green POWER button to “shoot your target.”

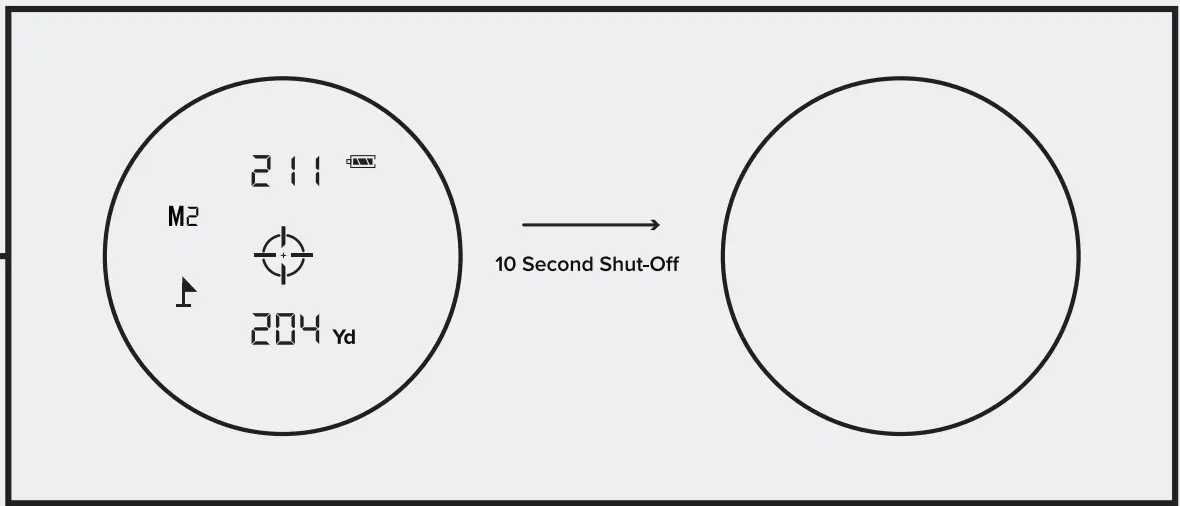
- The rangefinder will automatically turn off after 10 seconds.

- Swing with confidence!

YARDS/METERS
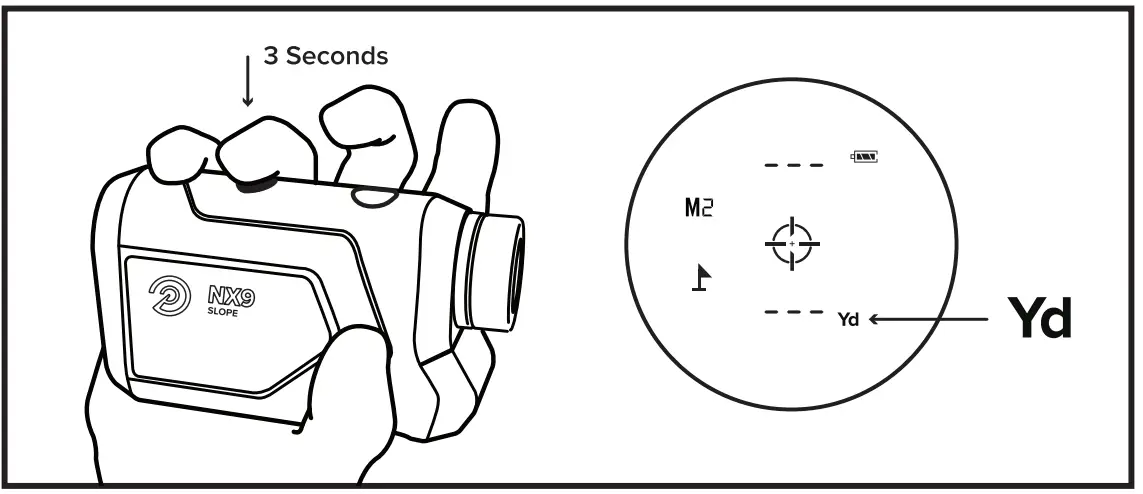
Press and hold the black MODE button for three seconds to change between yards and meters. You will see a Yd in the bottom right-hand corner for Yards and a M for Meters.
Yd – Yards M – Meters
SLOPE/NON-SLOPE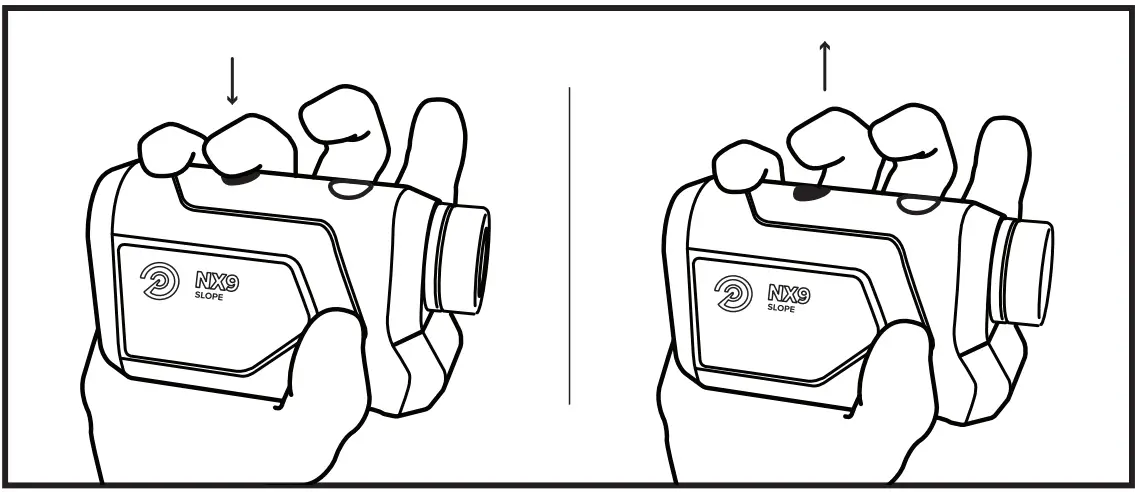
- Press and release the black MODE button to toggle between Slope and Non-Slope.

- When the slope is off, you will see an M1 on the left side of the display. When Slope is turned on, you will see an M2 on the left side of the display.

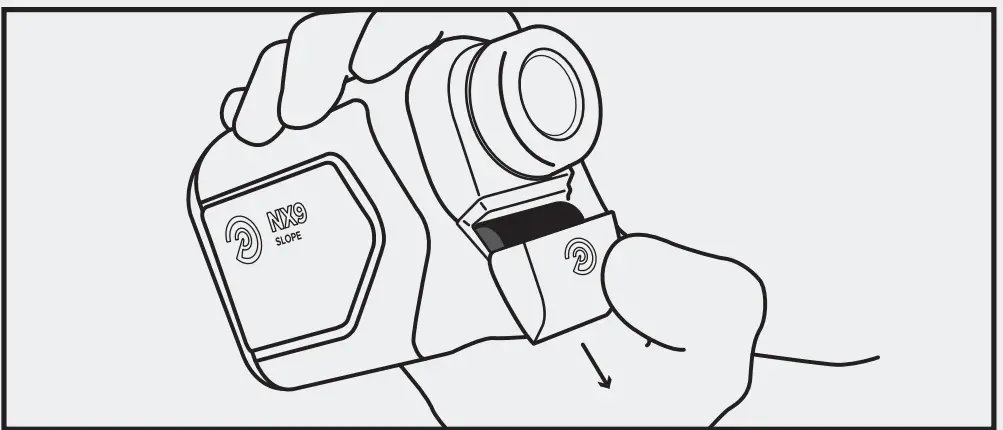
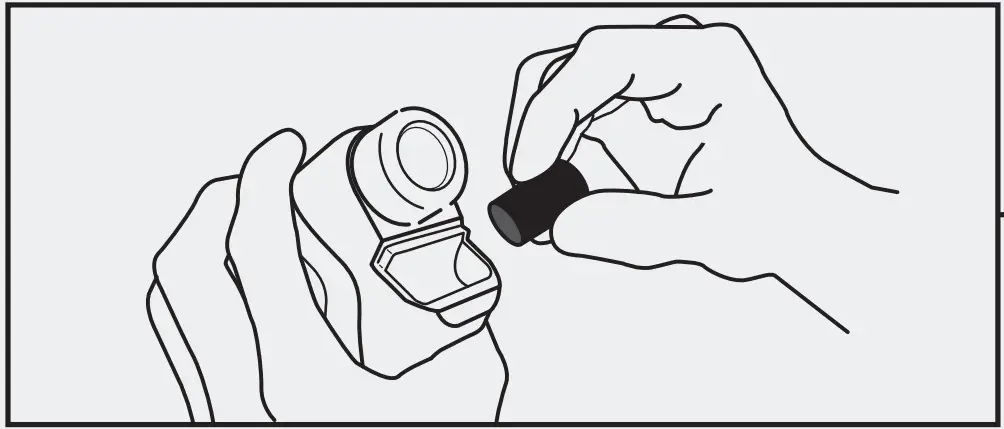
CHANGING THE BATTERY
- Open the battery door by sliding the panel away from the eyepiece.

- Remove the old battery and insert the new battery to match the image shown inside. Put the battery door back on and secure it tightly.

- Check the viewfinder to make sure the battery is fully charged and operating correctly.
- Double-check that the battery door is on securely.

BEST PRACTICES

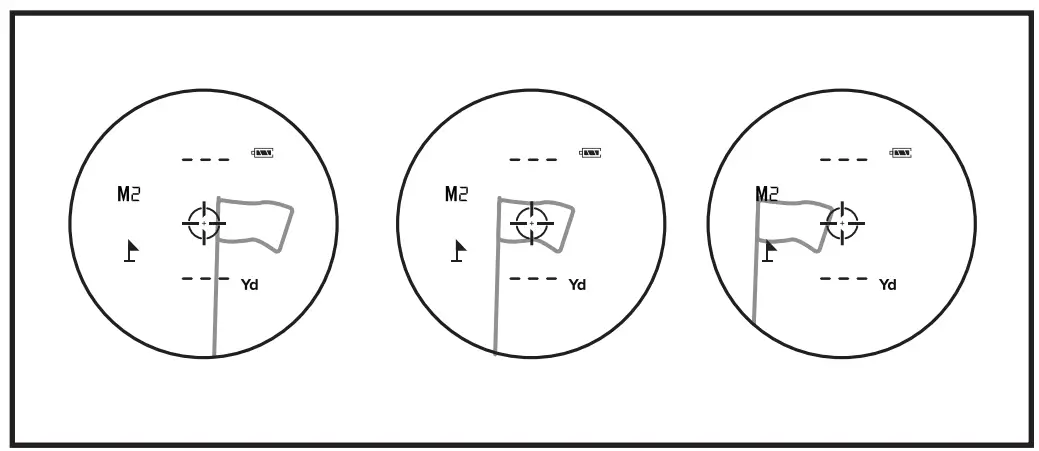
PAN OVER TARGET: For the best results, pan the crosshair over the target slowly as you measure the distance.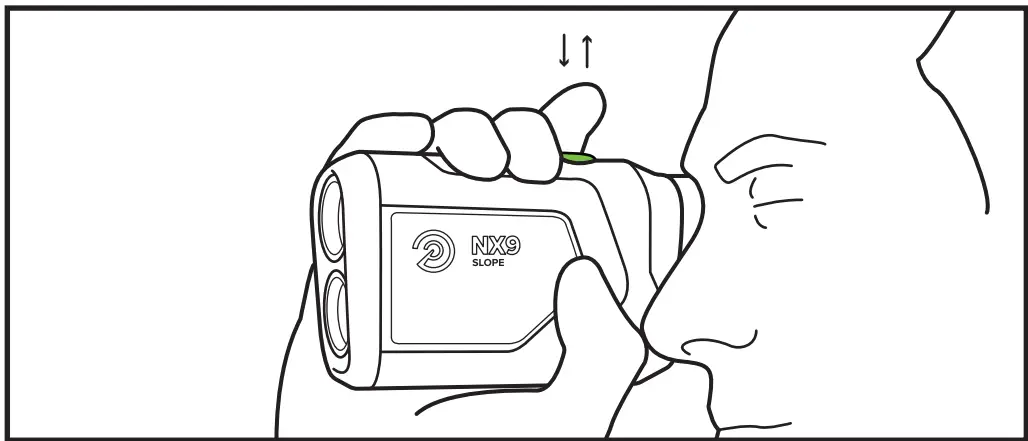 PRESS AND RELEASE: When measuring distances, it’s important to press and then release the green power button. Holding the button will not work correctly.
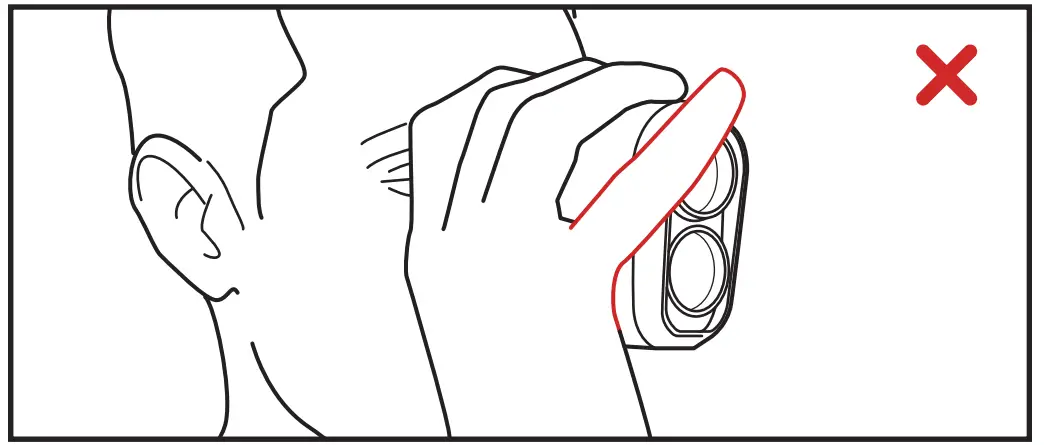 DON’T COVER THE LENS: Make sure the front of the rangefinder is unobstructed. A finger or side of the palm will interfere with the laser and result in inaccurate measurements.
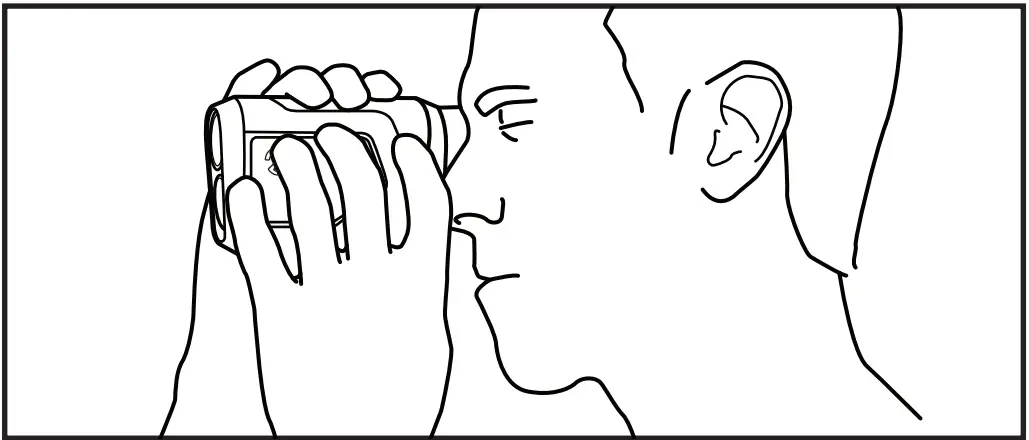
USE BOTH HANDS: Stabilize the rangefinder by using both hands and steady your arms by bracing them against your chest.
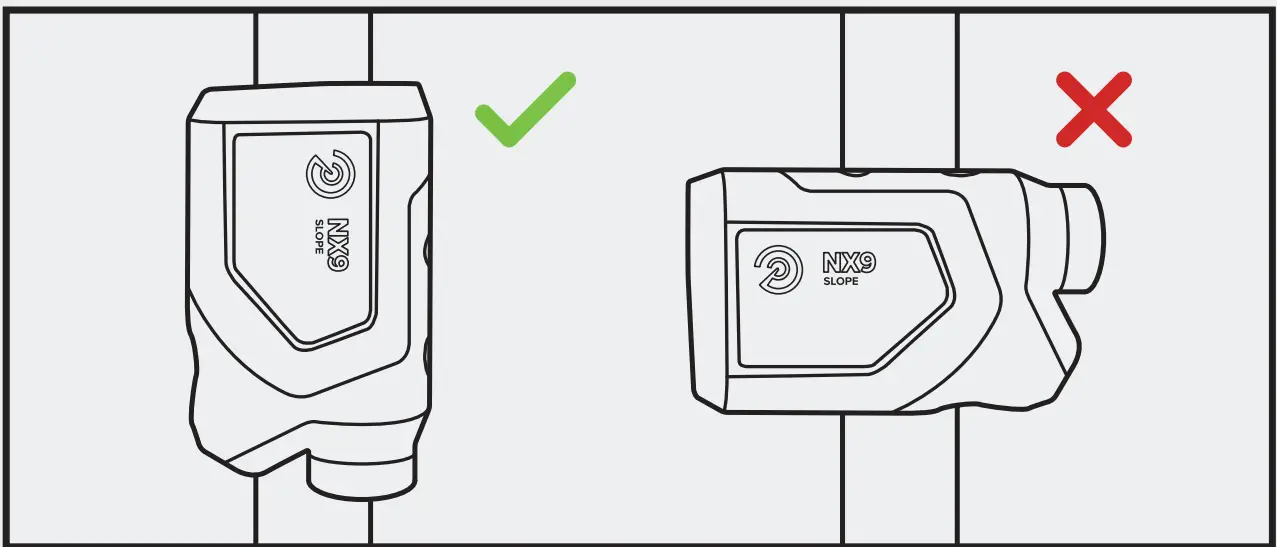
MAGNETIC CART MOUNT

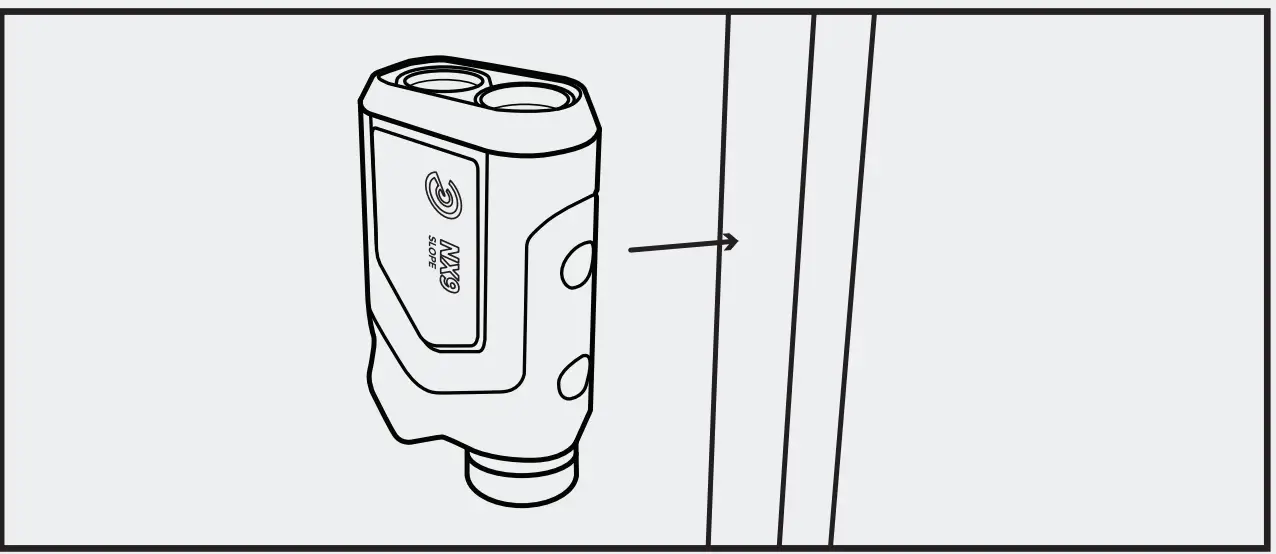
- The built-in magnetic cart mount will adhere to any flat metal surface. Attach the rangefinder so that the Precision Pro logo is facing out.

- When attaching to a frame of a golf cart, make sure that the rangefinder is parallel with the bar. Not perpendicular.
CONTACT US
(888) 568-6770
[email protected]
precisionprogolf.com


