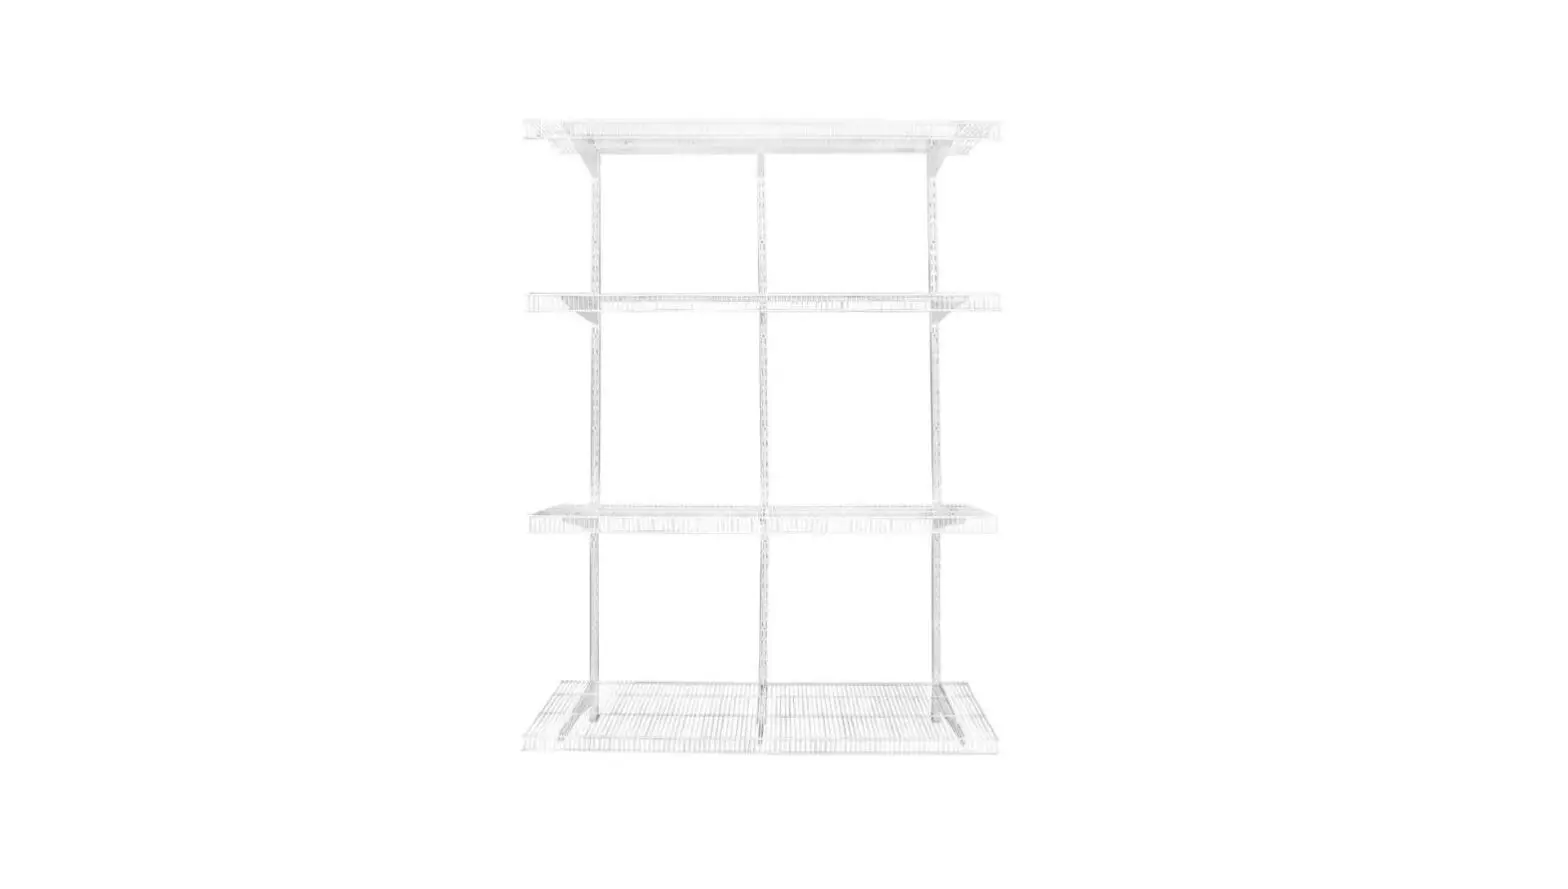
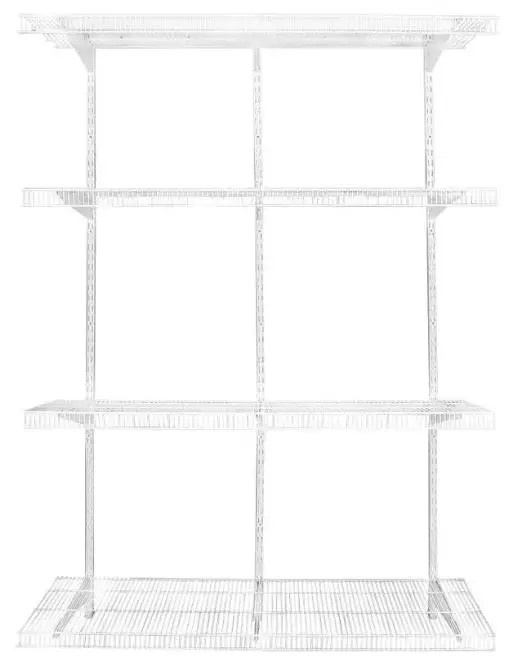
Rubbermaid 2Q55 36 Inch Pantry Kit
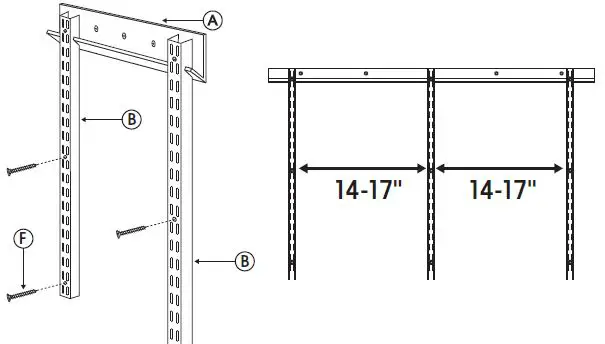
Note: Af least 3 screws must hif studs in the rail for this kit to be installed properly and have guaranteed weight-holding capacity.
Weight capacity:
- 300 lbs (136 kg) per upright
- 100 lbs (45.3 kg) per bracket
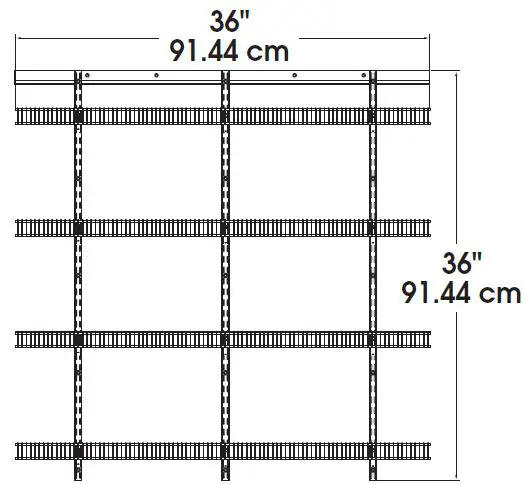
DIMENSIONS
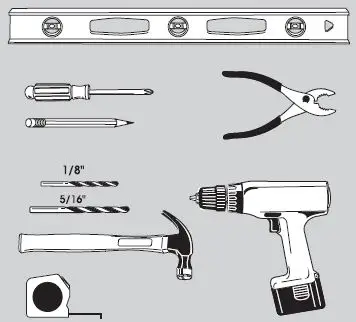
TOOLS REQUIRED
Please check that you have all parts before beginning and follow the instructions carefully.

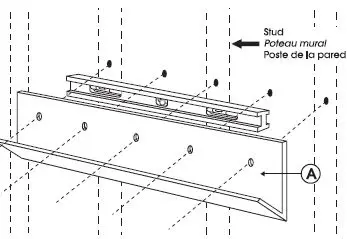
- Hold J-Rail (A) at desired height. Level rail and mark holes with a pencil.
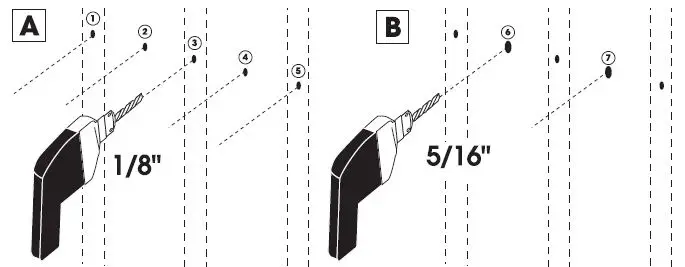
- Drill all holes with 1/8″ drill bit. Re-drill holes that do not hit studs with 5/16″ drill bit.
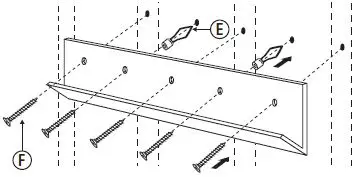
- Insert Anchors (E) in 5/16″ holes. Use push pins (E) to expand anchors. Install flathead Screws (F).
- Hang side A of 36″ uprights (B) on the rail (A). Use 2 flathead screws (F) per 36″ upright (B). Use winged anchors (E) if the uprights do not hit a stud. Note: Make sure there is no more than 8″ of unsupported shelving at the end of each shelf
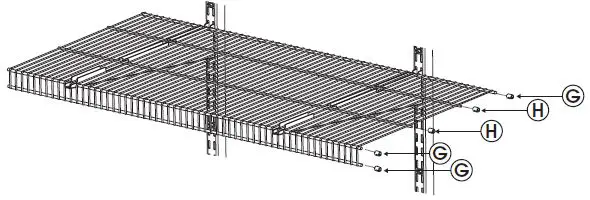
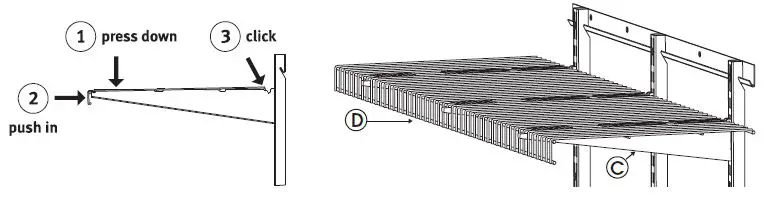
- Attach TightMesh® shelving (D) to brackets.
- Attach TightMesh® shelving (D) to brackets