![]() Required Tools: Ladder, Hole Saw, Tape
Required Tools: Ladder, Hole Saw, Tape
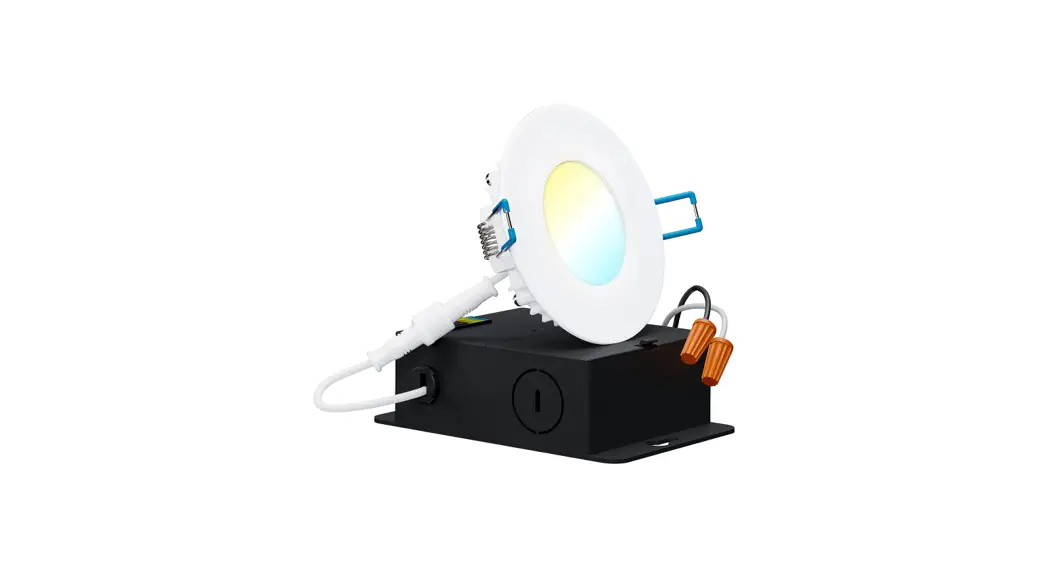
3″ LED Selectable Slim Downlight
Installation Manual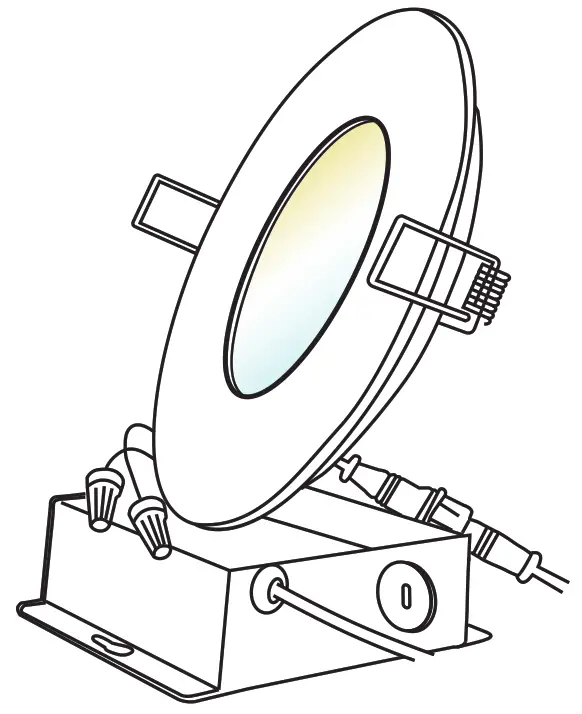
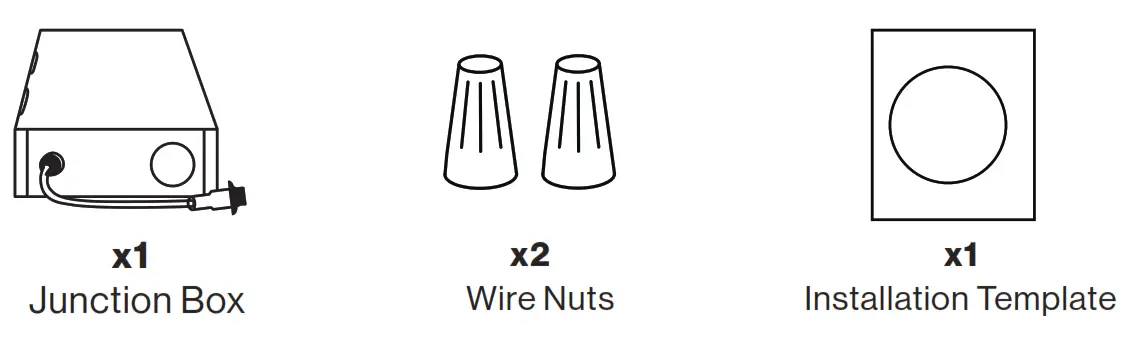
COMPONENTS
EASY INSTALLATION
CANLESS RECESSED MOUNT
- Turn off circuit breaker before installation.
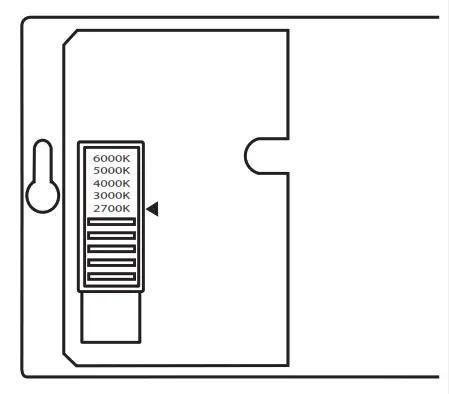
- Set preferred temperature using CCT switch on back of fixture.
- Cut out Installation Template according to housing size, then tape onto ceiling in desired location.
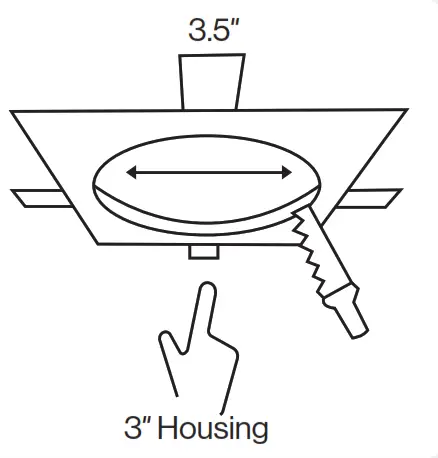
- Cut ceiling hole using Installation Template as a guide.
- Open junction box and remove appropriate knockout.
- Connect supply and junction wires using wire nuts:
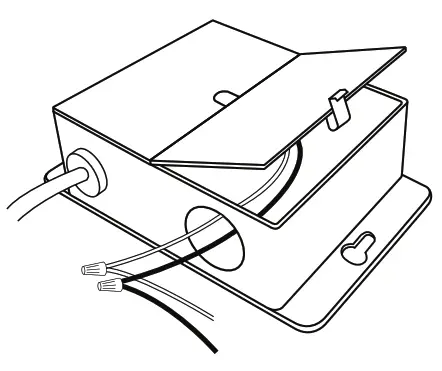 – Black to Black (Live)
– White to White (Neutral)
• Tuck connected wires inside junction box and close cover. - Insert junction box through ceiling hole.
• New Construction Applications: Junctionbox should be secured to studs, joists, or similar fixed structural units.
• Remodel Applications: Does not require junction box to be secured to studs, joists, or structural units.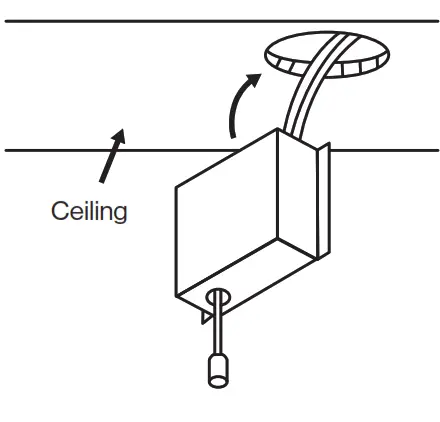
- Attach fixture to junction box using connector as shown on image (1).
• Tighten connector by hand (2).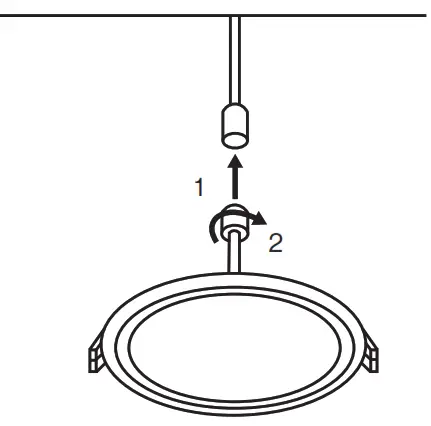
- Push up spring clips and insert fixture into ceiling.
- Turn on circuit breaker and test light.

WARNING
To reduce the risk of fire, electric shock, or injury:
- Turn off circuit breaker before installing this fixture.
- This product should be installed by a person familiar with the construction and operation of the product and hazards involved. Safety eyeglasses and gloves are recommended.
- Abide by regional and local laws or regulations.
- Proper grounding is required to ensure safety.
- Do not alter, relocate, or remove wiring during installation.
- Do not make or alter any open holes in wiring enclosure or electrical components during installation.
- Check for shipping damage before installing. If the product is damaged, do not use it.
- Keep fixture away from corrosive substances.
- Suitable for damp locations at temperatures ranging from 4°F to 113°F. Not for use where directly exposed to water.
- Clean fixture regularly to ensure proper operation. Do not clean with harsh solvents.
- Use safety precautions and abide by regional and local laws or regulations.
- This product is not compatible with 3rd party sensors.
- This product is not compatible with photo controls.
- This product is not compatible with occupancy sensors.
- This product is not compatible with timing devices.
SPECIFICATIONS
| Voltage | 120V |
| Wattage | 8W |
| Weight | 0.35 lbs |
| Housing Material | Plastic |
| Moisture Rating | Damp |
| Warranty | 7 years |


 Installation Guide")


