
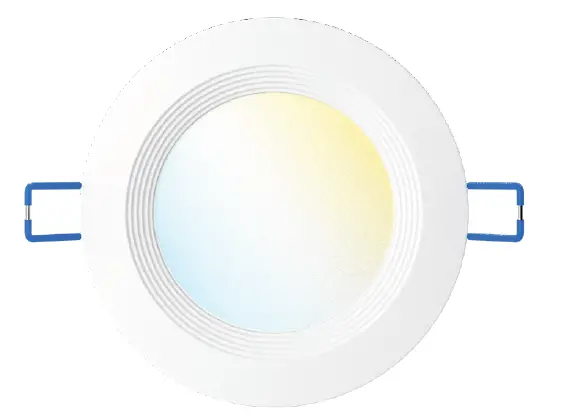
SUNCO LIGHTING DL_SL4-10W-27K_5K-1PK 4 Inch Slim Selectable White LED Light
COMPONENTS

EASY INSTALLATION
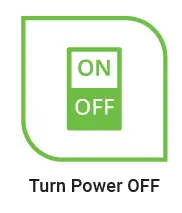
- Turn off circuit breaker that provides power to the light switch for the recessed lights.

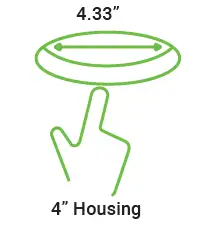
- Cut a hole in the ceiling in the desired location accordingly to the dimension indicated.

- Run an electrical wire from the power source (switch) through the mounting hole.
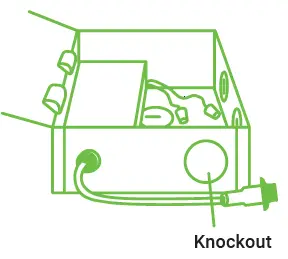
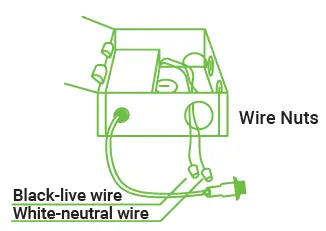
- Open the junction box and remove the appropriate knockout(s) on the side plate.

- Connect the supply wires to the junction box wires using the wire nuts provided.
- White to white
- Black to black
- Tuck the connected wires inside the junction box and close the cover.

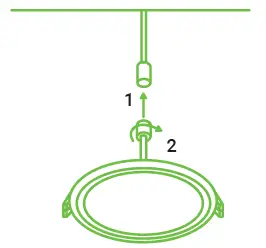
- Connect the junction box to the slim-down light. Tighten the connector by hand.

- Turn on the power and test light.
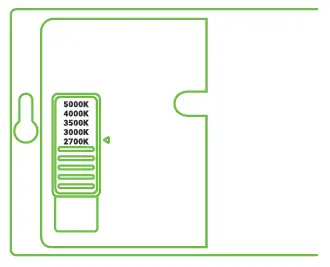
- BEFORE PROCEEDING:
On the back of the j-box, slide the CCT Selection Switch to choose from five color temperatures (2700K, 3000K, 3500K, 4000K, 5000K). Try each CCT to determine which suits your room.- Light will use the preferred setting whenever you turn on the switch.
- Turn off light switch and continue to install.

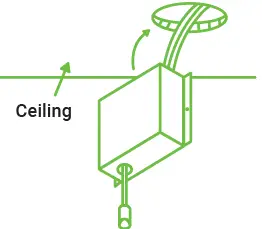
- Insert the junction box through the hole in the ceiling.
- New construction applications: Hardwire box shall be secured to studs, joists, or similar fixed structural units.
- Remodel applications: Do not require the hardwire box to be firmly secured after the mounting plates studs, joists, or structural units have been concealed.

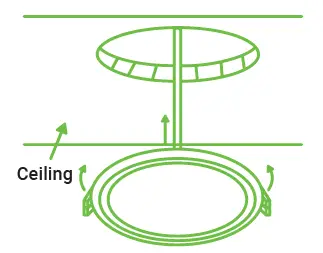
- Push up the spring clips to insert the luminaire in the opening in the ceiling.
- Turn on circuit breaker and test the light.

WARNING
To reduce the risk of fire, electric shock or injury to people:
- This product should be installed in accordance with the applicable installation code by a person familiar with the construction and operation of the product and the hazards involved.
- Abide by related regional and local laws or regulations.
- Do not alter, relocate or remove wiring.
- Do not make or alter any open holes in an enclosure or electrical components.
- Proper grounding is required to ensure safety.
- Check for damage during shipping prior to installation. If the product is damaged, do not use it.
- Turn off the switch and circuit breaker before installing this LED light.
- Use safety precautions. Safety eyeglasses and gloves are recommended.
- Please review the instructions carefully before proceeding.
SPECIFICATIONS
- Voltage 120V
- Wattage 10W
- Usage Indoor
- Housing Polycarbonate
- Weight 0.42 lbs
- Warranty 7 years


