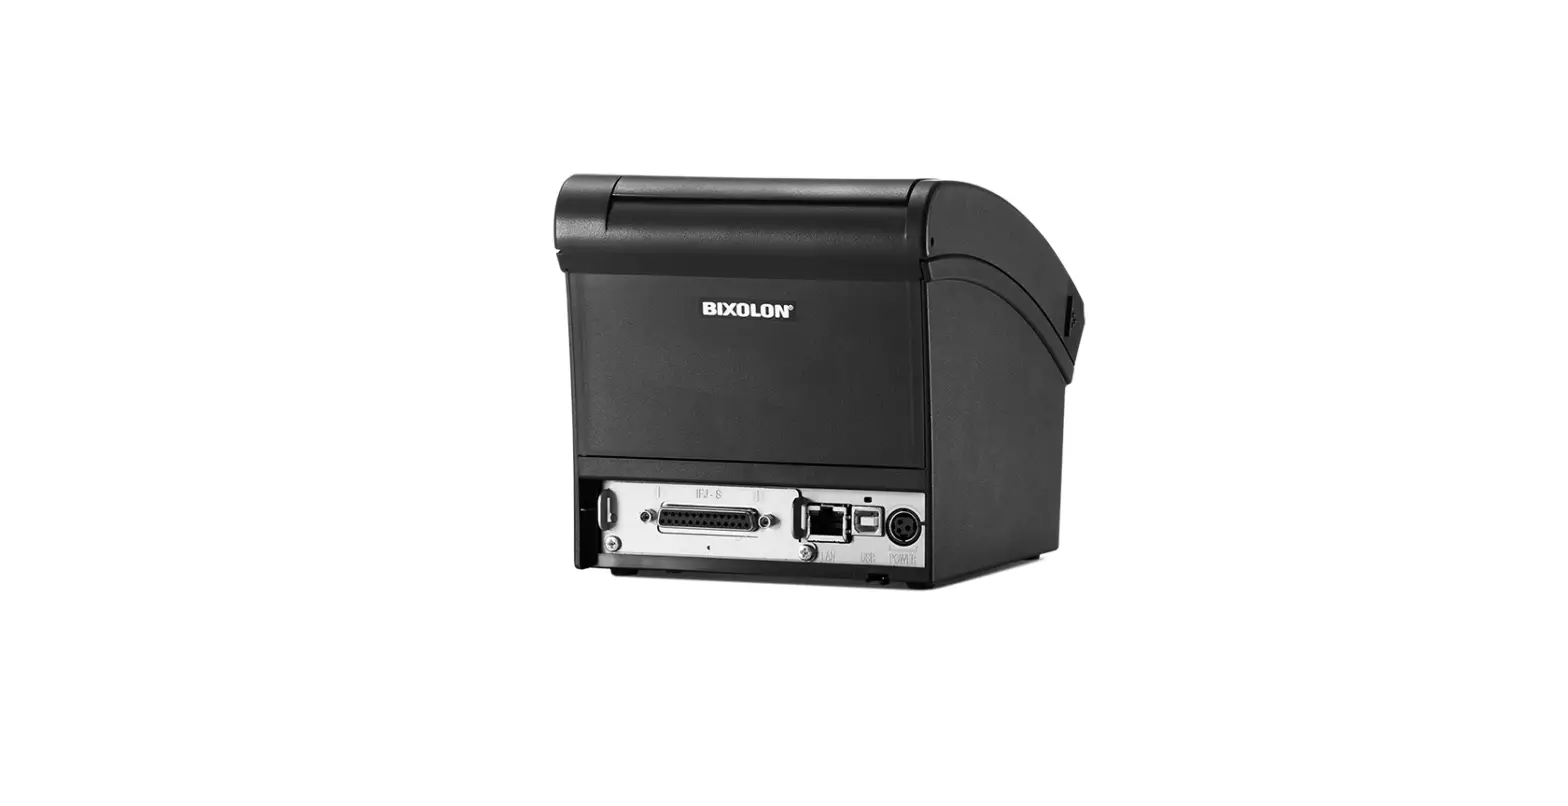
BIXOLON SRP-350-352III Thermal Printer
Information
This Installation Guide includes a brief outline of information necessary for product installation. For more detailed installation information, please refer to the user manual in the enclosed CD. The contents of the CD include the following.
- Manual: User Manual, Code Chart, and Control Commands
- Drivers: Windows Driver, OPOS Driver
- Utility: Logo Download Tool
We at Bixolon Co., Ltd. constantly strive to improve product functions and quality. To do this, the specifications of our product and the contents of the manual may change without prior notice. Please refer to the BIXOLON website for the addresses and phone numbers of the company’s headquarters and branch offices. (http://www.bixolon.com)
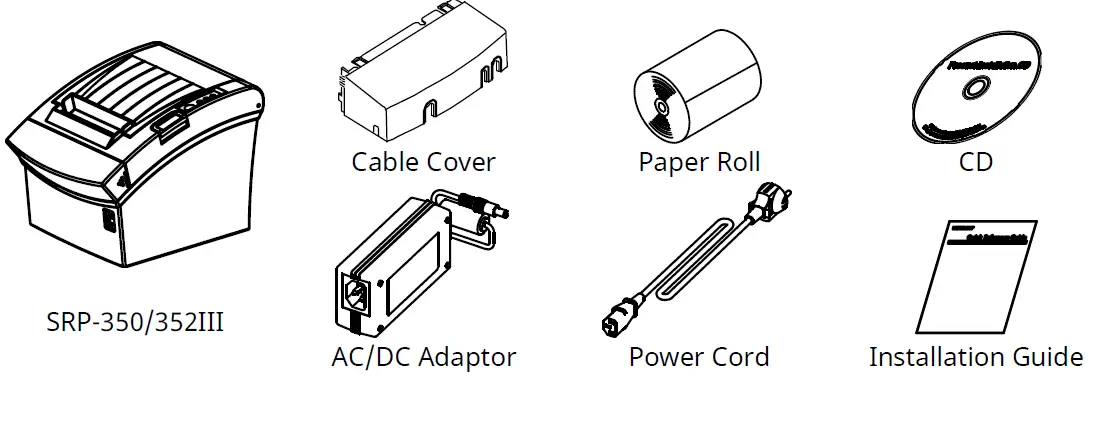
Components
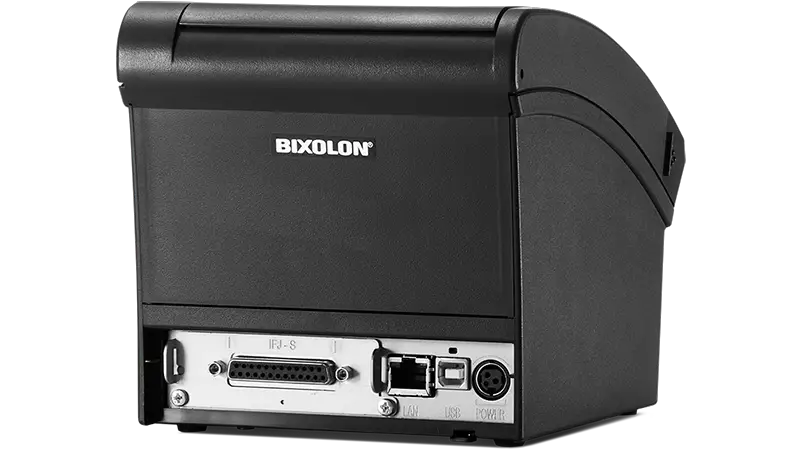
Cable Connection
- Turn off the printer and the host ECR (host computer).
- Plug the power cord into the adaptor and then plug the adaptor into the power connector of the printer.
- Check the interface type on the back of the printer (Serial, Parallel, USB or Ethernet), and connect the interface connector cable.
- Plug the drawer kick-out cable into the drawer kick-out connector on the printer.
- Do not use an adapter that was not supplied with the printer


Installing Paper Roll
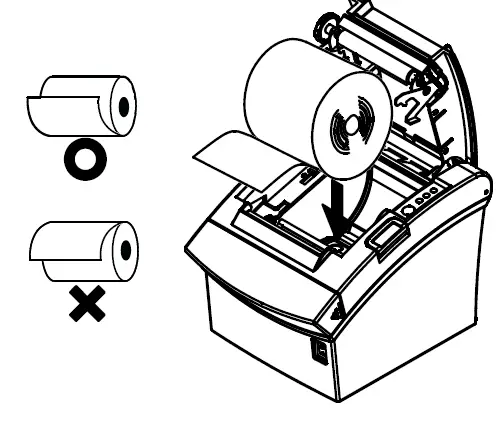
- Open the Cover-Open button to open the cover.
- Insert a new paper roll in the right direction.
- Pull out a small amount of paper and then close the cover.
Note
To make the paper tightly close to the roller when closing the cover, press the center of the cover. Printing quality may not be optimum if recommended paper is not used. (Refer to the User’s Manual.)
Paper Jam (Refer to 1-6 in User Manual)
- Turn the power of the printer off or on and open the cover to remove the paper.
- If the cover is not opened, turn off the power of the printer and separate the cover-cutter and then turn the knob of the auto cutter to open the cover
Using Control Panel

- Power (Signal Lamp)
When turning on the power, a green LED will be lit. - Error (Signal Lamp)
When an error occurs, a red LED will be lit. (e.g. no paper, cover ajar, etc.) - Paper (Signal Lamp)
Red LED will be lit when the paper roll is running low. The LED blinks when the printer is in self-test standby mode or macro execution standby mode. - Feed (Button)
Press the FEED button once to discharge extra paper. Holding down the FEED button will discharge paper continuously until the button is released.
Setting DIP Switches
To change the Dip Switches settings, turn the printer power off. Any changes while the printer is on will not be processed.
Serial Interface Setting
DIP Switch 1
| SW | Function | ON | OFF | Default |
| 1-1 | Auto Line Feed | Enabled | Disabled | OFF |
| 1-2 | Flow Control | XON/XOFF | DTR/DSR | OFF |
| 1-3 | Data Length | 7-bit | 8-bit | OFF |
| 1-4 | Parity Check | Yes | No | OFF |
| 1-5 | Parity Selection | EVEN | ODD | OFF |
| 1-6 | Baud Rate Selection (bps) | Refer to the following Table 1 | OFF | |
| 1-7 | ON | |||
| 1-8 | OFF | |||
DIP Switch 2
| SW | Function | ON | OFF | Default |
| 2-1 | Reserved | – | – | OFF |
| 2-2 | Reserved | – | – | OFF |
| 2-3 | Internal Bell Control | Disabled | Enabled | OFF |
| 2-4 | Auto Cutter Selection | Disabled | Enabled | OFF |
| 2-5 | Printing Density | Refer to the following Table 2 | OFF | |
| 2-6 | OFF | |||
| 2-7 | Near End Sensor Contorl | Disabled | Enabled | OFF |
| 2-8 | Auto External Buzz | Enabled | Disabled | OFF |
Parallel / USB / Ethernet Interface Setting
DIP Switch 1
| SW | Function | ON | OFF | Default |
| 1-1 | Auto Line Feed | Enabled | Disabled | OFF |
| 1-2 | Reserved | – | – | OFF |
| 1-3 | Reserved | – | – | OFF |
| 1-4 | Reserved | – | – | OFF |
| 1-5 | Reserved | – | – | OFF |
| 1-6 | Reserved | – | – | OFF |
| 1-7 | Reserved | – | – | ON |
| 1-8 | Reserved | – | – | OFF |
DIP Switch 2
| SW | Function | ON | OFF | Default |
| 2-1 | Reserved | – | – | OFF |
| 2-2 | Reserved | – | – | OFF |
| 2-3 | Internal Bell Control | Disabled | Enabled | OFF |
| 2-4 | Auto Cutter Selection | Disabled | Enabled | OFF |
| 2-5 | Printing Density | Refer to the following Table 2 | OFF | |
| 2-6 | OFF | |||
| 2-7 | Near End Sensor Contorl | Disabled | Enabled | OFF |
| 2-8 | Auto External Buzz | Enabled | Disabled | OFF |
Tab. 1 – Selection of Baud Rate (bps)
| Transmission Speed | 1-6 | 1-7 | 1-8 | Default |
| 2400 | ON | OFF | OFF |
9600 |
| 4800 | ON | OFF | ON | |
| 9600 | OFF | ON | OFF | |
| 19200 | OFF | OFF | OFF | |
| 38400 | OFF | ON | ON | |
| 57600 | OFF | OFF | ON | |
| 115200 | ON | ON | ON |
Tab. 2 – Selection of Printing Density
| Printing Density | 2-5 | 2-6 | Default |
| Level 1 | OFF | OFF | – Level 1 is Default – Level 4 is Darkest |
| Level 2 | ON | OFF | |
| Level 3 | OFF | ON | |
| Level 4 | ON | ON |
Self-Test
- Check that the paper is properly loaded.
- While pressing the Feed button, turn the power off. Self-test begins.
- Print the current state of the printer such as ROM version and DIP switch setting.
- Print the current state of the printer and stop printing after the following phrase. (The paper signal lamp continues to flicker):
SELF-TEST PRINTING. PLEASE PRESS THE FEED BUTTON. - Press the Feed button to continue printing. Print the printable character forms.
- End the self-test mode automatically and print the phrase below to cut the paper.
COMPLETED - When the self-test mode of the printer ends, the printer turns to the normal state.
Note
It is possible to check whether the printer works properly through the self-test, with which printing quality, ROM version and DIP settings can be confirmed.
WEEE (Waste Electrical and Electric Equipment)
- This marking shown on the product or its literature, indicates that is should not be disposed of with other household wastes at the end of its working life. To prevent possible harm to the environment or human health from uncontrolled waste disposal, please separate this from other types of wastes and recycle it responsibly to promote the sustainable reuse of material resources. Household users should contact either the retailer where they purchased this product, or their local government office, for details of where and how they can take this item for environmentally safe recycling.
- Business users should contact their supplier and check the terms and conditions of the purchase contract. This product should not be mixed with other commercial wastes for disposal
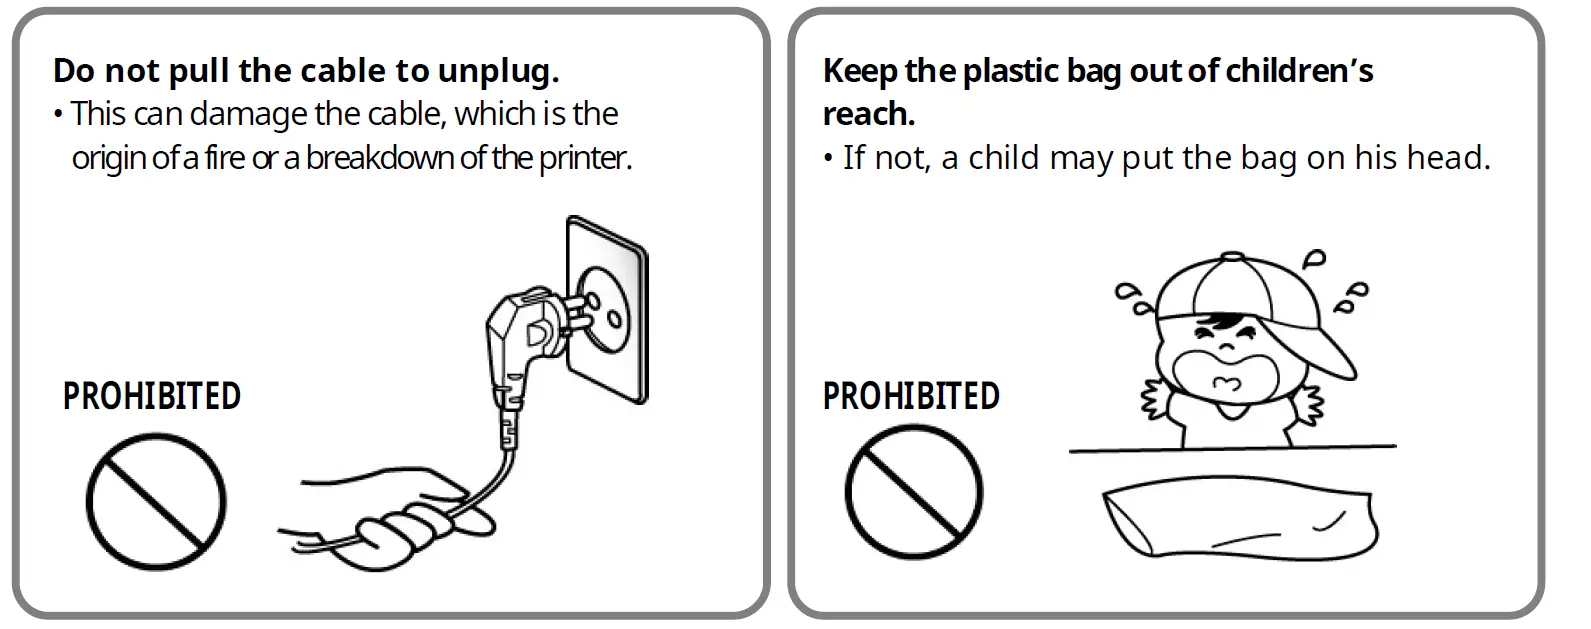
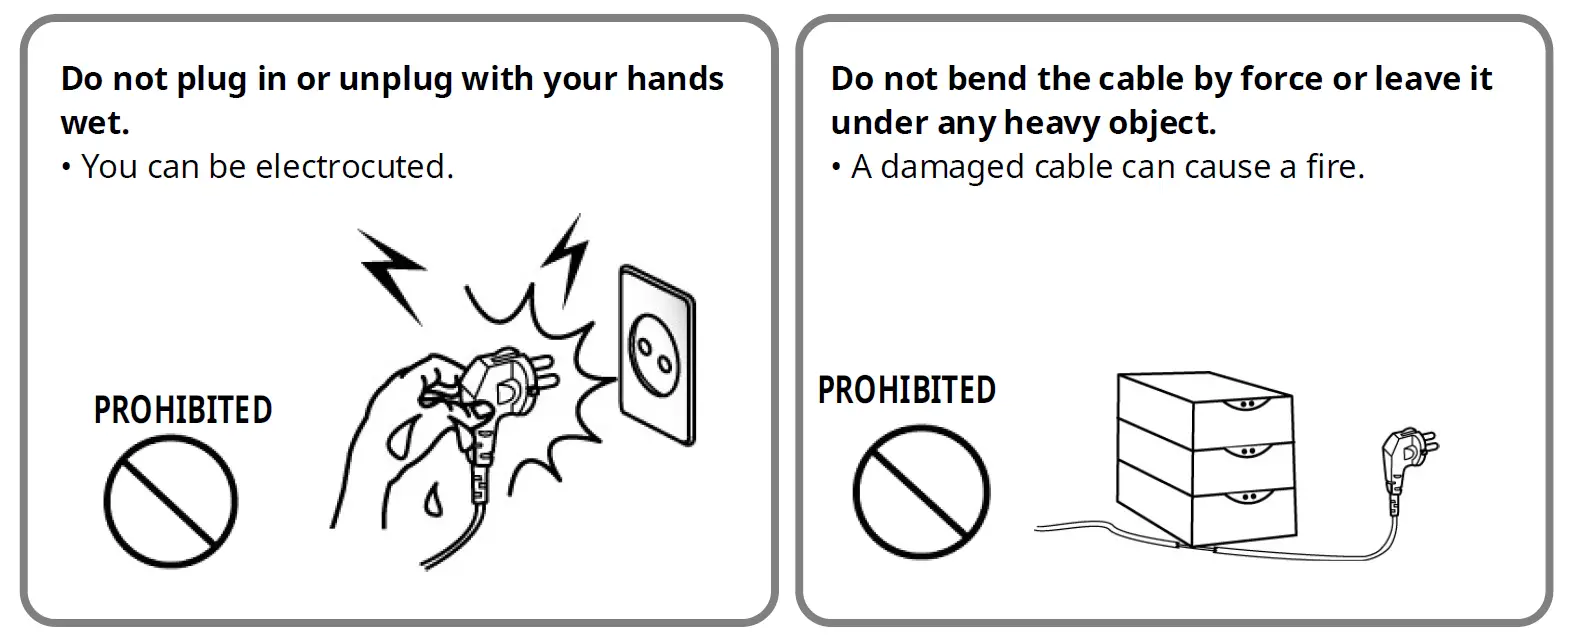
Safety Precautions
In using the present appliance, please keep the following safety regulations in order to prevent any hazard or material damage.
WARNING
Violating following instructions can cause serious injury or death.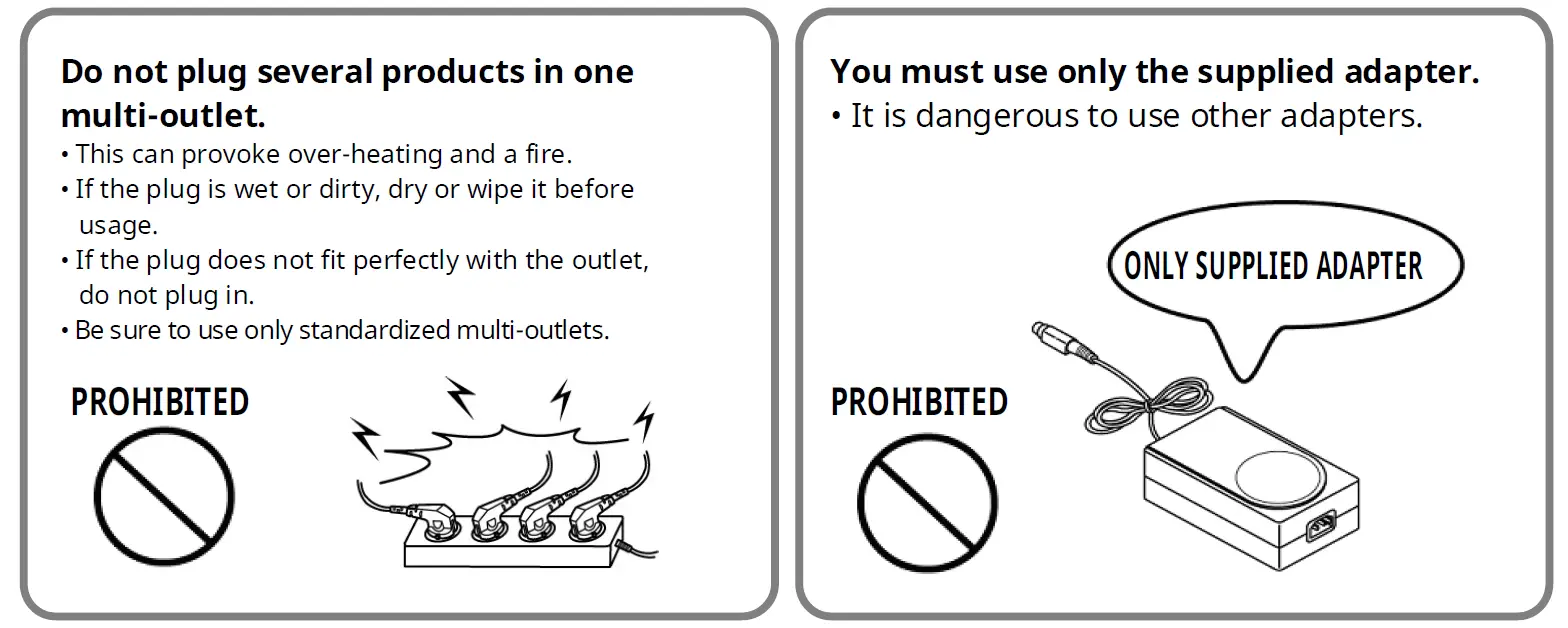
CAUTION
Violating following instructions can cause slight wound or damage the appliance.